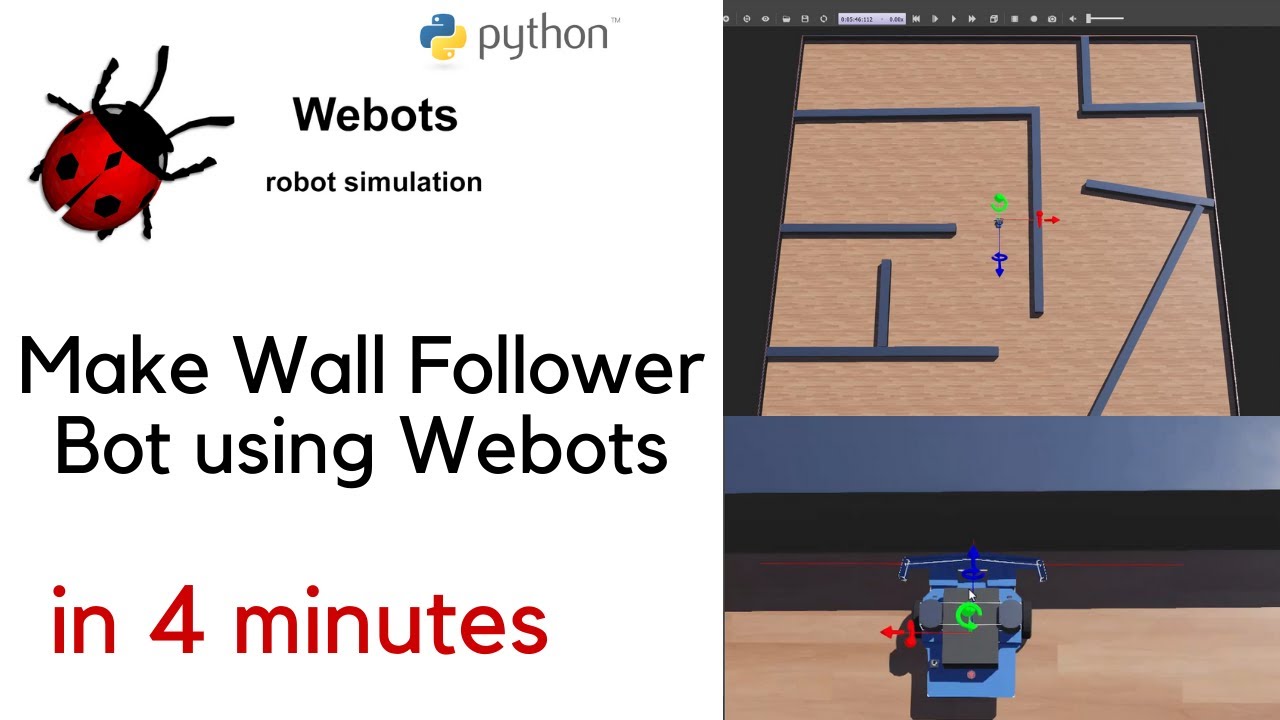
hey everyone my name is Kajal and welcome to my channel in today's video we will learn to make a robot in Webots that can solve mazes using the wall following logic. We will start by building the maze in Webots followed by understanding the wall following logic and then coding it in python i've included the timings here and in the description below. This is a gentle reminder to hit the bell notification when you hit subscribe so you're notified every time i come up with a new video without further ado let's get into it * Webots Tutorial in Python: Wall follower * let's start by creating a new project click on the menu bar wizards new project directory click continue give your project a name i'm calling it wall follower robot click continue give a name to your world i'm calling mine world underscore maze make sure to select add a rectangular arena and click continue click done and this will load a new world with a rectangle arena we'll start by increasing the size of our arena click on the rectangular arena on the scene tree click on floor size make x and y is equal to 2.
next we'll add a robot in our Webots world to do this click on the plus sign next type epuck in the search bar select the epuck robot and click add to add the robot make sure to save your work next we'll create a maze using walls once again click on the plus sign and type wall in the search bar select wall and click on add to add this wall to our Webots world as you can see it created a huge wall let's change the size click on the wall in your scene tree on the left hand side select size and change y is equal to 0. 1 meter and z is equal to 0. 01 meter to make it easy to reshape the wall or any object in Webots let's add the coordinate system from the menu bar select view optional rendering and show coordinate system to rotate the wall click on rotation option under wall on the scene tree with x equal to 0 y equal to 1 z equal to 0 make your angle equal to 1.
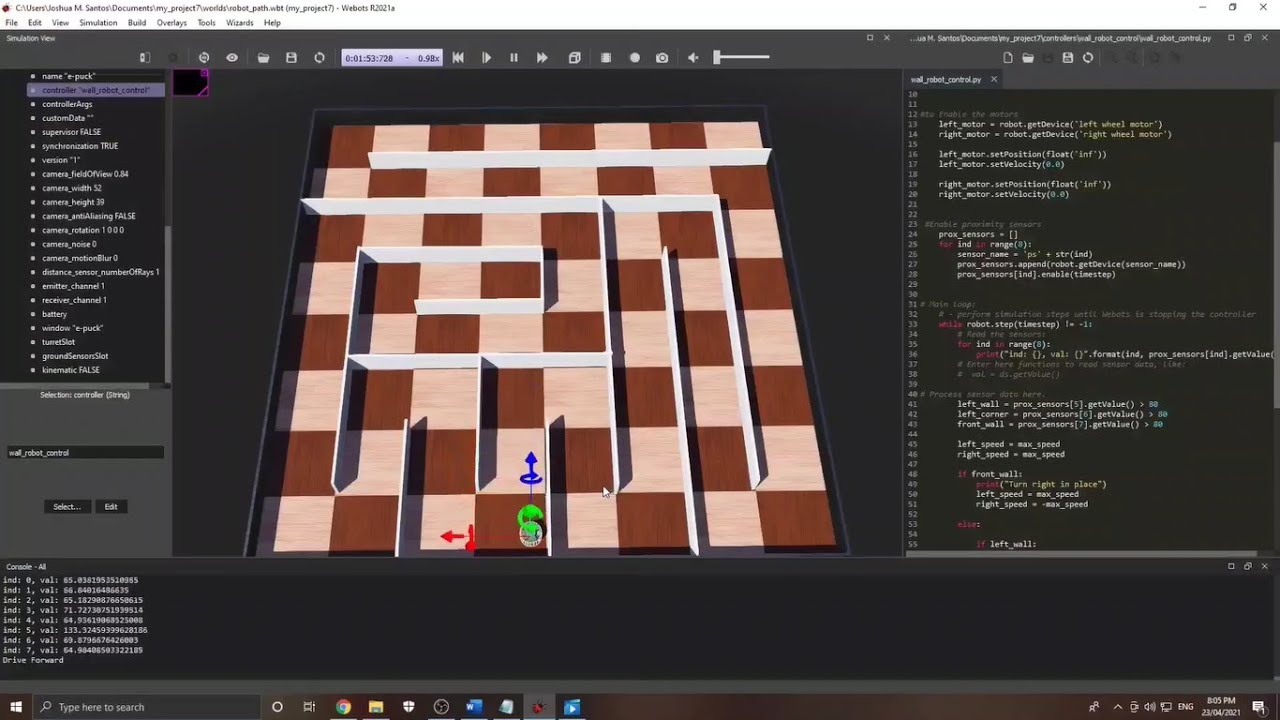
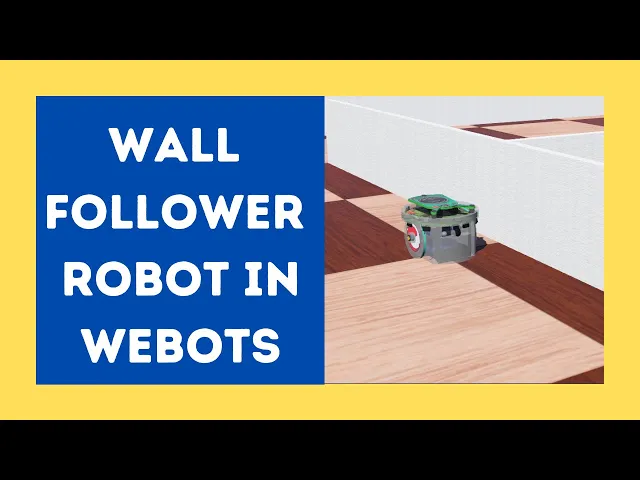
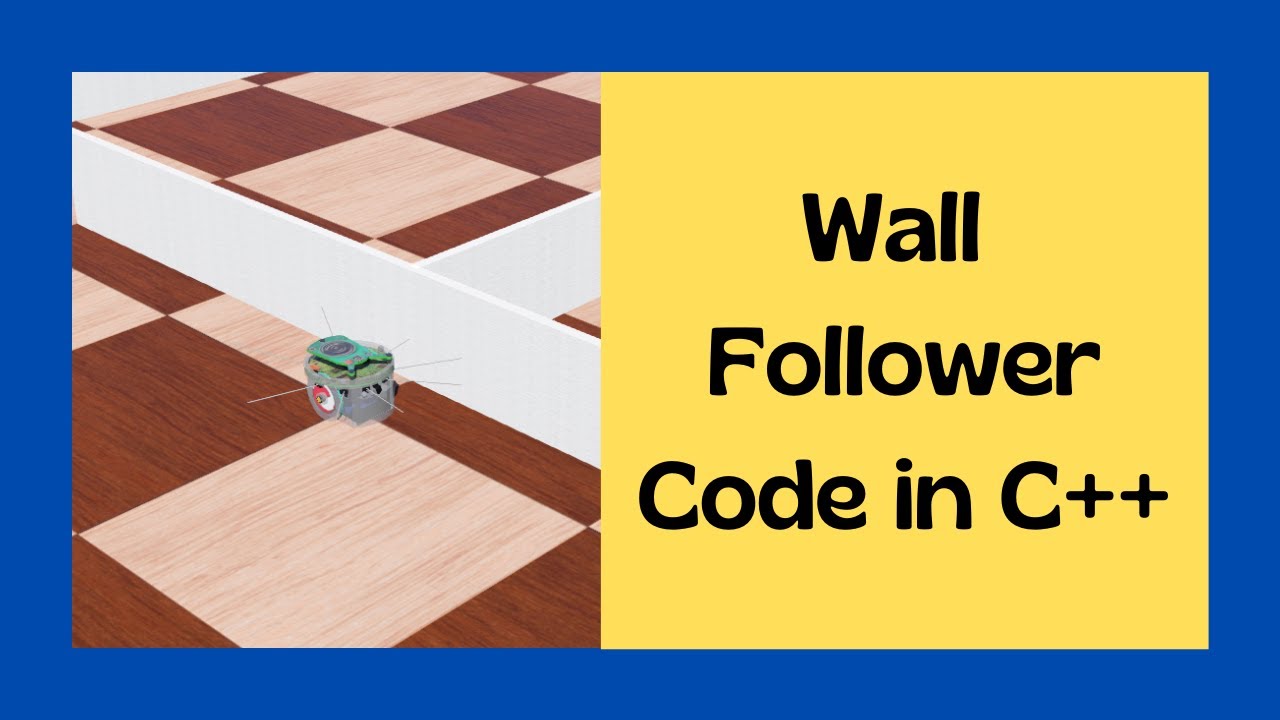
57 radians next let's move the wall by changing the translation values let's make x equal to minus 0. 07 meter let's add another wall select wall and use keyboard shortcut to copy and duplicate it by pasting once again by changing the translation and rotational values you can move the wall in different configurations using multiple walls you can build your own maze if you want to use the maze shown in this video you can download it from the link in the description below * Webots Tutorial in Python: Wall follower * with our maze built we will now create a controller in python click on the Webots menu bar wizards new robot controller click continue and select python as programming language click continue and give a name to your controller i'm calling it my controller wall follower click continue and done make sure to change the controller code for epuck go to the Webots scene tree and select epuck. Under epuck, click on controller in the bottom click on select and then choose your file from the controller choice menu click ok and make sure to save your work with that let's start writing our controller code in python * Webots Tutorial in Python: Wall follower * start with creating a main function and creating a robot instance * Webots Tutorial in Python: Wall follower * next we'll create a function called run robot to write a wall following logic * Webots Tutorial in Python: Wall follower * let's look at the epuck robot configuration on the Webots website as you can see we have two motors called left wheel motor and right wheel motor we also have eight proximity sensors named ps0 to ps8 in our code let's enable both the motors and all the sensors i've covered this concept in a previous tutorial i'll add the link in the cards on the corner and in the description below for now i'm speeding up the video * Webots Tutorial in Python: Wall follower * from the Webots documentation we can also get the max speed for epuck and let's add the same to our code next let's look into detecting the walls next to e-puck in our Webots world using the proximity sensors to do this let's read and print the readings from our proximity sensors also make sure to give speed to both the motors so our robot can drive forward * Webots Tutorial in Python: Wall follower * save the code and click on the play button to start the Webots simulation to view the sensor rays click on view optional rendering and show distance sensor rays the green rays indicate an object is detected which in this case is the wall let's pull up the epuck documentation on Webots website we can see that this is the ps5 sensor and from the terminal output we can also get the values being read by this sensor we can use all of this information to update our code to detect walls on the left side of keeper let's call that the left wall similarly we can detect a wall in front of the epuck using proximity sensor ps7 let's call that the front wall now let's understand the wall following logic that will be used to solve the maze as the name suggests the robot will follow a wall you can choose the side i'm choosing left the robot has to drive in such a way to follow the left wall when the wall is on its left and there is nothing in front of the robot it can simply drive forward if it detects a wall in front of the robot it is essentially in a corner it should drive right to continue now if there is an upcoming left on the wall on the left side will disappear so if there is no wall on the left the robot has to take left and the same concept will also work for a u-turn this brings us to the last case that is there is no wall on the left hand side and there is a wall in front of the robot since we are following the left wall a robot needs to turn such that the wall is on the left side this can be done by simply turning right on the spot let's code the wall following logic let's start by creating two speeds each for left and right motor epuck is a differential drive robot i've explained how to drive a differential drive robot in a previous video i'll add a link to that video in the card on the corner and in the description below we can start with the common action of turning right in place when there is a wall in front of the robot irrespective of if a wall exists on the left side or not * Webots Tutorial in Python: Wall follower * next if a wall is detected on the left we drive forward and if none of the walls are detected we turn left * Webots Tutorial in Python: Wall follower * let's try the speed one fourth of max for left and full speed for right let's test the code click on the play sign to run the Webots simulation as you can see the robot is following the left wall * Webots Tutorial in Python: Wall follower * however after turning it ends up too close to the wall let's reduce the speed to see if that helps make sure to save your work and let's run the simulation again * Webots Tutorial in Python: Wall follower * once again it still comes too close to the wall if we look at the sensor rays we can see both ps5 and ps6 detect the wall we can use this information to ensure our robot doesn't end up coming too close to the wall or touching it let's go back to the code and use this information we'll call this the left corner * Webots Tutorial in Python: Wall follower * if the left corner is detected the robot is too close to the wall and should drive away from it by turning right make sure to save the code and let's run the Webots simulation again as you can see the robot is easily following the wall and after turning it didn't come too close to the robot * Webots Tutorial in Python: Wall follower * i will slow down here and run the simulation one step at a time so we can observe what happens when the robot is in a corner * Webots Tutorial in Python: Wall follower * let me show you another scenario in this next scenario we have an upcoming left turn and a narrow u-turn once again the robot continues to follow the left wall and drive its way around the maze if you enjoyed this tutorial make sure to give it a like this will encourage me to make more such videos and if you haven't already don't forget to subscribe and hit the bell notification also if you have any questions or doubts use the comments section below thank you for watching and i'll see you in the next video.
![[SOLVED] How to use Python 3 code in Webots on Ubuntu? // Webots Tutorial Python](https://img.youtube.com/vi/GK9hYS41pgs/maxresdefault.jpg)
![[Solved] Problem How to Run Python Code in Webots (Windows 10 64bit)](https://img.youtube.com/vi/T5GWFpDsI3s/maxresdefault.jpg)