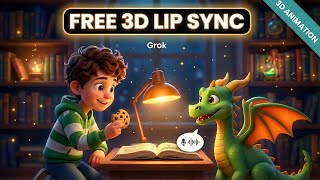
Everything you're watching was made with free AI tools. No 3D software and no animation experience required. AI can generate impressive animation now.
But there's one issue that still breaks most videos. Character consistency. One scene looks great and then the character suddenly changes in the next.
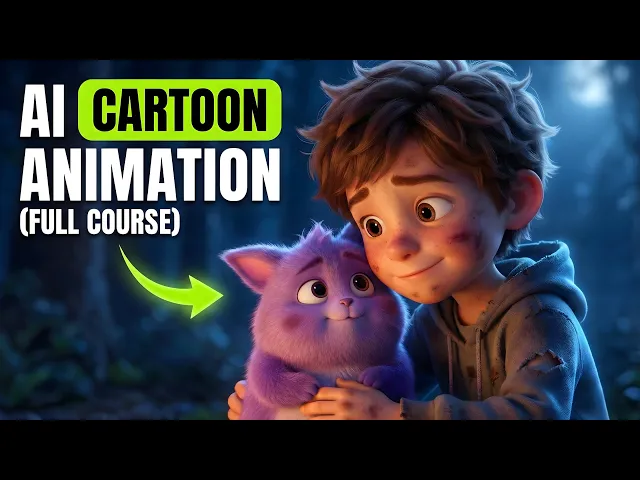
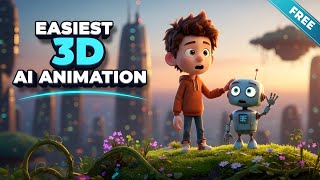
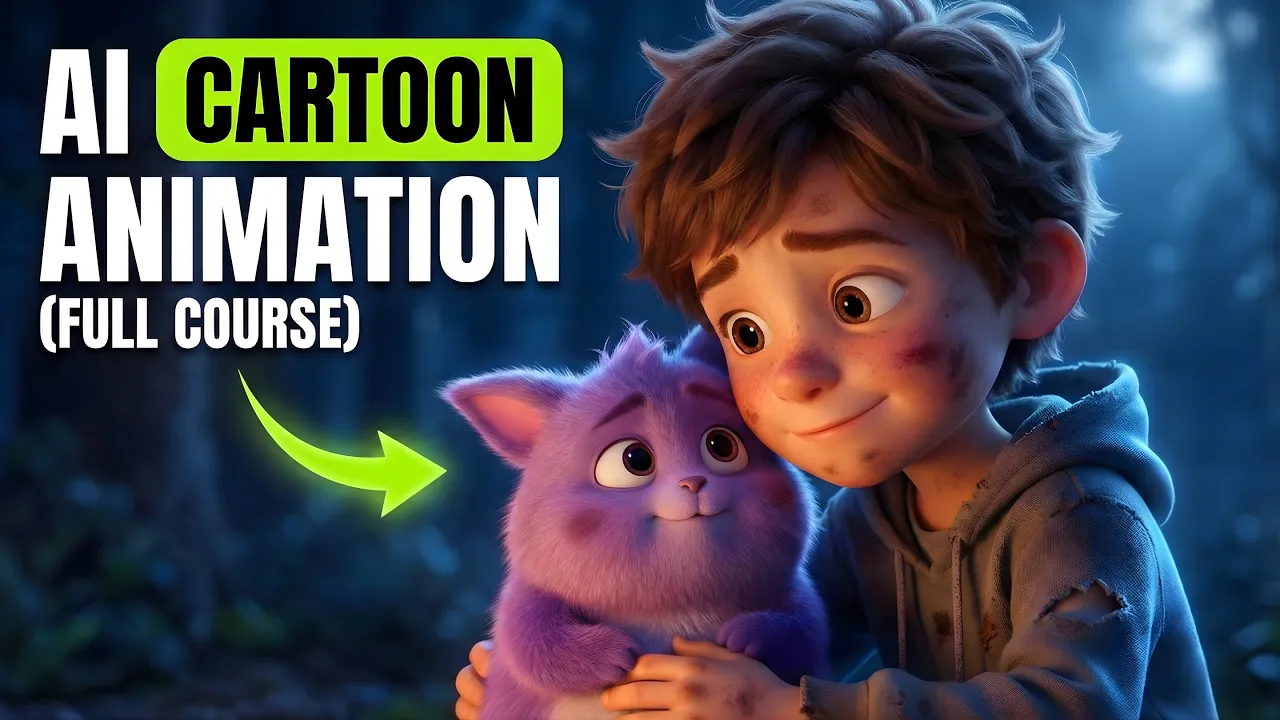
In this video, you'll learn a simple workflow that keeps your character consistent from start to finish. I'll walk you through four easy steps using free tools so you can create clean, highquality AI cartoon animations, even if you're completely new. Here's the exact animation we're creating today.
>> We can't stop now. He could be anywhere. Sniff, sniff.
We'll find him. We always do. >> Look, Traxxas.
Do you see that? These look like little bird prints. Lumie.
Lumie left tiny prints. Did you just see something? Maybe it was a mirage.
>> Lumie, if you can respond, >> tomorrow we'll find him. I know it. Promise we'll never never leave him alone.
>> Almost there. >> Bluey. Oh, we found you.
You silly sparkle. We looked everywhere. So, you don't have to guess anything.
I've shared all the prompts in the pinned comment. Just copy them, paste them, and follow along with each step. I'll guide you through the workflow from start to finish.
Let's dive in. Step one, generate the full animation blueprint with ChatGpt. First, grab the master prompt from the pinned comment.
Copy it, paste it into Chat GPT, and hit generate. In a few seconds, ChatGpt gives you the complete package, including a full story script, clean character descriptions, text to image prompts for your characters and every scene, and imagetovideo prompts for each scene with the dialogue already included inside every imagetovideo prompt. So, by the end of step one, you're not guessing anything.
You've got the script, the visual plan, and the exact prompts to create the whole animation. Step two, create the characters plus scene visuals using Nano Banana Pro inside Gemini. Now we're creating the visuals.
Open Gemini, click create image, and switch to Thinking 3 Pro. So, you're using Nano Banana Pro quality. Go back to Chat GPT and copy the first character prompt.
Paste it into Gemini and hit generate. In just a few seconds, you'll get a superdetailed 3D style result. The lighting looks clean, the textures look sharp, and the character feels polished and animation ready.
Now return to chat GPT and copy the second character prompt. Paste it into Gemini and generate again. And this one looks amazing, too, especially for an animal.
The details, expression, and overall render quality come out incredibly clean and high-end. Now, it's time to generate the scene images. This is where everything starts to feel like a real animation.
First, go back to chat GPT and copy the scene one text to image prompt. Paste it into Gemini and click create. And boom, your first scene appears with serious detail.
The lighting looks clean, the environment feels cinematic, and most importantly, your boy and the animal both look sharp and clear in the frame. The overall quality is honestly impressive. Now, go back to chat GPT again and copy the scene 2 image prompt.
Paste it into Gemini and generate. Look at this. Scene two comes out with the same level of polish.
The characters still feel like the same ones. The details stay consistent and the style stays cohesive across the scene. Next, return to chat GPT and copy the scene 3 image prompt.
Paste it into Gemini and hit create. And again, the consistency holds up. The characters still match.
The details don't fall apart, and the scene feels like it's part of the same story world. You can generate these images incredibly fast, and the results stay clean and usable. Now just repeat this exact workflow for the remaining scenes.
Copy the next scene prompt from chat GPT. Paste into Gemini. Generate.
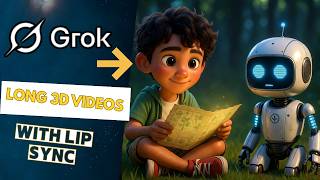
Once all your scene images are ready, we'll move to the next step and animate them one by one. Step three. Turn your images into studio style 3D animation clips using Grock.
Now that all your scene images are ready, it's time to bring them to life with Grock. Open Grock and click imagine. You'll see videos other people have generated.
Upload your first scene image into Grock. Now go back to chat GPT and copy the first image to video prompt including the full dialogue. Paste it into Grock and click generate.
And wow, the image instantly turns into a real animated shot. The motion looks smooth, the expressions actually feel alive and the talking looks surprisingly believable. It genuinely feels like a mini studio style clip.
Next, upload your second scene image. Go back to chat GPT again and copy the second image to video prompt with the dialogue. Paste it into Gro and generate.
Look at that. Another clean clip. The characters still feel familiar.
The movement stays smooth and the dialogue lines up really well with the mouth motion. This is where it stops looking like random AI clips and starts feeling like connected scenes. Now upload your third scene image into Grock.
Copy the third image to video prompt from chat GPT including the dialogue. Paste it into Grock and click create video. And again, Grock delivers.
These look like little bird prints. Lumi. Lumi left tiny prints.
>> The animation stays consistent. The expressions match the moment and the lips sync stays on point. Now repeat this exact workflow for the remaining scenes.
Upload the scene image. Copy that scene's image to video prompt with dialogue. Paste into Grock.
Generate. Once all the clips are finished, download them one by one and you'll have a full set of highquality animated clips ready to combine into one complete video. Step four, put it all together in Cap Cut.
Now that you've generated all the animated clips, it's time to turn them into a complete viral ready story. For editing, we'll use Cap Cut. It's free and super easy to use.
Open Cap Cut and create a new project. Import all the clips you generated in Grock, then drag them onto the timeline in the correct order. If you named your files 01, 02, 03, this part becomes effortless because everything stays perfectly organized.
Next, add smooth transitions so the video flows. Click transitions. Choose a style that matches your scene and keep it simple.
Short transitions work best around 0. 3 to 0. 5 seconds so the pacing stays fast and engaging.
Now, let's level up the audio because sound is what makes the video feel alive. Add a quick whoosh or swipe sound on the transitions. Then add light background music, but keep it low so the dialogue stays clear and easy to understand.
After that, add captions to boost retention. Go to text, auto captions, generate captions and choose a clean, readable font. Style them so they pop and add a simple animation like a soft popin to make the visuals feel more energetic.
Then do a quick cleanup pass. Trim any awkward pauses, tighten the pacing, and make sure every clip hits smoothly. Finally, export your video.
Choose the right aspect ratio for your platform. And that's it. You just created a full animated story using AI, completely free.
If this helped you, drop a like, subscribe, and hit the bell so you don't miss the next tutorial. See you in the next one.