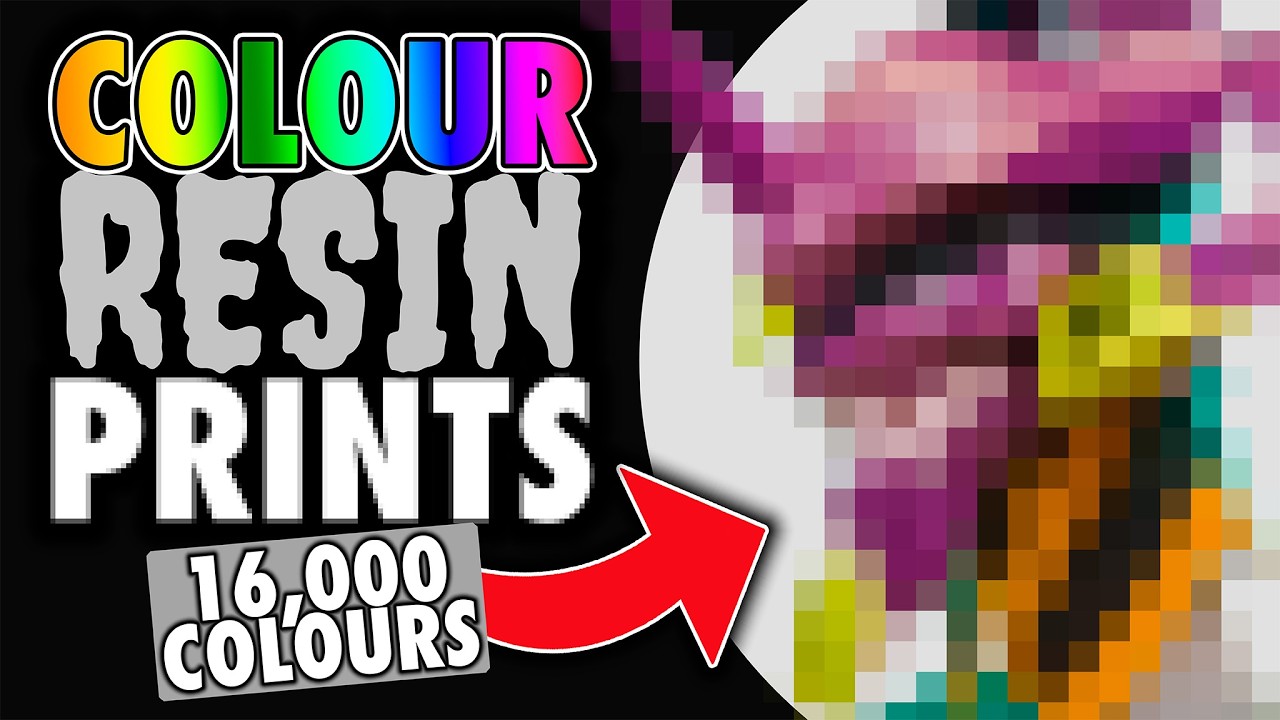
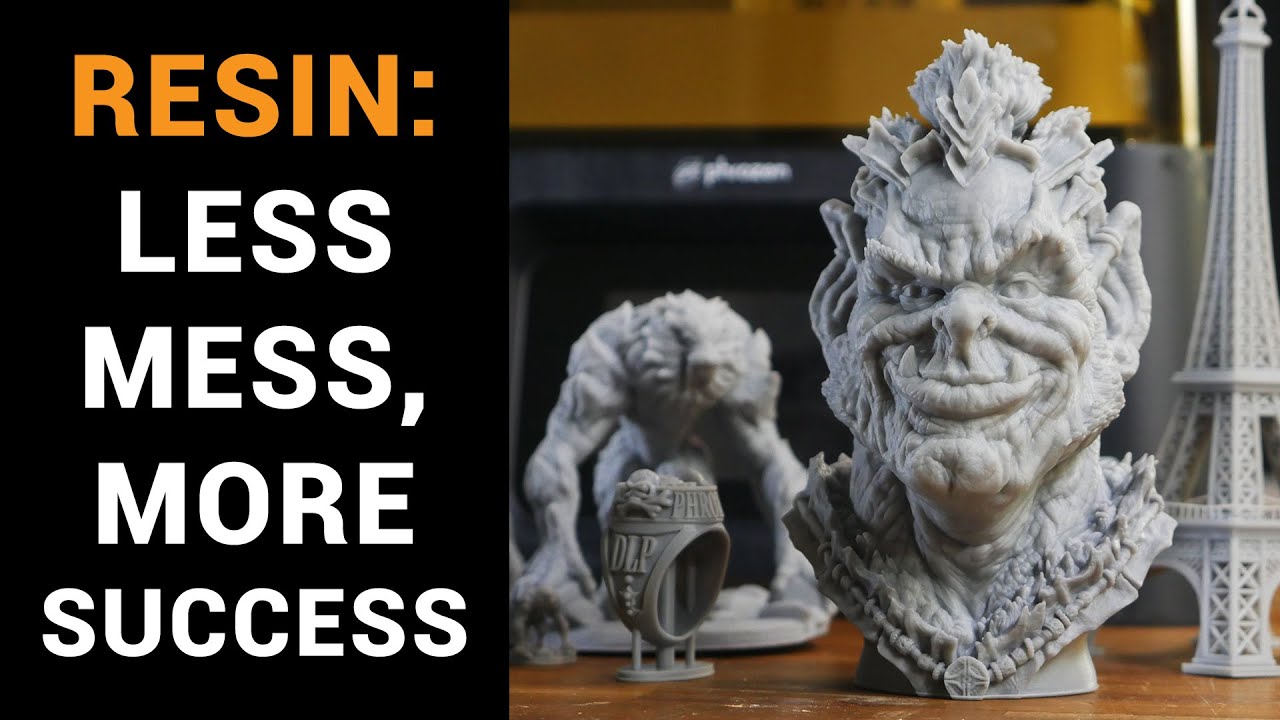
we've done some pretty weird experiments when it comes to adding stuff into resins on this channel before those are mostly about trying to make them stronger or give them specific properties but you know what if you just want to make parts that look better than what you can do with commercially available raisins that is exactly what we're going to try to do today i've got seven different pigments that i'm going to be trying to add into my resins and yeah we're going to find out which one is the best is the prettiest in this case
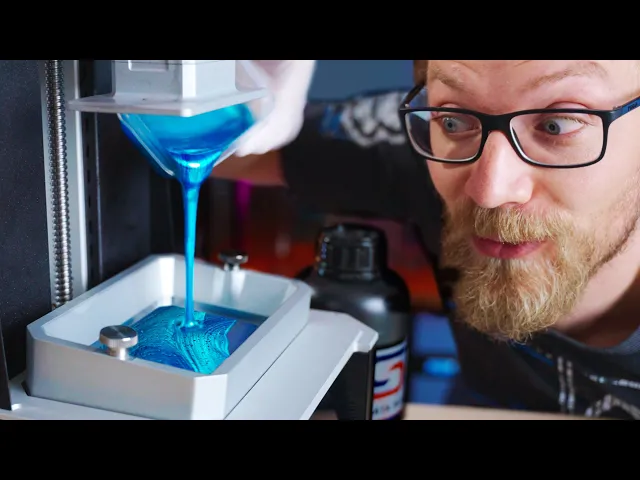
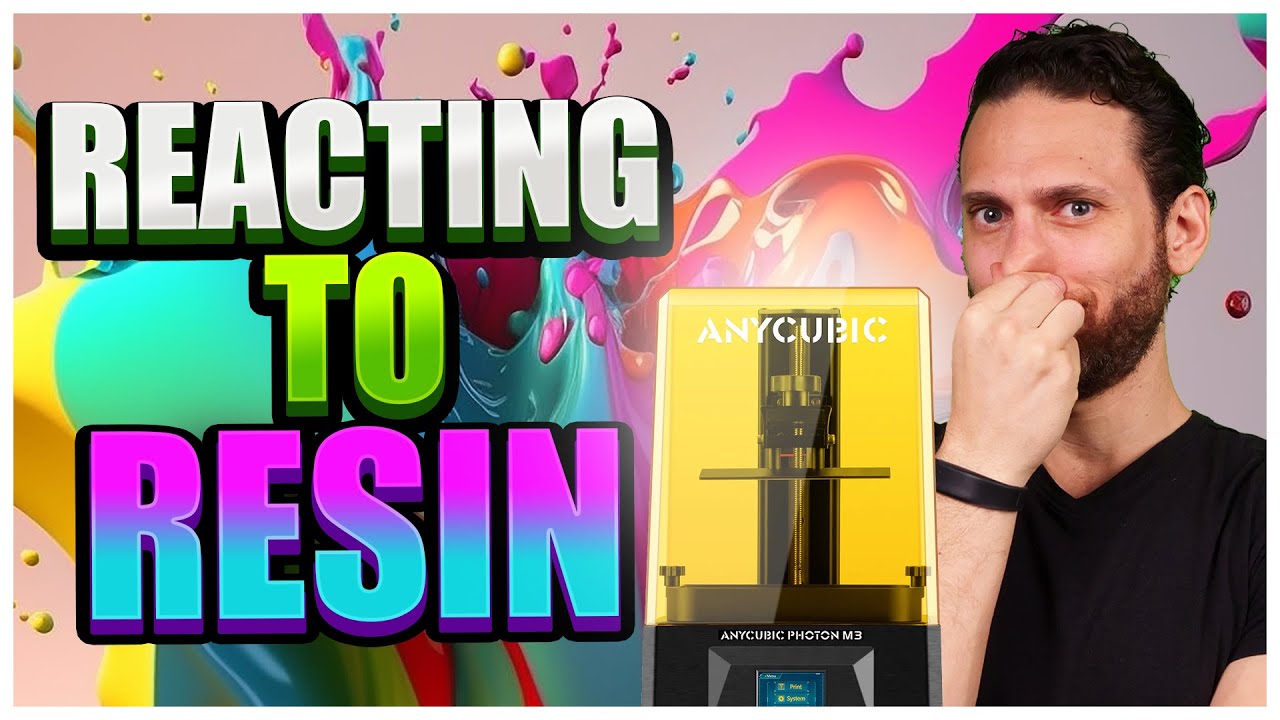
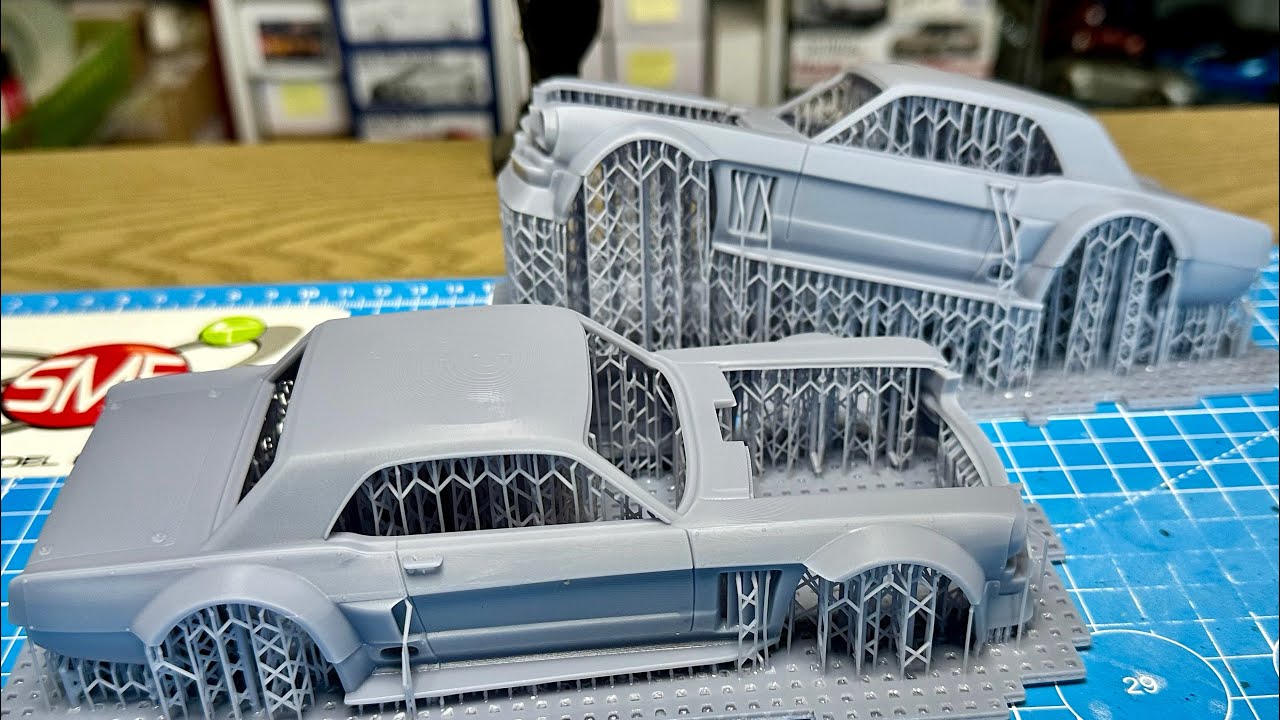
thankfully this video is sponsored by psoriatec and their blue resin i'm going to be using this for all the prints today it's a strong resin that's specifically engineered for lcd printers and i'm hoping that's going to give me a better chance of all these prints coming out cleanly i've got the clay v2 version here but you can also get translucent blue blue which makes sense so yeah check out the ceratec blue resin and there are other resins at the link in the description and yeah thanks zeriotic i'm also going to be using the prusa sl1
for all these prints it's the most expensive resin printer that i own and it's also the one that when stuff goes wrong is the most expensive to fix but it also has one tremendous advantage when it comes to working with pigments that are suspended in resin that's the fact that it has a tilting bed and i'm hoping that because it does that tilting motion at every layer change that's going to agitate the resin and the pigments in it and it's going to keep them stirred in because these are physical particles these will settle out over
time if you just leave the resin as is all of these pigments are essentially super small particles they're all under 100 micron and most of them have their main particle size under 50 micron that means that they will fit in that distance of one layer height which is going to be 50 micron but it also means that these are kind of dangerous to work with a mask is definitely required when you're dealing with these and you're going to see how much dust is getting kicked up just when trying to stir these into resins so yeah
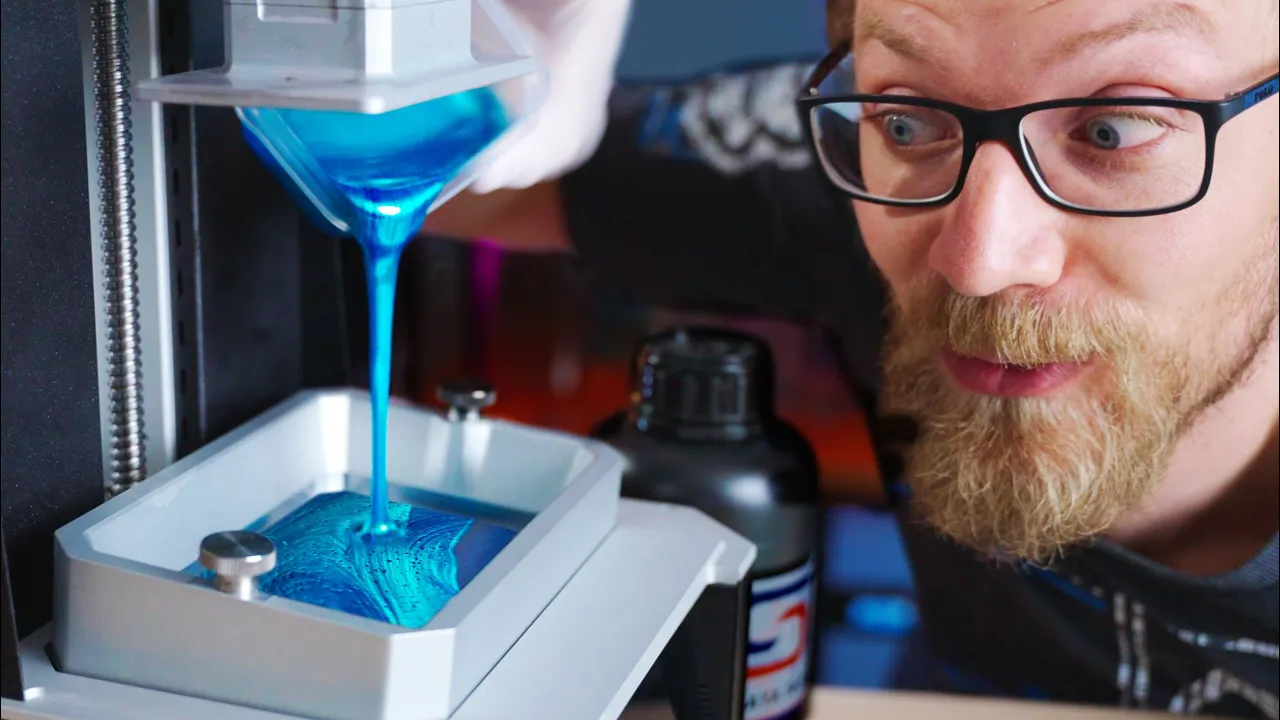
let's get going with the mixing process i'm using the magnetic stirrer again and while these all get mixed up i guess i should explain the difference between a dye and a pigment because you see that the resins that you can buy typically are colored with a die and what a dye does is it's specific to your carrier to your base material and it actually dissolves in that material so you have specific dyes for water oil and solvent based paints if you want to make that but a pigment does not dissolve it is just literally small
particles that get suspended in your base material so there are less material specific if you can manage to stir them in neatly also because there are particles we are not limited to just adding color we can also add effects to it so what we've got here are a bunch of different pigments and effect particles essentially most of these are basically from an artist's supply store and then we've got some that are made for you know car paints essentially so we've got two specifically engineered effect pigments and that's from miraval that's starlit white and magic gold
these are on the brighter side but they have a bit of a metallic sheen to it so they have a mix of different particles some give you that sheen and some just give you that base color and that base effect then we've got this green dynamic glimmer which is mica actually titanium dioxide coated mica and it's got a green base pigment and then it's got those coated mica flakes that give it a gold metallic sheen we're gonna see this amazing effect that you get when you stir it into your resin actually carries over into your
finished prints then we've got these three card paint or nail polish pigments this one's called alien gc47 and it's mostly a rainbow holographic effect that's going to be interesting to see then next up some stuff that is actually just dark glitter we're gonna see how well that comes out in a print and then lastly of course exactly on brand for the channel we've got the bora bora blue this is a metallic blue and i'm hoping this will make for some nice metallic prints and lastly a bit of a wild card we've got stainless steel powder
this is just finely ground stainless steel and we're gonna see if this mixes in and makes for i don't know conductive prints no idea but it should make for a cool effect nonetheless for all these pigments i'm gonna be adding one percent by weight that is sort of the standard mixing ratio except for the stainless steel because this is a much denser material um if you just go by one percent by weight that's actually going to give you a lot less volume so yeah i'm just gonna see what looks good with this alright let's get
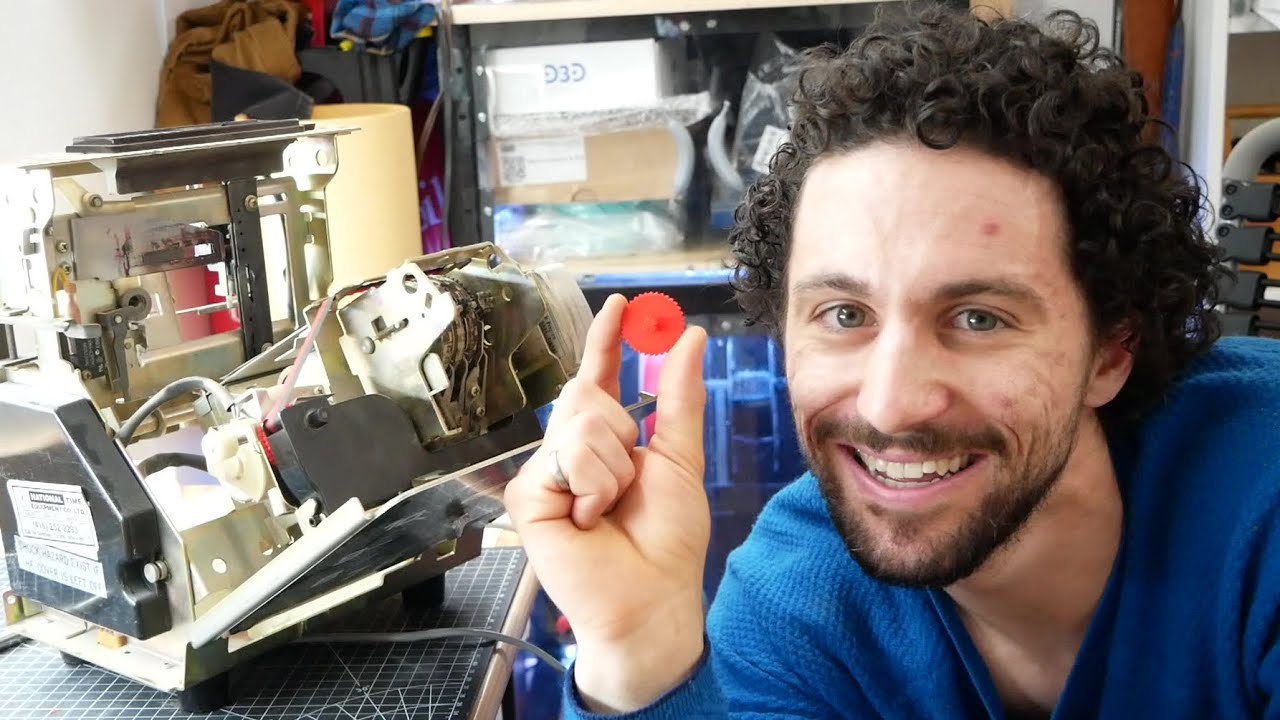
printing so as you can see this iron powder stuff settles out incredibly quickly out of the resin so i'm going to dump it in here i'm going to start the print real quick because i don't want it to form a solid layer on the bottom of the vat that might just wreck the sl1 just like i wrecked the mars 2 pro in the last round of resin experience so one last stir and in we go [Music] so here we are that's all the prints that we've got and i gotta say i am surprised that they
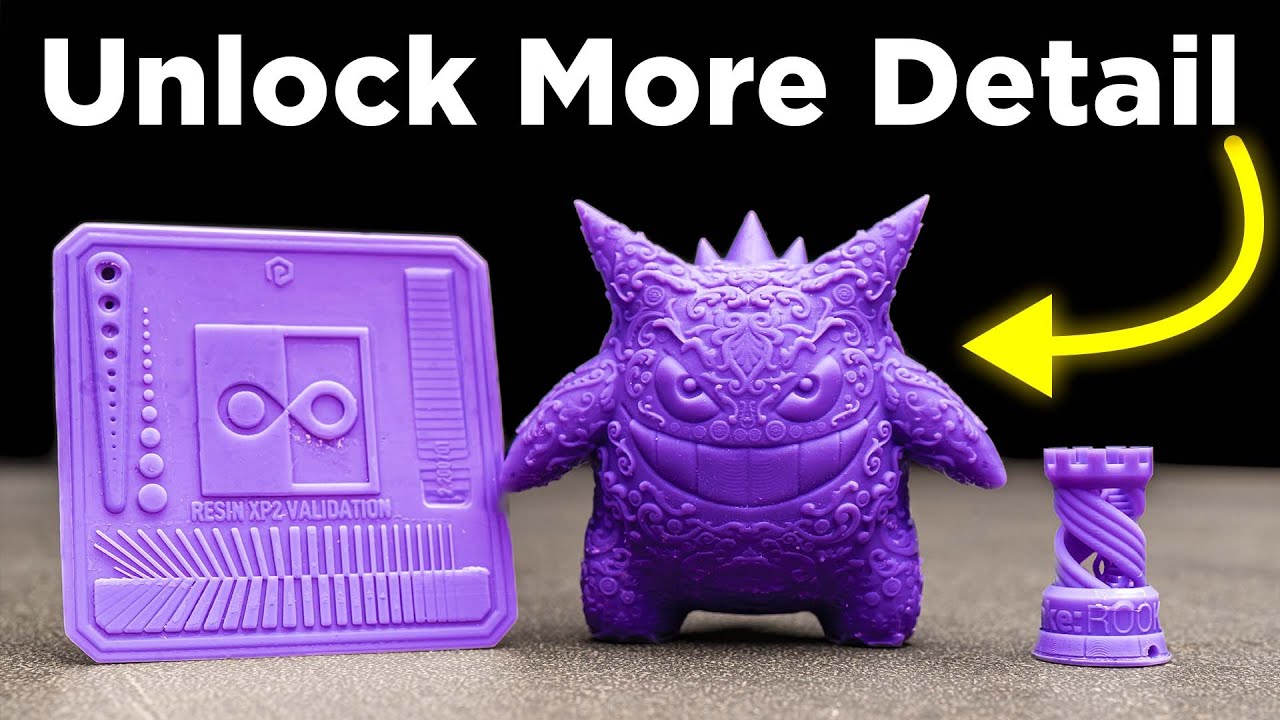
all printed as well as they did like there was literally no issues getting these parts out even with the iron powder which is which we're going to get to in a second but this is really heavily loaded up with iron material but let's start with our reference but let's start with our reference print this is just the regular pseriatec blue in the clear v2 color and this printed obviously perfectly like with the naked eye it's pretty hard to see any layer lines these prints were all printed at 0.05 millimeter overlay height so that's 50 micron
which is the standard setting on the sl1 now next up we've got the three kind of white-ish materials at a glance these look absolutely identical however these are different so the first one that i did is the magic gold and you can see that this yeah this just just looks milky white but as soon as you tilt it and you hold it at the right angle it starts glowing and glistening in this gold not just a gold sparkle but also like a holographic uh gold effect kind of and i do really like this more subtle
tone of all three of these because it's not in your face and you can totally use these colors uh just to add a little bit of pop to parts that don't need to be like super over the top and super colorful so yeah this one has that that shimmer to it that looks kind of bluish cold from one angle and then you get this gold shimmer from the other angle and it also does have a sparkle and that's that's really nice and subtle now on the other hand the starlit white kind of doesn't have that
it has some snow like glitter to it but it doesn't have any color to it so really it just has a bit of sparkle to it and it does have that bit of holographic uh diffraction look to it this is the most subtle out of all the pigments that we added next up less subtle is the alien and you look at it at first glance it's just a milky white but you keep looking at it and it's got this sparkle to it and there's a flip-flop that goes from like a teal to a orange almost
and it's it's it's a really nice effect so all three of these really nice really kind of subtle more toned down effects and i think you could reasonably do you know all your sla printing with these uh instead of doing a a white or a clear these are just these are nice so next up the topaz peridol color shift micro flake this is a yeah this is the most glittery out of all and it does have that one angle yeah you can see it right there where it glows green but overall it just looks like
a smoky black that has a bit of glitter to it but if you look at it at just the right angle it's got that crazy green shimmer to it that has almost like a blue sub tone to it and except for the starlet white this is the only one where you can still see the individual pigments and individual flakes doing their thing the other ones are just more of a homogeneous material here you can really see the individual like glitter flakes and if you like that effect that's really cool i don't know i'm not a
huge fan of this overall look though it's just a bit it's a bit boring much less boring though are these two fully colored ones so this is the what is this called glimmer green dynamic so this is a mica that's been coated with titanium dioxide and then a green pigment added to it and you know you can see it is a it is a base color in green so the part is green but it shimmers in a gold it's got that really intense gold shimmer to it at just the right angle there's also a bit
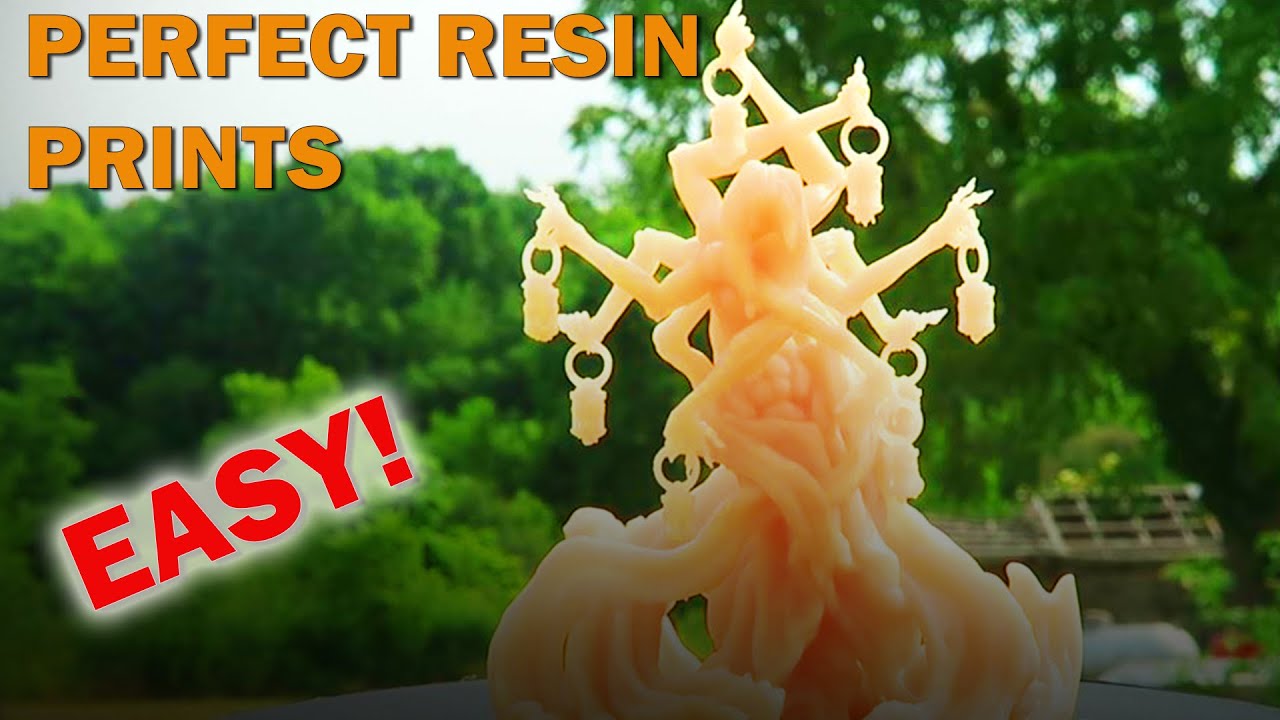
of glitter but that might just be from washing it in the same ipa as all these other ones that may have given off some some of the glitter particles but yeah this is really cool and then of course my favorite the bora bora blue this is exactly the channel color and it's also got that nice glow and a nice glistening effect to it it almost looks like it's kind of a velvet material if you look at it under the right light of course it's also got some sparkle i think that is actually from the pigment
itself and yeah fully colored um opaque i really do like this because it's it's not just a plain blue it's also got that little bit of an extra pop to it and yeah i'm a huge fan of this stuff so with all these materials so far it always looks like this flip-flop color shift effect is always aligned to the layers so the actual particles that do that even though they are smaller than what you can see with your naked eye they somehow still get aligned to the layers i'm thinking it's just the bed squishing them
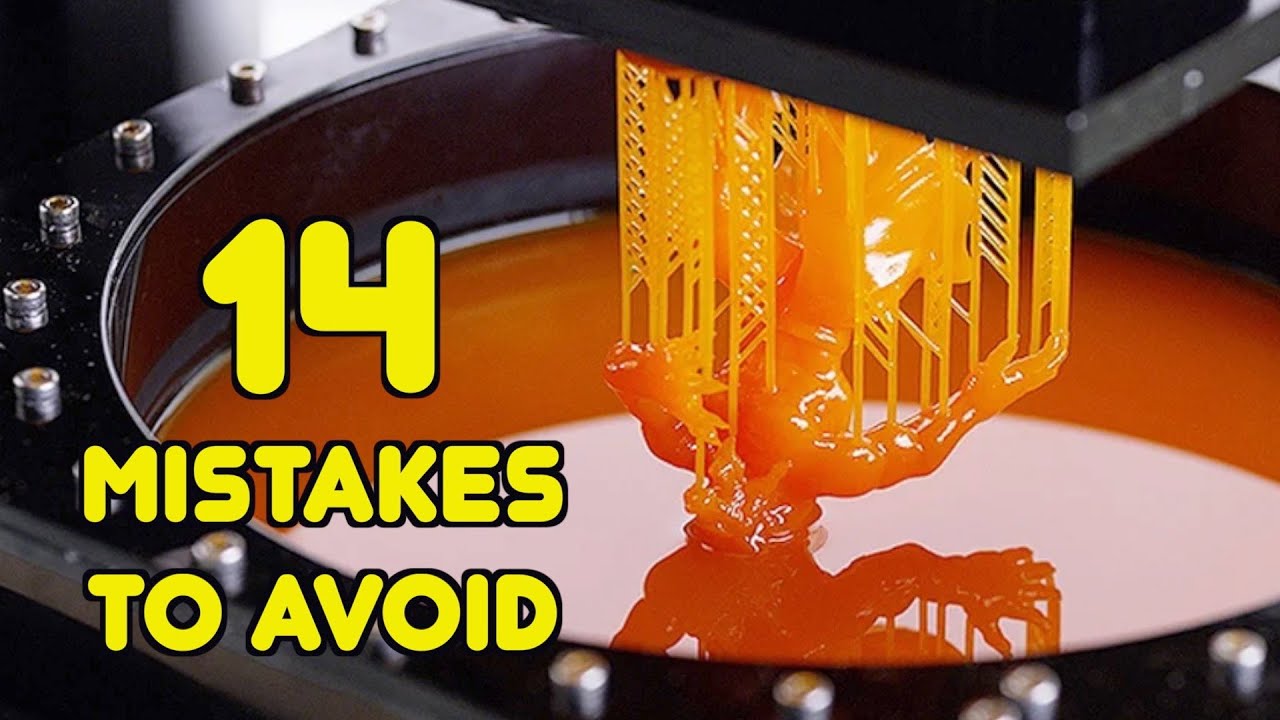
down so i did try another print that was done at 100 micron instead of 50 with the bora bora blue but you can see that in here that did not finish but what i think happened is that the particles in this borobudur blue were just blocking out way too much light and yeah the print obviously failed because the layers didn't cure thoroughly enough and lastly we've got the iron powder and with this one you can really see how uh the iron powder was settling down so at the bottom it is almost black it's well it's
very gray and at the top it's just a smoke gray that's left of all the powders so this one you know as we already saw when stirring it in this one settled down a lot it's still a nice effect because it's not even like there are some blobs on one side where there's more iron powder in the layers and there's areas where there's almost none left to be honest i'm not sure how practical this is because it just settles out so quickly there is one thing that i do want to try and that is to
see whether this did somehow become conductive because we didn't have much luck with that with the graphite powder that we added last time so if i just stick this in in resistance testing and hopefully don't poke my fingers so yeah there is nothing um as expected uh even scraping away the top layer to expose some more of the uh of the iron powder this is not conductive and to be honest that's pretty much what i expected so yeah cool experiment it does print but i don't think this is practical at all but these prints that
have pigments that are either so small that they just float in the resin and that they don't settle out or are similar in density to the resin itself these just turned out so much better so of course like i said my favorite is the bora bora blue because it just matches the channel aesthetic uh also the alien is really interesting because it has a it really has that alien look to it and i mean the starlet white is just a nice subtle effect so these three are my favorites that i will actually consider using again
if i just want to have a pretty resin print i don't think these should impact strength all that much i'm keeping all the pre-mixed resins in these sealed containers so that i can shake them up and use them again anytime i want to and don't have to go back to mixing them from scratch it's not a lot it's it's 70 milliliters roughly left but it should be enough for one or two nice prints so let me know in the comments below what your favorite print is out of these again i'm just really surprised by how
well these all printed without any second takes without any second tries these printed beautifully and i think this is actually practical if you want to make your own resin and if you want to try different colors or different effects to it this is 100 viable to do yourself so yeah again let me know which one of these you like the most i still do have some other pigments that i can mix into resins that are a bit less sparkly and a bit more practical but still special let me know if you want to see that
or if i should go back to making more filament printer content as some have suggested under my last resin videos let me know anyways thank you all for watching thanks to soraytic for sponsoring this video and yeah whether you want to see more resin experiments or more filament printer stuff get subscribed for sure if you want to support the channel you can do so through youtube memberships or on patreon and yeah keep on making i will see you in the next one bye