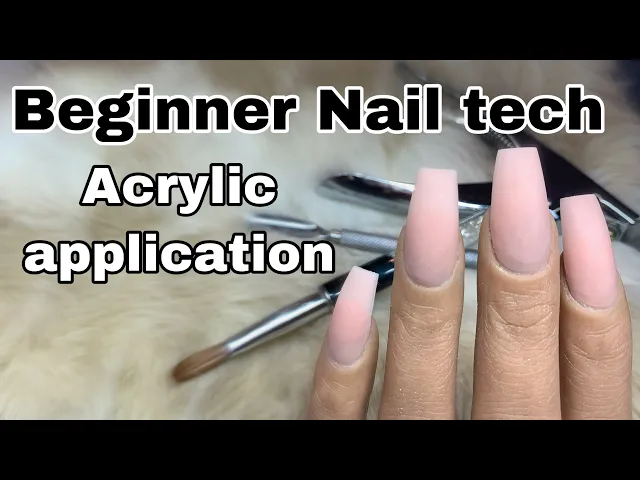
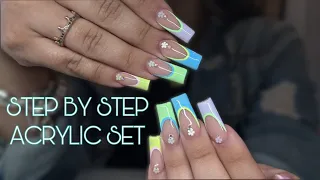
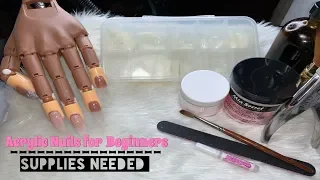
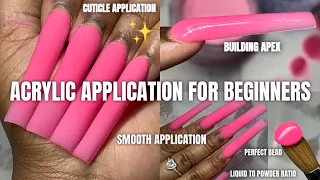
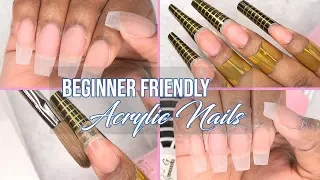
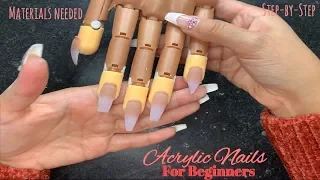
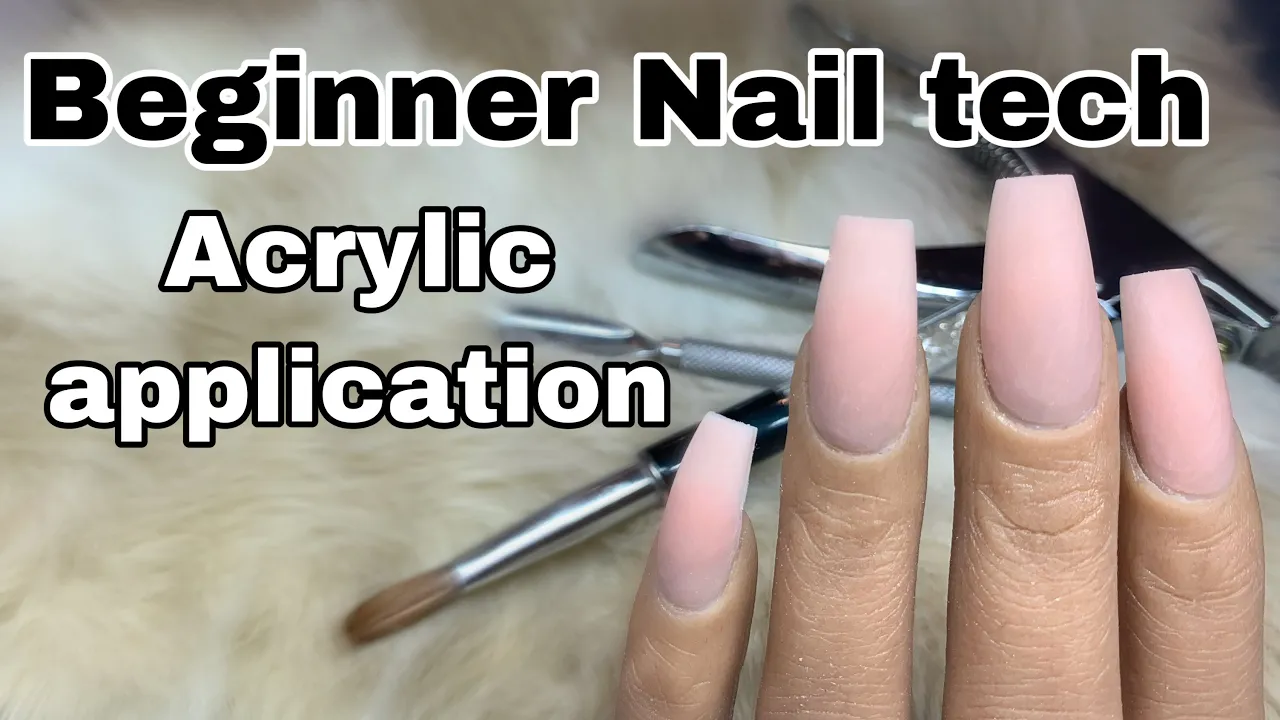
hello buzz welcome back to my channel if you are new welcome finally bringing you the first video to the new series on my channel it is going to be the beginner nail tech tutorials I'm gonna be showing you in this video how to print how to apply acrylic and a little bit of shaping I am gonna be more in depth with my next videos that I'm coming out with I'm gonna be doing one solely on prepping one on shaping application powder to liquid ratio and of course everything LR as I'm obsessed with the nail art
side of the nail industry do not forget to comment whatever you guys have questions about and if you guys have any more requests for me to do that being said stay tuned for more thank you guys for the love and support now let's get right into the video [Music] the first step in to achieving the perfect acrylic nail application is your prep we are taking our cuticle pusher our efile and our sanding bands now I'm using my cuticle pusher to push back that cuticle we want to do this very very gently as you can harm
your client if you push back too much you're basically jamming back the skin and if you do it really rough it will hurt them so please be careful now the other side is used as a scraping tool you are able to remove any excess skin taking our efile this is a coarse bit if you are new to using a knee file I do recommend you get a medium grit or a fine grit so you ensure that you don't hurt yourself or anybody so I was a little out of focus on this area but you will
be able to see it more in depth on the other nails I ended up noticing that I was out of focus so I'm sorry about that but you basically want to remove the shine off of the natural nail focus a ton on that cuticle area so that's going to be the most important part of your nail prep I believe a good no prep ensures long lasting nails so make sure you're removing all the dead skin cells specifically from that cuticle area and then just buff off the rest of the shine off of the rest of
the knowbut house this will ensure no lifting [Music] I am showing you here how I rest my pinky on my hand to ensure that I am more in control of my FL it's so important to have full control and mobility of your efile when you're filing as you will not be resting the entire weight of your hand on to that and you want to do it with light pressure next I'm using young nail swipe this is a nail cleanser and a lint free wipe this is what I started implementing in my prep I used to
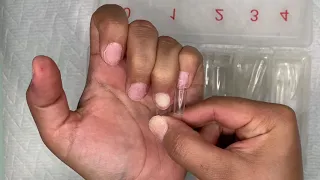
only dust off and ever since I discovered this I've been using it this helps cleanse the nail bed from any excess oils that you may have and any excess dust or debris these are my go-to natural nail tips these I recommend you start off with so you can get your shaping down perfect they are the natural look so they do sit more curved whenever I'm doing longer nails I do like to use the straight ones better so next we are going to be applying our nail tips and I'm basically just measuring out the tips onto
the nail bed from side to side you want to ensure that you have the correct size if they are too big they will crack and they will lift and if they're too small they can hurt your client in the sense of it will pinch their natural nail bed and you do want them to last long and you absolutely don't want to hurt your client [Music] I am doing this using my young Nell's brush-on glue and we are going to be applying those tips now I like to double check to make sure that the tips are
sized good always always always double check your work just to ensure no complaints from your client it's really important to keep our clients happy so I'm going ahead and applying that and this glue does dry pretty fast so I do recommend you know exactly where you're gonna place it or you will have to remove it and start all over and nobody wants to work twice as much [Music] and I like to keep holding my clients hand while I'm doing this it can be a pain in the butt to try to do both things at the
same time but I feel like if I let go over there hand it's more likely that they're going to go digging into something or you know break a nail because they're trying to do something while you're not holding their hand so I like to hold their hand hostage until I am done there are many clients that will take their hand away and reach into their purse and break a nail or scratch their hair and you do not want any oils from anywhere to get transferred onto that note plate since you are in the process of
prepping you got to make sure your client keeps their hands on the table at all times [Music] [Applause] [Music] [Applause] [Music] [Applause] I'm going in with my tip cutters I can also do this with scissors as you can see me struggling to see how I can angle of a hand to cut and still stay into frame I had to end up moving it so I'm basically going to be doing a short set of nails for the purpose of this video just to kind of go through it quicker and I do want you guys to focus
more on the application than any other crazy designs so once you get better at it you will be able to eyeball the same length on every single nail so don't stress that check your work what I like to do is look at the nail tip that I cut previous and then kind of eyeball on the next one and she fell so I also like to hold the nail tip while I'm cutting it so it doesn't go flying everywhere another way that I check to make sure that I'm getting the same length is I will put
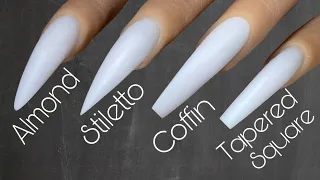
the fingers next to each other and you'll see me do that here in this step so taking my handy-dandy little scissors I like to cut off some of that nail tips so I don't have to do as much filing for this tutorial I am doing a tapered square so I'm basically cutting off just a tad bit of that so it creates easier an easier process for me and I don't have to overly file as you can see I'm kind of comparing I notice that the middle finger is longer so I like to put them right
next to each other to see how much I need a cut or if they are the same length and I'm doing it again on this one now I'm taking my peel-and-stick file from Tammy Taylor I am obsessed with these I've talked about them before you have a it's like a plastic handle and then you just remove the file part of it so it has like a sticky layer to it and you can exchange it out with that same plastic handle so it's really nice it's nice and stiff and that's what you want to achieve a
good shape I'm basically showing you now how I do my tapered square so you want to make sure that your file is fully straight whenever you're trying to get a straight edge that's so important I am holding my finger with light pressure but also ensuring that it's not gonna wiggle everywhere if you are not if you don't have a good grip on that nail it's gonna move everywhere and it's gonna distortion your shape and what you want is to it to be really really nice and straight so I'm taking my file and just going up
and down I like to alternate from side to side to ensure the sides being even if I stay on one side for too long I can apply too much pressure and I will over file one side so I like to eyeball it and kind of go back and forth to make sure that it is all even and when I done with that I like to do the end of the nail and make sure it's nice and straight I check my work over and over again throughout the entire process I think this is super important because
if you miss one little thing you'll be able to find that flaw and fix it [Music] now I will be doing a more in-depth video on shaping and I will be doing all the different shapes but like I said I wanted to focus more on the acrylic application and the prepping of the nail bed so I'm sorry if I'm not going to in-depth with shaping [Music] like I said I'm gonna be doing a little series for beginners and I'm gonna try to break everything down comment down below any recommendations of videos you guys want me
to make I love reading your guys's comments and even if I might not comment back it's so hard as I do get so many messages and comments but I do love seeing them so don't stop and continue to comment down below any thoughts or requests you guys may have [Music] all right now that it looks good I am going to be taking my e-file once again and with the same signing ban I like to blend the natural no bear to the tip so essentially you're going to shave down the layer of the tip to blend
it into the nail bed I do this to ensure that the acrylic goes on flawlessly and there is no Ridge to where you have to make up more acrylic for that little Ridge I just would rather it be perfect from the get-go so I do recommend this if you guys are starting out to do nails now I am cleansing once again that no bed with the same little lint-free wipe and swipe I'm using a size 10 brush from Koopa and I'm using my young nails cover pink for this set I opted to do this set
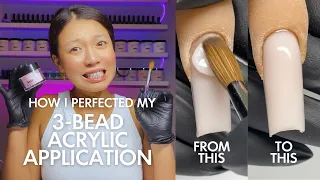
with a light color versus clear so you can really see what I'm applying it I absolutely freak out when I'm using crystal clear acrylic because it really is hard to see where you're placing the bead and where you're placing the product so I do recommend you guys start out with a light nude color or something more along the lines of like a natural pink so you guys can see what you guys are doing now I'm gonna be showing you a few different ways that I do it this is the three ball method and I am
placing the first bead in the middle section the second bead at the tip this helps when you're forming that apex so make sure that you are applying it evenly there are an endless amount of ways that you can apply acrylic and still get an amazing result so just because they teach you one way at school don't think that's the way it needs to be done if you find an easier way to do it by all means go for it so now I'm taking my last bead on placing it on the cuticle area and as you
can see I'm placing it a little far they're out from the actual cuticle and then pushing the product up and then just dragging it back down I find this the easiest when you're doing that bead because it is really hard to get in that area and you don't want it to overflow into the cuticle and cause any lifting so I just zoom in a little bit so you guys can see more of what I'm talking about I sometimes start at the cuticle area and work my way down so like I said mess with your options
find what works best for you and then just do what you feel is right I basically started backwards so the cuticle beat first the middle section second and then I do the last one at the tip [Music] and as you can see that I am tapping my nail brush constantly on my paper towel this helps remove any excess liquid that is stuck in your brush you will feel the liquid going towards the tip so by wiping it consistently on the napkin it prevents the acrylic that you're laying to get over flowed with liquid and then
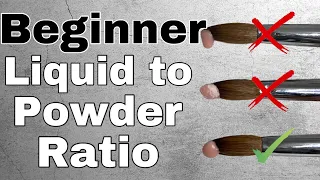
it'll cause it to run everywhere so this definitely helps me when I'm applying my acrylic always always remember to practice your beads it always depends on what liquid you're using and what acrylic you're using on the ratio that you are going to need so the liquid to powder ratio definitely has to be like on spa for it to work perfectly fine so make sure you guys are practicing that once you get better at it it'll be obviously a lot easier the more practice you you do the better you're gonna get so remember remember practice practice
practice so for this one I opted with a like a two ball method so I did one large bead from the middle down to the tip of the nail and then I'm going in with that cuticle bead there's so many different options you can do three ball one ball four ball five six seven whatever you want just mess around with your options like I've mentioned before and make sure you are doing what works best for you and not what other people are telling you to do I went to school and they basically pushed the three
ball method on to us like no other and I will say with a lot of the nails that I do one ball is easiest for me especially when working with colored acrylics so do every single type of option that you have and then figure out which one is your favorite or what works best for you as you can see I'm placing the cuticle bead very close to the cuticle without touching it and then pushing it back I think this is so important to do it so gently and keep wiping that brush and you'll be able
to push it back perfectly without it overflowing you do want to make sure it's not getting into any of the skin or any of the cuticle area so it doesn't create any lifting so there are a different few acrylics that I highly highly recommend so for the consistency that is like butter balm as hell I am going to say that young nails is really really good especially if you're a beginner they have little kits that you can try their stuff out before you commit their cover acrylics are so easy to work with and they make
really good um nudes for ombre so I highly recommend them I go to is cover pink cover rosebud and cover earth those are my three favorite ones from young nails highly recommend those the other ones are going to be not polish this is my go-to as well I use their nude panther that color is so freakin pretty and the consistency is perfect so I highly recommend you guys get really good acrylic brands and it'll make your acrylic process so much easier like I said once you get it down everything's gonna be so much easier I
know a lot of you guys say I make it look so easy and it's because I've put so much time into practicing and perfecting what I do and even then I feel like I still have so many flaws and so many things to learn so never quit learning and always always always work hard at what you want to achieve so tapping the acrylic also helps you put it into place without moving it too much I've noticed that this helps me a lot as well a lot of people have difficulty whenever they're dragging down the acrylic
they'll just smear it all off so if you need another alternative to not dragging it down I would definitely say just tap it into place it works wonders now I'm doing the cuticle bead I did get a smaller bead just to show you guys how it works when you do smaller beads now because it was a smaller bead there's less acrylic which means I have to go in with a second bead and reinforce that area so it is definitely easier to fix errors whenever you have less product however it is more time-consuming so make sure
you are getting the right amount of product and like I said with time it will come naturally so I am letting the nails sit for a second so they dry you can check on the dryness of it by tapping the nail once it does a little clicking noise you're good if it does not it's still wet so I checked one more time and it's definitely dry now I'm gonna be going in with my e-file I do use the e-file from young nails with my safety carbide bit this bit you can literally file onto your skin
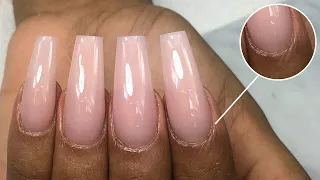
and it will not hurt [Music] [Music] if you have too big of a lump in the cuticle area and it's sticking out a little too much that will create lifting as well so you want it to be as thin as possible but not too thin because if it's too thin it will also create lifting very fast so that's definitely one of the most important things when you are creating a set of nails you want to make sure your prep is down right and you apply the acrylic flush to the natural nail to where it's not
going to create lifting another thing that you want to focus on is that middle section of the nail which is called a stress area and the apex so if it is a little too thin it will crack very easily so you want to make sure that you build up the acrylic not too thin and not too thin and not too thick so obviously all preference some clients want them super freakin thick and some don't want them thick at all but as long as you have that middle section built up just right and you have a
little bit of a hump it does create a more thick area and it will not crack as easily [Music] all right so once we are done I'm just dusting off some of that dust and then I'm going in with my pillow and stick file once again and this is going to be the final shaping step so it's super important to be so aware of everything on the nail any little flaws that you may see this is the time to go ahead and perfect that so be paying attention to every single detail of the nail to
ensure a perfect set of nails so I'm going side to side and then I'm gonna do the top of it towards the end so as you can see I am applying pressure on the opposite side that I'm filing on you want to do this so the nail doesn't wiggle all over the place if it's constantly moving while you're filing your shape is going to be Distortion so you want to make sure that you're applying pressure on the other side so it doesn't move all over the place another thing that I think is super important is
having that stiff file so the file isn't the one creating the distortion shape so it goes both ways in my preference I like the harder files versus the ones that are like really flimsy and disposable so like I said make sure you apply pressure to the opposite side to ensure a perfect shape now I turn the hand around this helps me see the perspective of the client and I do this on all my clients and I'm placing my finger on the back of that nail so it does not move all over the place same so
one finger is at the back of the nail and then the other finger is in the front this helps the nail stay in place while you're filing if I would not apply pressure to that you would be able to see that the nail moves with the file and you're not gonna get a good shape that way so make sure you're applying really firm pressure onto holding that finger hold the file straight and then move it back and forth sometimes depending on the length of the nails I like to just do one motion instead of back
and forth I'll just do like forward or backwards so as you can see that's basically what I'm doing here I ended up turning my faul around because I was gonna smack my camera this is definitely this step where you perfect it [Music] what I like to do a lot is ask my client if they see anything that needs to be fixed because sometimes you won't see it but they will I'm just taking my sponge buffer this does have a finer side I think the purple is the more coarse one and I'm just going ahead and
buffing that surface to ensure the smoothness I typically don't do this on all my clients unless I'm doing a gel polish application which I rarely do so if you are working with polish or gel polish a lot highly recommend you do this step do not skip it or it will not be a smooth application and once you are done buffing the surface of the now you either cleanse it with your swipe once again or have the client wash their hands I prefer to just cleanse because it saves time with them walking back and forth but
this basically concludes this video I hope you guys enjoyed it I hope this helped please do not forget to comment down below any other questions that you have don't forget to Like share comment and subscribe to my channel I truly truly appreciate every single one of you guys like I said there's gonna be more videos to come on this series of beginner nail techs some stay tuned for that and thank you guys so much I will catch you guys next time [Music]