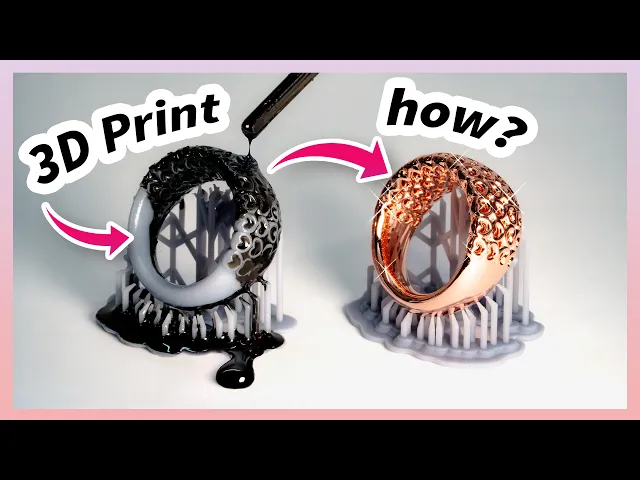
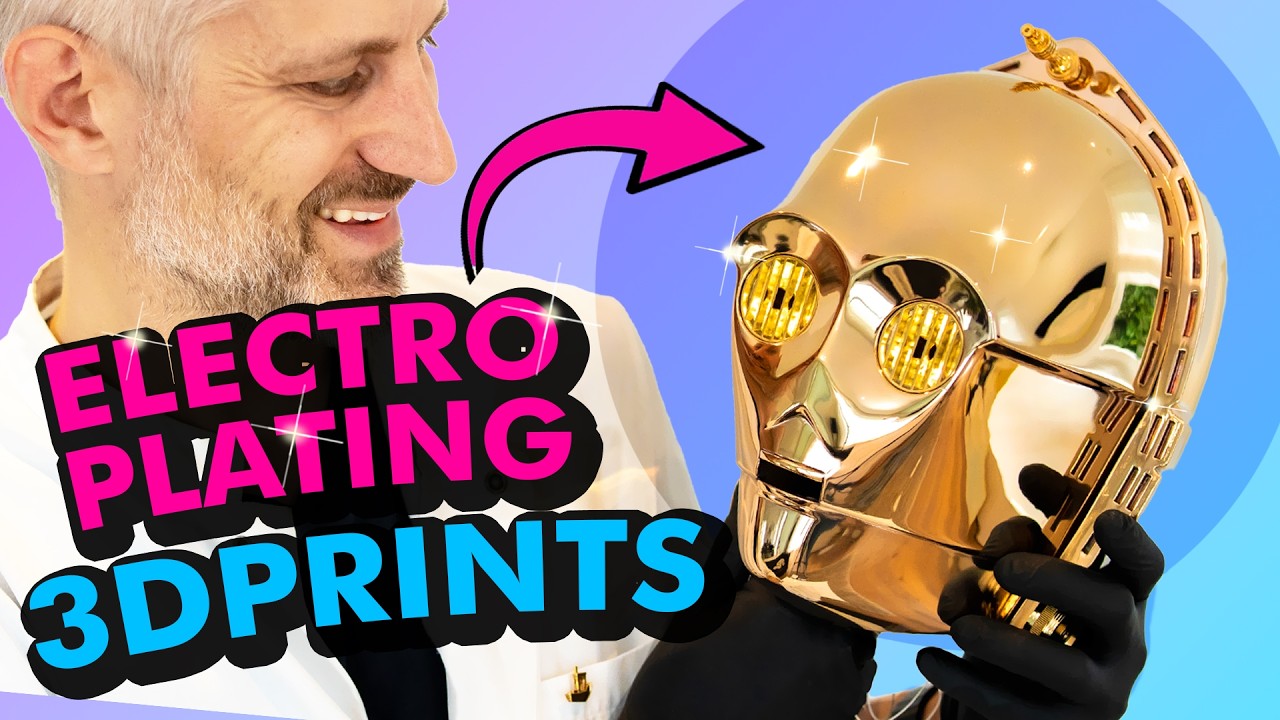
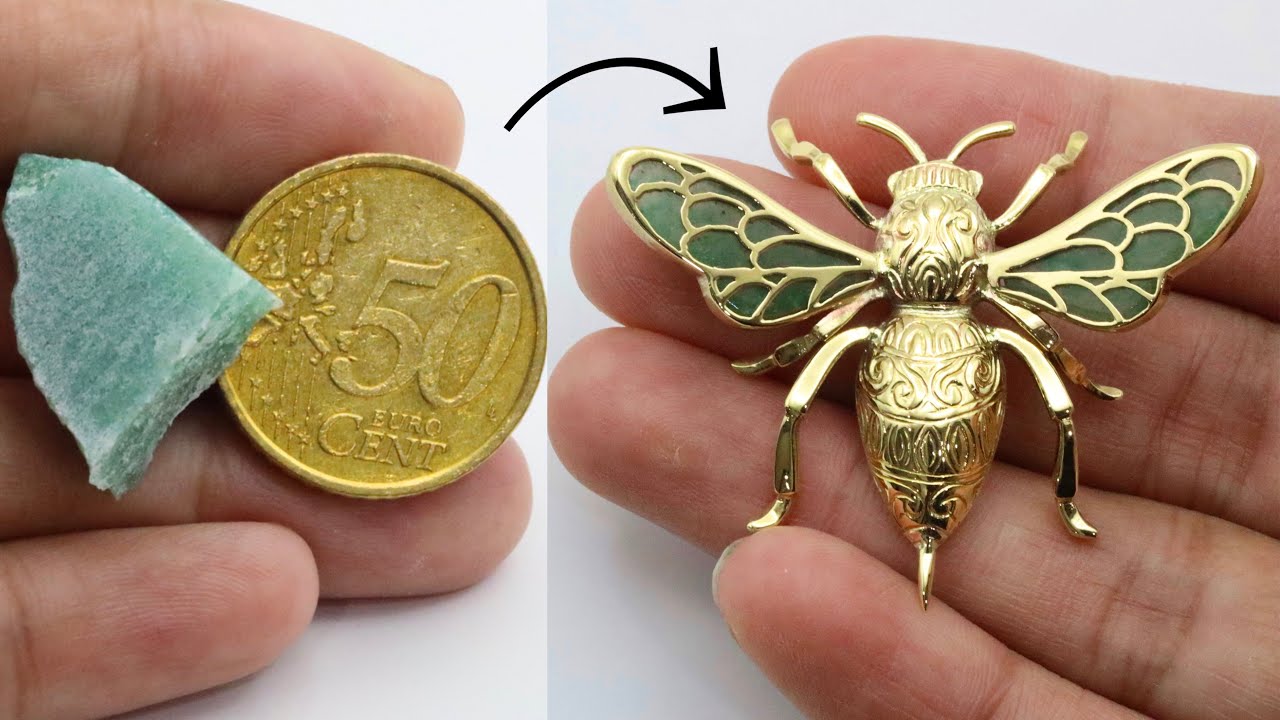
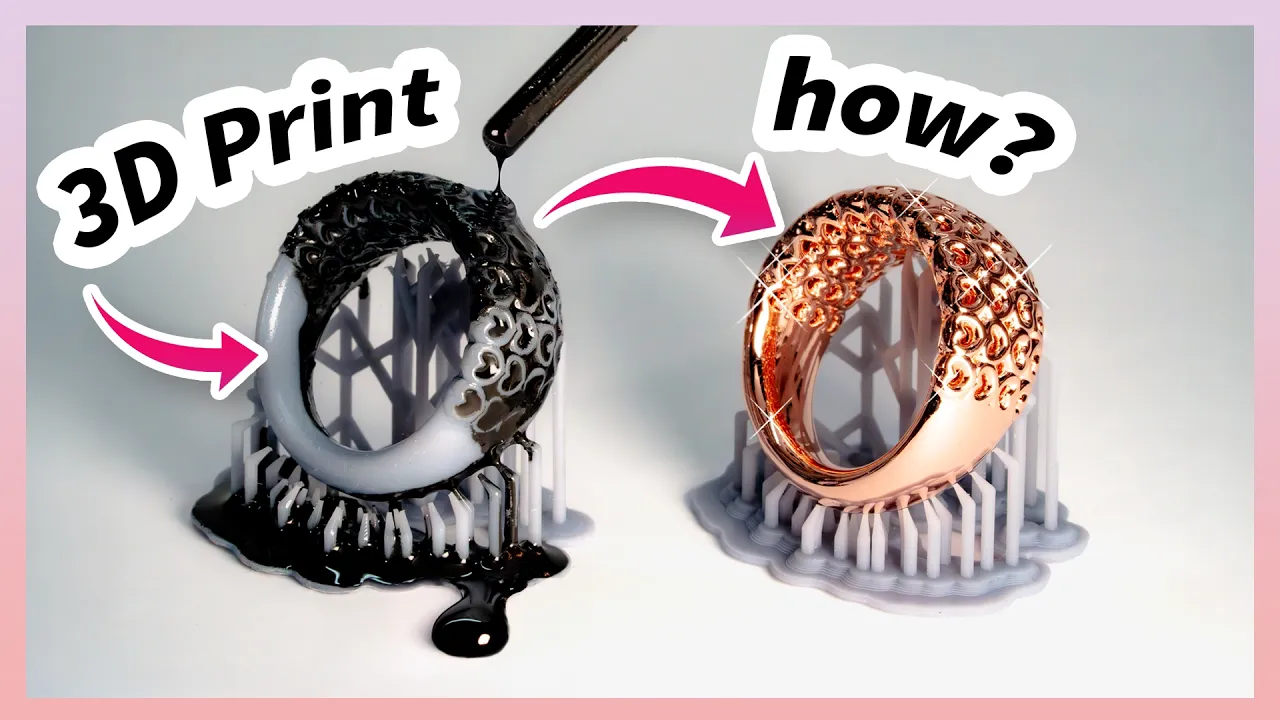
in this video I'll show you how I use electroplating to apply a thick layer of copper silver or gold to 3D printed jewelry this process gives the 3D prints metallic properties making them indistinguishable from real jewelry on the outside whether resin or fdm copper or graphite conductive paint hand polishing or simple Tumblr polishing I'll show you how it's done and what you need in this detailed video yeah let's get started [Music] I'm aware that this is a controversial topic many will argue that it's essentially just plastic or that you could just cast to pieces using
the Lost wax technique my Approach here is to try something new and combine modern technology with the ancient technique of Electro plating I Delia choose both fdm and resin prints because essentially it works perfectly fine with both resin is quite suitable for jewelry if you want extremely fine details in your 3D prints once you've been doing this for a while you develop a pretty good workflow for it for everything shown in this video I use protective gear it's important for me to emphasize this every time no hobby is worth ring your health so put on
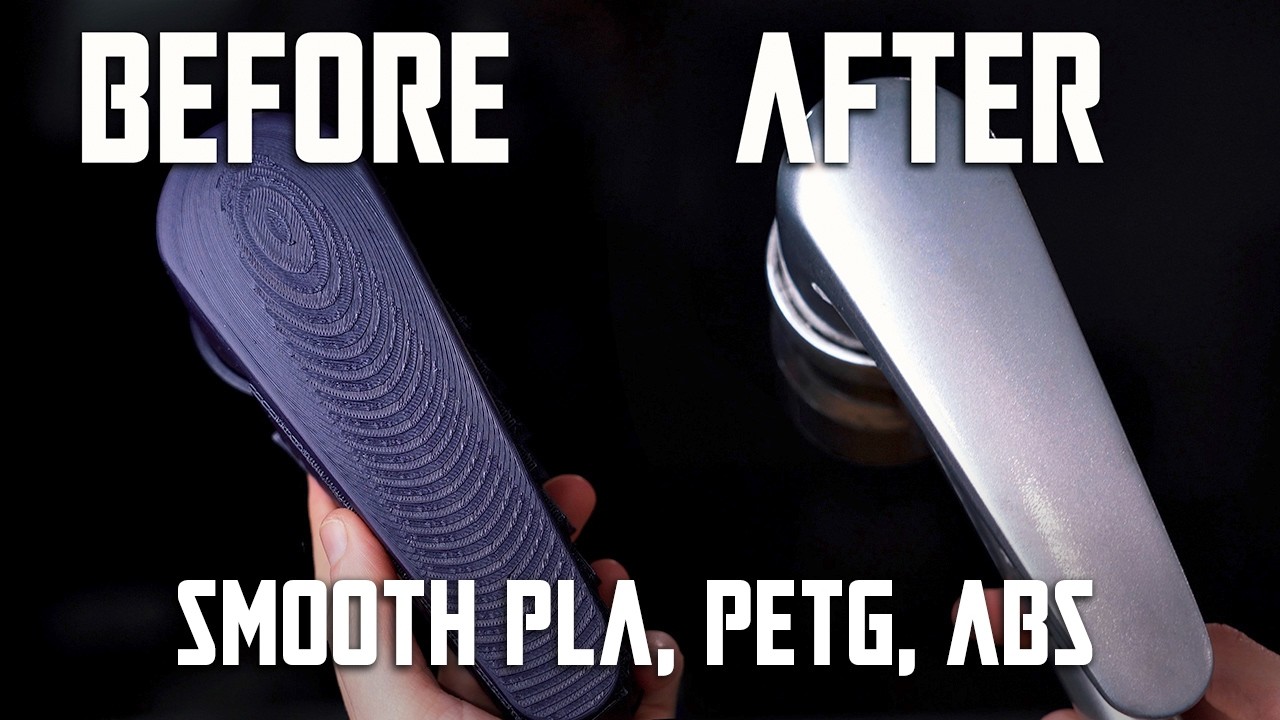
a respirator goggles and gloves stay safe aligo sent me their new wash cure combo which I'm using to cure the resin prints the setup with mirrors is pretty clever since I don't have to keep flipping the prints around so I've ended up with quite a lot of prints here and yes they are all printed at the highest possible resolution with antialiasing and image blur but you still can't avoid postprocessing the parts I bought myself a small handheld sander which allows me to work on fdm and resin 3D prints quite effectively however it still takes a
long time once you're confident after hours of sanding that the pieces can't get any smoother or more even it's time to make them conductive this is a prerequisite and we have several options for achieving it if you can get your hands on it conductive copper paint is a great choice it can be thinned and applied with an airbrush the second option is DIY graphite paint which is also arable when thinned lastly there's the ready to use graphite copper spray all three methods work fantastically when used correctly each with its own pros and cons before I
explain how I make my own graphite paint let's first test the graphite spray just spray it on and let it [Music] dry a common mistake when using these graphite sprays and paints is forgetting to polish them sure they look beautifully black but the conductivity is too low polishing can significantly improve this I use the microfiber cloth for the job a quick test yes it works very well now onto the remaining pieces in the end I coated all the jewry prints once with copper conductive paint and once with graphite I wanted to see if I could
notice any difference at the end okay my recipe for DIY graphite paint is as follows take three parts graphite powder 20 parts aceton and one part superglue mix airbrush polish measure 600 ohms [Music] yay so this is a commercial acidic copper electrolyte which I used to copper plate my conductive prints attentive viewers recommended ating the electr plating bass well to increase the deposition rate so I built a steering station uh stero keeps the solution moving and improves the deposition rate whoops way too fast the cool thing about graphite paint is that unlike copper conductive paint
it's quite durable now I can attach copper wise to the objects and secure them to my rotary jig The Jig ensures an even coating because I'm using only one anode here I typically use 5 amps laboratory power supply that can deliver constant current I connect connect the positive terminal of the power supply to the anode which hangs in the bath the anode regenerates the bath and dissolves over time so I catch the residues with a coffee filter I've been using this bath for years and regular maintenance really pays [Music] off I connect my rotary jig
to the negative terminal and immerse it in the electrolyte then I set the power supply to con in current mode and coat at 1 amp per square decim for 4 hours a shiny copper layer forms relatively quickly you can check it occasionally and if everything looks good you continue afterward I rinse it with distilled water I repeat this process for all the remaining [Music] pieces larger prints works well very well larger prints works very well [Music] too in the end you get shiny 3D prints coated with 0.2 mm of copper that's relatively thick there's no
noticeable difference between the graphite and copper conductive [Music] paint if we take a closer look we'll notice that while these pieces are shiny they still need to be polish to achieve a mirror effect this involves the burring sanding pre-polishing and high gloss finishing I thought the best way to try this would be with my rotary tumbler for this I got a variety of grinding and polishing media for deuring and sanding I have three different caramic grinding Stones fine and Co abrasives plastic grinding media pre-polishing stainless steel satellites and walnut shell granules for the final polish
and this is what I did I take a container and clean it thoroughly with water it should be completely residue free this is a 3B barel next I add 4x4 mm pyramid and Cube keramic media course great cover it with water then add a bit of Co grinding compound after that place a copper jewelry inside I'm curious about what the optimal time might be but I ran mine for 10 hours ah great all the shine is gone don't worry we'll bring it back this time I'm using fine keramic media in the same size along with
course Polishing Compound then another 7 [Applause] hours it feels like it's getting worse and worse now plastic polishing tetrahedrons with fine Polishing Compound you know the drill always clean the container thoroughly 6 [Music] hours finally time for pre-polishing for this I use stainless steel satellites the drop of dish soap and water 6 hours basically a very good idea to polish copper plated Parts with the tumbler because it's very efficient it can be very efficient I took a closer look at two earrings there are two spots that showed somewhere and I don't want to keep that
from you I've adjusted the tumbler times in this video so the pieces are quite durable but there's always a limit now it's time for the final step dry polishing to a high gloss with impregnated walnut shell polishing media 20 hours Yes you heard that right yeah these pieces came out pretty well now they just need to be cleaned thoroughly and then you'd be done but first a note on disposal as a general rule collect all electrolyte waste and take it to a recycling center that's the only place where this waste belongs please be responsible so
we want gold padium or silver jewelry it's possible to add additional layers of different Metals which are usually thinner the order of these layers is also important for these pieces I applied a nickel barrier layer to prevent the fusion with the gold and silver however nickel electrolyte is toxic and not a good choice for jewelry because it's also allergenic a much better alternative is padium I ran out of it and since I'm using these pieces for demonstration purposes only I didn't use padium if in doubt you can also apply gold and silver directly onto the
copper and that's what I show you now this is a gold electrolyte bath it works just like the other bath using a suitable anode here stainless steel but graphite also works and the appropriate current I'm using constant voltage here and doing it by feel the gold deposits quickly and the longer the object stays in the bath the thicker the layer becomes never let the electrolyte come in contact with any asset here are a few examples [Music] I also made cufflinks with the YouTube names of my new channel members thank you so much for supporting [Music]
me guess what there are various silver electrolytes as well it works fantastically but can be a bit tricky the silver electrolyte requires a silver anode this one here is made of pure silver at first the electroplated it items turn a bluish color but after rinsing they take on their characteristic silver tone so [Music] nice now I have a whole bunch of jewelry here and I'm not sure what to do with it if you have any ideas please let me know overall as a conclusion I think it's pretty cool at least for rep prototyping this method
is really really well suited it feels good it's super lightweight and the coating is thick enough that it won't rub off it also seems to be quite durable anyway I'd really appreciate it if you could like share and especially comment on this video it helps my channel immensely and I'd be forever grateful take care and see you next time cheers