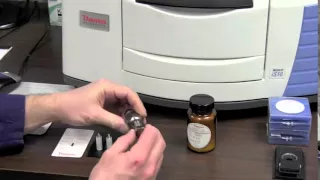
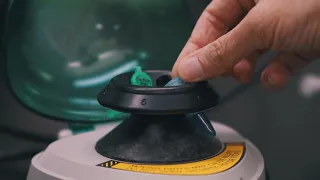
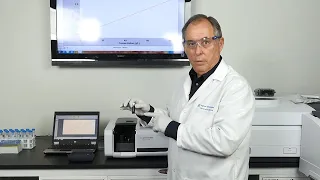
you this video will show you how to use a UV visible spectrophotometer these are the double beam UV visible spectrophotometers in the instrument room in the general teaching laboratory take note that the on/off switch is at the right side of the spectrophotometer here are all the apparatus that you need for this setup a solvent bottle a way speaker a pair of glass cuvette and a volumetric flask containing your solution the sample will be placed in the cuvette for measurement there are three types of cuvette one made of plastic glass quartz a common feature of our
cuvettes is that each one has two opposite opaque sites and two opposite transparent sites you will hold a cuvette binder to opaque size the transparencies are meant for the pathway of the UV or visible light this is the UV visible spectrophotometer the conductance can you will need a pair of cuvettes for the first run we have to do a blank solution scanned and auto zeroing meaning that both the reference and sample contains just a solvent we should rinse the cuvettes with the solvent being used here we are using water for this with the solvin put
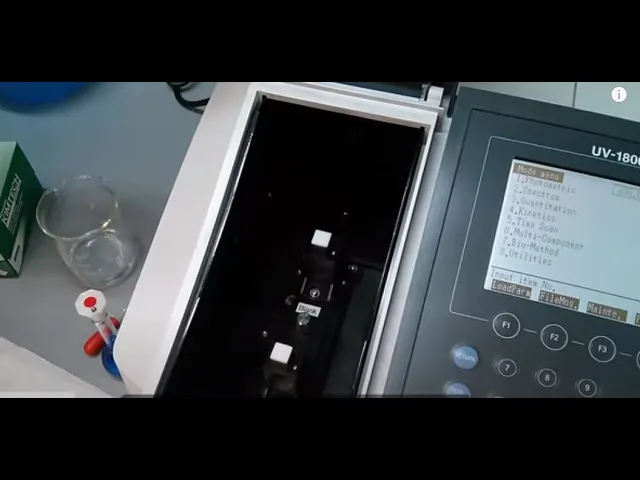
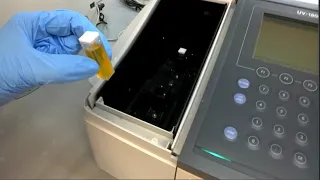
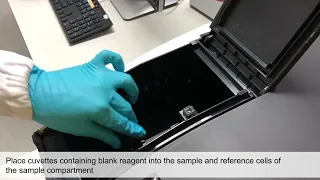
on the cap shake it and dispose the liquid into the way speaker you can rinse it again you now use the key wipe to clean the transparent science of the cuvette we have to make sure that there are no fingerprints grease paper lens droplets on the transparent size of the cuvette because light is passing through here and we don't wish the light rays to be refracted open the lid of the sample chamber insert the cuvette in the way that the transparent sites are in the east-west direction this red light is coming from there are two
cuvettes holders label blank you and sample so place them accordingly close the lid and do the Auto zeroing you there is a manual placed next to the machine you may refer to it anytime turn on the machine and wait for it to initialize so on the control panel we press the button - to assess the spectrum on this screen we will see the scan range and we should assign me as eight hundred to five hundred nine o meters the absorbance value we use is from zero to one point five make sure these two rows data
are correctly imputed following the manual press Auto zero you you design when spectrophotometer beeps a sow you take out the assemble covet discard the solution and we are ready to run our sample solution remember that the cuvette still contains some solvent we need to rinse it again with our sample solution a couple of times to ensure that the solution we are measuring is now diluted take note for quantitative analysis it is vital not to let solvent remnants to dilute and affect our results now slowly pour in some of our sample into the cuvette put on
the cap rinse it and dispose it into the beaker repeat the cycle again you now we can feel the cuvette to 4/5 of the height with the solution you use the kimwipe to clean the transparent sites and place it into the sample holder close it press start on the control panel notice how the graph is Swami the lines tracing from 800 nanometers to 400 nanometers and we have a peak the maximum absorbance at about 600 nanometers - zoom press f1 and then press f3 to other scale now the spectrum lots fuller press return to change
the taps and then f2 for data processing tree you can see the maximum absorption wavelength for this compound is at five nine one nano meters and the absorbance value is 0.42 five press f2 to print the spectrum so this is a datasheet nicely printed and you see the peak the maximum absorption and absorbance value corresponding to it you're good to go