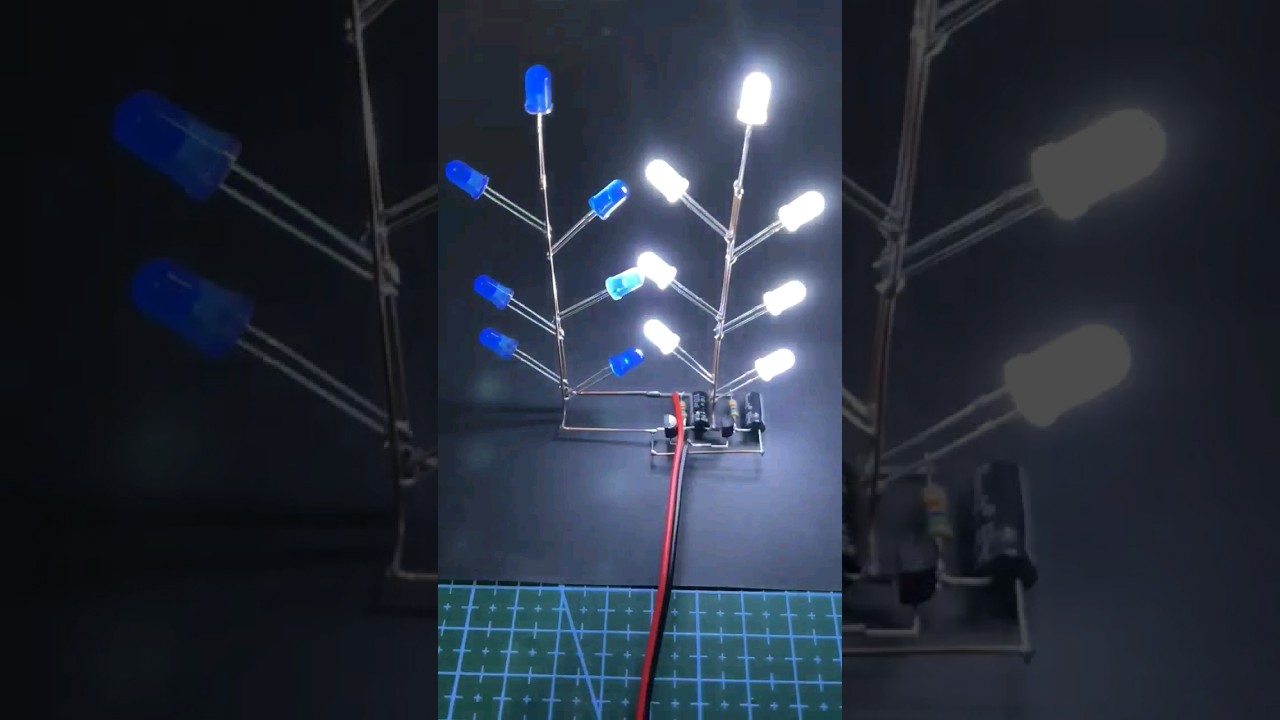
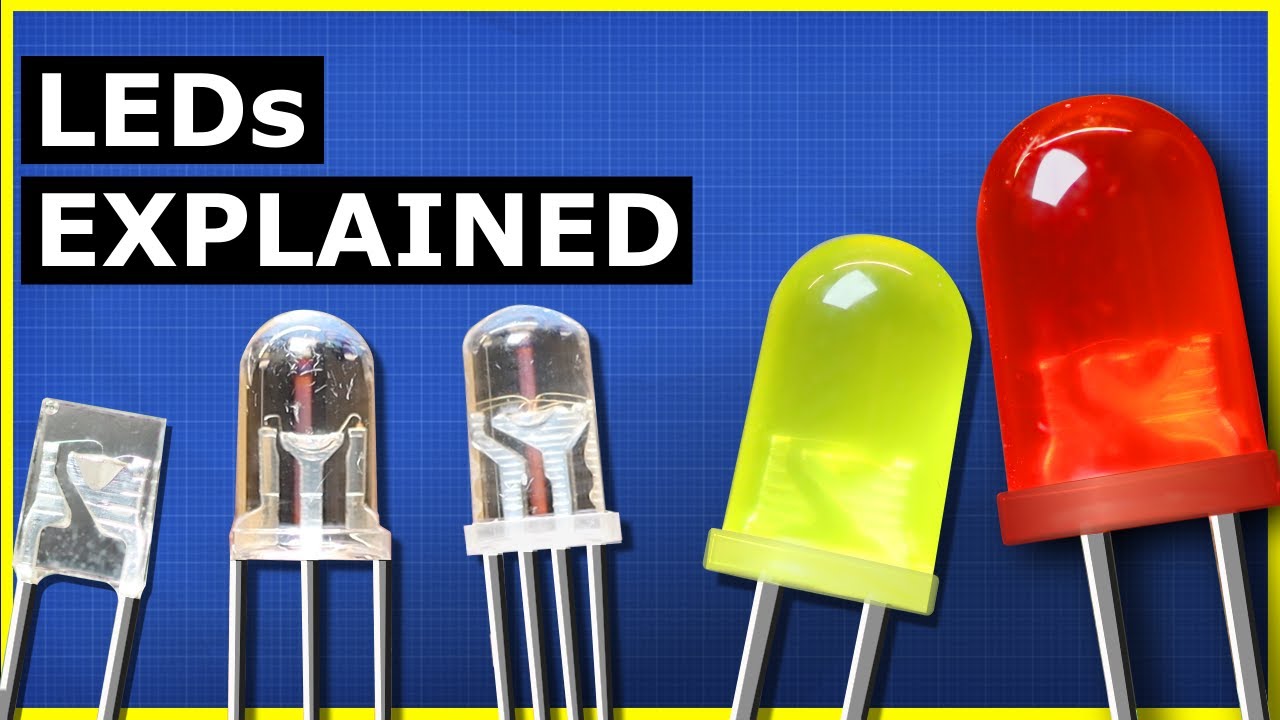
you might have come across these fascinating luminous electrical parts before if not well they might be tucked away in some unsuspecting places so what is an LED an LED is an acronym for light emitting diode yeah but what's a diode well a diode is just an electrical component that acts as a one-way valve for electricity this is a basic diode electrical current can flow in one direction through this diode but it cannot flow in the other direction think of a diode like this one-way gate current can flow through the valve in this direction but it
cannot flow the other way the interesting part here is that as electric current flows through the gate it gives off some of its energy this energy leaves the diode as heat now with some clever engineering chemistry and physics we can use different materials and construction processes to make a different kind of diode this new diode will still act as a one-way gate but instead of giving off heat it gives off light so an LED is just a one-way valve for electric current that gives off light as a by-product that's cool let's see one in action
I've got a battery pack with some fresh batteries ready to deliver some juicy electric current when I connect my positive wire to the positive lead on the LED and the negative wire to the negative lead you can see the LED turn on that means current is flowing through it if I swap the wires the LED does not turn on that's because the one-way valve in the LED is preventing current from flowing through it LEDs have lots of uses but let's talk about their three main applications you've probably seen them used as a form of indication
for example the LED on this power adapter lights up to let me know that the adaptor is on and getting power most remote controls have an LED in the front some time's it's hidden behind a piece of plastic this LED is used for communication whenever I push a button on the remote a series of pulses of light is sent out from this LED that tell the television to turn on or change the channel most televisions have a receiver in the front that looked for these pulses and interpret the commands you can't see this light with
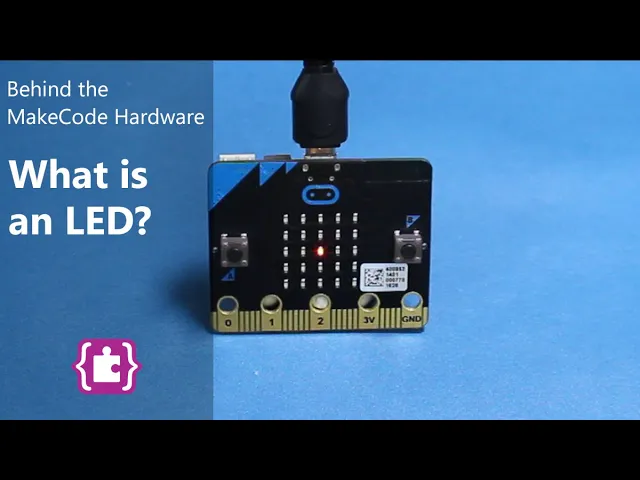
your eyes and that's because the light that's being emitted is in the infrared spectrum however most cameras can see the light which is why the front of this remote lights up when I push a button finally we can create very bright LEDs and pack them together on a circuit board this device allows us to use LEDs as a replacement for regular lightbulbs and provide us with glorious illumination now that we've seen how LEDs can be used for indication communication and illumination let's see how they work on the micro bit the micro bit has 26 LEDs
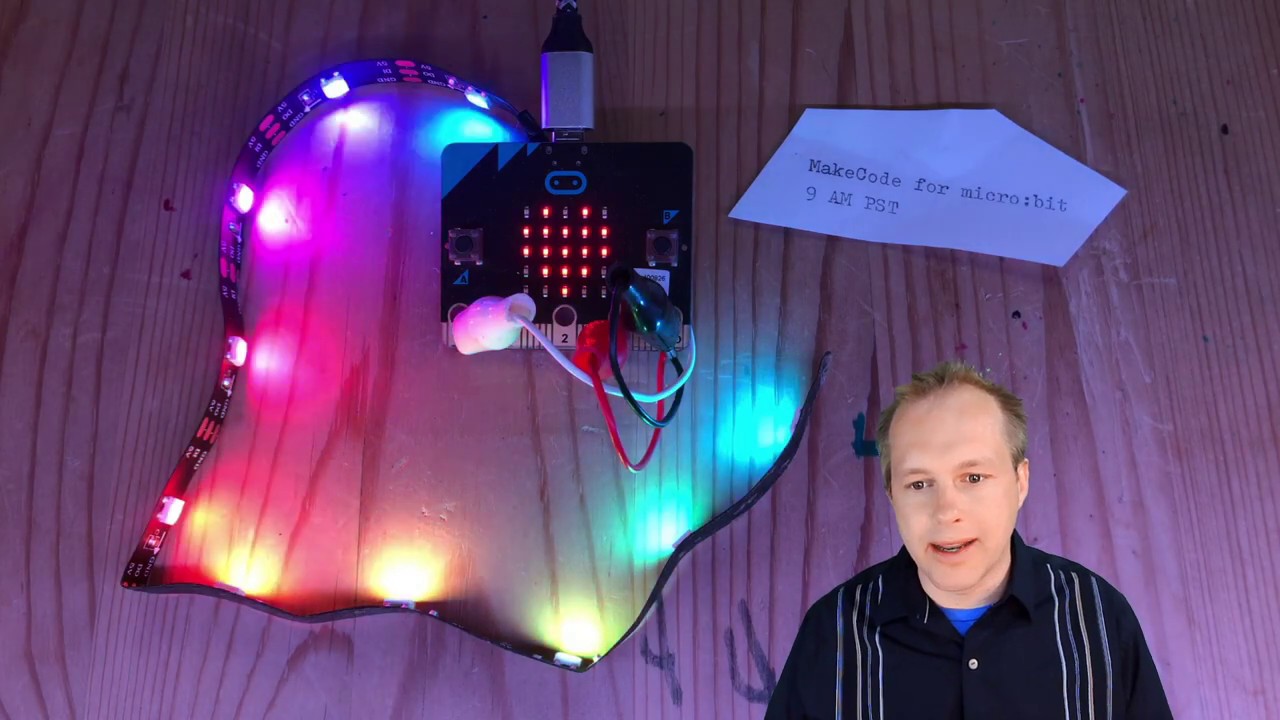
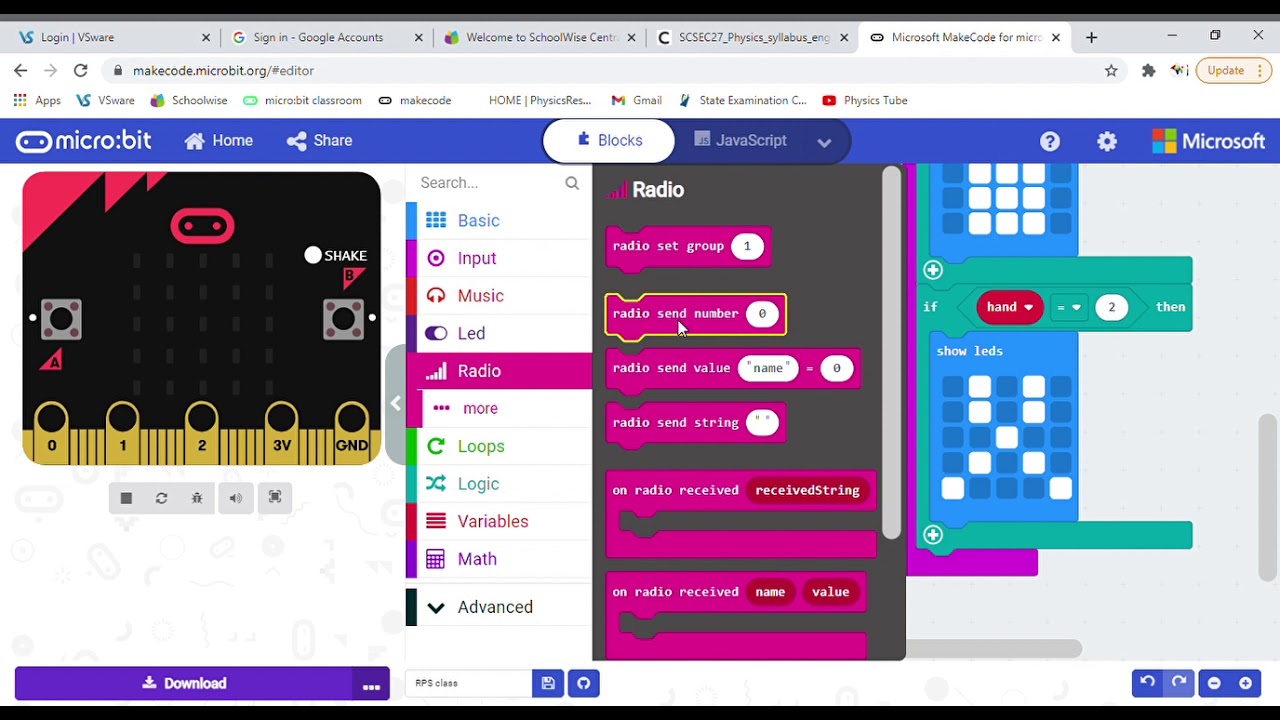
twenty-five of them are arranged as a grid on the front I'll leave it as a challenge for you to figure out where the 26th LED is the processor on the back of the micro bit switches its pins on and off that means electricity flows from them or not some of these pins are connected to the LEDs on the front and we can control these pins with code by controlling the electricity we can control which LEDs turn on in make code click on basic and drag a show LEDs block to forever click on one of the
boxes in the grid and it should turn that LED on feel free to click on other LEDs to make a fun picture like a heart wait a moment and the simulator should show your LED image drag another show LEDs block underneath your first LEDs block leave this one blank this will cause the LEDs to switch between on and off in your pattern download your code make sure your micro bit is plugged into your computer and drag the downloaded file to your micro bit Drive and now the mic should flash your heart image on and off
forever if you look closely you can see how each led makes up a part of your image these funky little electrical components known as light-emitting diodes can be found almost anywhere I hope this lesson has been illuminating