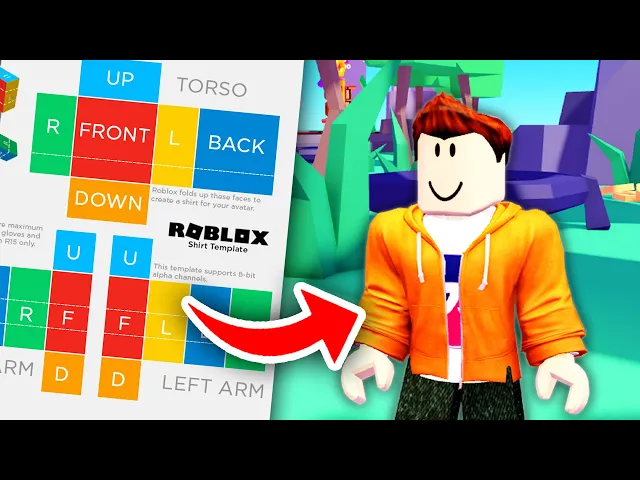
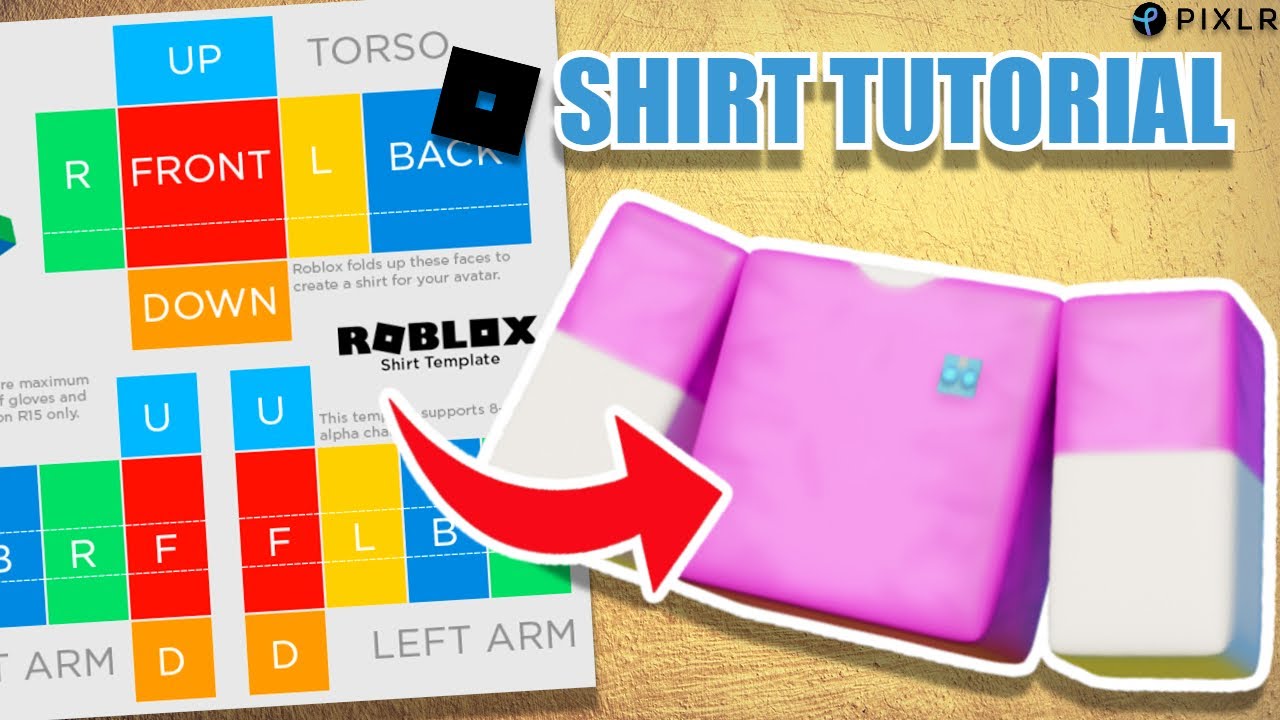
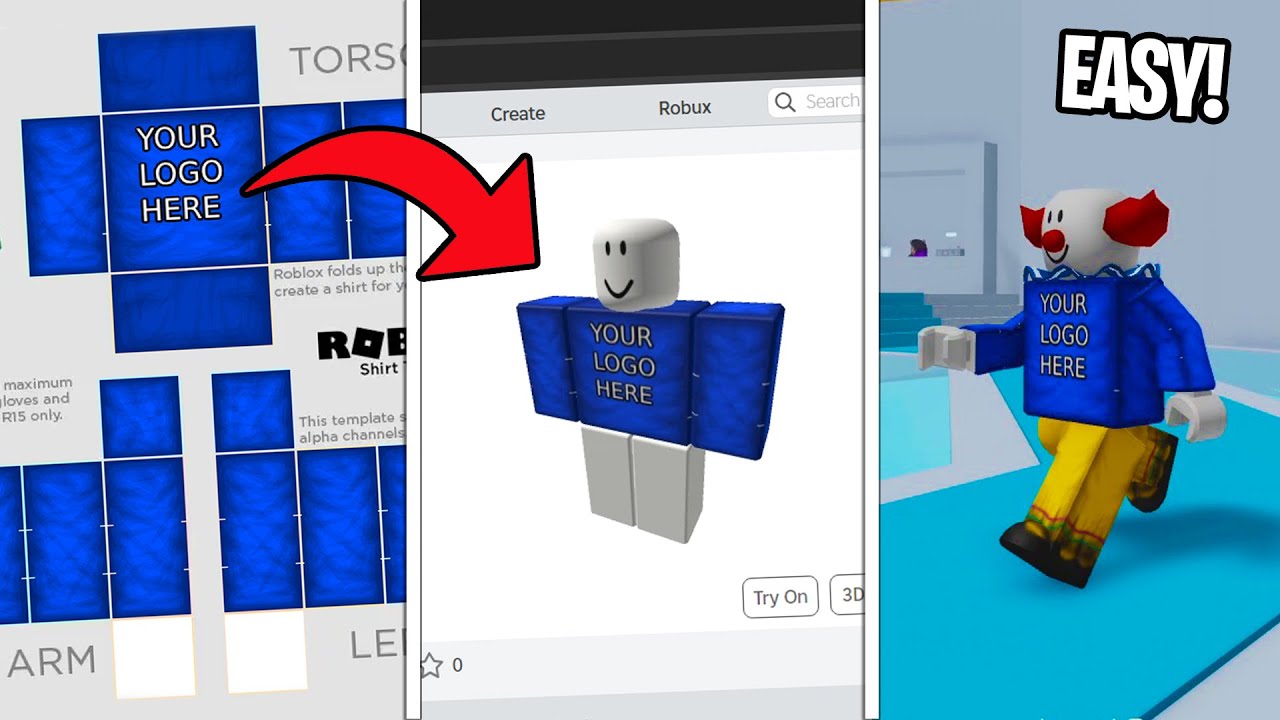
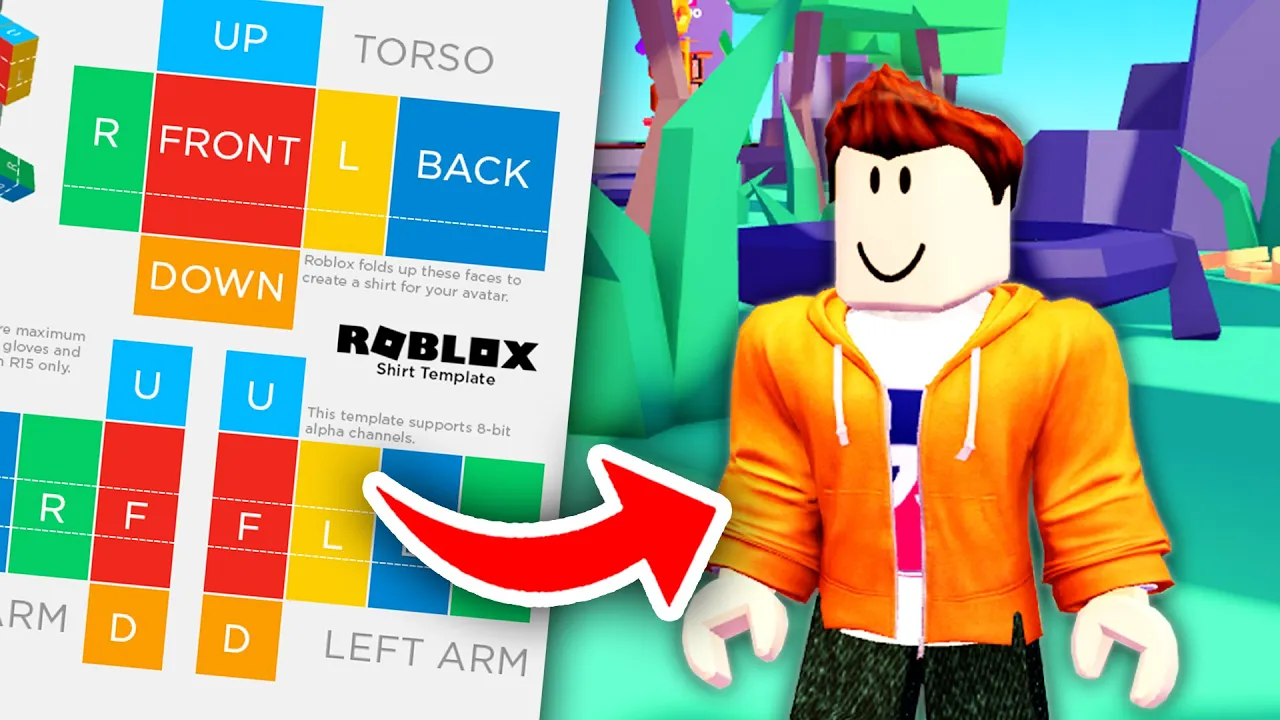
I'll guide you through how you can go and make a roblox shirt so having a roblox shirt is really cool because it means you can wear your own stuff but it also means you can go and make Robux from selling it so the first thing you need to do is just head to Roblox on the website and what you then need to do is go to the top and go and tap on create now when you go and tap on create you may get taken to slightly different pages but the best way to get to the page where I am now is you need to go up to your address bar and just type in create. roblox. com I'm going to go and type it in now just to show you guys what it looks like go and hit enter and you'll be taken here and what you then need to do is go across to Avatar items after you've clicked on Avatar items you then need to go and click on shirts and you may be wondering what the difference between a T-shirt and a shirt is well a t-shirt is just you go and upload an image like these or a shirt you can go and fully design it you can create hoodies to add textures and things like that so shirts are a lot more advanced so after you've got to select shirts then what you need to do is tap on upload asset don't worry any thinking I haven't even gone and created one yet don't worry and once you're on upload asset we can then go and tap on learn more you'll get taken to this page here called classic clothing and this is basically an article on everything about clothes so all you need to do is scroll down and TC shirts and pants and here are the templates we actually need so in this case here because we want to go and create a shirt we want to use this one here as you can see here it says leg which means it's a pants and this is for arms which means it's the shirts so what you need to do is simply go and right click on this image and press save image as and your file explorer will then open and you need to choose where you want to go and download it so I just download it to my downloads folder you've now gone and downloaded the template and now what we need to do is go and edit it to go and customize our own shirt so we need to go and use an online free software for this so go and open up a new tab I'm just on Google and what you want to do is go and search there's something called photo P so type it in like so literally photo then p and then make sure you go to photopilly.
com once you're on here you can go and press on the cross in the top right like this and then what you need to do is going to tap on open from computer your file explorer will then open and what we need to do is go and click on the template we just downloaded so that's it there so I've highlighted it then tap open and it's now going to upload it and here it is what I'm personally going to do is just go and zoom in on this because it's quite zoomed out to do that you just press on Ctrl and plus and then we can zoom in and just to explain how this template works as you can see here it says Robux folds up these faces to go and create a shirt for your avatar and then you can go and see where the faces are going to go and be with these diagrams on the left hand side here so what we need to do is go and remove these colors here and then we can start going adding our own images and textures to go and create awesome clothing so head over to the left and what you need to do is go and grab on the rectangle select once you've selected the selection tool now what we need to do is go and remove this so what we can do is just go and grab one of this top corner here for example then hold your mouse button and drag and as you can see we're now selecting stuff so so all you want to do is go and select the whole area like this is then let go and as you can see it's now got lines around it and if I then go and press on the delete key on my keyboard as you can see it then goes and deletes it after you've gone and deleted it the area is still selected so then to go and unselect it Go and tap on select and press deselect or you can just go and press on Ctrl and d and so we need to go and then do the up and down part as well so I'm placing my cursor in the top and then I'm going to go and drag down like so and go and select that area it's now selected so I'll then go and press on the delete key again and that's it so I'm now going to go and repeat selecting the areas for the right arm and left arm and catch up with you after I've done that so I've now gone and selected the areas and deleted them but I've just noticed I've gone and missed a few bits so I'm just going to go back over them now and there we go we're now all ready to go and start adding some textures so what I'm going to do is going to head to a new tab into Google and I'm now going to go and search for like a cool texture so in this case I'm going to go and type in for t-shirt texture like this and then go search and then go and tap on images and then as you can see we can then go see we can go and see all these different textures here so this one looks quite cool so I'm going to go and click on it and then what I'm going to do is go and right click on it and tap on save image as and go and save it into my downloads and then go and click on Save and it's now downloaded it so I'll then head back to photo p and then go to the top left and click on file press open and place and then go and find what you just downloaded and go and double click on it or click on it and press open and when you first bring it into photopie it's going to be on top of your template so what you then want to do is press on tick in the top let's press on confirm and then what you want to do is go over to the rights your layers and grab it and then drag it below the background layer just so we can keep it within our template then make sure you've got the layer selected like I do here and then go to the top left and press on transform controls and then we can go and change the size of it and then grab one of the squares so we can go and change the size of it and I want to make sure that it fills up everything and then what you can do is either drag it one thing I wrap recommend you do is that you keep these bottom squares empty because as you can see there's these checkered area and this basically means transparent so when we go and put this onto Roblox we can then go and have our hands here because of course at the end of your hoodie or whatever you're making you're gonna go and have some Skin showing so I like to go and keep those free just like that and then once you're happy with it you can then go and tap on the tick like so and then you can also go and turn off transform controls in the top left if you'd like and so guys this is just the start of your shirt now what you can do is start adding more textures maybe add some text through that just go over to a left and tap on the text tool you can also draw things on as well and as I said you can do literally anything you want with it one thing I'm going to go and do is just add a picture so I'm going to add a picture of my guide realm logo so once again I'll tap on file and then press open and place I'll tap on open just like that and there my logo is and then once again I'm going to go and resize it just so it's right I have it quite small and just like we did before once you finish moving an image go and tap on the confirm firm button in the top and so that's it guys of course you can go and do so much more I'm just going to keep it simple as this is just a quick guide once you're finished and you want to put it on Roblox then what you can do is go to the top left and tap on file and then you want to go and tap on export and you want to make it PNG just so we can keep our skin don't enter in any areas you want it so I'll press PNG and that's how it's going to look and then you can go and name it if you'd like but you don't have to then just tap on Save just like this and it's then going to go and download so now what you want to do is head back to Roblox and you need to come back to the create page if you've gone off it to get here you can just type in create. roblox.