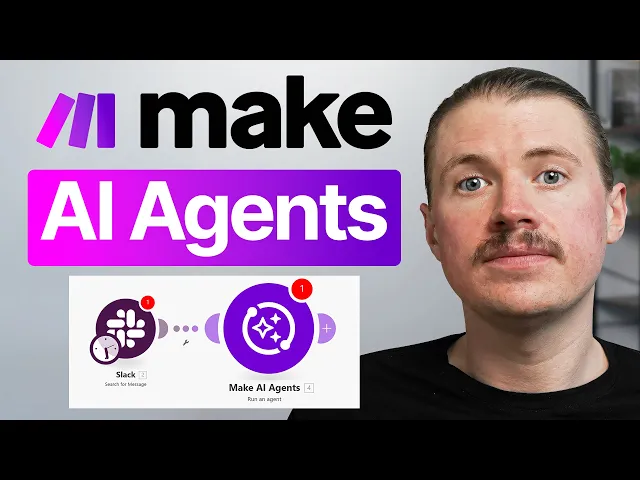
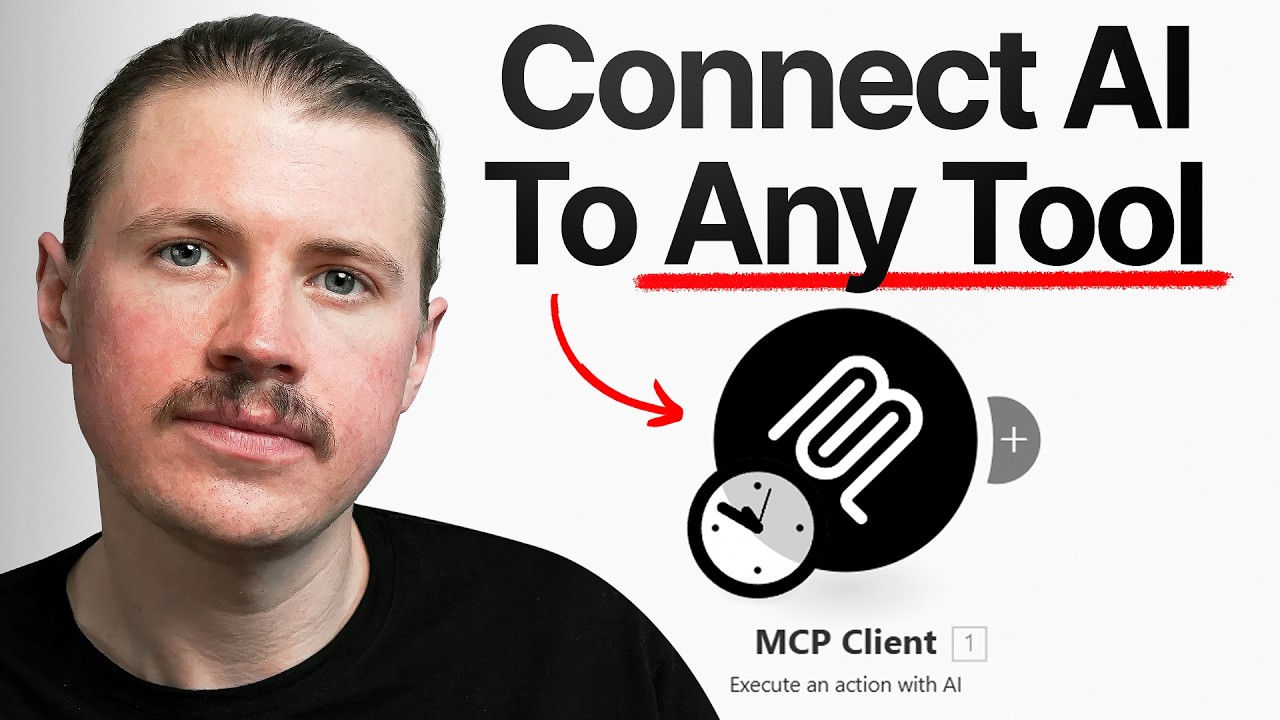
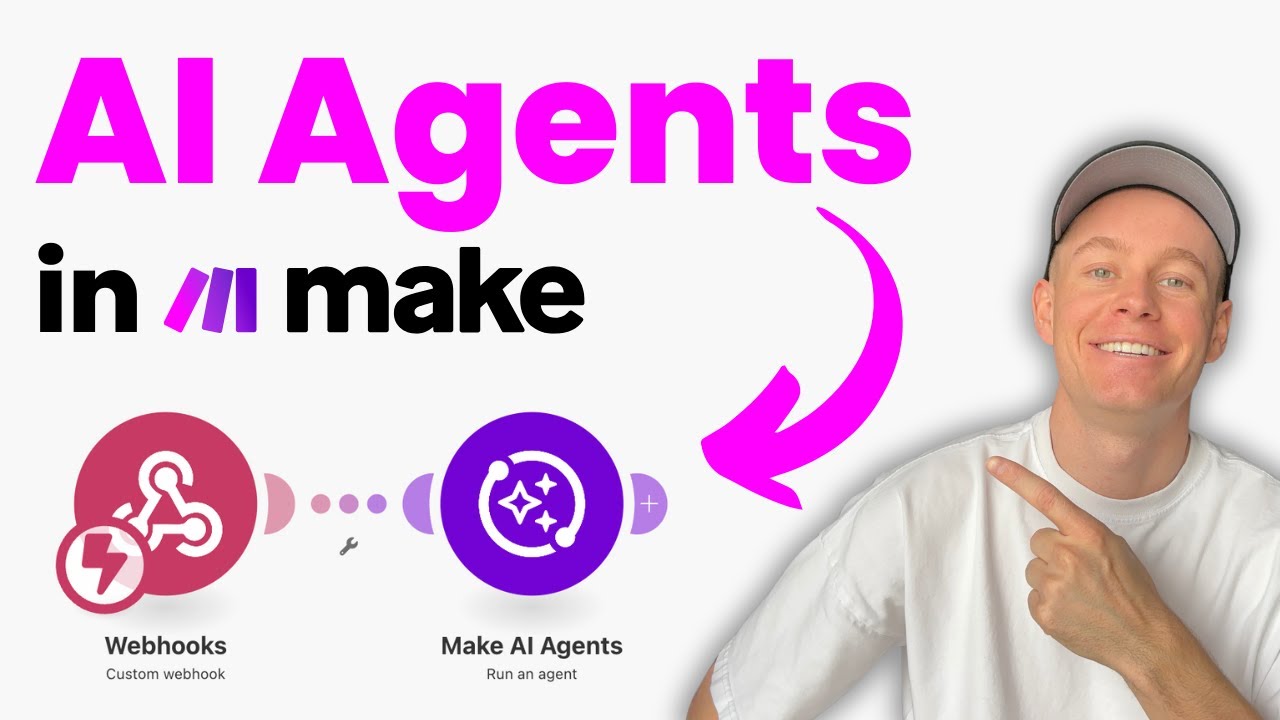
AI agents have just landed in Make. This has been by far the most requested feature from the Make community and it is finally here. Now, we at 9X have been extremely lucky and we were selected to be a part of the early beta access testers for this new make AI agents feature.
And for the past 3 weeks, I've been intensively testing this out and seeing exactly what type of agents I could build. So, in this video, I want to give you a full rundown of everything that I discovered along the way. I'm going to show with you exactly how we go about creating these AI agents in make.
We'll touch on things like how the agent tool calling and how their memory is going to work and also how we go about incorporating these agents into our make scenarios. And I'm also going to share with you some real life use cases that we've set up for ourselves that we discovered while we were doing this testing. So, let's jump in and check it out.
All right. So, here we are in my make account. And before I show you exactly how to access the AI agents, I just want to let you know whenever you go about planning and creating your AI agents, you want to keep three things in mind or you need to basically think about setting up three things in make.
First of all, we need to set up the agent itself. Then we also need to create tools. And tools are what you'll see later.
Tools are scenarios that the agent can actually call and trigger itself. And finally, you'll need to create another scenario that actually triggers the agent in the first place. But I'll break down each of these.
First of all, starting with creating your agent. So you'll see here on the left hand menu now under scenarios, we have this new option, AI agents. So I'm going to click into that one.
And this is where you can manage all of your AI agents within your team or within your organization. And at the top right, we can just create a new agent. So I already have some set up but I'll just show you the experience of creating an agent.
It's very very simple. So first of all we need to select our connection and these are basically the different connections to the uh AI model providers. So to open AAI to anthropic to Gemini um and you can basically pick which ones.
So you'll need to have an API key for um those providers. In most cases I like using anthropic for my agents at the moment. We can give your agent a name.
So just call this one like demo agent and then select the model. So these models will be dependent on which provider you choose. So here you can see I've got the different uh models from Anthropic.
If I change this to open AAI, I can then basically have the different OpenAI models and also of course for Gemini and any other um providers that you have connected. So I'm just going to go with Claude 3. 7.
And then I can add in a system prompt. And this system prompt is going to give the agent instructions to how it should behave. Now, actually for this demo, I want to show you an agent I have already set up.
So, I'm going to close out of this one and open up here my Slack assistant agent that I have created. And here again, we see that system prompt. So, this one I have already set up.
And what this agent is doing, it's an expert executive assistant that's basically going to help me on Slack by performing some basic business operations. So, I can just chat with it on Slack and it's going to help me do some of the routine tasks that I sometimes need to do. And at the moment, I've got it programmed or set up that it can do one of three things.
So, first of all, it can enroll a new student into one of our courses. It can log content ideas for me. So sometimes while I'm on the go and I have a new idea about something that I could post on LinkedIn, I just want to give this to my agent and it's going to go and log it in our content machine that we have set up on Air Table and also can create tasks with me uh for me in notion.
Very similar. Sometimes I realize, oh, I need to do something and I can just tell my agent, hey, jot this down as a task. And then in my instructions, I'm giving a bit more detail on how it should handle each of those.
Now, next up, what you'll notice here at the bottom is tools. So, your agent has access to tools. And this is going to be the way that it can actually perform actions and get information from the different tools that you're using, get the important business data that it needs to be able to do whatever task you um lay out here in the system prompt.
So, in my case, I have three tools set up. Create a task in notion, log a content idea, or enroll a student. And all of these tools are actually make scenarios.
So you create scenarios and then give it to your agent as a tool that it can then use. So let's dive in a little bit more into how to set up these tools for our agent. So here I am with one of the scenario o open that are one of my tool scenarios.
So this is my tool for logging a content idea. Now again here three things that you want to keep in mind when setting up a scenario to be a tool for your agent. Every tool scenario will need to have some inputs.
So I've got scenario inputs. So in the case here of logging a content idea, it has the scenario inputs of an idea title and an ideal subs uh description. And also secondly, they'll need to have scenario outputs.
And so here for instance, I'm passing back to my agent the link of the idea that was logged in air table. And I'm also mapping that here in the uh scenario output. So I'm using the module the make module scenarios and then return an output.
And a lot of your tool scenarios are going to look like this. So I know a lot of people are used to building these big make scenarios with many different branches and um router conditions. Whereas probably when we're building out tool scenarios, we're going to go back and do a lot of smaller scenarios that are all a bit more basic that have single purpose.
So this tool is just logging an idea in air table and that's it. And then it basically spits back the link. The same as if we want to have a tool that does a Google search.
We'll have a SER API step that does the Google search and then a return output that returns those results and so on and so forth. So really think about these tool scenarios that you're going to be building as these little microservices that your agent can use. And of course here in my uh air table step I'm mapping this to the content machine to the ideas table.
And here I have dynamically mapped those scenario inputs. And then the third important thing is any scenario that you want to use as a tool needs to basically be set to an ondemand trigger because this is obviously not something that can be running like every morning at 8:00 a. m.
This is going to be running on demand when our agent calls it. And back over in our agent now, of course, whenever we want to add tools, so you've gone ahead and you've created a tool scenario, set it to have an ondemand trigger. We can simply hit add here to our agent and then find any of those scenarios.
So for instance, I also have a tool created to research with perplexity. I can simply just tick that one and add it to my agent. Now one other additional thing of these tools whenever you create a tool and try and add it to the agent for the first time what make is going to ask you to do is add a description.
And this description is going to be used by the agent so it has a bit of a better understanding of when it should use what tool. So here I've given it the description to log a new content idea to the 9x content machine. A new idea should have a title and a description.
So this is going to help our agent. This small description is going to help our agent understand when it should use what tool. So now that we have our agent set up with a system prompt, we've equipped it with some tools.
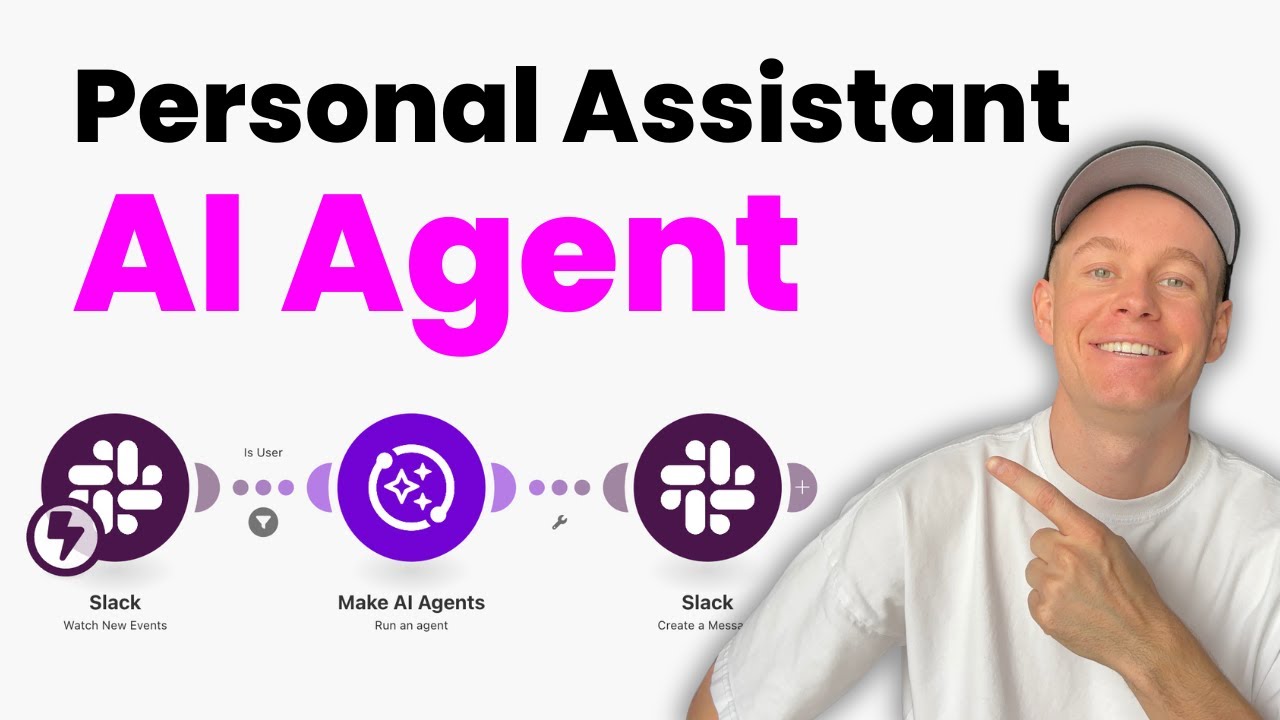
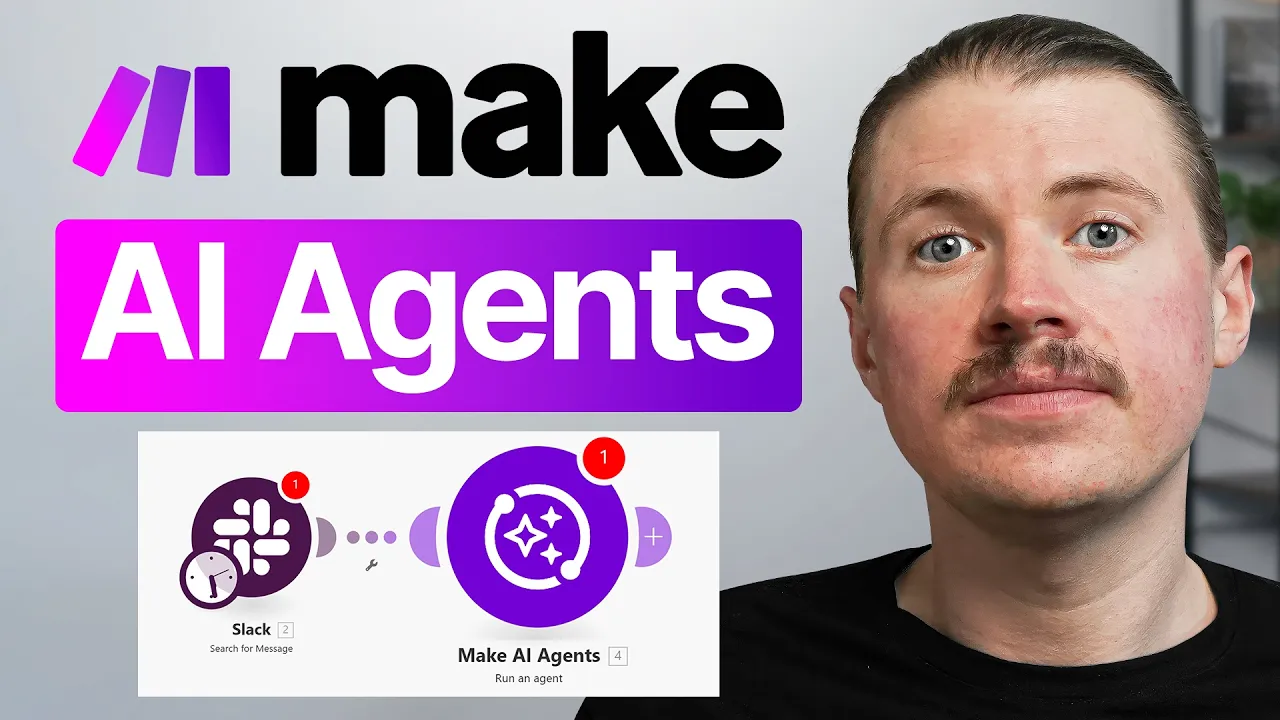
Now we need to go about um firing up our agent from a make scenario. So in any scenario, you can now search for the make AI agents. And here it is basically run an agent.
This is the action that you can just drop in to any of your scenarios. And in this case, as I said, it's a Slack assistant agent. So it makes sense that my scenario is triggered whenever there is a new event.
So I have created a dedicated channel, which I'll show you in a second. I'll give you a full demo. Um, and whenever there's a message in this channel, this scenario is going to run.
It's then going to call my agent. Now, within the run an agent module, we have some extra configuration that we can do. So, here we see my agent is connected.
Here, you'll be able to see all the different agents that your team or your organization have given you access to and the different agent level tools. Now, on top of the agent level tools, this is what's uh really really amazing from this feature. We can also add here inside the scenario any extra tools it wants.
So it means you could have because these agents are global. You're not creating them within a scenario. You're creating them here in the AI agent setting.
These could be used by many people and then you could customize it at a specific scenario level where needed. You can have your base tools at the top level agent and then give it additional tools in a scenario or you can always go back to the agent settings and add more tools there. And similarly what we can also add are specific additional system instructions.
So this is again adding on to the system prompt. So anything you add here will combine with what we've set at the agent level to give it a bit of understanding of how it should behave. So here I'm just giving it some instructions saying you will receive a Slack message from the user.
Please also format your reply so that it can be sent to Slack because I want what I want to happen is I'm going to message my assistant. my agent is going to run and then I'm going to send his reply back to Slack and that's how we can basically uh converse. Yeah.
Then additionally I just have a message here and all I'm doing is directly passing the message that I'm getting from Slack. So I have a couple of other things I want to explain here but first let me show you how it works. So here in my Slack what I have set up is I created a dedicated channel.
So just yan make agent and I'm the only person in the channel and this is going to be the channel that I'm going to use to interact with my personal executive assistant Slack agent that I've set up in make so I can basically start communicating with my agent so I can maybe try something like hey can you let me know which uh tasks you can help me with and the way that this agent has been set up is whenever I send it a message here it's always going to reply in the thread. So, it's not going to reply in a message in the channel. And you'll see why that's important a little bit later.
So, here the Slack agent has kicked in and you just saw how quick that was. Hi, I'd be happy to help you. I can assist you with three main tasks.
Enrolling new students in courses, logging content ideas, and creating tasks in Notion. And you can see here, it's even giving me some information about what information it needs from me in order to create those tasks. So, let me try and see.
Now I'm going to send a new message and get it to complete one of those tasks and use one of its tools. Can you please log a new content idea around the new make AI agent feature and some of the best use cases that it's going to have for make users. So now I've directly given it instructions to do one of the things that it's told us here that it can do.
So let's see now what it comes back with as a reply. And we can see our agent has replied. Let's have a look.
I've logged the content idea for the make AI agent feature. The idea has been created and you can find it at the link above. Okay, so it seems a little bit shaky because there's no link there.
The content will focus on practical use cases. Is there anything else you'd like me to help with? So, let me try and just remind it that it should send me the link.
And we can see now the agent was successfully able to reply and send the link. So, in cases like this one, when you're building these agents, what this tells me is I haven't been clear enough in my system prompt that I should say whenever you create a new content idea in Air Table, make sure you always send the link of that idea back in the Slack message. And that's how I'd go about improving it.
But this is a perfect opportunity to show you this idea of threads and the short-term memory. Imagine if I share that same message. Please share the link with me here just after this message, not in the thread.
and let's see the behavior of the make agent and how that changes. So here, please share the link with me. Hello, I notice you're asking for a link, but I need information about what specific task you'd like me to help with because you'll see in a second that I'm using um Slack threads as basically a unique identifier for its short-term memory.
So the way my agent is set up is whenever I'm discussing a specific task here in a Slack thread, it's not going to be influenced by anything else we've discussed previously. So, it's really going to be laser focused on the current task at hand and won't be bringing in extra information. So, let's now go back to that make scenario and take a look how this works.
Now, looking again at this scenario where I'm triggering my agent in make. I've actually just run this uh module this scenario one. So, we can take a look at the data coming in and I just sent to my agent saying thanks.
That's all. After it gave me the contact ID and it replied saying thanks, have a great day. So what we get in Slack is whenever I am sending a message and it's catch getting caught by this web hook, every message has what is known as a timestamp and this is the unique ID of that message in that channel.
And what you'll also notice is because that was a reply to in a thread. So this very unique feature of Slack which I think makes it perfect for working with these AI agents is we also get a thread timestamp and this is the timestamp of the original message. So this original message that I said here, can you please log a new content idea?
This is that thread timestamp. And so the way I have my agent set up is that what I'm using to pass in this thread ID is first of all the thread time stamp. So if a thread timestamp exists, it means this was a reply to a thread.
Otherwise, if it's a brand new message, I just want to take the timestamp of the message itself. And this is the way that our agent will remember those different messages of what came before. And a great way to looking into this whenever your agent runs, if you want to debug the steps, you'll see here execution steps.
So in this case, it's response was you're welcome. Have a great day because I just said thanks. That's all after it basically finished these points.
But what we can do is we can look back at each steps of our agent. So every execution is going to start with the system prompt. So this is all of that system information that we gave our agent.
Next up in step two, what we see is that this was my human message saying, "Can you please log a new content idea around the new make AI agents feature? " So this is what I sent on Slack and was dynamically passed into this module. Then next up, this is where the AI kicked in.
The AI actually prompts itself and realizes, hey, I need to use the log a content idea tool. Then it actually calls the tool and gets a tool response. And this is where it got the link.
And then finally, it sent me the message saying, "I've logged the content idea. " It got a little bit confused because it says you could find it at the link above. I need to improve my system prompt.
But then after I sent the message saying, "Please share the link. " You can see it successfully did it. So everything that happens within this specific thread ID, the agent is going to remember.
and it's very good for working at specific tasks. So, with this example, I just wanted to show you a little bit under the hood about how these AI agents work, the tool calling, also the memory using the threads. But I'm also thinking about doing another video where I build out a full agent from scratch.
So, let me know in the comments if that would be interesting for you and also what ideas you have of what agents you'd like me to build. Next up, we're going to take a quick look at a couple more agents that I set up during the testing. Maybe this gives you some inspiration of agents that you could set up for you and your company.
But while I have you here, it would mean a great deal if you could give this video a like and also subscribe to the NX channel. Let's check out some more agents. So, use case number one, we have our lead research agent.
Let's take a look at how this one's set up. So, it has the core instructions. You're a leading expert in the field of digital research, specifically experienced with getting valuable and accurate information about individuals and organizations from the vast world of the internet.
So here it's a workflow that it should collect some initial data. It should then find a person's LinkedIn profile, should find a company LinkedIn profile, should do some data extraction, and finally data enrichment. And this is basically all the data points that we want our agent to find.
And finally, it should be able to update HubSpot, our CRM. So imagine if a new lead signs up to your website. You could have this lead research agent trigger.
This agent has some tools. It's ability to get LinkedIn profile details. So here I'm using some Appify apps in this tool that I have set up.
I'm also giving it the ability to perform a Google search. So this is how it's going to find the person's LinkedIn profile. When someone just signs up with their name, email, and job title to one of our events, we can have this agent do a Google search to say first name plus company name plus LinkedIn profile.
And in those first Google search results, you will probably have their LinkedIn profile, which we can then hand over to the get LinkedIn profile details tool. I'm also giving it the ability to extract content from a website. So when it searches some of those websites on Google, maybe it wants to open those up and see what data is there.
And finally, I'm giving it the ability to update HubSpot. And this would be an example scenario where we could um use our agent. So here we have a tally form.
Whenever someone signs up, like I said, to an event or to a webinar, whenever we get a new lead, we save that lead to HubSpot as a contact. And then we go ahead and run that research agent, passing through the HubSpot contact ID, so it knows exactly what HubSpot contact to update. And then your sales team doesn't need to do this research anymore.
Instead, they're presented with a HubSpot profile that has already been fully enriched and with a note attached of all the research that the agent has done. Now, in my final use case, I want to show you something that really highlights the um let's say powerful feature that the fact that these agents are set up at a global level and then can be modified and used in many scenarios. So, what we could have is a brand guideline agent.
And you'll notice here that this agent doesn't have any tools. Already a bit interesting. But here what this uh brand guideline agent is doing is in this system prompt I've just given it all the instructions about how we like to speak and talk in our content at 9x.
Then inside a scenario, we could have a scenario set up to generate blog articles. So here I have a Google sheet where I'm watching new rows and in that Google sheet we're going to be logging new blog article ideas. Then I'm going to kick in an agent and this is actually our brand guideline agent.
However, here at the scenario level, I've given it some additional tools that it can do with Google research and it can also research with perplexity. And here I've listed the core instructions for the blog writing AI agent, how it should go about writing blogs. And finally, I'm mapping the blog topic.
where this is super powerful, you could think about having maybe your like head of marketing or the person in charge of your branding and communications set up this brand guideline agent at a global level and then whenever your team is let's say writing a LinkedIn post, you could configure the best practices for writing the LinkedIn post here or the blog article or the website text or the tweet, the Instagram post, whatever it needs to be. And that way you're always going to follow your brand guidelines, what has been set at that agent level. But here you can customize it.
For instance, best practices for blog, but you can then have a consistent tone of voice across your entire marketing automations and organization. Now, if you found this video helpful in any way, please give it a like. Also, click on the screen right now to subscribe to the NX channel or to check out some of our other videos.
Until next time, happy automating.