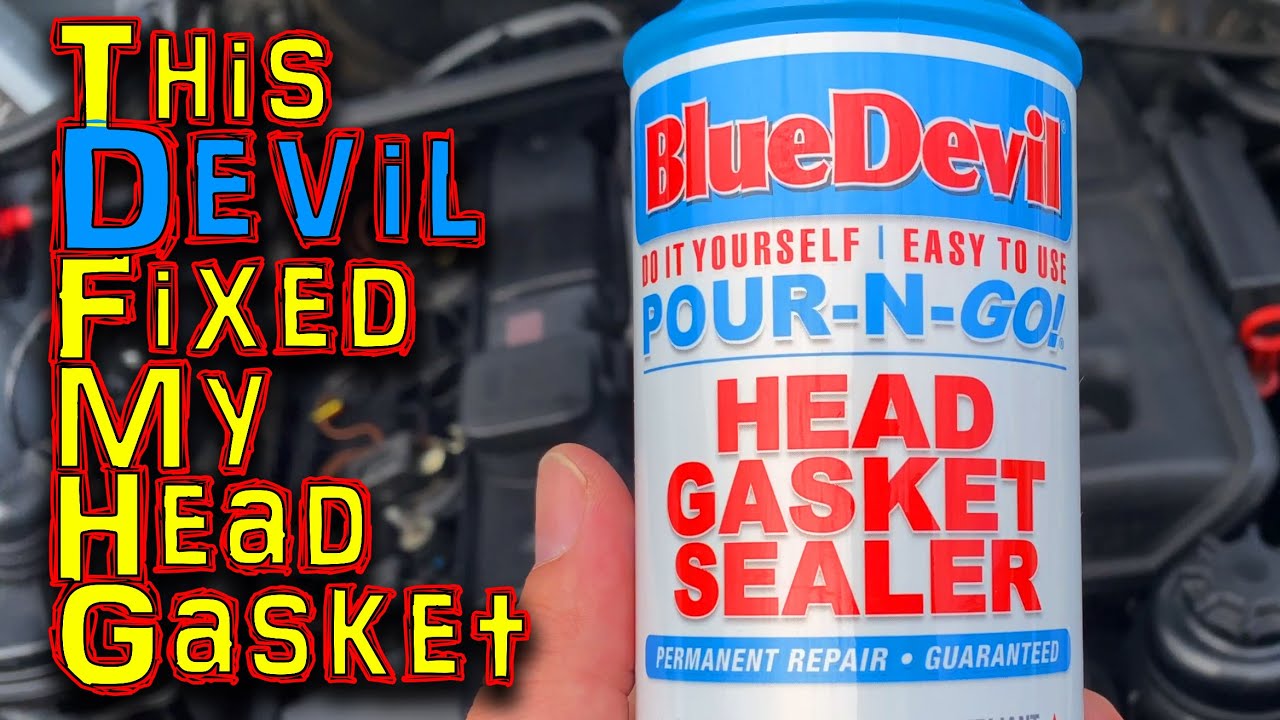
hey guys Chris fix here and today we're going to test and see if we could repair a leaking head gasket with a bottle of head gasket sealer now in this video I'm going to be showing you five main things the first thing is how do you know you have a bad head gasket and it's leaking and the second thing is after you verify you have a head gasket leak should you use a head gasket in a bottle like this or should you do the repair properly and disassemble the engine and replace that head gasket the
third thing I'm going to show you is how to choose which head gasket sealer is best for your specific application cuz there's a bunch out there the fourth thing I'm going to show you is how to properly use the head gasket sealer that way you could hopefully seal that leak and fix your head gasket and the fifth and final thing I'm going to cover in this video is what you're all waiting for does a head gasket sealer actually work and we're going to be doing this test not for a week not for a month but
long term for over a year so right now we're in the fall season soon the leaves are going to drop then we'll have the winter and it gets very cold and it snows here in the winter so we'll have below freezing temperatures then we'll have the spring which is the rainy season so high humidity then we'll have the hot summer here it could get over 100° sometimes and finally a year later we'll finish up back in the fall so we'll go through all four seasons to cover all the different weather extremes from extremely cold to
extremely hot and everything in between and not only are we going to cover weather extremes but we're going to cover driving extremes as well this is my dad's daily back and forth to work he does a lot of highway driving so that car is just chugging along at 2500 RPMs for hours at a time and he does a lot of hard City driving stop and go so we're really going to put that head gasket sealer to the test now I did say this is going to be a long-term test over a year but don't worry
this video will have the results if you're watching this video right now a year has elapsed I don't want you guys to have to wait for another video a year later all the information on whether or not this worked will be in this video and that's for you guys now speaking of you guys very important we have about 5 million chrisfix subscribers in this community and I know some of you guys have used a head gasket sealer before and this is where you could help out and add a lot of value to this video please
comment below if you've used a head gasket sealer let us know which one you've used let us know your yearming model how many miles how bad your head gasket was and whether or not it sealed it or maybe it didn't seal it or maybe it damaged your engine let us know in the comments the more people who comment the more information we could get and the better this video will be cuz it's not just me doing the test it's also you guys so that's what I'll be testing and that's what I'm going to be covering
in this video and I can't wait to see if we could actually seal a leaking head gasket using a head gasket sealer so let's get started so the first thing to do before you go and add a head gasket sealer to your cooling system or before you go and disassemble the engine and replace that head gasket it's very important to know if your head gasket is actually bad and I think it's also important to understand how a head gasket works that way you could properly identify if you have a head gasket leak or if it's
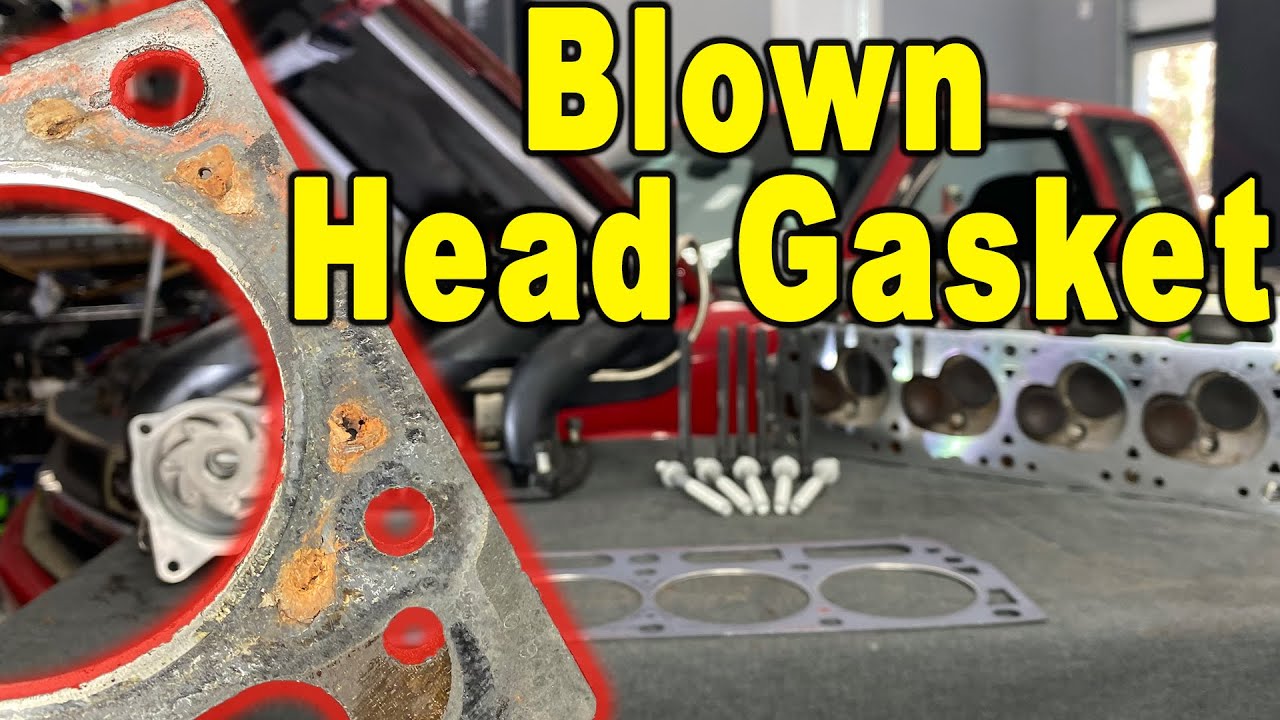
something else so this right here is a cylinder head you can see we have four different cylinders there's the valves in there and all around we have all these holes and these are coolant jackets so this is where coolant runs through the block it runs through the head to cool it down so it doesn't overheat now this is a completely machined flat surface that goes against the engine block which also has a machined flat surface and in order to prevent leaks you need a head gasket like this now the head gasket has all these holes
for the coolant jackets to allow the coolant to flow through but it also has this ring here which prevents the comb buus gases from getting into the coolant and the coolant from getting into the combustion chamber so this is what a good head gasket looks like but if we go to the other side here this is what a bad head gasket looks like you can see right here there is a hole there's a gap between our coolant port and our combustion chamber so that allows the coolant to flow into the engine and get burnt up
and it allows combustion gases to get into the coolant when that gasoline Burns and cause bubbling and overheating now if you think you have a head gasket leak there's a good chance that your engine is probably running warm or overheating or maybe you notice that your coolant is getting low and you always have to top it off so we have to figure out where that coolant is going if it's going into the engine then you know you have a head gasket leak if it's leaking somewhere else then well you have a leak somewhere else and
you don't have a head gasket leak so we need to figure that out and there's a couple easy ways to do that the first thing to do is start the engine let it warm up to operating temperature and look for any external leaks after your engine is completely warmed up and that thermostat is all the way open now we can start looking for Le leaks and we want the engine to be warm because when it's warm the cooling system is pressurized so we'll be able to find any leaks now you want to check all these
coolant hoses you want to check your water pump and I don't see any leaks there and another common area that leaks happen is at your radiator so a really easy way to look for leaks is to go under the car and just look for any puddling of coolant and I don't see anything here it looks bone dry so in this case our engine is looking completely dry I did a more thorough check before and I don't see any external leaks so if we don't have any external leaks where is this coolant going it has to
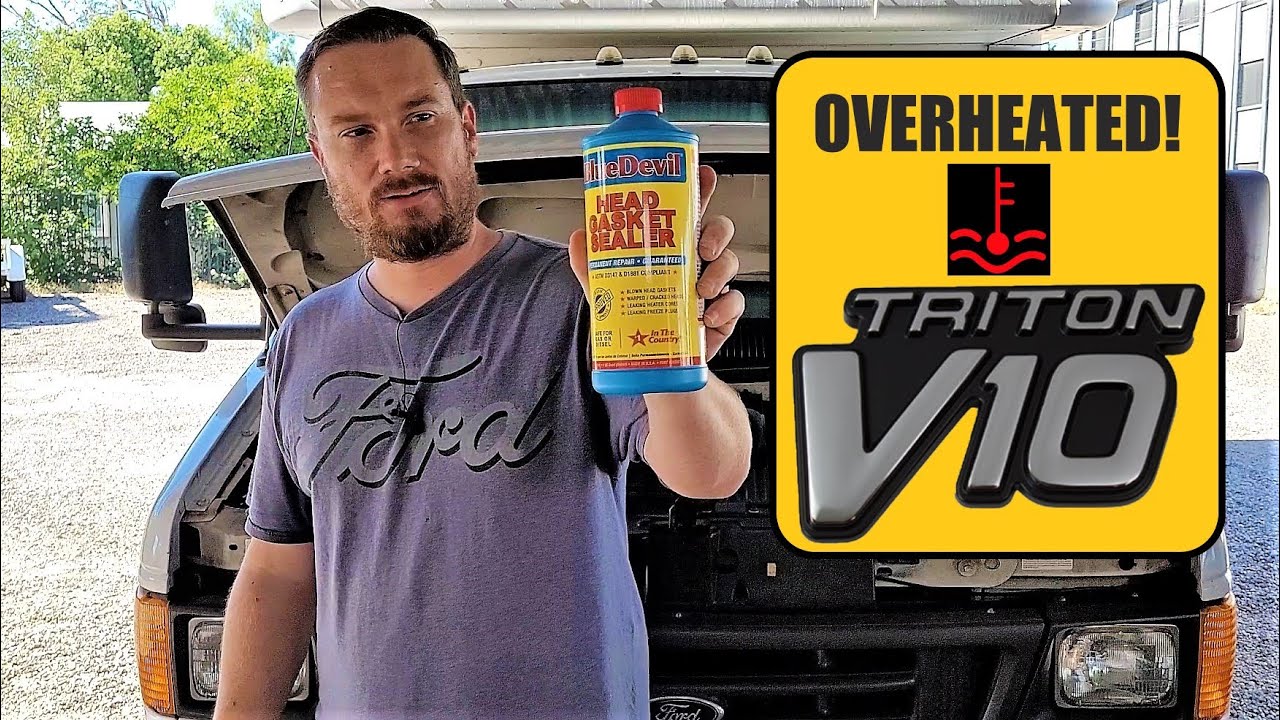
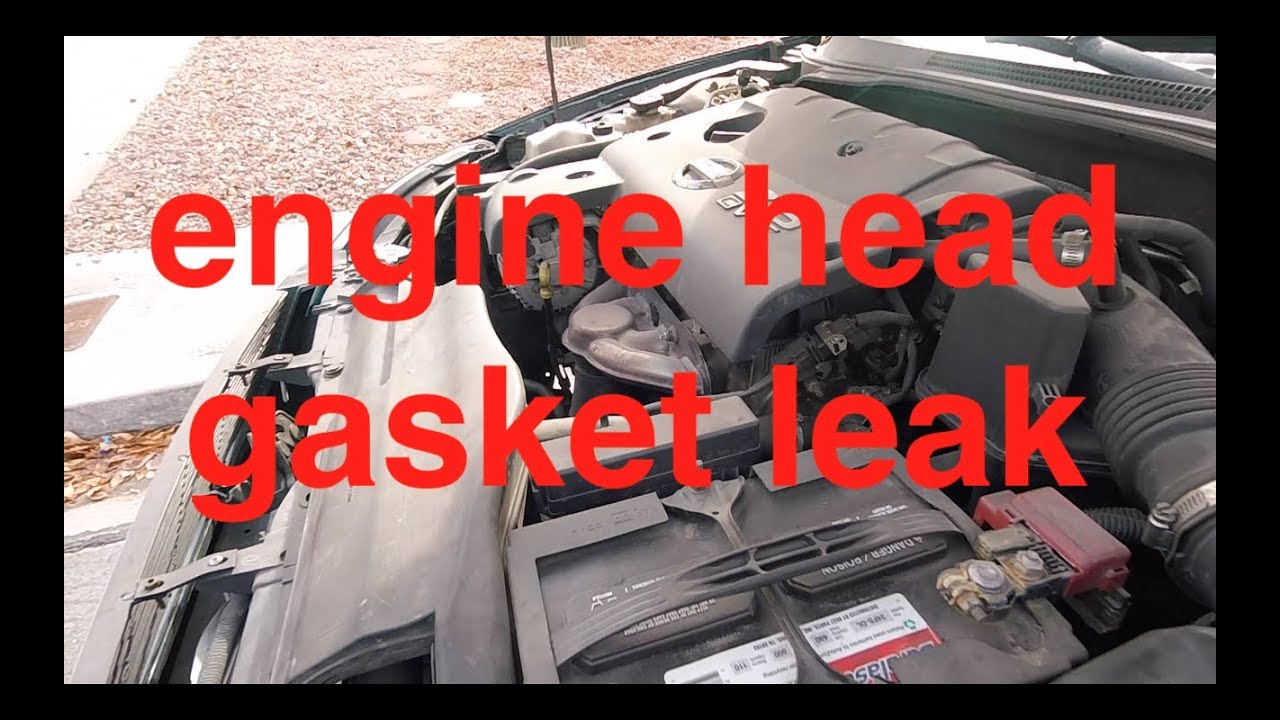
be going into the engine and there's two ways to check that the first way is at the exhaust if you have a lot of coolant burning off quickly you're going to see white billowing clouds of smoke a really good example of this is with the Del so when I got it the owner said it had a head gasket leak and you can see once I start it up it's completely obvious we have a head gasket leak here now in the case of the Jaguar it's not completely obvious we don't see smoke it's running right now
and it looks fine so although checking the exhaust is a good method to see if you have a head gasket leak it's not a perfect method you won't always be able to tell with just the exhaust so the next thing to look at is the oil in the engine cuz there's a chance that coolant is getting into the oil so remove the dipstick and let's inspect the oil now this oil looks fine it looks like used oil but let me show you what oil from a car with a head gasket leak looks like okay so
you could clearly see the difference here the oil from this car is all froy and creamy so this is another good indicator to tell if you have a head gasket leak so the oil isn't telling us we have a head gasket leak the exhaust isn't telling us we have a head gasket leak the last thing to look for to see if you have a head gasket leak is either at your radiator or in this case we have a reservoir and we're going to check for bubbles which means that exhaust gases are getting pushed into the
cooling system and are coming out of our Reservoir or radiator so the first quick way to test for exhaust gases in your coolant is to use a test kit like this this fluid is blue when exhaust gases touch it it turns yellow so to do this test start the engine and next we're going to let her run and get to operating temperature and then what we're going to do is take our tester and place it in the opening of the reservoir and if you have a radiator put this where the radiator cap goes and with
this in place you want to make sure you don't have coolant all the way up to the top because we're going to be squeezing this bulb sucking air into this to air rate the fluid we're going to add so we want to make sure the coolant is low if it's not low get a turkey baster or something suck some out and in this case you can see our coolant is here so we're not going to suck it in by accident all right so now's the fun part let's remove the top of the tester and add
our blue test fluid to the fil line and then we need to get that top back on good and finally depress this bulb at the top to suck air into the tester and this will see if we have exhaust gases in the cooling system you wanted to press the bulb a bunch of times for about a minute and if it stays Blue you're good to go and you don't have a head gasket leak but you can see already this is turning from a dark blue to a yellow look at this before and after and the
side by side makes it clear we have exhaust gases in our coolant so now we have verified that we have a head gasket leak I'll be sure to to include a link to this tester in the description so you can easily find it it's not too expensive and as you saw it works really well but I do have one more way to do this which costs less money if you already have a spillproof funnel it's free and that is actually looking for those exhaust bubbles so let's install the reservoire adapter tighten down the cap and
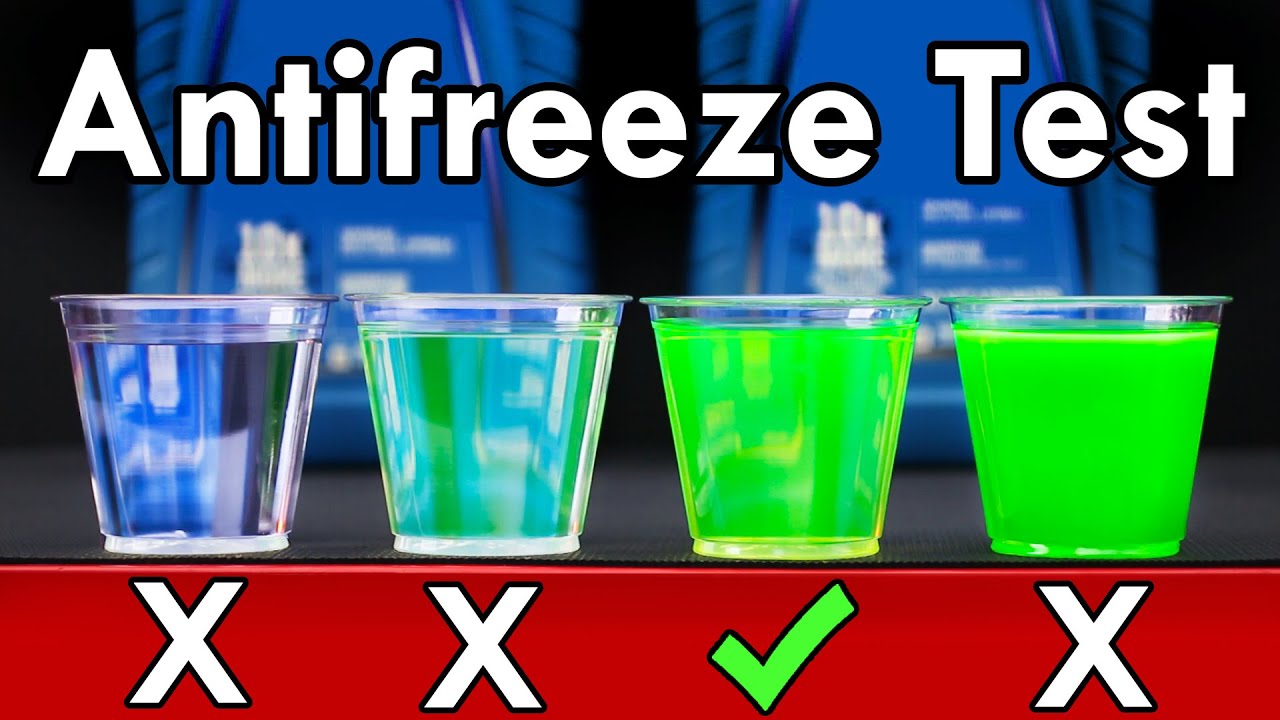
finally add our spillproof funnel and now what we're going to do is we're going to grab our antifreeze and we're going to fill this funnel all the way up so it's the highest point in the cooling system and you want to make sure that you're using the correct antifreeze for your vehicle don't use straight water because in the winter it could freeze we want to give that head gasket sealer the best opportunity to work and the best opportunity will be with the correct antifreeze so we have our European Vehicle it says Jaguar 1997 and up
so let's fill the cooling system all the way up and continue filling it until the funnel is about 3/4 of the way full and then you could start the engine and the reason why this works is because our funnel is all the way up here filled with coolant it is the highest point of the entire cooling system so any exhaust gases getting past the head gasket are going to flow up and out to the highest point which is this right here so you could see those bubbles right there those are exhaust bubbles it actually smells
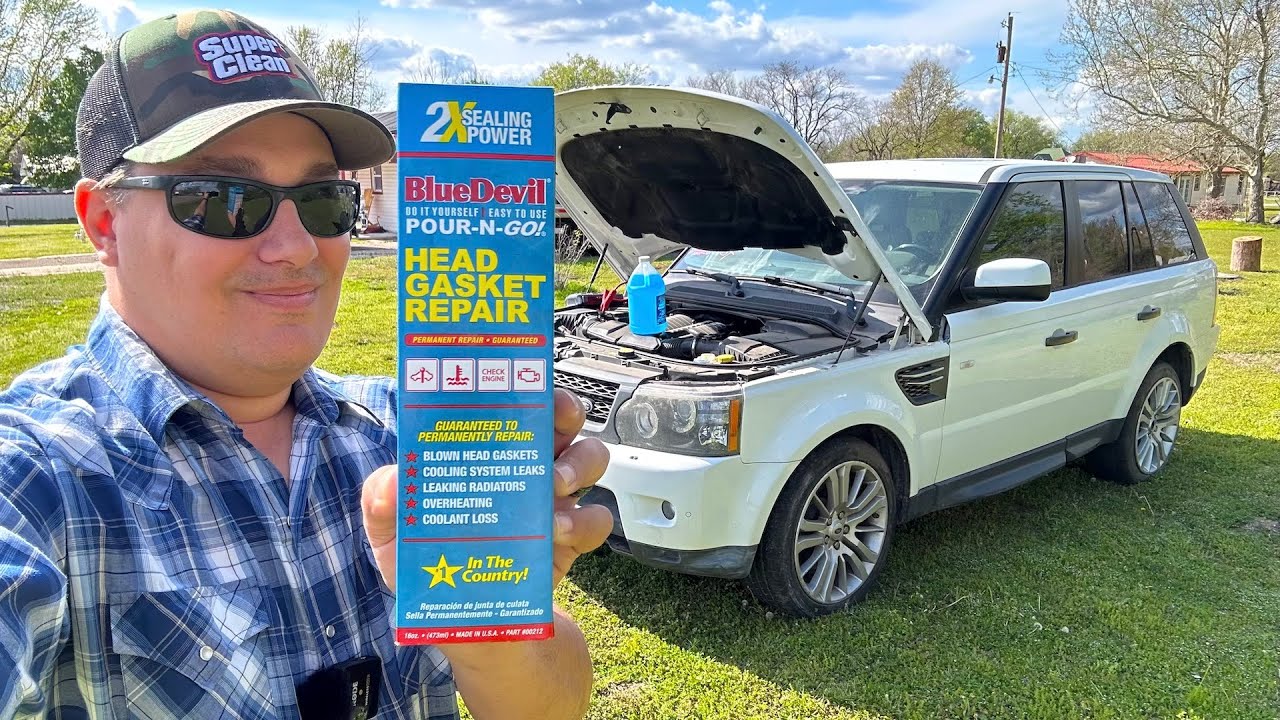
like car exhaust every time it bubbles up and that is a way to prove that you have a head gasket leak without actually having to use a test kit all right so now you know how to tell if your car has a head gasket leak and the Jag obviously does so what next well you have two options one of them is to use a head gasket sealer in a bottle like this or repair repair the head gasket properly the best way to do this is to repair the head gasket in your car properly by replacing
it but it's expensive to do or if you do it yourself it could be timec consuming or complicated but the biggest thing is how much is your car worth versus the repair cost so like in my Hummer if the head gasket went I would 100% replace the head gasket same thing with the vet same thing with the drift thing those are cars that I really like that I plan on keeping forever that are valuable but this thing right here this thing isn't that valuable it's about $1,500 the value is my dad being able to use
it every day to go back and forth to work and to have a shop replace the head gasket I did get a quote just to see how much it would cost take a guest remember this car is worth about $1,500 the shop quote says they would charge $1,500 for parts and $6,000 for labor totaling $7,600 to replace the head gaskets in this car so the car is either going to have a head gasket leak and be junk and we have to get rid of it or we give something like this a try and see if
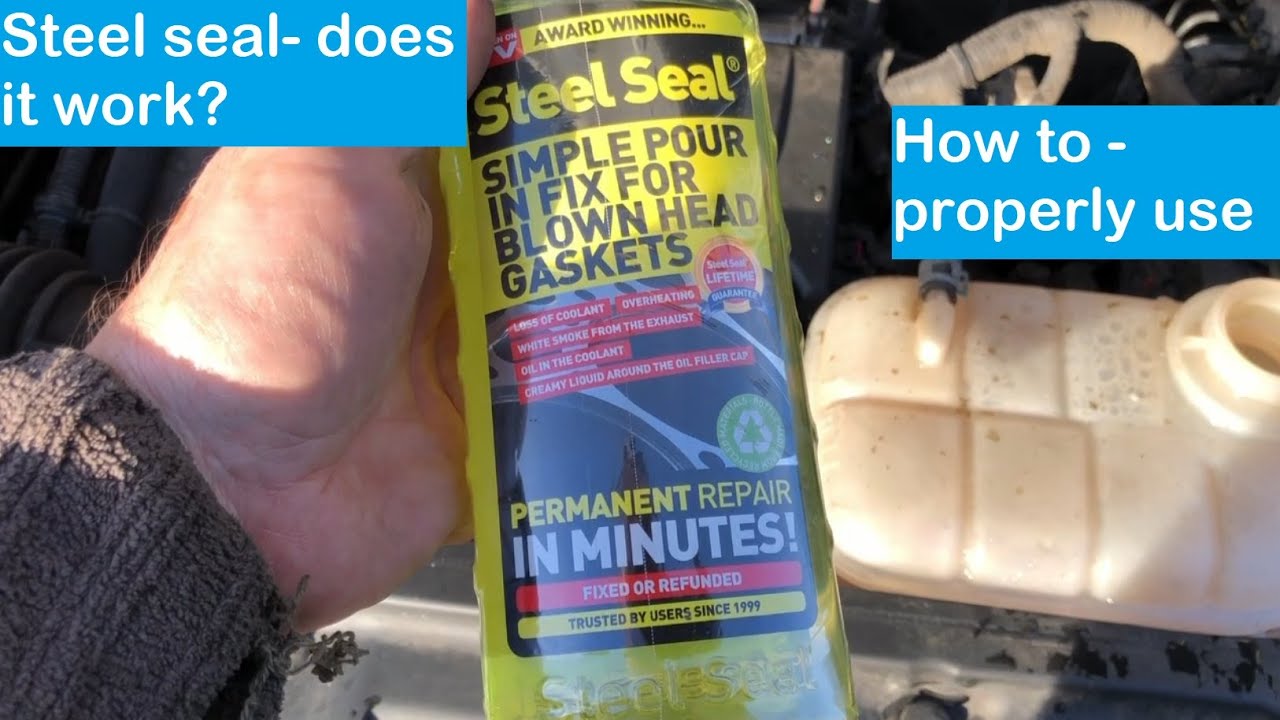
it works so now you guys get a good idea of when something like this is completely worth trying and the Jaguar is a perfect example all right so now you know how to tell if you have a head gasket leak and you know how to tell if your vehicle is a good candidate for a head gasket sealer in a bottle but which one should you use well first let me show you real quick how a head gasket sealer works so we're going to pour some of this out so you get an idea this is sodium
silicate this is liquid glass so when you add this head gasket sealer the liquid glass to the cooling system it's going to flow through all these coolant jackets in the cylinder head and the engine and as that liquid glass flows through all those coolant jackets it will flow through the coolant jacket that has the head gasket leak so the coolant is entering the combustion chamber and that's why we're losing coolant and those combustion gases are forcing itself into the coolant which is why we're getting bubbles in the cooling system so those exhaust gases are incredibly
hot over 1,000° and what happens is with that liquid glass when the exhaust gases touch the liquid glass the liquid evaporates from that liquid glass and leaves behind just the glass and that glass is very hard and that's what SEALs up this head gasket leak and you guys know I like to give you real life visuals so let me show you what this looks like to simulate hot exhaust glasses I'm using a torch and when that torch heats the liquid the liquid evaporates and the glass the silica starts to harden and you can see that
happening right before your eyes as the liquid is completely removed from the silica molecules it turns white and even black as it begins to burn and this is what clogs up the head gasket leak you could see it becomes very hard actually harder than the head gasket but it also becomes a lot more brittle so that's how these head gasket sealers work and there's a ton of research and development that goes into these new sealers so that they actually work but these have a bad reputation because of old school hack ways to get a head
gasket sealed so that a owner or stealership could go and sell the car with a bad head gasket and you'll never know for example this is the last car my parents purchased from a used car dealership and not too long after buying the car it overheated on the highway and the engine was destroyed so I decided to take it apart just to see what happened and you could see this white powder well this is sawdust someone added sawdust to hide the head gasket leak and you can see where it completely clogged the coolant jackets so
no wonder this thing overheated and self-destructed so quickly now these products are designed not to do that they're not designed to clog up the cooling ports they're designed to only clog up that head gasket leak where the exhaust gases are but that doesn't mean that people can't use these the wrong way cuz it isn't a perfect repair so make sure you use this responsibly don't go trying to fix your car and then sell it off or anything like that this is literally just so that we could use the car and then donate it afterwards so
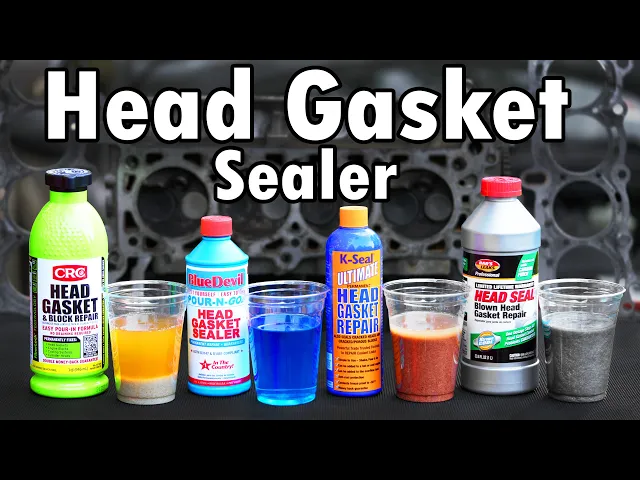
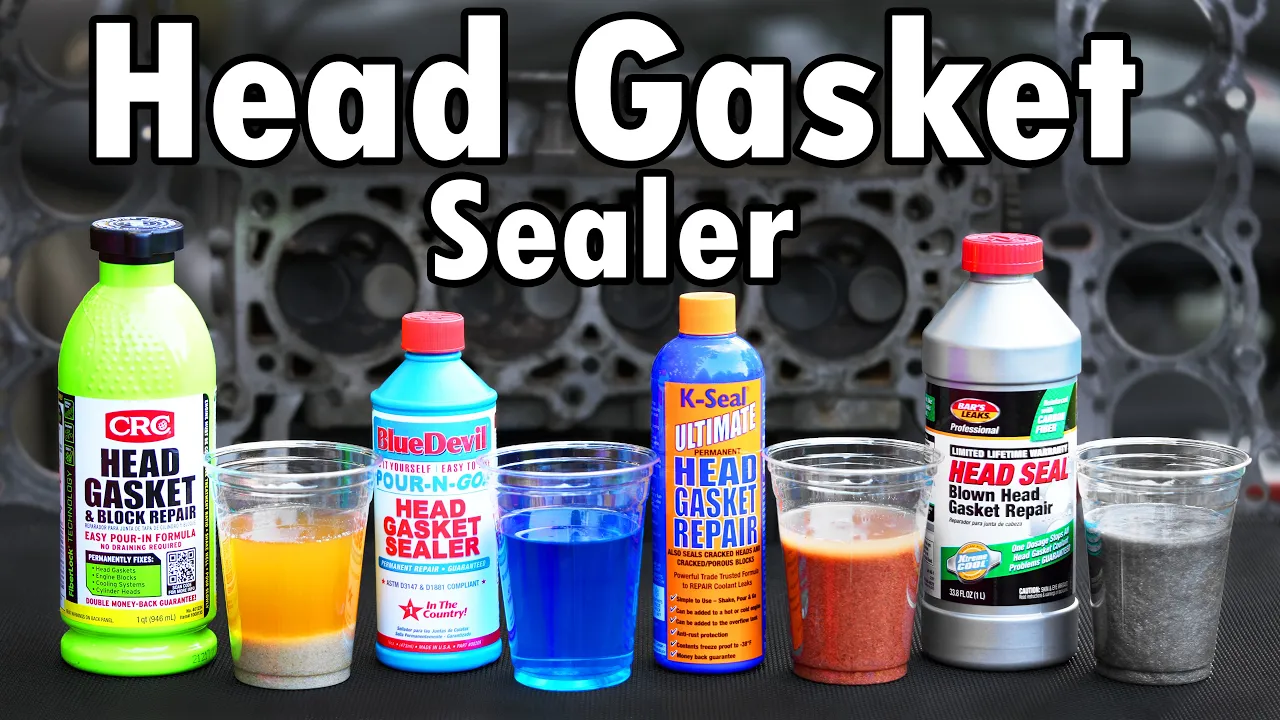
with that said which one is the correct sealer for your vehicle so there's a ton of different head gasket sealers out in the market here's only four of them but I picked these specifically because they all had decent reviews they're easy to find I'll be sure to link them in the description and because they are all relatively inexpensive and around the same price no matter which one you end up using it's very important that you follow the instructions on the bottle each brand has its own instructions and they know exactly how to give you the
best chance to seal up your head gasket so with that said the most important thing to look for is idle time so how all these work is you pour this into your cooling system and then you have to let your engine idle now in this case the Jag will idle for about 15 to 20 minutes before all the coolant is consumed and the car overheats so we can't use a product like this where it says it takes 50 minutes for the sealer to work but these other ones will work in our situation the next thing
to consider is what is inside each of these and how it works because that's what sets these apart so let me show you this sealer pours just like water and is not thick at all and it consists of sodium silicate and finely chopped fibers which are designed to act like rebar in concrete this sealer also pours like water and it's completely liquid it has sodium silicate and ethylene glycol which is antifreeze now this sealer is different not only is it thicker but it uses copper and fibers that solidify with pressure and heat so it doesn't
use any liquid glass like all the others and finally this sealer is easily the thickest and pours like a smoothie it has sodium silicate in it and carbon fiber and again this one is very thick and I do have a slight concern that this could clog a radiator heater core or thermostat so out of all these which one am I ch using I'm choosing this one it will work within that 15-minute time frame that we have also this has fibers in it which could help work could cause issues we'll find out and I think those
fibers will help with that long-term seal if we could get it to work so let's get started all right it is time to see if our head gasket sealer actually seals the head gasket and start our long-term test So the instructions said to start with a cold engine and remove the radiator cap obviously never remove this if it's hot and then according to the instructions since we have a 10 qu system we are going to be using a half a bottle if you have over 10 quarts in your cooling system then you're going to use
a whole bottle and we're going to be adding it to this so we need to make enough room in our Reservoir to add a half a bottle of our sealer so I'm using a turkey baster to remove some of the coolant from the reservoir to make room for the head gasket sealer and you can see the coolant level is now low enough so that we have enough room to add our sealer next we have to shake the sealer up and this is very important cuz the stuff in here settles and we need to make sure
that we mix it so it's a nice and even solution now we need to pour half the bottle into the reservoir just like that and finally we could top off the reservoir with our coolant so that it's completely full good now let's get this funnel out of here and put the cap back on so we could start the engine okay so now comes the fun part let's see if we can get this to work so what we need to do is we need to start the engine let it idle until it reaches operating temperature and
then shut it off it is that easy so let's go start it up good and then immediately what we want to do is come over here go to the climate control turn it on and put the heat up all the way and if you have a heater control valve what that does is that opens it up so that it doesn't get clogged up it's very important that we have heat this winter it gets cold here and we do not want the heater core or heater control valve getting clogged up I'll keep you guys posted on
if that happens hopefully it doesn't but right now our focus is just getting that head gasket sealed so the next most important thing would be to watch your temperature gauge we need this temperature gauge to go about halfway there that means it's at operating temperature but you want to pay attention and make sure it doesn't overheat by accident so keep an eye on this and 15 minutes later our engine is at operating temperature that means our thermostat has opened up all the way and it allows our water pump to pump all that head gasket sealer
that was in here throughout the entire cooling system so now what we need to do is shut the engine so with the engine shut now what we want to do is let it cool completely down to complete an entire thermal cycle basically what we want to do is heat the engine all the way up up and then let it cool all the way down and that'll help solidify the head gasket sealer and make sure that we hopefully Clogg the head gasket leak so you can let this sit for a couple hours I'm going to let
it sit overnight and tomorrow we'll go for our test drive to see if our head gasket is sealed now one day later we know the car completely cooled down cuz it sat overnight so let's go and take her for a ride and just to show you guys I'm monitoring the coolant temperature straight from the computer so we have an accurate reading we're at 84° F right now and that's Ambient Air Temperature so as we go for a ride we'll keep an eye on that temperature all right so only 5 minutes into the test drive and
the temperature is steadily increasing over normal operating temperature operating temperature is anywhere from like 195 to 205 or 210 F but right now we're approaching 2115 and this is getting me nervous so I'm going to keep an eye on it okay so 5 minutes later and take a look at this temperature gauge we're pretty much overheating if this gets into the 240 range I need to shut this off right away because the engine will get damaged so we've only been driving 10 minutes and we're at 235 [Music] 232 fah and it's just starting to go
down a little bit now but something's not right now we're at 228 226 and it's dropping down now which is good and you want to know what I think the thermostat got clogged up which caused that huge temperature spike it almost ruined the engine but now it kind of unclogged itself because the temperatures are dropping down a lot and check this out we went from almost catastrophic failure temperature to pretty much what we should be running at all right and after a wild 20-minute drive we are back and the temperatures stayed where they were supposed
to be after we had that big spike they were ranging anywhere from about 199 fhe to 205 we're finishing up here at 207 which is a good sign so let's shut the car off give the engine time to cool down and then we'll go check the coolant level okay with the engine cooled down let's see what we got and that's either completely full or completely empty it looks a little light looks like it's empty this is cool so we don't have to worry about getting burnt let's open this up and let's find out and we
are completely empty that is not good well I shouldn't say that's not good that's kind of what I figured would happen because the head gask still leaking the stuff that we added the sealer has to go into the leak and will slowly clog it up the bottle itself says that it could take a couple of times for the engine to start and stop and start and stop before it clogs it up so what we need to do is we need to fill this back up and I'm going to just continue to drive this as many
times as I can every day and see if we can get this to seal up and hold and real quick I want to show you something this is the radiator cap or the reservoir cap and if you look inside of there you could see there are these fibers and that is what I think clogged up our radiator or clogged up the thermostat now only time will tell if the sealer actually works so let's fill up the reservoir with coolant and it looks like she's taking one entire bottle which is exactly what's been happening since the
head gasket started leaking and then let's remove that funnel and screww the cat back on and go for another ride so this drive is going much better than the last one with our coolant temperature staying steady at around 200° fhe and the best part is the car only used to drive for 15 minutes before overheating but now I've been driving this around for over an hour with no problems so let's head back and check the coolant level and we are back from an hour long drive with zero issues with no overheating and let's see is
our Reservoir still completely filled with antifreeze this engine is nice and cold so I can take this off without anything blowing up in my face oh man look at that we are completely filled with antifreeze to the top the way we left it before we went for our drive and we drove for an entire hour it used to overheat and use all the coolant in like 15 to 20 minutes max and now an entire hour and we haven't used any coolant at all that is huge I think we could say that this is actually working
it is actually sealing that head gasket leak so just to verify we don't have a head gasket leak anymore let's fill the funnel up with antifreeze and start the car so the engine's been running for a little bit our thermostat is open cuz we're at operating temperature and check this out we have no bubbles at all forming which means that our head gasket sealer is actually sealing the head gasket and preventing those bubbles from the exhaust from leaking into our cooling system and the proof is in the pudding look at that no bubbles at all
and one more test to verify the head gasket is now sealed just sque squeeze the bulb a few times and check this out it's staying dark blue and not turning yellow and now we know for sure that our head gasket has been sealed so let's start this long-term test and so you guys know the starting mileage we have exactly 187,50 48 miles on her right now and the goal is to put another 10,000 M on her for this test so my dad really tested out this head gasket sealer to the limits with aggressive City driving
and long cruises on the highway almost every day in the winter the heat actually worked and kept the cabin warm so we know the heater core didn't get clogged up which is good and my dad was getting great fuel economy which indicated that the engine was running good as well unfortunately partway through the year the Corona virus happened and the car wasn't being driven as often as it used to be so I decided to extend the test for another year making it a 2-year long test that way we could put at least 10,000 Mi on
the car and surprisingly for the past 2 years throughout all these different seasons and all the WEA extremes the car ran great and there were no problems until the very end so 2 years and 10,000 Mi later my dad is back from his last Drive in his baby he's been daily driving this car for the past 6 years it's never let him down and he loves this thing so it's a Bittersweet moment but the head gasket sealer test is complete so it's time to show you guys the results and real quick I want to show
you guys the final mileage for this test so let's go check this out and as you can see we are at 97,500 Mi remember we started at 187,00 Mi so we went a total of 10,000 M for this test so let's get right to it and answer the question you've all been wondering can a head gasket sealer actually seal a leaking head gasket and can it do so long term and the answer to both of those questions is a definite yes and this is the perfect example of that the head gasket leak in this car
was so bad that in 15 minutes it would consume all the coolant and overheat rendering this car useless it couldn't be used as a daily driver anymore couldn't even be used around town and to fix it was way too expensive $7,600 even if it was 5 grand or even three grand way too expensive and to do it myself I'd have to drop the engine it would be time consuming it's tough to do outside just wasn't worth it but what was worth it was a $35 bottle of head gasket sealer which kept this car running for
two more years and 10,000 more miles which is absolutely amazing so totally worth it in in this situation but this isn't perfect after those two years very recently my dad gave the car a lot of gas he floored it and he felt it run a little bit different he felt it almost like misfire and you can see right here the coolant is down and that's because the head gasket leak has reappeared so the seal broke after 2 years so it isn't perfect but I'll take it 2 years and 10,000 more miles is a win now
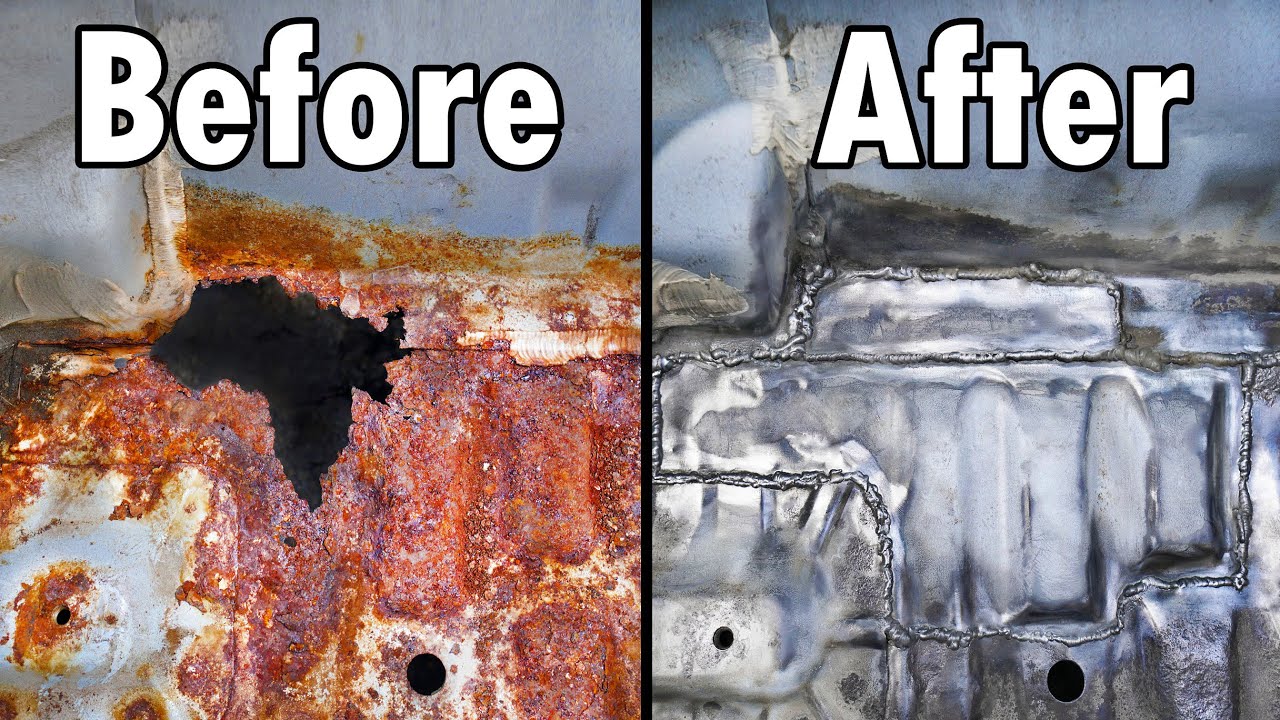
I would do things a little bit differently next time I'll explain that in a second but first I want to show you what the bad head gasket actually looks like so I'm going to going to quickly disassemble the engine and since you're supposed to remove the engine to get to the heads to speed things up I decided to cut out the core support next we're going to remove the radiator and don't worry in a few minutes we'll cut this open and see if it's clogged up at all from that head gasket sealer then we can
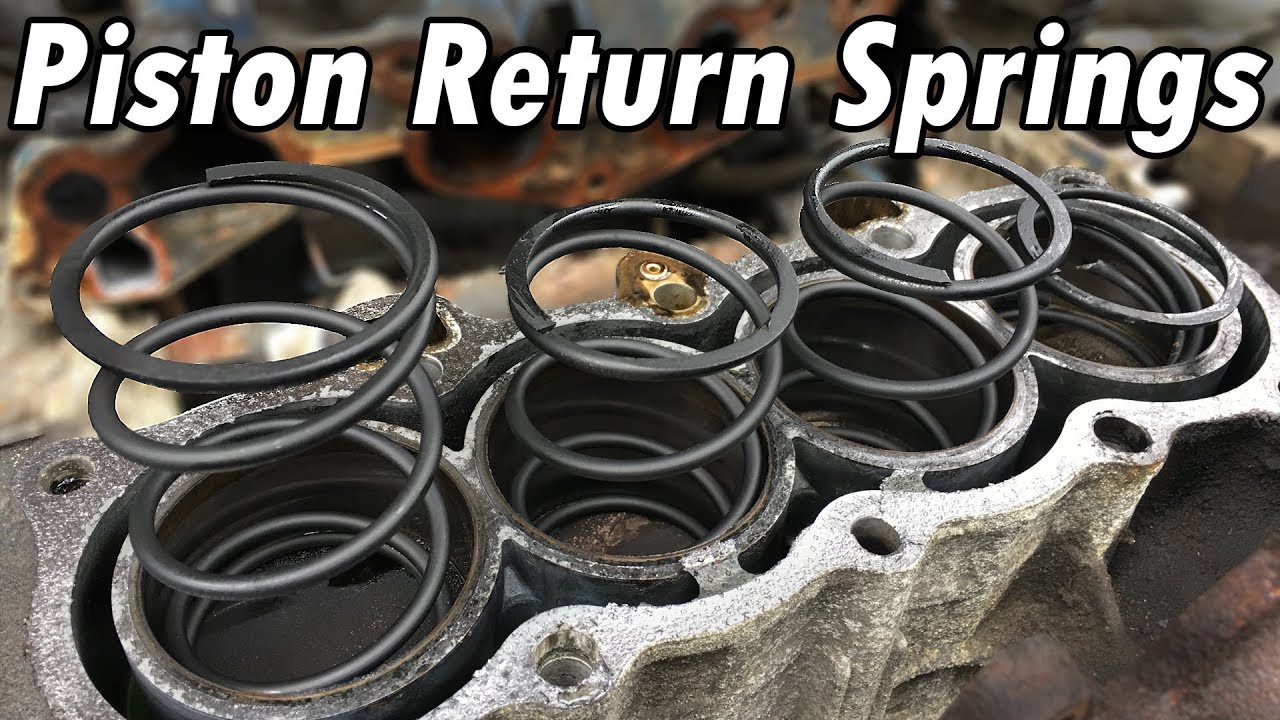
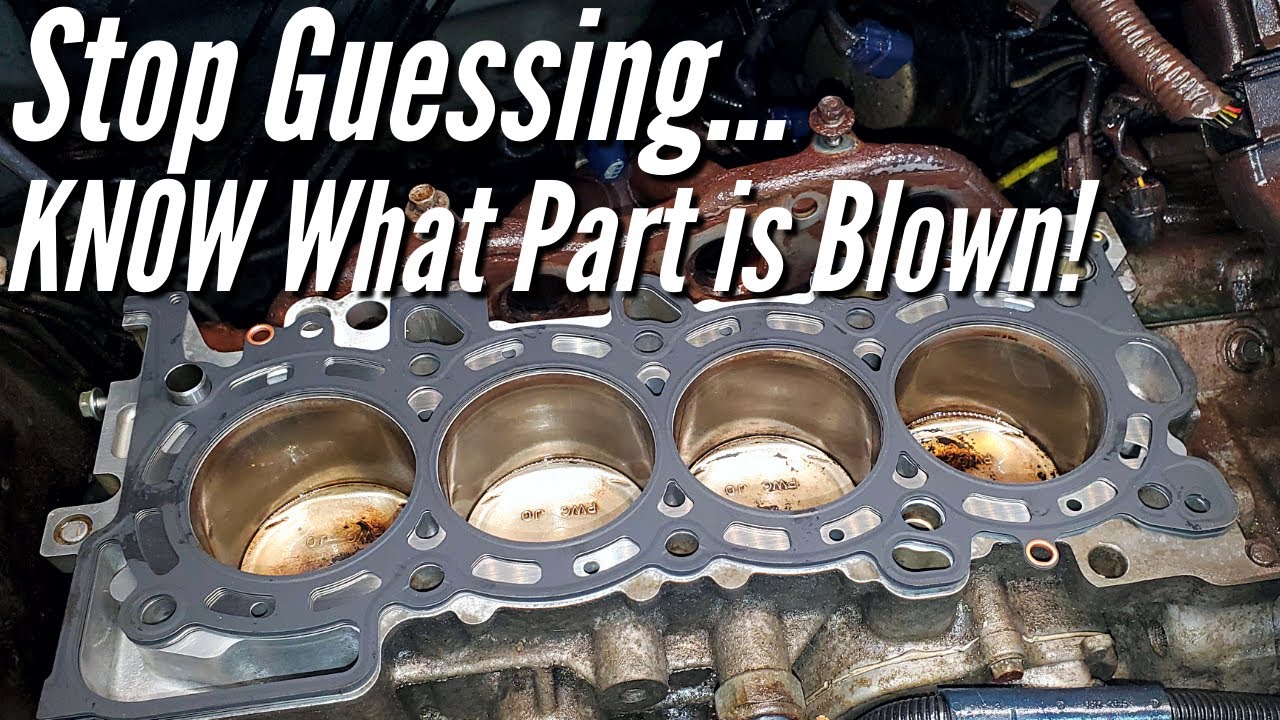
remove the bolts holding in the cam shafts and then we can remove both of the cam shafts next unscrew the eight head bolts which hold the head into the engine block and this is a onepiece timing cover so it needs a little persuasion to come off and finally we could remove the head and now we have access to to the top of our engine block and this is always really cool to see cuz this is something you don't normally get to look at and you can see each of the cylinders here which one of these
had the head gasket leak take a guess the answer that one right there that piston head is nice and clean because the antifreeze gets in there and it steam cleans the Piston head and you can see these piston heads have carbon deposits on them while that one's nice and clean so that's how you can tell which cylinder had the head gasket leak and this head gasket is a multi-layer steel head gasket the reason why they call it a multi-layer head gasket we just spread this apart you can see this head gasket has three different layers
to it the top layer middle layer and that bottom layer and I don't see anything here that shows me that this head gasket is bad it actually looks just fine although this is a very interesting head gasket the head gasket actually blocks off all the coolant ports so underneath you could see all the holes for the coolant that flows through well typically flows through in this case it doesn't flow through the coolant flows across the engine block and these are the only two ports that are open then it flows up and then across the head
I just wanted to show you that because these aren't blocked by that head gasket sealer they're just blocked by that metal gasket now what caused that head gasket leak well let me show you the cylinder head so here's the cylinder head and this is so so cool wait till you see this this is the cylinder that had the head gasket leak and you could actually see the two spots that the head gasket sealer sealed up that head gasket leak here's an up close look and you can see this is the sodium silicate that hardened here
and sealed off the leak and this makes you realize the leak isn't really that big you don't need a lot of buildup of the sealer for this to actually work and how cool is that you actually get to see how the head gasket sealer works and sealed off that leaking head gasket and although I do say leaking head gasket the head gasket is actually fine there's nothing catastrophically wrong with this head gasket the problem is this head got warped and to show you what I mean by warped you can't see it with the naked eye
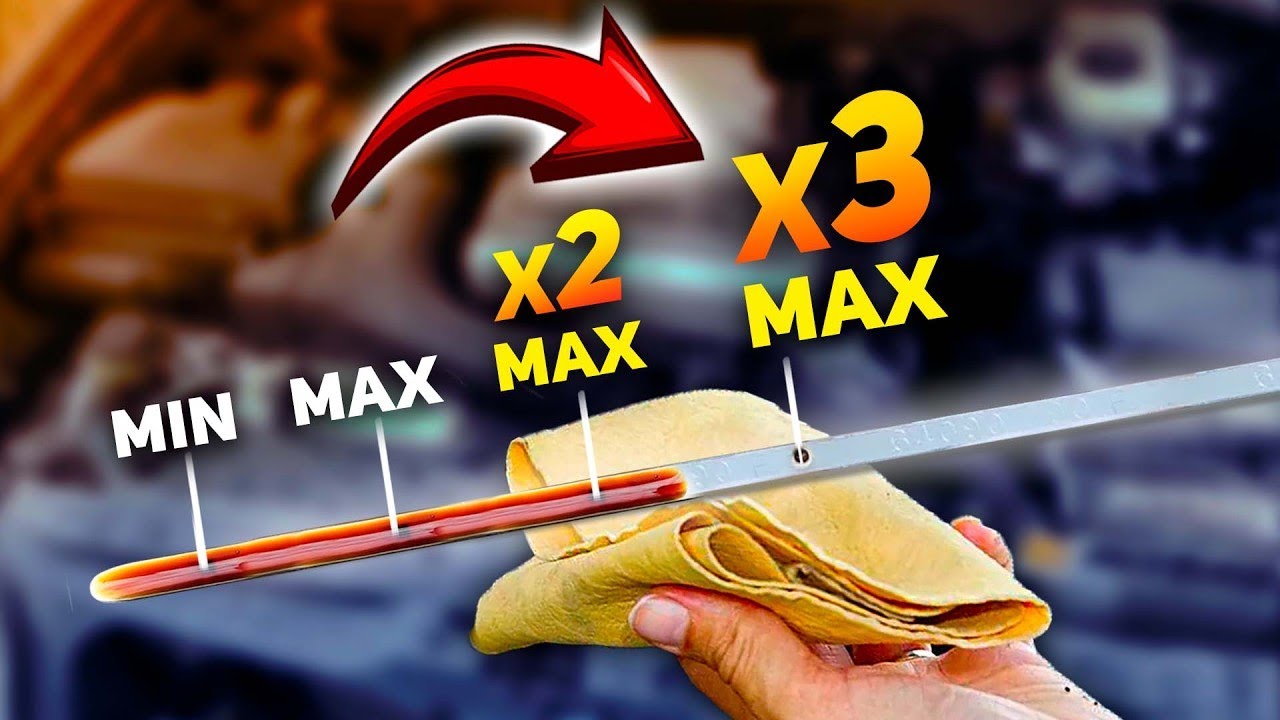
instead you have to use a special tool that is completely flat it's machined and it goes against the surface like this but first you need to clean off the surface surface so that there are no bumps from like that head gasket sealer or leftover head gasket material that way we know it's completely flat so with this surface completely cleaned now what we do is we take the straight edge of our tool here and we're going to lay it against the Block in different directions and we're going to use a feeler gauge 1,000th of an inch
to see if there's any gaps underneath this if there's gaps then we know there is warpage so first we'll use the tool straight down the middle like this and try slipping that feeler gauge underneath and you can see it won't fit under so it's flat now we're going to try across the head like that and you can see the fer gauge fits under here no problem and if we move it more towards the middle and it's getting tighter but it still fits underneath and then at the other end here it doesn't fit so you can
see this head is Warped so even though our head gasket had no physical damage there was no chips there's no cracks there's no way for a coolant to get in because of physical damage to the head gasket we still had a coolant leak because our head was not completely flat it warped due to overheating 1,000th of an inch is all you need and that's exactly what happened to this engine and why we had this head gasket leak and finally let's check out the radiator and see if we have any evidence of these passageways getting clogged
[Music] up okay this is going to be pretty good we're about to find out if the head gasket sealer clogged any part of this radiator so we got these two ends off and I have a light right here so we can see through through the radiator I'll put that right about there and let's see if there are any clogs at all so if I try to line this up just like that and we scan across you could see the light going through each one of those little tunnels and none of them have any clogs at
all which is beautiful and I also checked the bottom row for you guys no clogs at all so the odds are a head gasket sealer isn't going to clog up your radiator it's pretty smooth in there and that sealer only really works when it touches that hot exhaust gas so that's a pretty good thing that's definitely good to know the radiator and the heater core are probably not going to get clogged up and one last thing I want to know is if any stealer got into the engine oil so let's grab an oil sample so
we could send it to the lab to get analyzed and I haven't changed the oil since the head gasket leak started purposely so we could see if there's any contamination and fast forward a little bit here are the results of the oil analysis they said there was a little bit of coolant in the oil but nothing significant so that's probably when the head gasket started leaking cuz we sealed it up pretty quick but more importantly they just protected high levels of silicon in the sample and that represents dirt and that's probably from the head gasket
sealer that sodium silicate and because these levels were elevated there was a lot of wear going on especially from the Pistons so what we learned here is super important if you're going to use a head gasket sealer like this once that head gasket gets sealed up change the oil and the filter right away that way you don't get that extra wear and tear and there you go the most thorough head gasket sealer in a bottle video in the world done you guys know everything you need to know about all of these and those were the
results I can't believe it worked I can't believe we actually got to see the head gasket sealer working the actual head gasket leak all of that now one thing I would do differently next time we used this head gasket sealer this was really thick and I think it caused that temperature Spike because it clogged up that thermostat I would either remove the thermostat or I would try one of these head gasket sealers first cuz these are very liquidy and less likely to cause a clog I'd probably try this one first but either way this one
actually worked and it worked for 2 years and it kept this car running for 10,000 more miles so while this $1900 Jag has been an awesome reliable car for the last 6 years it's time to donate it so out with the old and in with the new my affordable budget super car that cost me $21,000 and don't worry we're still working on that endurance BMW we're going to turbocharge the Delo and supercharge the drift sting but I couldn't resist when I saw this deal so hopefully you guys enjoyed the video if you did remember to
give it a thumbs up I don't know if anybody else who would do a 2-year test like this consider hitting that subscribe button and as always all the tools and products I used are linked in the description stay tuned