So, I love 3D printing, especially the more goofy, larger projects that I typically 3D print. However, I am constantly juggling between print quality and the time that it will take to actually 3D print these larger objects. So, in today's video, I want to give you two settings that I regularly use to help optimize my 3D prints to not only maintain print quality, but also speed up the time that it will take to print these larger objects.
Now, one of the most obvious ways that you can go about doing this and that a lot of people recommend is by swapping out the stock nozzle that comes with your 3D printer. A lot of times those are a point 4 millimeter nozzle to a6. That should allow you to not only speed up the overall print time, but still maintain a good level of quality for your 3D prints.
However, not everybody have access to a 6 millm nozzle or uh I don't necessarily want to go through the process of swapping that out and I just want to stick with a standard point 4 and be able to still print at let's say a 2 mm layer height. And again, if we're sticking with the stock nozzle that comes with a 3D printer, you're going to be looking at adjusting your settings within your slicer for the objects that you're going to be 3D printing. And the best part is these settings that I'm going to be covering are really applicable to any 3D printer that's an FDM 3D printer and any slicer that you're working with.
So here for this example, I'm jumping into Elgu slicer since I'm going to be 3D printing with the Elgu Centauri Carbon. And again, this is applicable to any of the other slicers that are out there. Now, one of the most obvious options that you can go with to speed up your 3D prints is by playing with the layer height that you're going to be 3D printing with.
But again, I want to be sticking with a 0. 2. I don't necessarily want to jump up to a.
24 or even a 28 because I want to maintain the overall print quality for my 3D print. So, if we go from there, we're really going to start looking at things like the number of walls. And I typically, if anything, I'm not reducing beyond two.
I'm typically increasing to try and increase the overall rigidity and strength of the object that I'm printing. But a lot of times, I just stick with the default two wall loops. You can also start playing around with things like the top layers or bottom layers, but a lot of times I just stick with the standard five or the three that most of the slicers in these profiles default down to.
Now, the obvious one here is if we want to increase or decrease the overall print time, we're going to be playing around with the infill. So, here the default in this particular slicer for this profile is 15%. I almost always drop this down to 8% or 10%, again, depending on what you're 3D printing.
If you're printing something that's more technical or needs a lot more rigidity, you're probably going to have to bump that up a good bit more. But the first thing that I really want to call out here isn't necessarily the infill density percentage because I think that's a lot of people play around with that already or most of you are out there. But one thing that I'm constantly talking with people about and realizing that you're not adjusting these, which is just kind of blowing my mind, is playing around with the different infill patterns.
So, the default for this particular slicer and a lot of the slicers is rectalinear, which is a good basic option. However, I have been using a lot of time swapping out to gyroid. Now, gyroid is not going to print faster for you.
That is if anything, it's going to print longer, but it's again going to be much more sturdy of a 3D print and if it's really great for some of those super large objects if you want them to be a good bit more durable and you're not going to be maximizing the enhill. However, the infill pattern that I'm always almost always using now for a lot of my larger prints is the adaptive cubic infill. Now, this might be a slightly different definition across the different slicers, but this adaptively adjusts the infill based on how large of an opening it is that it's printing or how narrow it is that it's printing.
This is a seriously great infill setting. Again, if you're looking to print something that's a little bit more decorative or cosplay related, like I'm typically printing on my end, that you don't necessarily need it to be the most rigid and sturdy of 3D prints. Now, the next one that I want to call out is one that I have to thank Jeff Turner over on the Elgu Facebook group for pointing this out to me I think like a year or ago and I've been using it for the better part for the past year or two now.
Uh that is adjusting your line width from typically it's like a 04 something bumping that up to a 6 and I adjust almost every single one of these settings to 6 and I still maintain a 0. 2 to layer height here and get this 3D printed and this will drastically increase the overall print time for your larger 3D prints. Now, if you're printing things that are relatively small, you're not going to see a massive bumpment difference between your overall print time when using and adjusting the line width setting.
This is going to make it print a good bit faster. It's also going to mean it's going to be spitting out more filament as it's printing. And if you really wanted to maximize the overall print quality of this, you could keep the outer wall at the 042 and then leave everything else at a 6.
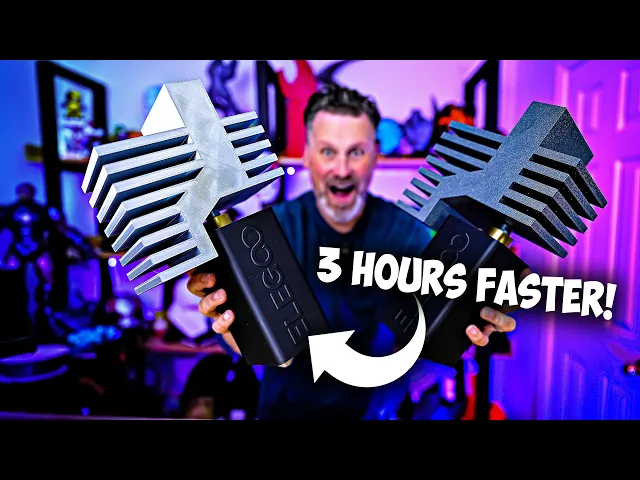
For me, what I found is just leaving everything at 6 has worked extremely well. And we're going to be running some test comparisons here in just a second. And since we need something large to run some print comparisons with, I figured what better way to test this out than to 3D model the Elgu Centauri carbon hotend here and get this printed super sized that we can then use as a wall decoration.
So I busted out my iPad and jumped into Shaper 3D to get this 3D modeled to get this broken up into a few different core shapes that we can then bring into our slicer and get ready for 3D printing. I should also mention that Eligu is the sponsor of today's video and I figured this was the perfect opportunity to run this particular 3D model and print because Eligu has this massive contest that they're running where you can provide a 2D design or a 3D design of how you feel inspired by Eligu and potentially win not only a 3D printer but some cold hard cash. You'll have more information linked down below to their contest.
And if you're interested in more information about the Elgu Centauri Carbon and the amazing things that you can 3D print with it, you'll find links to those down below. Now, as I'm getting everything printed here off of the Elgu Centauri Carbon, I want to recap the settings that I used for these two different sets of test prints that we can compare. The first is using the basic settings that are coming in Eligu slicer.
So, basic things like two perimeters. I have five top, three bottom. Uh it's going to use an 8% infill.
This is the rectal linear infill pattern. and then the standard line width options at a 0. 2 layer height with the 04 mm nozzle.
Then for the version that I have sped up slightly, it's still using a lot of those same exact settings. So the two walls, the five top, the three bottom, 8% infill, but this time we're going to be using the adaptive cubic infill. And for the line widths, we again have those set to 6.
And now that I've got everything printed, all these individual parts, I honestly really can't tell a difference visually between the prints themselves and the quality of them that came off of the printers. And the prints that were optimized with the adjusted adaptive infill pattern as well as the line width set to 6 printed 40 minutes faster than these other sets of prints. While this isn't drastically faster because these are not huge, it's still an improvement.
And as you scale these up, you're going to see even more time savings. So, I took those same set of files and scaled them up to 600% of the original size and got them printed for us to compare. And I ended up printing these with the exact same set of settings, just scaling up all of the parts for these 3D prints.
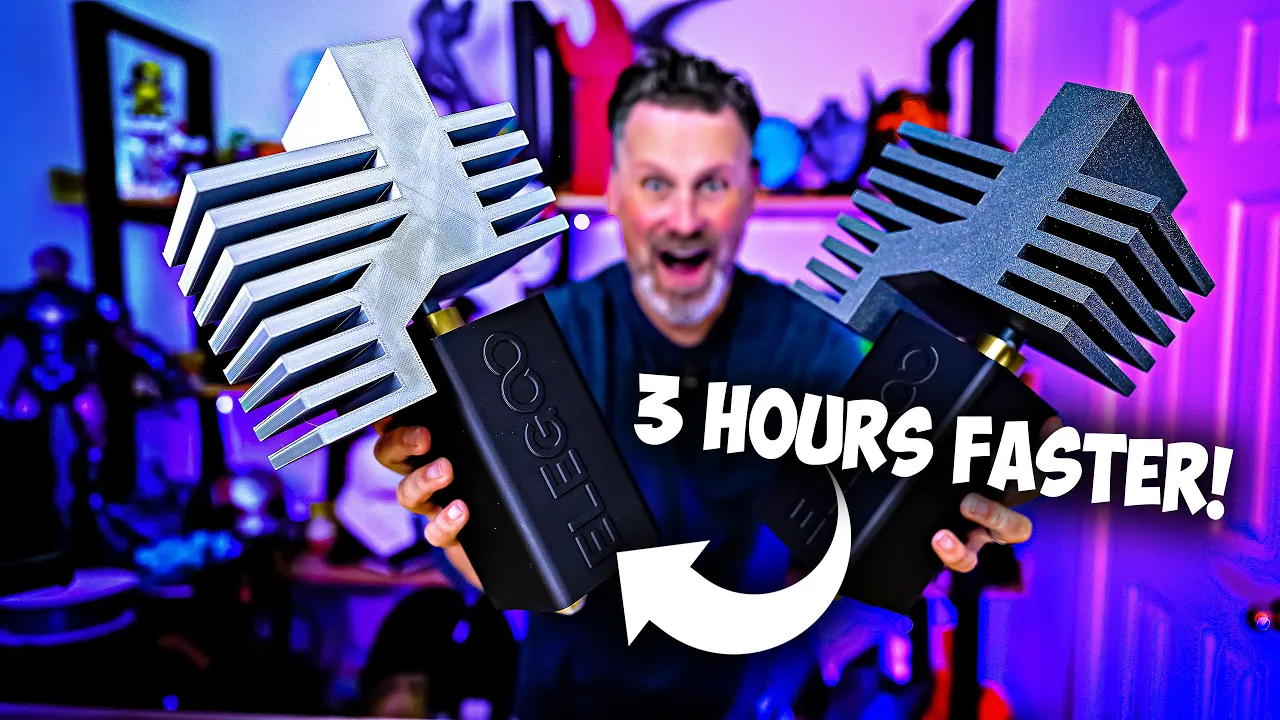
Now, unfortunately, I ran out of the silver silk filament from Eligu that worked perfectly to match the chrome look of the extruder here. So, I ended up going with this sparkle gray filament that Elgoo now has that I'm loving. It's just a little bit darker that we're seeing on the print that took slightly longer to print.
And by slightly longer, I mean 3 hours longer to print than this one here. This took 10 hours to print versus 13 hours. And again, the print quality on these look almost identical just with your naked eye staring at these prints.
you're really not going to be able to spot any major differences between the two other than one took three hours longer to print than the other. Now, there are a variety of different ways that you can cut down on your overall print time. This is just two that I typically use when it comes to printing these larger objects, and I'm hoping it'll help some of you out there with your larger projects.
If you have any tips or suggestions on further cutting down on your overall print time, let me know in the comments down below because I'd love to check them out. I also want to say a huge thank you to all my Patreon supporters for your continued support if you're interested in things like my 3D printer settings that I use for a lot of my 3D printers. You'll find those over in my Patreon.
And if you're interested in 3D printing a set of these oversized Eligu Centauri carbon hotends that you can also slide in some LED rope lights into and wall mount. I'll have links to them down below. Thanks so much for watching you all and I'll see you next time.
Bye.