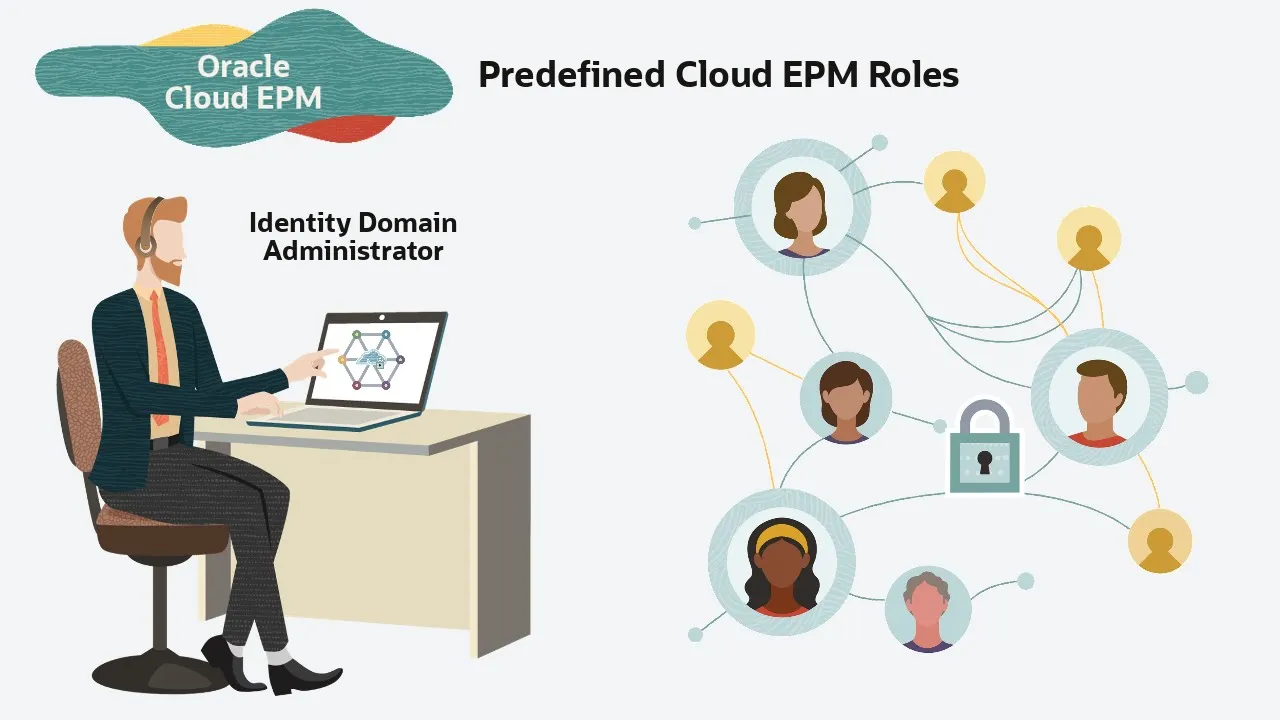
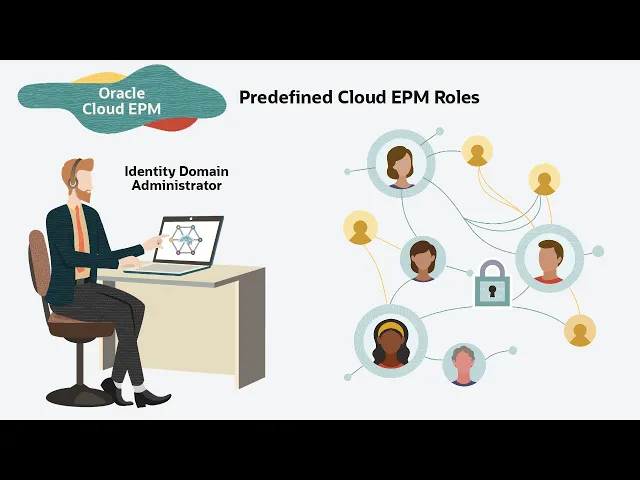
Oracle Identity Cloud Service (IDCS) provides identity management, single sign-on (SSO), and identity governance for applications on-premises or in the cloud. IDCS enables you to perform user and security management tasks. Administrators and users can use IDCS to securely create and manage users and groups, and assign predefined roles to access Oracle Cloud EPM environments.
All Cloud EPM services other than the Enterprise Data Management Cloud use a common set of four predefined functional roles: Service Administrator, Power User, User, and Viewer the Enterprise Data Management Business Process includes two predefined roles: Service Administrator and User. The predefined roles include different privileges depending on the business process. For example, the Power User role in EPM Planning views and interacts with data, loads data using forms and Data Management.
While The user role enables entry of data into forms and submission for approval, as well as analysis using ad hoc features. Predefined roles are hierarchical. Access granted through lower-level roles is inherited by higher-level roles, such as, the Service Administrators, in addition to the access that only they have inherit the access granted through Power User, User, and Viewer roles.
For more information on predefined roles in each business process, refer to the documentation on Managing user roles and Predefined Roles. To create a user, log in to the IDCS console as an identity domain administrator. On the Users tab, click Add.
You must enter the user’s first name last name, and e mail address. If you want to specify a username different from the user’s email address, clear the “Use email as username” option and enter the desired username in the Username field. For this demo, I’ll use the default.
Click Next to see a list of groups that can be assigned to the user. IDCS groups are containers for users. All group members inherit roles assigned to a group.
In the Assign Groups window, All group members inherit roles assigned to a group. select each group that you want to assign to the user account and click OK. You can also assign groups to the user from the user Profile, dashboard or using Groups tab from the menu.
When you add a user, the system generates a password, which the user must change the first time they log in. You can modify a user’s information, reset passwords, or delete users by clicking the Action Menu to the right of any entry in the users list. You can also import multiple users with the batch load feature.
To import multiple users, first, create a CSV file that contains the first and last name, email address and username for the users you want to import. Click Import to open the Import Users dialog. Browse to select the CSV file with your user information, then click Import.
IDCS evaluates all users in the file. It also assigns a job ID to each file that's imported or exported, for auditing purposes. If the job can be processed immediately, a dialog box appears with the Job ID link for the import job.
You will also receive an email to track the Job status. Click the link to review the details that appear on the Jobs page. A table appears with the usernames, and status of the users that you imported.
Now, let’s create a group. Although you can create and assign roles to users directly, it's easier to manage role assignment when you assign roles to groups and then add users to those groups. Navigate to the Groups tab, click Add Enter a unique name and optional description in the dialog box.
Search or select users to the group to give them access to roles assigned at the group level. Then, save the group. The new group is now listed.
You can modify group assignments or delete the group. You can also import or export group information using a CSV file. The group import process is similar to importing users.
Next, let’s assign users to predefined EPM Cloud service roles. Click Oracle Cloud Services and select a Cloud EPM service instance. Select Application Roles.
Select the predefined role you want to assign the users to. You can see the number of users that are assigned to each predefined role When you click the number, you’ll see the list of assigned users. Use the Menu on the right to assign or remove users, groups and applications to the predefined role.
For example, to add users to the Power User role, display the menu and Select Assign Users Select the users you want to add to the role, You can see the list of users added to the Power user role. Furthermore, you can assign a group to the predefined role. Let’s assign the group EPM-Users to a role.
Notice that the users within the group are assigned to the role automatically. You can also perform batch role assignment to users using a CSV file. Optionally, you can designate enterprise applications that Power Users can access through the Menu To learn more, visit docs.
oracle. com.
![[Tutoriel] Chargement de données dans Essbase](https://img.youtube.com/vi/-KOkjvJfpRk/maxresdefault.jpg)