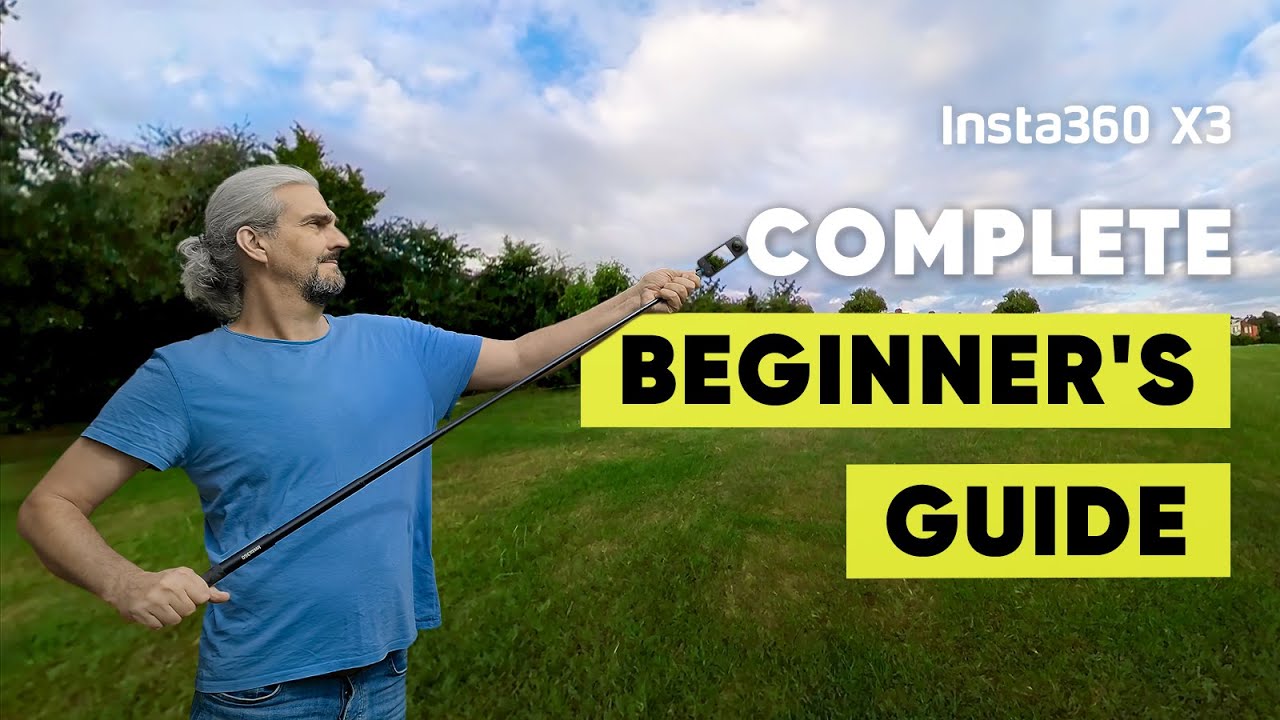
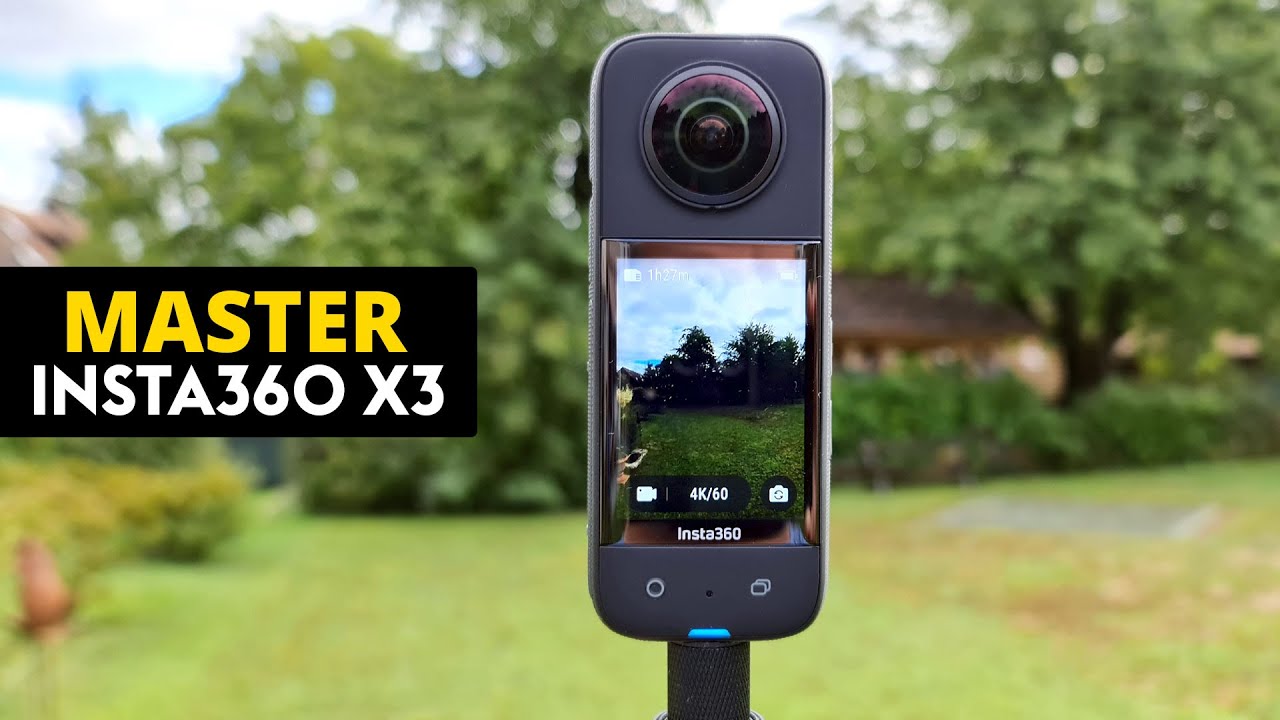
So you just bought yourself an insta360 X3. In this video, MrBen is not only going to show you all of the best shooting modes with the X3, but he's going to show you every single setting of this camera and what everything does in order for you to get the best results possible with your 360 photo and video content. Now let's get started, in three, two one.
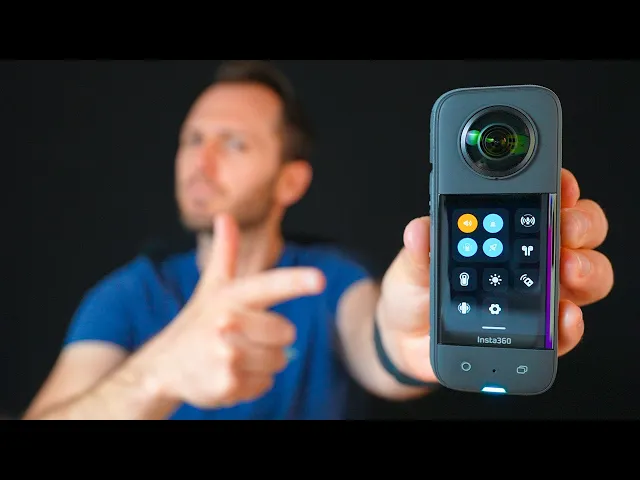
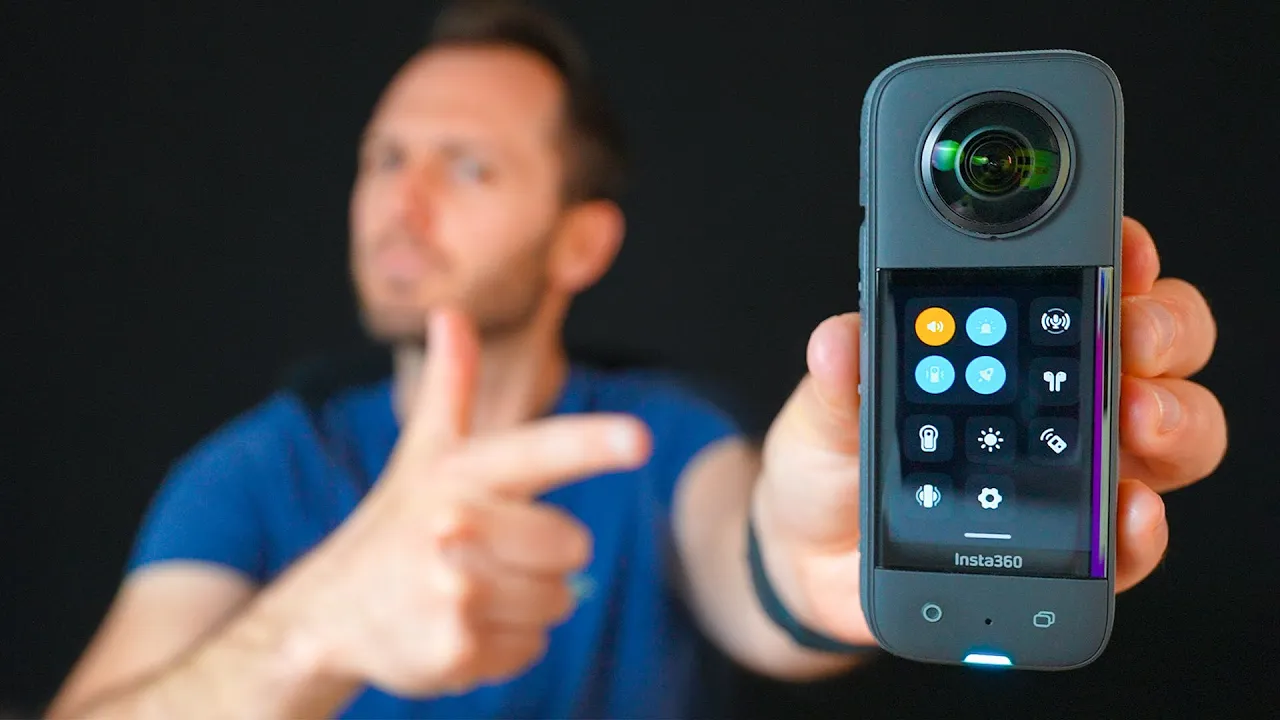
Let's start with the camera body, because this is the first place that settings can be changed press the bottom left button to record a 360 video or take a photo. Bottom right is the lens button where you can change quickly between the 360 view, single lens mode facing towards you and single lens mode facing away from you. On the side next to the power button is the quick settings button which gives us quick access to all of our favorite settings just FYI this hole is the speaker so when the camera makes a noise it comes out here and the camera's microphones are here, here, here and here.
Now on the preview screen there are a few ways to change perspective. First is by pressing the button down the bottom right which switches from forward view to back view. This is different to the lens button because it changes the preview of the 360 as opposed to the lens button which changes the actual shooting mode.
Next if you press and hold suddenly the screen turns from a fixed perspective to a 360 perspective, if you want to take a look around and preview your shot. Now let's take a look at the first menu of settings. So if you swipe down from the top of the screen, we have the general operational settings of the camera.
Up the top left is volume, so do you want it to make a noise while you use it. I prefer keeping it down or even off so you don't draw too much attention to yourself while you're in public. Next to that is the indicator light this refers to This Light down here if the camera is active or recording and you may want to consider turning that off if you're shooting at night time and you don't want to draw attention to the camera, but otherwise it's handy to keep this one on so you can look for the red light to confirm your recording.
Next is vibration which enables or disables vibration of the camera as you're changing the settings and I like this feature a lot so I'm going to keep it on the little rocket icon is quick capture and this essentially means if your camera is off and you press the record button the camera will turn on automatically and start recording which is good in situations where you want to capture spur at the moment shots, but it's also bad in situations where you might accidentally press that button while the camera's in your pocket and you end up recording 30 min of nothing. So I'd recommend turning that off unless you want the quick capture feature. Next to that is audio settings and there are three options, Direction Focus, Wind Noise Reduction and Stereo.
Use Direction Focus if you plan on keeping your 360 video as a 360 video and you want the sound to be spatial, meaning as you move around the frame, the sound gets louder and quieter depending on where people are looking You'll want to use wind noise reduction in overly windy scenes, but in general I just use stereo for best quality. Below that is the airpods button where you can wirelessly connect airpods to your X3 if you want to record sound or use voice control commands through them. Next, is Dive Case Mode and if you are using a dive case you will want to use that.
Then here we have screen brightness and it's up to you how bright you want to make your screen, you can make it really bright if you're out in the bright sun. In general I keep it at about medium so you can still see it but it isn't overly bright, I found in general the screen doesn't drain that much of the battery so if you feel like you want to be brighter I wouldn't worry too much because it's not going to drain that much more battery. Next is Bluetooth remote, if you have one of those, this one here is for lens guards, if you're using them and finally we've got other settings down here.
If you tap that we're really getting into the nitty-gritty of this camera, here it shows the camera firmware always check to make sure you're using the latest firmware. You can find this by opening up the insta360 mobile app and if there's a new one it will automatically prompt you to update. Next is USB mode, so if you're connecting the camera to the computer by cable, you will want to choose udisk mode, if you're using a quick reader to use quick reader and if it's neither of those things just keep it on Android.
Next is Bluetooth wake up and this allows us to turn the camera on through our phone, which I think for sure is a good feature to have on. Next is voice control if you want to use your voice to activate the camera, I probably wouldn't bother with that. Anti-flicker, so this is for low light situations where you've got overhead lights that are flickering, by default it's set to auto.
If lights are still flickering you may want to come in here and change to either 50 or 60 or change your shutter speed by one or two stops. Next is video bitrate, by default it's set to high. I'd probably keep it on high unless you're trying to save on space for which standard would be the better option for lower file sizes.
Next is video sharpness and this is a big one that most people overlook, but it actually has a massive effect on the final look of your shots. Here I tested the X3 in low medium high and highest sharpness and there really is a very big difference between the four, because with high and highest you have that over sharpened look especially when you look at the blades of grass and the general outline of my body, it just has that sharpened look. Which is why I'd recommend medium for a bit of sharpness but not too much.
Next is external mic gain so if you're connecting an external mic choose this to adjust the gain level. Auto sleep, so how long until your camera goes to sleep after inactivity. I'm going to set mine to three minutes.
Auto power off, you'll definitely want to have this set, because sometimes you forget to turn your camera off and you don't want the entire battery to drain while it's in your backpack going between locations. Next you can change language, if you want to do that. Then there's SD card and before you get started shooting with your X3 I would recommend formatting your SD card in camera.
This helps optimise it for performance with the X3 and it only takes a couple of seconds. I'll link the SD card I'm using with the X3 in the description if you're curious. Next is customise button and this essentially changes the purpose of this button here, so if you want it to also be a recording button you can do that but I don't recommend it.
Next is gyro calibration and this is something I would recommend doing before you start using your camera because when the camera gets sent in the post the gyroscope probably goes a little bit out of whack and therefore the camera can't always tell if the horizon is perfectly level. With this all you have to do is place it upright on a table follow the prompts and the camera will automatically calibrate the Horizon. Okay now that the boring settings are out of the way it's time for the fun stuff.
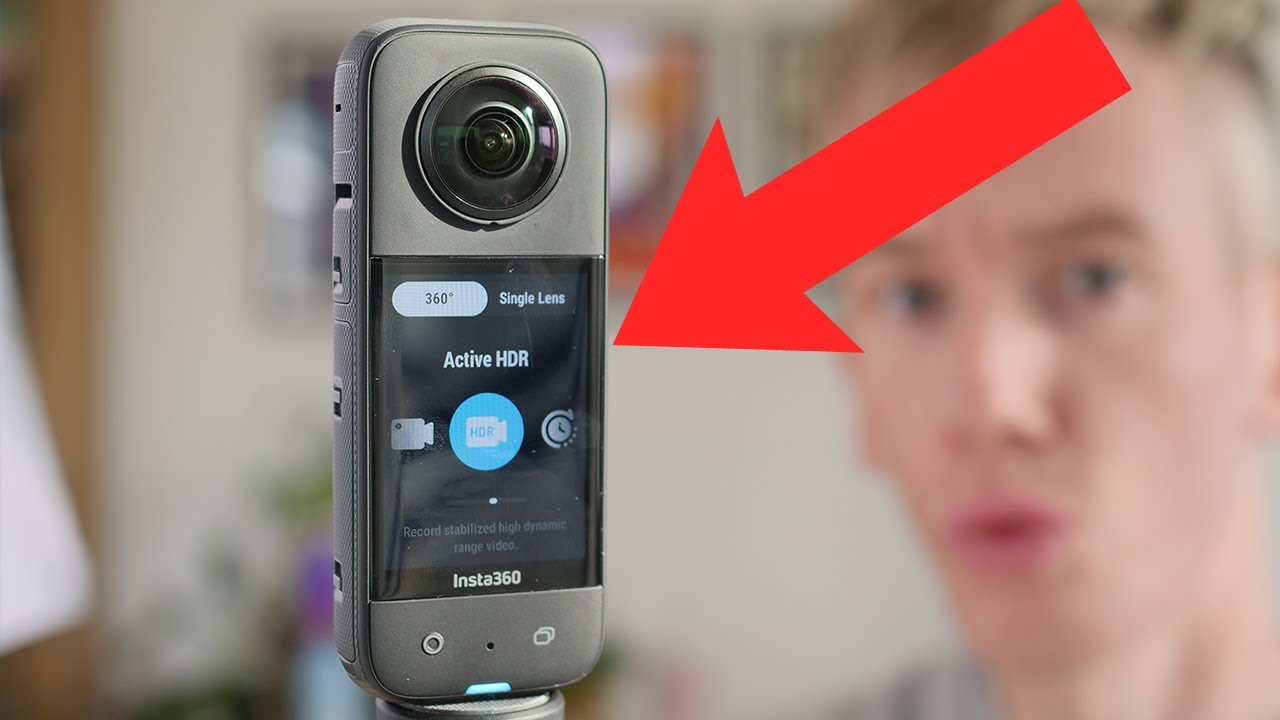
Let's take a look at some of the shooting modes and there are modes for both 360 shooting and single lens shooting. For 360 the first two are video and active HDR. I'd recommend using active HDR if you're outside and you've got plenty of light, this will produce better looking shots with better dynamic range.
The downside is, they can be a bit noisier and lack contrast, even in slightly low light conditions like this overcast day. However these can be added in colour correction, so it really is a trade-off. But I prefer more dynamic range I'm happy to do a bit of colour correction on my shots, therefore I'd recommend using active HDR in most outdoor situations whenever your lighting's tricky or if you're in low light I'd switch to regular 360 video mode so you can set your exposure manually.
Next is Time Lapse and this mode allows you to shoot an 8K time lapse in a couple of minutes where it automatically puts all the files together and exports the time lapse as a two by One 360 video file. This is different to the interval setting which does the same thing, however it exports your shots as individual photos. Next is time shift mode and I wouldn't really recommend using this when you can just reframe time shift videos in post later on.
Then we have bullet time. If you like the bullet time effect this is the mode you'll want to choose, since it gives you access to much higher frame rates. However these will be automatically reframed in post.
So unfortunately you can't use these for regular 360 video. Then there's Loop recording if you're waiting for a moment to strike but you don't know when it's going to be, this mode allows you to capture only the last amount of time that you set. So if you want to be one minute, three minutes, five minutes, all the way up to 30 minutes, everything that is recorded before that gets automatically deleted and the last length of this time gets kept.
Starlapse is for the starlapse effect which is kind of like a time lapse but optimised for low light. First this is a much underrated setting and a great one for any kind of action based 360 photos, so if you're jumping in the air like I am here, it's usually impossible to get the timing exactly right while you're shooting and you end up doing the shot 100 times over whereas the burst fires off nine shots simultaneously over nine frames capturing nine snapshots in time for you to choose the best one, albeit only at 18 megapixels, Finally we have photo and HDR photo and I've done a bunch of tests of these two side by side and I found the results really interesting, so I found that the 72 megapixel pure shot photos were indeed four times sharper than the 18 megapixel HDR photos, however the file sizes were also four times bigger. I'm talking around half a gigabyte.
So if you have a 64 gigabyte card, that's 128 photos and your card is full, so that's really high. Which is why I'd only recommend shooting in pure shot mode if you need the quality such as virtual tour situations or any other kind of photo where you really are focusing on quality. Otherwise for everyday happy snaps HDR photo is a great option and even though it's only 18 megapixels the shots do use the HDR technique capturing anywhere from three to nine shots and I've tested multiple and my recommended settings are shooting three shots two stops apart.
Now if we go into the single lens menu, we now have a slightly different range of modes we can choose from. Again, we've got standard video and standard photo, we've got loop recording just like before. so if you want to keep only the last portion of the clip then choose that, then finally there's me mode, which needs to be done on a selfie stick by holding and out in front of you and the camera automatically points backwards and while the concept is really basic, this effect is fun and unique and I think a lot of you are going to get value out of it.
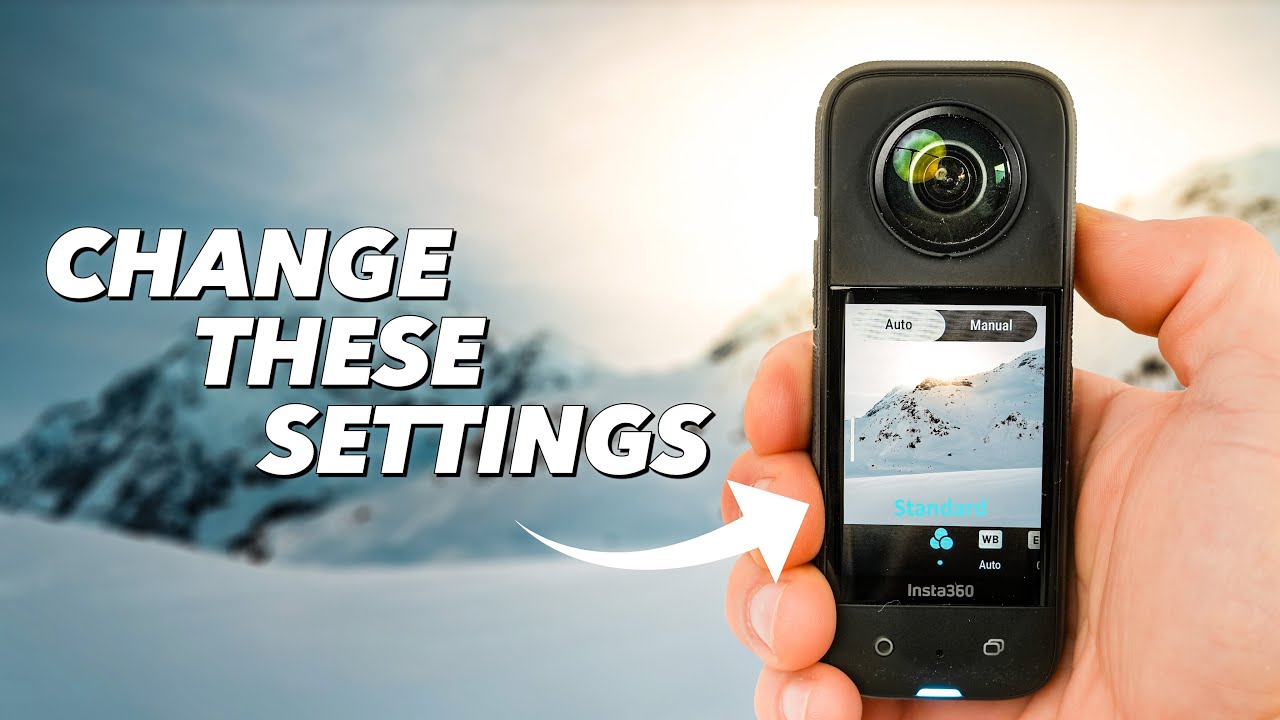
If you want a walk and talk vlog that is fully stabilised you can see your entire body and your environment in the same shot without having to worry too much about framing, but it only reframes towards the selfie stick so you will need to be careful not to point the selfie stick too far away from you. Next let's talk about exposure settings and you can access the exposure menu by swiping from the right hand side of screen and I do want to point out that depending on the mode you chose, the settings available to you are going to be slightly different. Since all the different modes are essentially optimised for different shooting situations, which is why they only allow the optimal settings needed to perform that specific shot and while this isn't a video about how to set your exposure, I do want to point out some things that you want to set up front so you can have them set up whenever you go out and shoot your photos or videos.
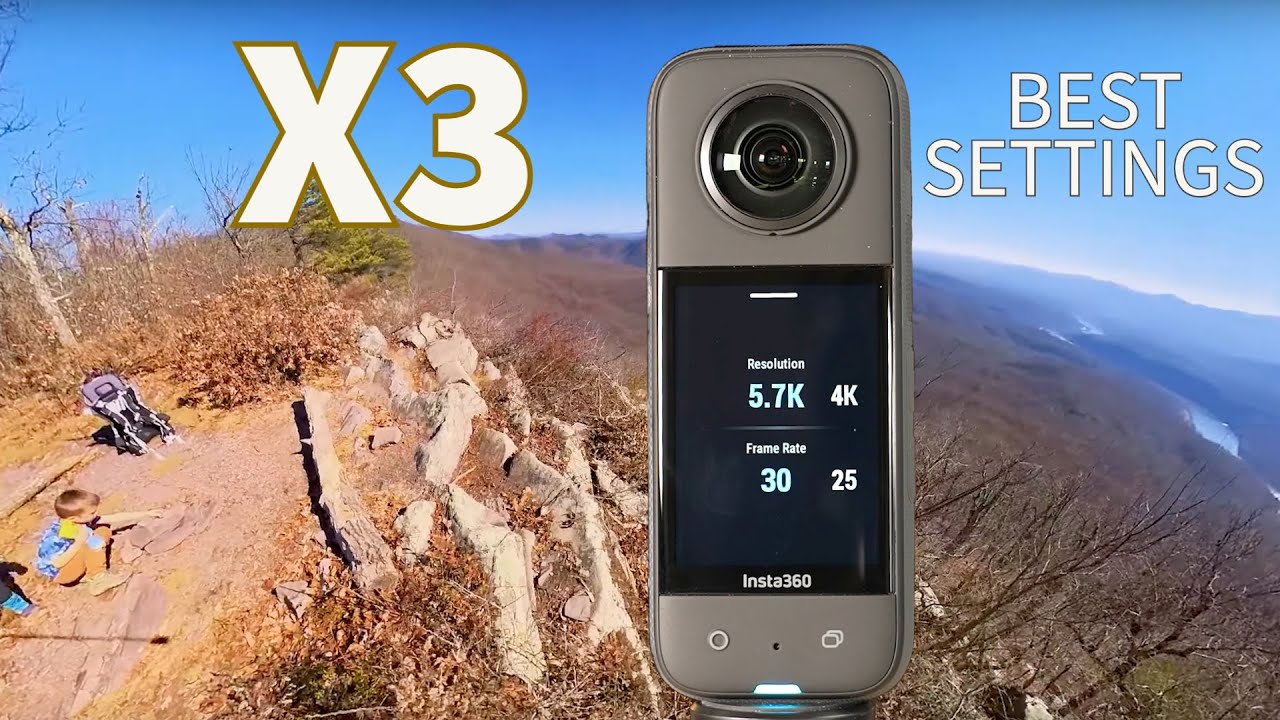
Firstly you want to make sure you're always shooting at maximum quality, you can do that by tapping the menu at the bottom of the home screen to bring up your resolution and frame rate. Same thing applies for both video and photos, for photos I'd recommend setting a self timer of three seconds, to allow you enough time to get your camera in position so you can strike your pose. For time lapse make sure you manually set it to 8K as well as whichever frame rate you prefer the final video to have.
In bullet time mode you can pick 3K 180 or 4K 120, so again pick whatever you prefer. All other shooting modes use the same settings I just mentioned, so repeat the process with whichever mode you're going to be using. Now to get full manual control of your exposure, switch into manual mode and here you'll have a lot more control over things like your shutter speed and your ISO.
In most daylight situations however, auto exposure usually does a good enough job. Now let's take a look at some of the best presets to use, to get the most out of auto exposure. First one is the colour profile you use, you can choose between standard, log and vivid and they all produce slightly different looks out of the camera, with vivid being the best by far if you were to do no colour correction.
Personally I prefer the brighter coloyrs that Vivid brings. If you were to colour correct these shots, I still think Vivid is the best choice, the shots are nice and colourful and it doesn't come with some of the ugly stuff you're seeing with the other two, so I would recommend choosing the vivid colour profile and you won't really need to change your white balance or exposure unless there's any glaringly obvious mistakes that the automatic settings are making. Now there is an isolated exposure mode and what this does, is it chooses different exposures for different lenses.
So if one side of your scene is really bright and one's really dark it gauges the exposure of each slightly differently and tries to expose your shot in a way that blends the two together a bit better. Which brings me to Quick Settings, remember our friend from before the Q button. If we click that, up comes our exposure presets, so if you've got favourite ways you like using this camera, like me modes, time lapse, photo or maybe you want one with your favorite low light settings.
You can add new presets, like if you're doing any outdoor activities, your camera settings might be slightly different or just create your own. To edit your presets, tap the three dots and overwrite. This will update the preset with the current manual settings that you're using with the camera, so be sure to set them beforehand.
Last but not least we have our Gallery, so by swiping left we have instant access to all of our 360 shots, with videos you tap to play, with photos same thing. To delete your shots one by one tap the trash can at the top right, if you want to delete multiple at once hit the icon at the top left then with the check mark we can select all of the clips we want to delete and those are all the settings as they stand now in late 2022. If there's any I missed be sure to let me know down below.
So there you have it, that is how you can get the most out of your insta 360 X3. There are really so many ways you can use this camera, so I definitely recommend going out and trying a few of these modes, because they'll produce some weird amazing crazy mind-blowing shots. If there are any new additions to the X3 through firmware updates and there will be, I'll be sure to let you guys know.
So make sure you hit the Subscribe button so you can be the first to find out about those. So now that you know how to shoot with the X3, next you'll need to know how to edit.