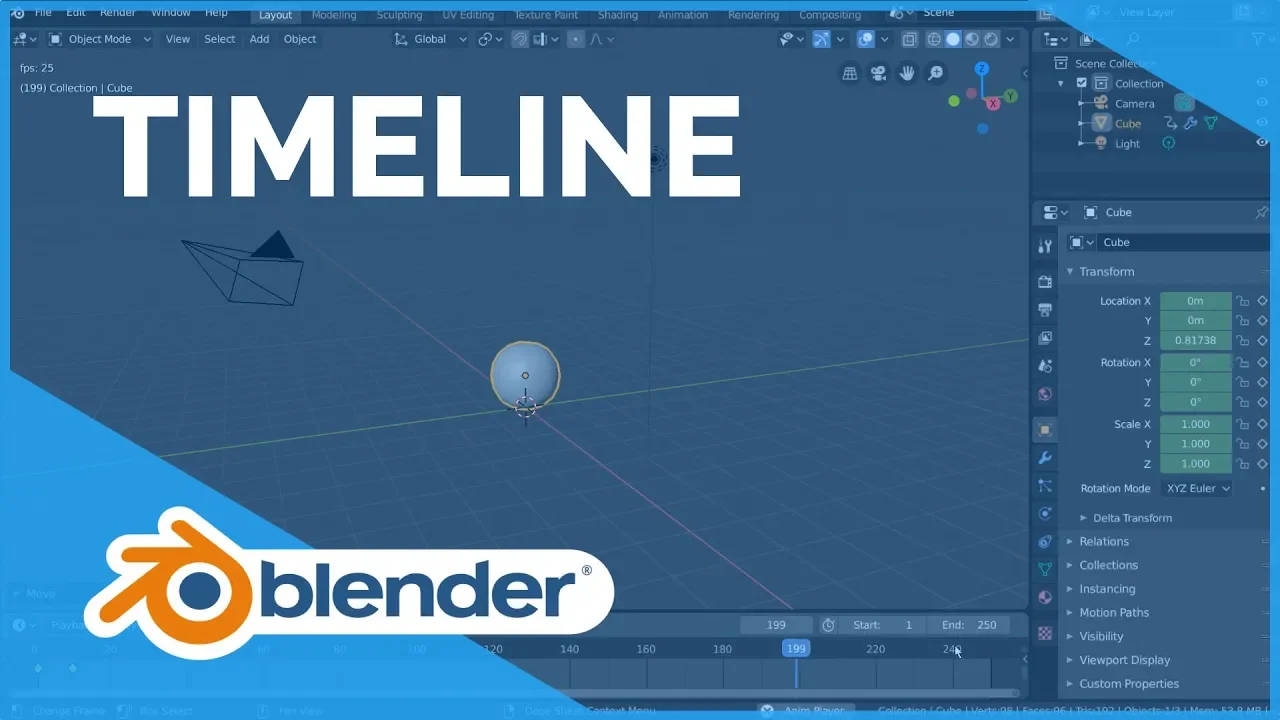
the time line is how you view all the frames in your scene it provides simple tools for navigating the frames of your animation let's talk about the fundamentals of the timeline editor in blender to showcase exactly what the timeline does let's try to make a quick bouncing ball animation with our cube here except instead of a cube let's use a ball to do that we can simply subdivide our cube by holding ctrl and pressing 2 on the number row I'm also going to right-click the sphere and select shade smooth wonderful now let's get animating you
can animate very quickly by clicking this white circle record button which turns on auto key frame mode we can then transform our ball freely since we're doing a bouncing animation let's go ahead and start it a little higher so we'll move it along the z axis as you can see this creates a keyframe at our current frame now in order to create an animation we'll want to insert another keyframe for the ball to interpolate to but creating another keyframe on the current frame simply overrides our first keyframe so we'll want to move our current frame
to a later frame in the timeline how do we do that well to go to a specific frame you can change your current frame manually here but there are a few more options we can also left-click drag the top bar of the timeline where the frame numbers are labeled to scrub through to a specific frame or hold alt and use the scroll wheel for fine-tuning you can also press the left and right arrow keys now with this we can move our current frame to frame 10 and move our ball again to insert another keyframe but
where should we move our ball well we're trying to make it bounce so let's bring it back to the ground for this frame we can do this very quickly by pressing alt G to bring it back to the origin and then move it up a bit just so it's above the grid great as you can see we have automatically inserted a new keyframe on frame 10 as well since we have two keyframes now in theory our ball should now be animated and at this point you might be interested to see exactly what that animation looks
like to play an animation simply press spacebar or click the play icon button at the top but you'll notice you don't see any movement when you play the animation that's because the play button starts playing your animation from your current frame and our animation starts at the beginning however once your current frame reaches the end frame your playback will loop back to the start frame and continue playing hey there we go we got a basic downwards motion but I really don't like waiting that long to see it loop so let's adjust the loop region to
do that we can edit our start and end frames of our playback range on the right of the timeline here this playback range is marked by the dark grey regions before and after the start and end frames respectively let's bring our end frame down to frame 40 this makes our loop region appear a bit too small but we can actually zoom in on our timeline with the scroll wheel you can also press home or click view view all if you need to also pay on your timeline simply middle-click drag or hold control and use your
scroll wheel nice now we can continue animating real quick let's add two more keyframes to finish our bounce animation I'm going to add a keyframe on frame 15 where the ball bounces up just slightly this is going to be like a really heavy bowling ball or something so it won't bounce very high then on frame 20 we'll simply want the ball to be on the ground again we can insert a new keyframe and try to eyeball it however that's not really efficient doing the same post twice manually okay so let's delete that frame 20 keyframe
real quick to delete keyframes simply select them right-click for a context menu and select delete keyframes you can also simply press X or the Delete key so what we want to do is copy the keyframe from frame 10 where we already have the ball on the ground luckily that's really easy we can simply duplicate the keyframe on frame 10 and drag it over to frame 20 to do this you can simply select the keyframe we want to copy right-click for a context menu and select duplicate then move the duplicated keyframe to frame 20 and left
click to confirm for hotkey users you can press d as in duplicate let's play back our animation again to see our masterpiece well it's got the right poses but it isn't really bouncing but rather just moving up and down how do we fix this well by default blender interpolates the keyframe poses with a sort of smooth ease in and out motion slowly transitioning the velocity of the object between poses this is usually great but for us it's working against our goals luckily blender allows us to change different aspects of the interpolation curve to fix issues
like this very easily to make the bounces appear sharper and more sudden we can simply select the frames at 10 and 20 the frames were they bounce off the ground and change the handle type from our right-click context menu what is handle type we'll go over handle types in more detail in the graph editor and dopesheet videos however just know that if we select a vector our curves for the bounce should be fixed for hotkey users you can also press V as in vector to bring up the handle type menu and as you can see
we now have a bouncy bouncing ball and congratulations you've made a quick bouncing ball animation in blender ah but what if we wanted to slow it down a bit let's pretend it's going in slow motion for example luckily with our timelines basic key frame manipulation features that's easy simply select all the keyframes in your timeline by pressing a then you can bring your current frame back to the beginning and hit s to scale your keyframes outwards from your current frame as you can see our key frames are being spaced out more and more as we
drag our cursor we can also type a number during this process to specify an amount to scale by so I'm going to type the number 2 and press Enter this will double the scale of our keyframes this means that our keyframes will be twice as far away from each other and thus the animation will take twice as long and be twice as slow ok great now let's say we want to render it out remember the start and end frames we set earlier this is also the range of frames marked for render out put meaning that
when you press render animation it will begin calculating with the start frame of your playback range then render each frame after that one by one and stop after it finishes calculating the end frame but it also means that we can't easily animate outside of this playback range in case we wanted to edit or insert keyframes so let's say we wanted to only render the first 12 frames of our bouncing ball animation but we also want to animate some keyframes a little bit outside of our render range to adjust our animation it'd be a hassle to
keep the range wide for animation but then change the frame range manually every time we want to render so for situations like this there is this stopwatch button this will switch between using the render range and the preview range for a viewport playback what's the preview range well let's find out toggling the preview range on by clicking this stopwatch button will use dark orange to indicate the start and end of the preview playback range while this is toggled on the render range will still be visible with the dark grey borders and will still be used
for render output but will be ignored on playback and viewport renders now we can safely animate before and after the render range but keep our render output range the same so we've gone over the basic timeline features that are required to create an animation but let's say I'm making an animation and I want to mark a specific frame for timing purposes for example I might want to add an explosion at frame 25 adding markers is a very helpful tool for animators for this exact purpose to create a marker simply go to the marker menu at
the top of the timeline and select add marker for hotkey users simply press M as an marker with their cursor anywhere over the timeline as you can see a small triangle in a vertical line gets created at your current frame to mark that frame for later you can rename this marker at any time by selecting it going back into the same marker menu and selecting rename marker then type the name you want let's call this one explosion oh one and press ENTER twice for hockey users you can press control M as in marker but you
have to have your cursor hovered over the dark area below now some of you may be wondering why our timeline has been so dark since we added that marker that's simply because adding markers adds a semi-transparent dark gray section at the bottom of our timeline that allows us to select and transform markers separately from keyframes if this area is taking up too much room visually simply expand your timeline just a little to see your timeline range more clearly again by dragging the top border of the timeline editor panel all right now let's create a few
more markers for our reference let's say here is where I want another explosion okay let's press M to create the marker and ctrl M to rename it we'll call this one explosion Oh - but actually I don't think it's the right timing so I want to move my marker to a different frame simply left-click drag to move it around for hotkey users you can also press G as in grab as long as you're within the dark gray marker region in the lower half of the timeline another way to create more markers quickly is to simply
duplicate them and move them around you can duplicate markers by going to the marker menu and selecting duplicate marker for hotkey users simply press shift D and as usual right-click to cancel or left click to confirm and to delete markers simply select them and press the Delete key the x key or go to the marker menu and select delete marker that's great we've got a lot of tools in the timeline to help us animate now we're going to switch gears a bit and pretend that we're animating and the viewport starts to lag a bit you
might also see a red number here during playback this red FPS number means that your current playback speed is less than the actual FPS or frames per second marked in your render settings there will be cases like this where our scene is so heavy that our playback won't be able to keep up this will mess up a lot of our timing and speed as we might end up rendering and find out the actual playback FPS is much faster than what we've been animating with luckily the timeline has an option that solves this as well we
can go to the playback options on the left side of the timeline open this menu by left-clicking and go to the no sync drop-down menu by default no sync simply means that blender is prioritizing displaying every frame in the viewports instead of prioritizing playing the animation back in real time this is typically good for seeing your whole animation without missing details but not that great for timing purposes on heavy scenes if you want your FPS and your playback speed to synchronize even at the cost of dropping a few frames here and there you'll want to
change this from no sync to frame dropping once you've done this you'll notice that when you play your animation back the viewport will still have a red FPS number but it will be skipping frames now and then so that the position of your current frame matches where your current frame would be if your playback FPS was real-time if you're wondering what a vsync is it stands for audio-visual sink and it's functionally very much the same it also drops frames but prioritizes synchronizing your viewport playback speed with your audio playback speed instead of your set fps
playback speed now I know some of you will be curious about how to add audio to your playback so I've included a blitz tutorial here we go in order to add audio to your playback in the viewports you'll have to use the video editor create a new workspace from the video editing category called video editing we're going to want to add a sound or movie file so simply navigate to the file in the file browser editor on the top left-hand panel then left click drag the file into your video sequencer move it around your timeline
to where you want it to be by left-click dragging or pressing G like usual and now if you return to your layout workspace during playback you should hear audio quick tips for the video editor press K or go to the strip menu and select cut to cut your audio strip wherever your current frame is change volume of the audio here and you can mute the audio in the timeline under the playback options I also recommend going into the View menu and turning on waveform display when working with audio files and that's it for your quick
how to bring audio in blender tutorial now back to the timeline the keying drop-down menu will give you options for how keyframes work in your timeline most of these settings are fine at their default values but I'll mention a few things here your active keying set allows you to restrict what kind of channels receive keyframes when inserting a new keyframe and the buttons on the right of your keying sets are another way of inserting and deleting keyframes keyframe types we already went over in the keyframes video they are essentially organizational labels for your keyframes but
changing your keyframe type here will simply change the default keyframe type for newly inserted keyframes to change keyframe type of existing keyframes simply select them right-click for a context menu and go to keyframe type to select one the rest is pretty self-explanatory and hovering over each option will tell you a little bit more about what they do I hope this gives you a good fundamental understanding of how to make animations using the timeline