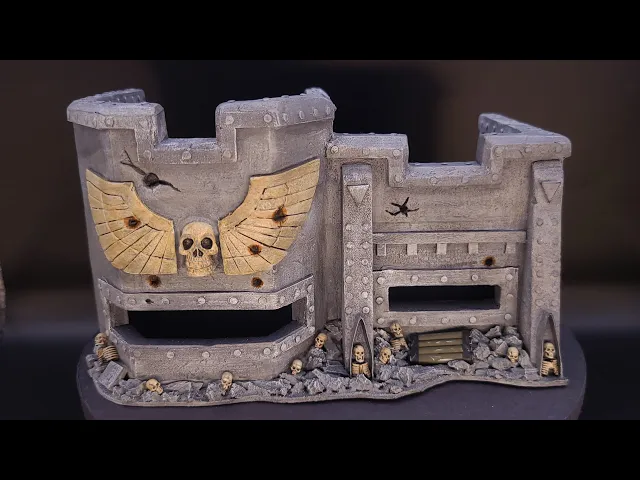
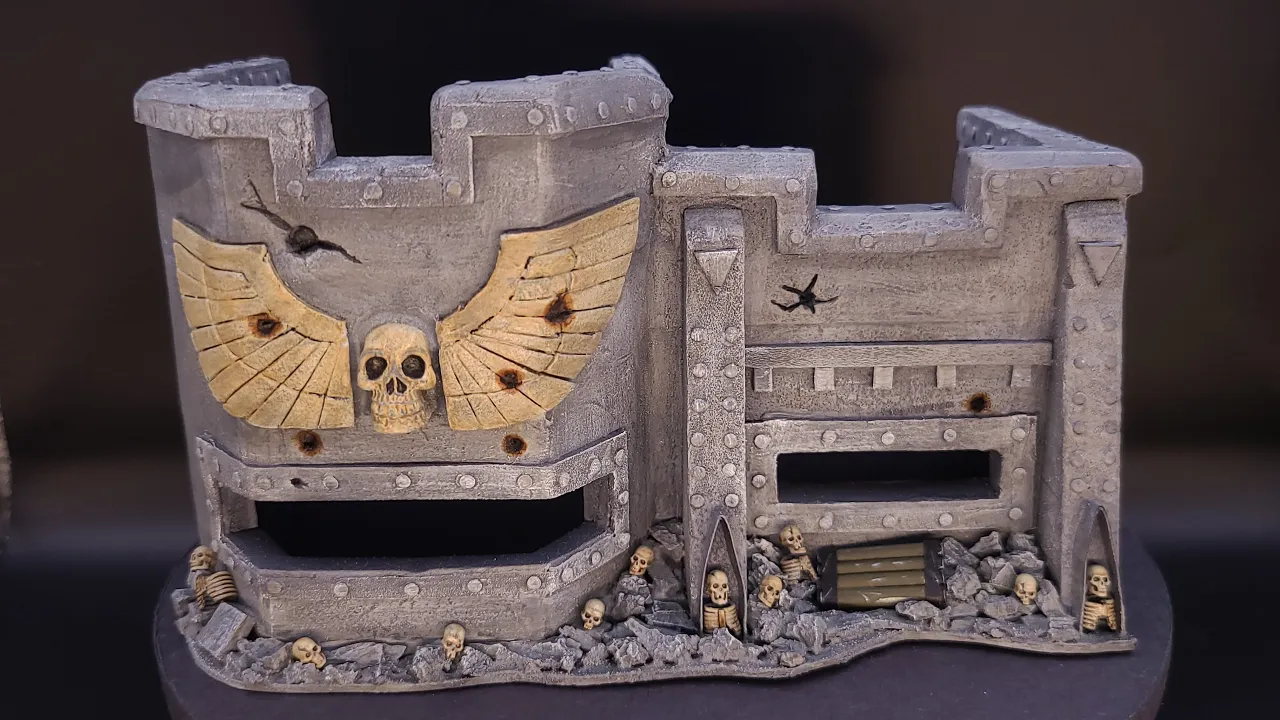
everyone this is Mike with crooked Crow crafter today's video is on my scratch build of an imperial bunker it's a long video so I placed photographs of the finished build at the beginning in case you don't make it all the way to the end please like And subscribe the video thanks all of the pieces were made out of chipboard and foam [Music] I use Citadel skulls for the small skulls and the large skull came from some Halloween decorations I bought from Teemu I'll be putting out another video of how I made the ribs for the
skulls here are my reference photos for the build these are my drawings with the measurements I used I'll include links to these in the video description the foam I'm using is Dollar Store foam core poster board with the paper pulled off the foam and chipboard were glued together with alen's tacky glue here are some of the basic pieces in the floor for the [Music] build [Music] [Music] there is gel superglue in the blue top bottle accelerator is in the orange you have to be careful because regular superglue will melt the [Music] foam here's a Space
Marine for size reference oh yeah did I tell you that I'm making two at the same time more pieces for the second bunker here they're all cut I mismeasured and needed to add 5 mm to the floor pattern most measurements are close but do require some customization this was a nice find foam safe superglue it works on other stuff too I'm tracing a pattern for the top floor of the second bunker [Music] [Music] the floors are installed on the upper level Tops on and time to glue on some more pieces I use alens here but
tacked in place with Superglue while it dried check this out foam filler I've never used it before but why not [Music] [Music] it worked well it's even sandable probably better than spackle for corners [Music] I needed to cut the skulls to mount on the front of the bunker so out came the Dremel I got lucky when I bought these they're the perfect size for these [Music] bunkers checking placement and designing the wings I'm making a template with baking paper I place the template on the foam Wing to transfer the lines here I'm making another template
from measurements on the [Music] bunker the first template was used as a reference for the others for symmetry [Music] [Music] I marked the locations for the feathers prior scoring with my hobby [Music] knife [Music] [Music] now I'm contouring the blade cuts [Music] [Music] I made a template for the doors out of chipboard soaked with super thin Super [Music] Glue I made these with a hobby knife and on my hot wire table both ways work great here are both doors and one already has rivets this is the window screen that I'm using for the metal flooring
it's more to scale than granny grading and thinner I made the hatches to match the reference photos I'm gluing these on with ordinary PVA glue the cardboard I'm using is from an ordinary food container box the perimeter will be 5 mm wide box cardboard foam is used for the top rail of the bunker glued down with aliens again [Music] here I'm cutting the Contour for the front of the bunkers using a very sharp utility knife me meaning new I angled the top [Music] rail I strengthen the edges of the chipboard with super thin superglue watch
the foam superglue will dissolve it I'm using traditional spackle to smooth all the foam as it handles better than the foam filler in tight spaces water and a clay tool saves time sanding this is my secret to making rivets there are 411 rivets in both the bunkers making rivets is just as monotonous as cutting small bricks on a hot wire table now I'm starting to base the bunkers using cork pine bark sand and cut spru I use regular PVA for dueling down the [Music] basing I made these to simulate empty rocket storage [Music] [Music] tubes
comparing the reference photo to the build it looks pretty good bring out the black Modge Podge sealer one down and one to [Music] go I'm using one of those cheapy battery powered airbrushes to zenial Prime the skulls before speed pain [Music] as you can see I've spray painted the bunkers with a rattle can to get ready for [Music] painting I use dark gray acrylic as the base layer of the basing in the reference photo the bunker looks a bluish gray so I mixed granite gray and true blue to make the color on the plate I
wet my dry brush load it with paint and use my homemade texture palette prior to brushing the [Music] bunker [Music] [Music] here they are after the first layer of dry brushing I use territorial beige for the second layer of dry [Music] brushing again I've misplaced some video or didn't record it you can tell the bunkers have already received a blackwash I'm using hazy moon for dry brushing the base followed by silver [Music] Frost [Music] [Music] now a final highlight for the bunker of Snow [Music] [Music] White to start on the flooring and doors I'm using
Vallejo model air Steel [Music] [Music] s a little tyus corrosion is used to weather the steel this stuff is extremely hard on brush brushes so make sure you have a beat up or throwaway brush I've added some speed paint medium instead of water to thin it out and help get into the screen [Music] [Music] the camera does not do the color Justice it looks a lot more corroded in person and less [Music] shiny to corrode the steel more I use AK interactive in a corner of a [Music] sponge [Music] [Music] for the Aquilla I start
with a base of burnt umber followed by hazy [Music] [Music] Moon notice that I'm not not going for total coverage with hazy Moon Army painter speed paint pallet bone is applied over the hazy Moon I mix dark highlights and Brilliant red Reaper Master Series paint for the rust streaks Again the video makes the door look golden shiny but it isn't in person it must be the lighting I noticed that the Aquilla was a little darker than the reference photo so I used some Citadel wraith bone to dry brush and highlight [Music] to paint the laser
damage I used Army painter Harden leather speed paint and Reaper pure black [Music] I just used Reaper pure black on the skull and shell [Music] damage to finish I use rustolium Matt varnish