<font color="#00FFFF">Hello, welcome to this complete tutorial on AVID Pro Tools,</font> <font color="#00FFFF">one of the best DAWs available for both Windows and MacOS</font> <font color="#00FFFF">to make your sound projects! </font> <font color="#00FFFF">My name is Zachary Brown</font> <font color="#00FFFF">and I will be your guide through the main features</font> <font color="#00FFFF">of Pro Tools in just a few minutes,</font> <font color="#00FFFF">using the free version called Pro Tools Intro. </font> <font color="#00FFFF">These basics do not change if you own other versions.
</font> When launching Pro Tools, its dashboard opens with tutorials, demos, and your most recent projects. Go to New to start with a new project, selecting Sketch to make experiments or Session to make professional tracks in time. In this video, we will only work with Sessions.
Set the project name, file type, sample rate and bit depth, checking Create From Template to use ready-made templates if you need. Finally, hit the Create button! The new project opens on the main interface completely empty on the timeline preview, showing rows called Tracks.
Above the timeline you get several editing tools and playback options and, on the left side, the complete list of Tracks you have. If any panel is missing, just click and drag its borders to make it visible. Let's see how to work with samples.
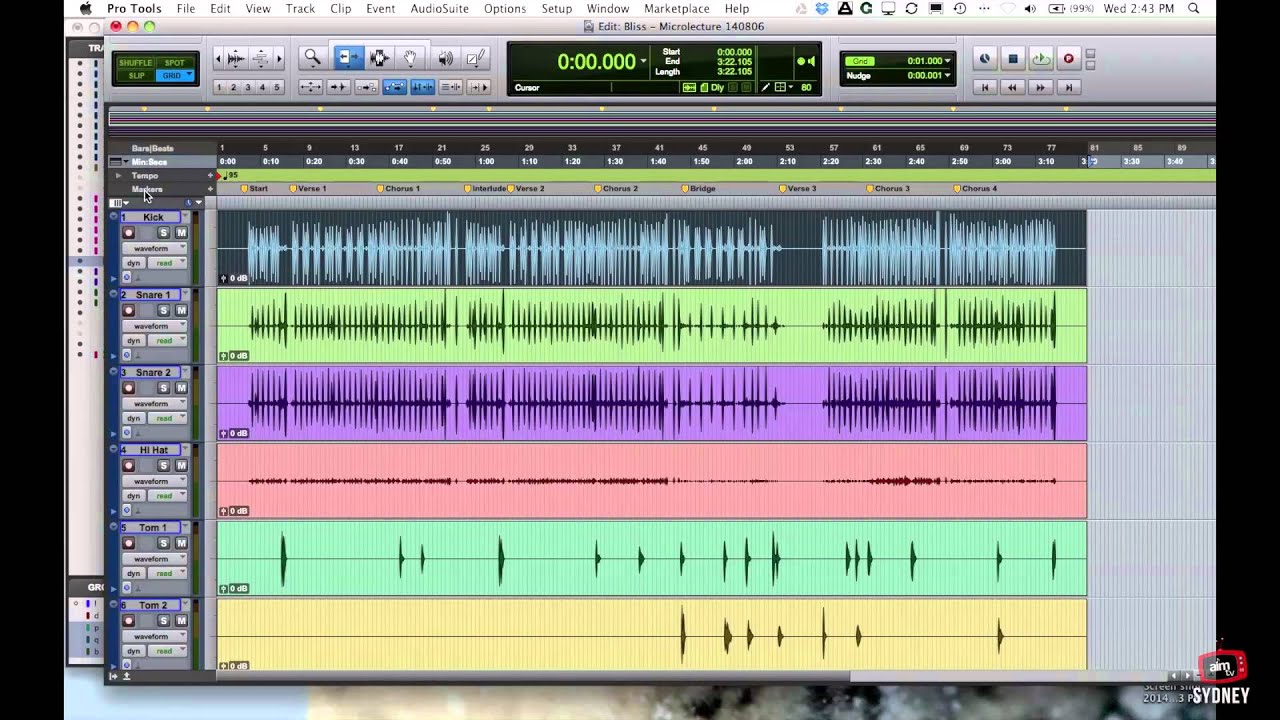
These are rendered audio files that you can import by dragging and dropping these directly onto the timeline. You can also go to Window, New Workspace, Soundbase to explore a vast library of built-in samples that you can import and use. Timeline samples are shown as blocks called clips within Audio Tracks, represented with their audio waveforms, one per each stereo channel.
To play the timeline content click anywhere on the grey strip above to fix the starting point and use the Spacebar key or the player controls above to play and stop, restarting from the same point. Enable Insertion Follows Playback to update the starting point every time you stop. The time placement is displayed on top, in either bars and beats or seconds by clicking on the arrow button.
This applies on the entire timeline as well. You can also loop specific regions by clicking and dragging on the grey strip and enabling the loop playback by right-clicking on the play button and selecting Loop. If you get into audio issues, go to Setup, Playback Engine to configure your audio driver.
Once done, ensure that the input and output sources for each Track are correct under the IO section. If these IO settings are hidden, just right-click from above. Now, let's explore how to record audio with your microphone!
Head to the Tracks panel, right-click on any track and go to New. . .
to create a new track, selecting either a Mono or a Stereo Audio Track. On IO select your microphone as input source, then arm the track for recording by clicking on its Record button, which starts blinking. At this point enable the main Record button in the top-right corner and then the play button to start recording.
Non-armed tracks will play back without being recorded. To finish recording, click on the Stop button. To zoom in or out around the starting point, hold down the ALT (or the Option) key and use the mouse wheel.
You can also scroll in time with the Shift (or Option and Shift) key. Now let's see how to edit clips with the tools and Edit Modes in the top left corner. Enable the Smart tool by clicking on the external contour.
This collects the features of the Trim, the Selector and the Grabber tool, each of which can be selected individually if you need. With the Smart tool, drag from the bottom side of the clip to move it in time or to another track. The result changes according to the Edit Mode chosen from the top left corner.
Select Grid to snap clips to the timeline grid that can be adjusted at the top, next to Grid. Switch to Shuffle to move clips while removing time gaps; enable Spot to move clips by entering precise time values and Slip to freely move clips without snapping. Right-click on the Trim tool to change the way to trim or loop clips when dragging their edges with the Smart tool.
With Standard you trim any clip by cutting content; with TCE you change the clip duration by changing its playback speed, with no pitch shift; with Loop you can stretch any clip by looping it. Click and drag within any clip to select and edit part of its waveform. For example, you can cut, copy or paste an entire clip with CTRL (or CMD) and X, C and V.
If you select part of the waveform, only such part will be affected instead. You can always undo any action with CTRL (or CMD) and Z at any time. On the left, you get all the track options affecting the entire track content.
Enable the Mute (M) button to mute the current track and the Solo (S) button to mute all tracks except the current one. From Track View change the way to display the track clips. By default it is set to waveform, showing the waveforms of each clip.
Switch to blocks to hide waveforms and select volume to show the volume envelope, making changes to this property over time and realizing an automation. By default, the volume is uniform. You can enable the Grabber tool and click and drag on the envelope to drop nodes and reshape it.
Switch to the Pencil tool to draw the curves freehand or with other shapes by right-clicking on the tool. The automated property is also shown in yellow color on the Track View. You can also apply automations to mute, unmute or pan the track in time, clicking on the envelope icon to show or hide multiple properties.
Click on any Inserts slot to apply effects (or plug-ins) to an entire Track, selecting between multichannel or multi-mono plug-in to add the audio effect to all stereo channels, or a specific one. Adjust the effect properties through its dedicated interface, that you can open any time by clicking on the effect slot. In the effect interface change the effect to apply under Track, selecting no insert to remove it.
In the Inserts section, click and drag any effect to change its order and disable it by right-clicking on it and going to Make Inactive. Below IO adjust the audio volume in decibels (dB), as well as the panning volume between the left and right stereo channels. Make sure to check the volume meter on the left, avoiding red levels of distortion.
You can also go to Window, Mix to open the Mixer, very useful to get a comprehensive overview of all your tracks, check this out! Now, let's see how to compose MIDI! MIDI clips are made of notes realizing melodies, percussions, or other types of sounds through an external instrument or a virtual synthesizer (or synth) added to the track.
First of all create a new track and choose a MIDI track if you want to compose with an external sampler connected to Pro Tools or an Instrument Track to compose with a virtual synthesizer, as we are going to see in this video. With this new track, select any Insert slot and go to plug-in, Instrument to add the right synth, adjusting its sound through its interface. Once done, enable the Pencil tool and open the MIDI Editor at the bottom to get the complete Piano Roll on the track.
Click and drag to drop each note with proper length, and move and edit notes with the same tools seen for the clips in the top left corner. In case of multiple MIDI or Instrument tracks, these are all listed on the left, where you can show and hide the ones you want to see on the Piano Roll. The synthesizer is applied within the Inserts list: before the synth you apply MIDI effects; after the synth you add multichannel or multi-mono audio plug-ins to the audio output generated.
MIDI and Instrument tracks collect the same buttons seen for the audio tracks. You can select other Track Views, such as blocks or clips to move and edit any MIDI clip as a whole, or choose notes to manage the internal notes instead. Choose velocity to set the intensity for each note, and show the envelope for MIDI volume, audio volume or other properties.
On the right, set the project tempo, such as the conversion rate from bars and beats to seconds, measured in beats per minute (BPM). Click and drag on it to adjust it: if the timeline is set in bars and beats, this adapts to the change, with respect to a timeline in seconds. A higher tempo brings a faster speed rate on MIDI clips since MIDI and Instrument tracks use a Ticks timebase by default.
Switch to a samples timebase to get tracks independent from the tempo. Audio samples are rendered and never affected by the tempo. To save your project, go to File, Save As.
Pro Tools projects are saved in . ptx format, preserving all your progress. To export your session as an audio file, go to File, Bounce Mix.
Set the file type, format, bit rate, and sample rate as you need and click on Bounce to start rendering the entire session! To export a specific region enable the Selector tool and click and drag over one or multiple clips or Tracks before going to Bounce Mix. <font color="#00FFFF">Thank you for watching this tutorial!
</font> <font color="#00FFFF">Visit our YouTube channel and official website</font> <font color="#00FFFF">for more tips, guides, and tricks</font> <font color="#00FFFF">completely for free and enhance your future audio productions!

![Studio One Pro 7 - Tutorial for Beginners in 12 MINUTES! [ FULL GUIDE ]](https://img.youtube.com/vi/8MNXKpCTaDM/maxresdefault.jpg)
![FL Studio 2024 - Tutorial for Beginners in 11 MINUTES! [ COMPLETE ]](https://img.youtube.com/vi/QYjNgtDEwII/maxresdefault.jpg)
![Pro Tools - Tutorial for Beginners in 13 MINUTES! [ COMPLETE ]](https://img.youtube.com/vi/2PPihcAHhgU/maxresdefault.jpg)


![How To Sound Like Swae Lee - "R&B" Vocal Tutorial [Pro Tools]](https://img.youtube.com/vi/vjk3GsQJ1YY/maxresdefault.jpg)