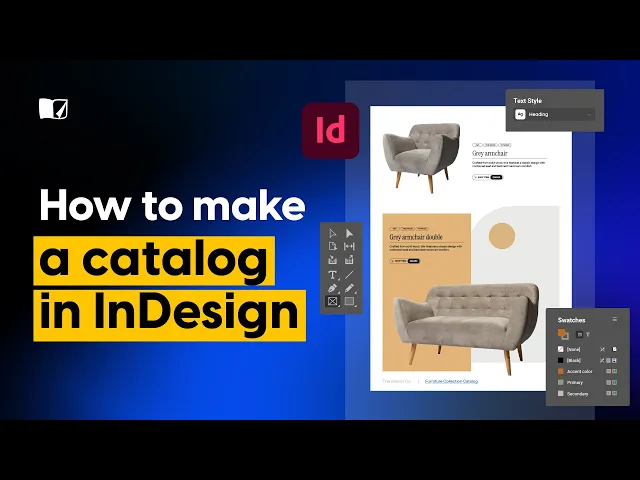
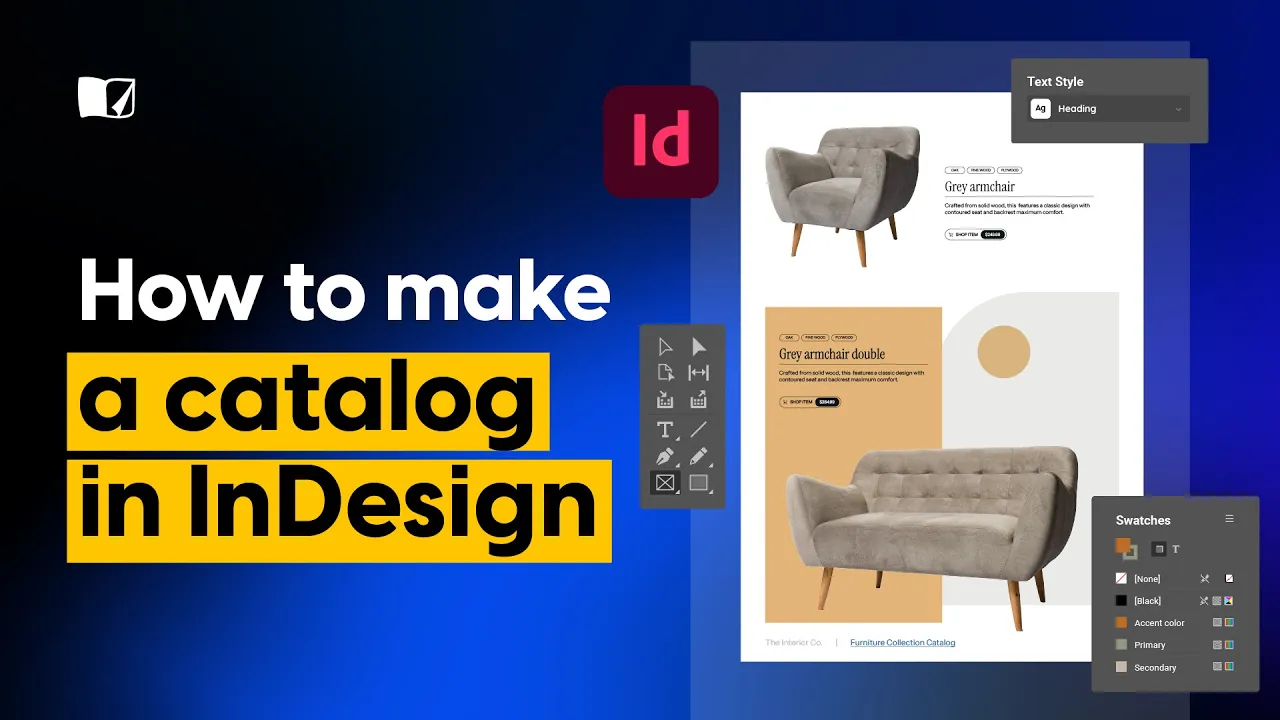
We know that creating documents in inDesign can be time-consuming and often complex. Let's make catalog creation into a breeze and turn your ideas into visually compelling stories following this step-by-step guide sprinkled with designer tips. Before we can start designing the catalog we need to check the brand elements from your client: logo, fonts and typography, color hex codes, and place them on a guideline page.
It will be very easy to just add them on the right pages once the different layouts are created. Of course, a high quality catalog is made of professional-looking product pictures, so run them through an app like Lightroom before adding them to your catalog. With all the information ready, it's time to check the settings for a new InDesign document.
Identify your catalog's intent from the start: for print or web. This will influence all other settings since each option has different requirements. For the purposes of this walkthrough I will choose web, and move on to page size and orientation.
Let's choose size A4 and portrait. Select one column, and for the margins we'll set them to 12 mm to perfectly separate the content from the edge of the page. This also helps to frame and define the type area of the page and maintain consistency.
And the last setting, bleed and slug. Has to do with print requirements. So make sure you check those separately if you also need to create a version for print.
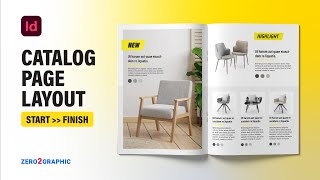
Of course, by now you should have all the assets from your client ready to use. First, let's see what types of layout spreads you'll need. Create different layout spreads for situations where: the left-side page has a full background image and right-side page includes X number of products.
Both pages have products. With all these layout spreads created, you can easily duplicate them to maintain consistency throughout the catalog. White space is very needed to allow your design to breathe.
If you add too many unnecessary shapes that could make the catalog cluttered and your products will not get all the attention they deserve. You can save it as a template for other projects, applying minor changes where necessary. Working with parent pages is what works best because it applies the elements you place on these pages on all other pages.
You can do this when adding page numbers, or a link to the client's website where they can place an order. We can start populating the inDesign catalog with images and descriptions using the brand's fonts and colors. Create different shapes and fill them with these color swatches to add pops of color like we're doing here.
You can also fill these shapes with product images or text. Speaking of text, you might want to save a couple of paragraph styles from the beginning and just apply them throughout the catalog. With all the work of creating paragraph styles and layout spreads before inserting the pictures and text should only take a couple of minutes.
By the way, if you start experiencing some slowdowns with the program you can switch to a fast display setting which provides a better performance instead of using the highquality one. Once you verify all the information added to your inDesign catalog it's time to tackle the front and back cover. But first, let's take a look at what elements other designers are using and how they manage to create a sense of familiarity with their client's audience.
This way, whenever they receive a new catalog, they'll start to recognize the brand and be more inclined to flip through the new products. You can achieve this familiarity by tying in old designs with new elements. For example, you can maintain the same structure of brand name on top, the product you want to feature in the middle, and on bottom you can insert the main website.
And for some catalogs, you can be more creative with the shapes you use like we've done for our catalog. Always double-check all the information in the catalog to avoid unnecessary back and forth. Also, don't forget to switch back to a high-quality display before you move on to the next phase.
To export this digital catalog for the web, you have to do a reset in the configuration of the document first. Make a copy of this document with a different configuration. Give it a name that differentiates it from the document that has facing pages.
Give the document whatever name you want. Now select the form menu and choose Adobe PDF. When you save it, another export menu will appear, but there's no need to make any further changes than what you picked when first creating the document.
Just click on the export button. Now the InDesign catalog is ready to be shared with your client. But it's a hassle to send it as an email attachment what if you could upload your digital catalog to an online platform that allows you to share it with a link anywhere you want.
Bring your InDesign catalog into Flipsnack and share it with a click, anywhere.