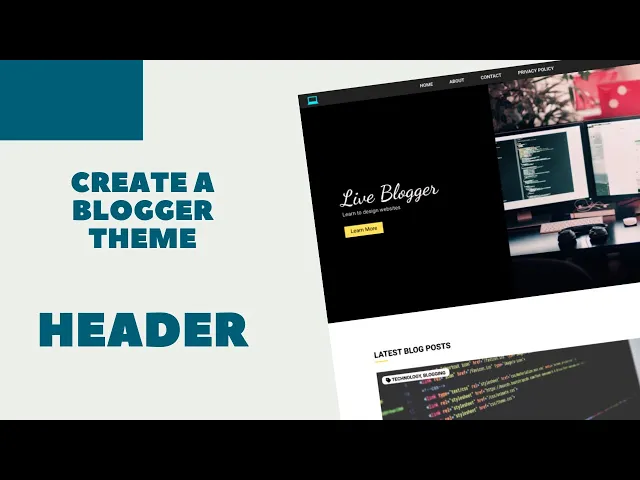
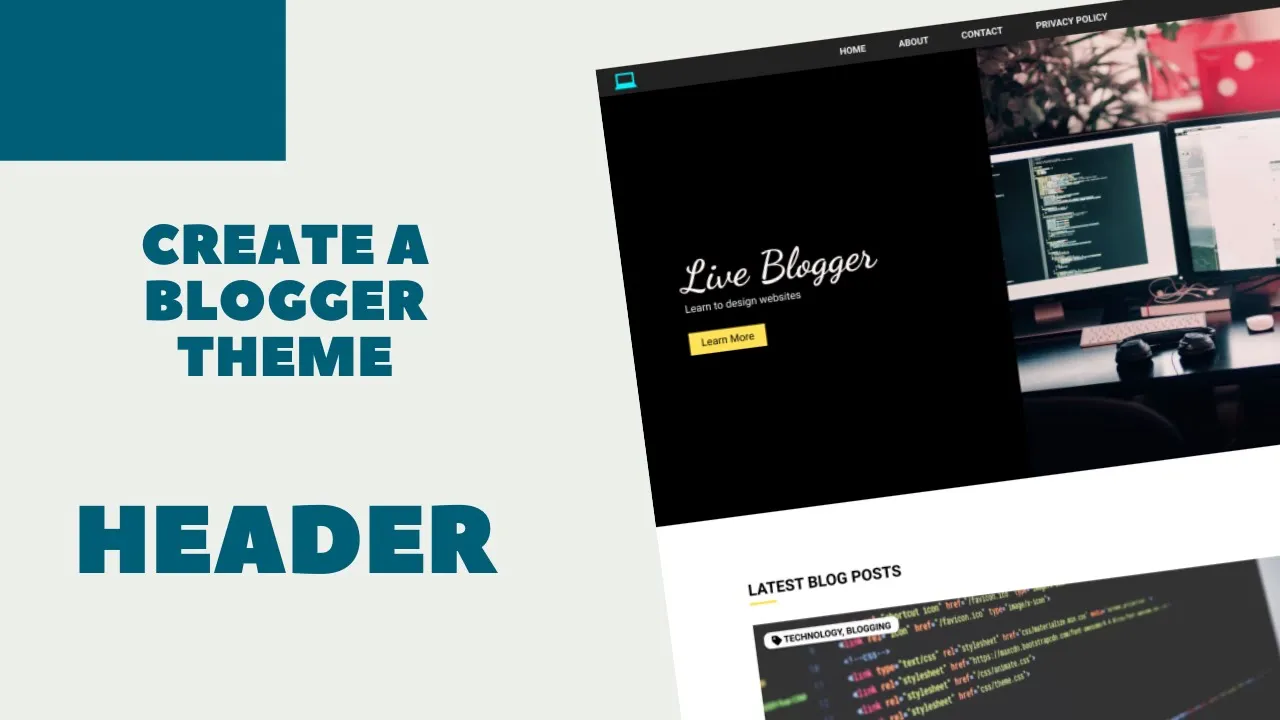
hi everybody welcome to live blogger in this section of our blogger template development course we are starting with the design of the header so let's get started in the previous video i had shown you how to set this project up in vs code and we had created these files html css and javascript files and we have added this basic html5 code and we have also linked our fonts and the css and the javascript files so first of all let's take a look at the design and see how to structure our header section so this is
the header section and on the top we have the navigation bar now if you take a look at the design we can see that we have set a specific width to our design so even if the screen size is greater than this design the width of our website will be fixed so here we can see this is the width of our design and everything inside our design has the fixed width and even for the footer we have a fixed width for the contents but for the background we have 100 width and even for the navigation
bar we have 100 width for the background but all the content is inside a specific width so what we'll do is we'll create a division with the class of wrapper and we'll set a maximum width to that wrapper using css so that the content of our website won't go beyond that width so let's go to our html and we'll go to the body and first of all let's create a division with a class of top nav and this will be the container division of a navigation menu so it will have this background color and in
that we have the content of our navigation menu so for that we'll create a division with the class of wrapper and we can reuse this class so wherever we use this class wrapper we will have a fixed width for all the contents inside the wrapper all right so the first thing we want is this logo so let's create a division and we'll give it a class of logo icon and in that will create an anchor tag and for now i'll just type hash we will change the links later so inside the anchor tag we will
add an image so type img and inside the src we will add the location of our image so here we have our image inside this images folder and we have this image which is called logo.png so let's type images slash logo.png and let's open this in our browser so in a previous video i showed you that we are using this extension called liveserver so you can directly go over here and right click and click on open with live server and we can see that our web page is being displayed over here and we have this
logo displayed on our web page the next thing we want is the navigation items so we have home about contact and privacy policy so let's add that now outside the logo icon division let's create a nav element and in that will have an unordered list and then that will have list items and in that we'll have an anchor tag and i'll just type hash for the href the first link we have is home and then we have about contact and privacy policy so let's copy this li from here and i'll just paste it three more
times and here we'll type about contact and privacy policy all right so here we can see we have the logo and we have this nav menu items the next thing we want is this search icon so outside our nav let's create another division and i will give it a class of search icon and that will type img and in the src we'll type images and for the search icon i have given a name of search icon.png so that's it for the navigation menu and let's go to our website and here we can see we have
the logo and this nav menu items and then we also have this search icon but it has a white color and the background is also white so we cannot see it right now all right now the next thing we need to do is uh add this hero section so on the left we have this heading the subheading and this button and on the right we have this image so let's create this section right now so for that let's get out of the top nav division so this is where the top nav division ends so after
that we'll create a header tag and and that will create a division and we'll give you the class of header wrapper and in that we'll have a division with the class of hero and in that we'll have two divisions one for the left and one for the right so for the left one we'll give you the class of hero left and for the right we'll give a class of hero right and in the left division we have a heading so for that we'll create an h1 and we'll also give it a class of main heading
and in that we'll just type live blogger and then we'll create a paragraph for this and we'll also give it a class of main subheading and we'll type learn to design websites and lastly we have a button so for the button we will have an anchor tag and and we'll also add a class so we'll just add a class of btn so that we can style it later and for the text we'll type learn more so that's it with the left side of the hero section the next one is the hero right so in that
we just have an image so type img and for the sources we'll type images heroimage.png and here we can see we have the heading subheading the button and the image so that's it with the html of our header section now let's go to our css and let's style it so first of all let's create a universal selector and what this does is that it selects every element inside your web page and will reset some properties so we'll type margin to zero padding to zero and box sizing to border box so here we are setting the
margin and padding of all the elements to zero by default and the third line over here is box sizing to border box which means that when we add padding and border to any element the width and the height of the element will be included in the padding and the border of the element so if you don't have this line of code inside your css then if you have an element with a height of 100 pixels and if you add a border of 2 pixels to all the sides then the total height of that element will
be 104 pixels adding up the 2 pixels of border at the top and 2 pixels of border at the bottom so once you add this line of code the height of the element will be 100 pixels even after adding the border i hope that you understood this so the next thing is we will target the html element and we'll set the font family to roboto and sanserif and now let's target the wrapper division and we'll set a width of 1152 pixels and uh we will center it horizontally so for that we'll just type margin 0
for top and bottom and for left and right we'll tap auto so it'll be centered horizontally so here we can see that our wrapper is centered horizontally let me just add a background and so this is the wrapper now let's target the top nav division so let's create a comment so in vs code you can just press control plus forward slash and you will get this space to add the comments so here we'll just type top nav and here we will target the top nav class and we'll set the position to fixed so that even
if we scroll down or up the navigation menu will still be there at the top and we'll set the left position to zero and the right position to zero so that it'll be in the center and we'll also give it a background color we'll set the background color to two to two so this is our navigation menu as of now we'll also add a padding and we'll set a padding of 4 pixels and 0 and we'll also make sure that the nav menu will always be on the top of everything on our design so for
that you have to set the z index to some higher value than zero so just set it to 200 so now let's target the rapid division inside the top now so if you go to the html we can see that inside the top nav division we have a division with a class of wrapper so let's target that we'll tap top now wrapper and we'll set the display to flex so once you set the display to flex all the elements will be one next to the other so here you can see we have the log on
the left then we have the menu items and then we have the search icon now we'll spread it along the width of our nav menu so for that you just have to type justify content and set it to space between so we have the logo on the left and the nav menu items at the center and the search icon at the right now when you hover over the search icon we also want to make sure that the user knows that it is clickable so for that we'll just change the cursor to pointer so here we'll
type top now search icon and we'll set the cursor to pointer so now if you hover over this we can see the user knows that it is clickable and we'll also center it vertically so for that we'll type align items to center all right now the next thing we need to do is we need to set all these uh menu items one next to the other so we will set a display of flex to this as well so let's type top now nav ul and we'll set the display to flex and we'll also remove the
bullets by typing list style to none alright so now we can see that all the menu items are one next to the other now next we'll target the anchor tags so top now now ul li anchor tag and we'll set the color of the text to white we'll remove the underlines by typing text decoration to none and we set a margin between each of these menu items so for that we'll type margin 0 for top and bottom 20 pixels for left and right and we'll also change the case to uppercase so for that we'll type
text transform upper case and we'll set the font size to 14 pixels all right i think that's pretty much it with the navigation menu now let's style this hero section so if you go to the html we can see we have a division with a class of header wrapper so let's target that so let's type header wrapper and we'll set a maximum width of 1152 pixels and we'll center it horizontally by typing margin zero auto just like we did with the navigation menu and we'll set a background color of black and we'll set the height
to 100 viewport height viewport height is the height of the browser so now we can see we have the height of the browser for the hero section and we'll do the same that we did with the navigation menu to our hero section we will add a display of flex so let's go back to our css here we'll type header wrapper hero and we'll set the display to flex right now we have this text content on the left and the image at the right now we want to have the same amount of width to this image
and this left content so here we can see in our design these both have the same amount of width so for that you have this property called flex so let's target both the left and the right sections so type header wrapper hero hero left and we'll add a comma and we'll add the next selector header wrapper hero hero right and we'll set the flex to 1 so now both will have equal amount of width now for the left part of the hero we need to center it vertically so for that let's target the left part
we'll type header wrapper hero hero left and we'll align self to center and we can see that our content is at the center now let's style the heading and the subheading so let's type header wrapper hero h1 dot main heading and we'll set the color of the text to fc fcfc which is a light gray color and we'll set the font family to dancing script and for the backup we'll just type cursive and we'll set the font size to 64 pixels so here we have the heading now let's style the sub heading so let me
just copy this and here we'll just type sub heading or main subheading and even for this we'll set the color to fc fc fc and font size to 16 pixels and a margin bottom of 24 pixels and we have some problem oh this is not an h1 this is the paragraph so we have to type p all right so here we have the subheading and now we'll style this button so let's target that we'll type a dot btn because we had already given a class of btn to the button so here we can see the
anchor tag for the button has this class of btn so for the button we will have a background color of ffe259 and the color of the text will be black and we'll remove the underline so we'll type text decoration and we'll set it to none and we'll also give it a padding of 16 pixels we'll also set the display to inline block so that the margin is applied and then we'll set the font size to 16 pixels i think we need to decrease the top and the bottom padding so we'll just set the top and
the bottom padding to 8 pixels and left and right we'll set it to 24 pixels right so this looks fine now let's also set some padding left to the hero left division so here we'll type padding left and we'll set up adding left of 100 pixels i think we'll also add some left and right padding to this navigation menu so let's go back to our css and here where we have the top now wrapper we'll set a padding of zero for top and bottom and for left and right we'll set a padding of 24 pixels
or we can even increase the padding a little bit more we'll just set it to 32 pixels or that looks fine now if you want you can even add some background color to the body so if you go over here and type body and we can set the background color to like say 333 and this is how the background color will look so you can do this if you want let me just remove this line of code all right so that's basically it for the header section of our website and in the next section we
will start with the design of the blocks section so that's basically it for this video if you have any doubts you can ask in the comments below and if you like this video please click on the like button and subscribe to this channel to get the latest video updates thanks a lot for watching have a nice day [Music] you