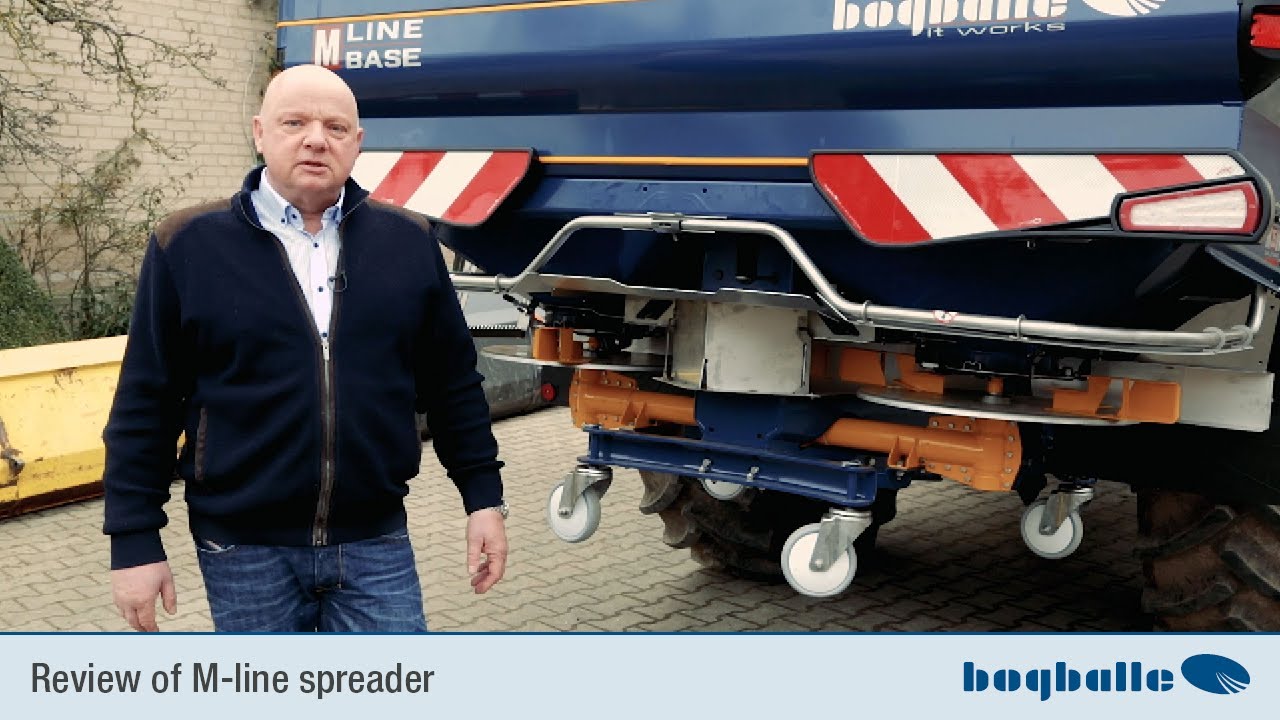
We now have the tablet PC variant for this tablet PC variant is installed on the back of the spreader. A NAVI Com module is not installed on the spreader, but behind the on-board computer points to this module for the camera back here , which is on here. This module behind the on-board computer now ensures that a connection to this tablet can be established via Bluetooth.
And I want to show in the following how to download the right software to use the whole thing or how to do the first installation of this software on the tablet and then how to simply create areas so that you can then scatter. So the first thing we need to do is turn on this tablet. We have already done that.
Here we see the app for the Google Play Store, we'll go there. We have already entered Bogballe here, so simply enter Bogballe in the search bar of the Playstore and then select the Bogballe NAVI app. He shows me this up here, we now see the Navi app here, I click on it, of course I need a WLAN connection so that I can do this and say simply install it here.
He now asks me here to complete the account setup and of course we skip anything related to payments or credit cards and you don't need to pay anything. This app is always free from Bogballe in the Android Store, i. e.
in the Google Play Store. And as a tablet. While we're downloading the whole thing here, we can perhaps briefly say that we recommend it as a tablet or that we've had very good experiences with Samsung, but others do as well.
I don't want to advertise for anyone or for a single manufacturer. Other tablets work well too. We haven't had quite as good experiences with very basic, cheap tablets.
Sometimes they are not fully Android compatible. It is important that you have a newer Android software on it. I think that's possible from the eight zero version.
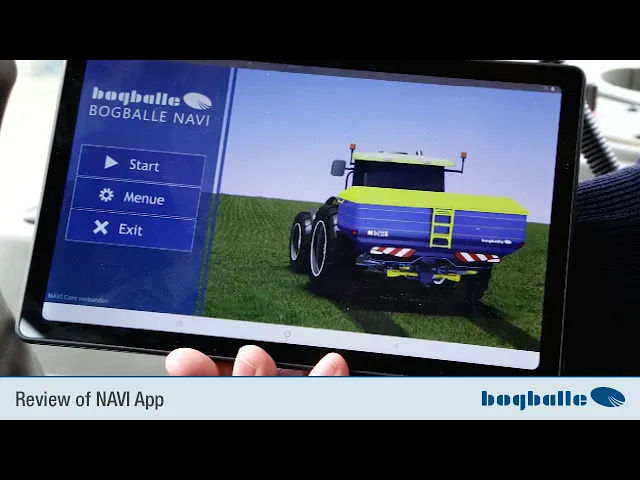
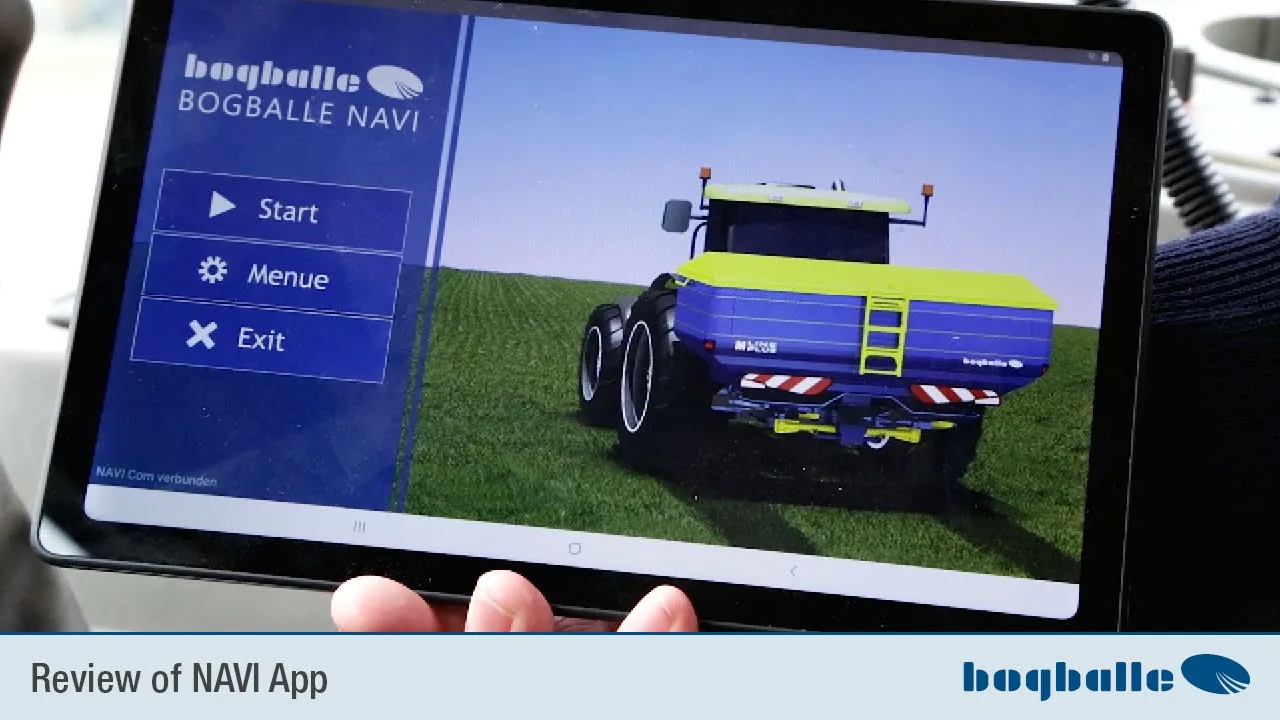
When the whole thing is installed, let's just say open it. And we have now selected this story here. I always recommend, even if we're actually already in the program, that we just do it again, we go to the screen and we see that the navigation app isn't there yet.
I always like to put them on. Is not displayed here, but we have the Navi App on it here. Here below.
I always like to take them and put them on the start screen here at the top left. So that I always have them immediately in my field of vision. I do the same with the settings.
We see the settings here, which I also take to the start screen and I also recommend making your own files on this start screen. So that would be this app here, which still displays your own files so that you can easily find the documented areas again. So now I've done that.
I open this navi app. It is important that we have two different modules. The new modules are always the Navi Com.
So now I choose the Navi Com device. And important during the first start-up I was asked to allow Bogballe Navi to retrieve the device location. This is of course a mandatory prerequisite for all work, for any work with a GPS system.
So here I take allow this access. I just have to confirm that I'm doing this and the Navi app wants to enable Bluetooth, switch it on, of course I have to allow it too. The app will now search for an available Navi Com device.
It can take a while the first time, which is a first start -up and can take a minute or two. If that's not fast enough, he already has the Navi Com device here, which is attached here on the back of the calibrator, with a satellite antenna attached, which is somewhere on the roof, he's found it now. I click on it, it now tries to establish a connection to the Navi Com device and it takes a little while again because it is also checking the software at the same time.
He has not selected stalls now. Now he has that. He checks the software status on the calibrator or he checks the software status on this Navi Com module and derives that right away if it is necessary.
You can see that now. It now tells me 20 or 25% complete. Just let it run.
It is important that they are not too far away from the on-board computer so that it can find it correctly. But other than that, everything actually runs quite casually or without any problems. And it's all connected now.
Very important Down here must always be written. NaviCom connected. That means it has now connected to the on-board computer and we are now in the app as normal and can now work with this app.
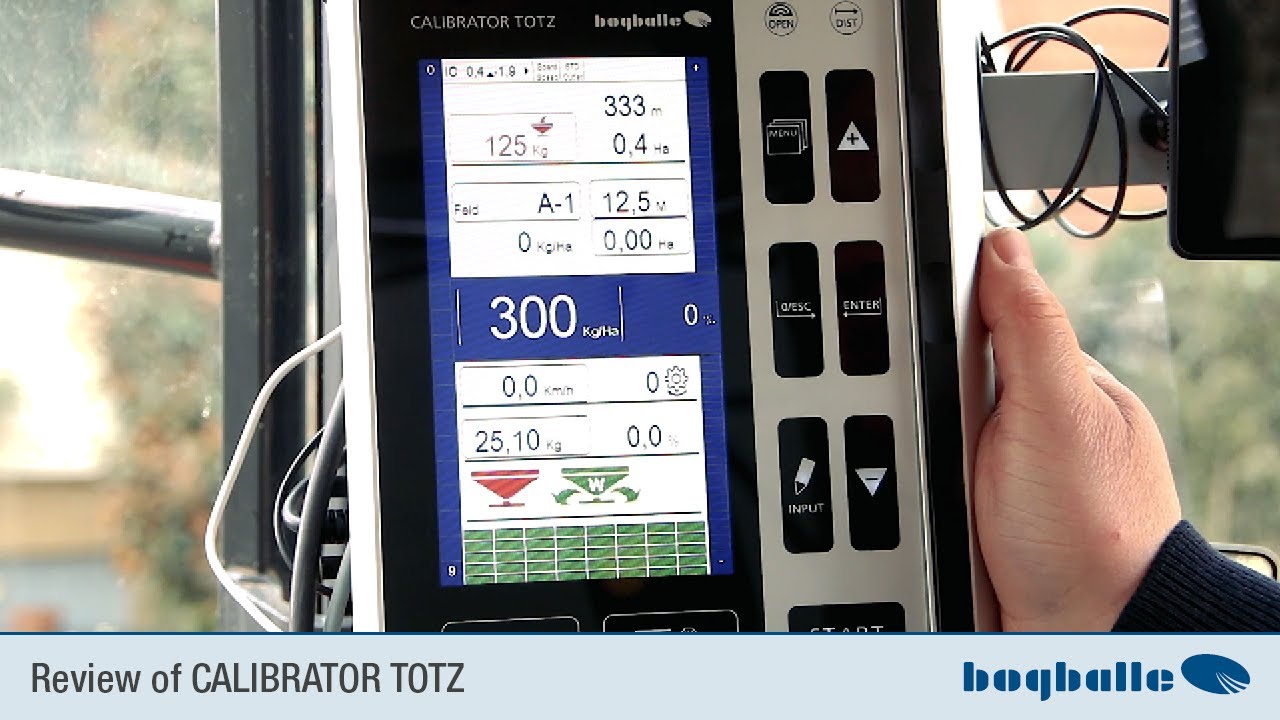
So, since this is a first start-up and as we want to explain to you how you start it up for the first time, it is very important that we enter the menu items first. So we go here on the menu of this app and now go through the points in detail. Here we have the spreader data, which means you can click here which spreader data, which it takes over from the Calibrator TOTZ on-board computer, is displayed in the navigation app at work.
I would leave the check mark everywhere. That actually always works well and we can enter the tank stop, the speed, the PTO speed, the applications rate, i. e.
kg per hectare and the covered area and confirm the whole thing with okay, then of course the whole system is important needs to know the antenna position in relation to the scatterer. That means, I go on here and now you have to set the distance, the distance from the satellite antenna to the center of the scatterer. This means that the satellite antenna should be on the tractor roof if possible.
It must be higher than the spreader, otherwise shadowing can occur, because the metal container of the spreader can of course interfere with the GPS reception quality. We've measured it here. The distance is exactly 2.
5 meters, so we just enter 2. 5 meters on the numeric keypad here and we pass it on here. Now he asks whether there is also a lateral deviation.
We can lower the keyboard at any time, but since we have set up the antenna in the middle of the tractor, it can of course simply remain at zero here at zero meters as the lateral deviation of the antenna from the center of the spreader . The working width is automatically taken over by the on-board computer, the on-board computer is currently set to 15 meters and therefore you don't have to enter anything there. If the working width is also listed here, the TOTZ calibrator is used to set it.
And I just say okay, then we have Section Control as the next item on the agenda. That's where you set the overlap. Here it is simply assumed that a main section is 1/8 of the set work areas.
This is done automatically. The overlap is suggested at 50%. If I always left it at 50% because we work in the overlapping system with the spreader, then that would definitely work.
I can close this menu item again. We have here in navigation mode, which means we can set AB points here. This means that if I go on here, I can set AB points, i.
e. straight lines, or I can also follow contours. Then I would create the B line here as a curved line.
I would always try to display AB lines, i. e. passenger lines, as straight lines.
We'll just say okay here and we'll move on. How do we have the display? You can display the tractor with spreader that looks a bit like this as a three-dimensional representation.
But you can also make the display mode only as an arrow. You can choose. We just take the arrow for the first use , it might be better, which isn't so irritating when the tractor is driving, and just say okay, we have the fields here, that means we have the opportunity here, we'll see that in a moment when we have created a test field.
The possibility of generating fields as PDFs and then transferring them as documentation to the main computer or a normal laptop at home in the office , we 'll take a closer look at that in a moment, okay, we now also have the option of using this SHP import function to import shape files to be invited if they want to run application maps at some point. How you do it is not our job, but you can save the shape files here on the tablet and then, of course, run application maps with this app. I don't want to go into detail about that now.
You can see here that all shape files are displayed there or that the import can do this. When the time comes, contact your responsible factory representative. He'll be happy to help you.
We then have the connection in the menu. If he doesn't disconnect you, you can always select that here and say okay. Then it reconnects and establishes a connection again.
To the Navi Com module. It always takes a few seconds, but that's an additional option if the connection has been interrupted. Now, of course, that's the projectionist effect.
No, it's connected, the navi com says connected, so everything is fine. Important after all Navi Com connected. Otherwise it also jumps automatically in the mode.
So you can't forget to check whether it's working properly or not. Everyone knows GPS settings. We'll just leave the language in German.
That would be a mistake. Send log and help about here again if you ask detailed we have displayed the software version again. From this navigation app and telephone number or an email address where you can ask questions, where you will definitely be helped via support.
We just say okay here, then it's okay again. We're actually done with all the settings now. Clearly.
It is important to define the antenna position correctly. As you can see, we have a lateral distance of 2. 4 meters here, we have zero meters here.
This is picked out by the calibrator alone, which means we're done. We're closing the menu and we can actually start spreading now. Of course, if we want to spread, we have to start an order, define a field, not define it as such, but simply say, man, what do I want to call that?
Here I have the possibility to enter a field name. If I open keyboard on here and I'll just say test one now so we can find this field again. I'll take the keyboard away.
I then say here at Dünger Typ I can provide information about what I have spread here so that I can easily understand it. For example, I can indicate any abnormalities in the description, for example if I have spread in wet conditions or something else. Underneath I have the date and time very importantly this is always the date of the last spreading work on a field as a name, either as part of the name, i.
e. as we have now entered test one, or if I do not enter a name, it is each field automatically saved under date time so that we can continue to use it or continue to find it again. Below that is the application map, which is selected, but of course we haven't created one now.
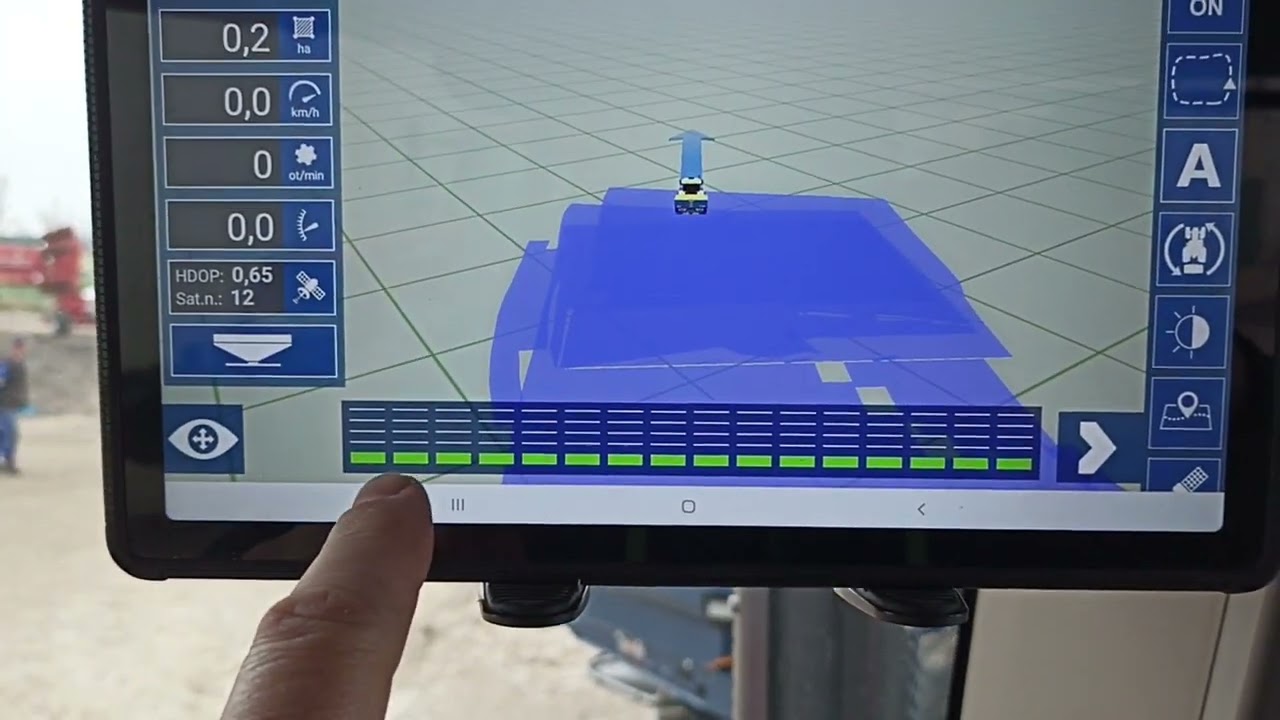
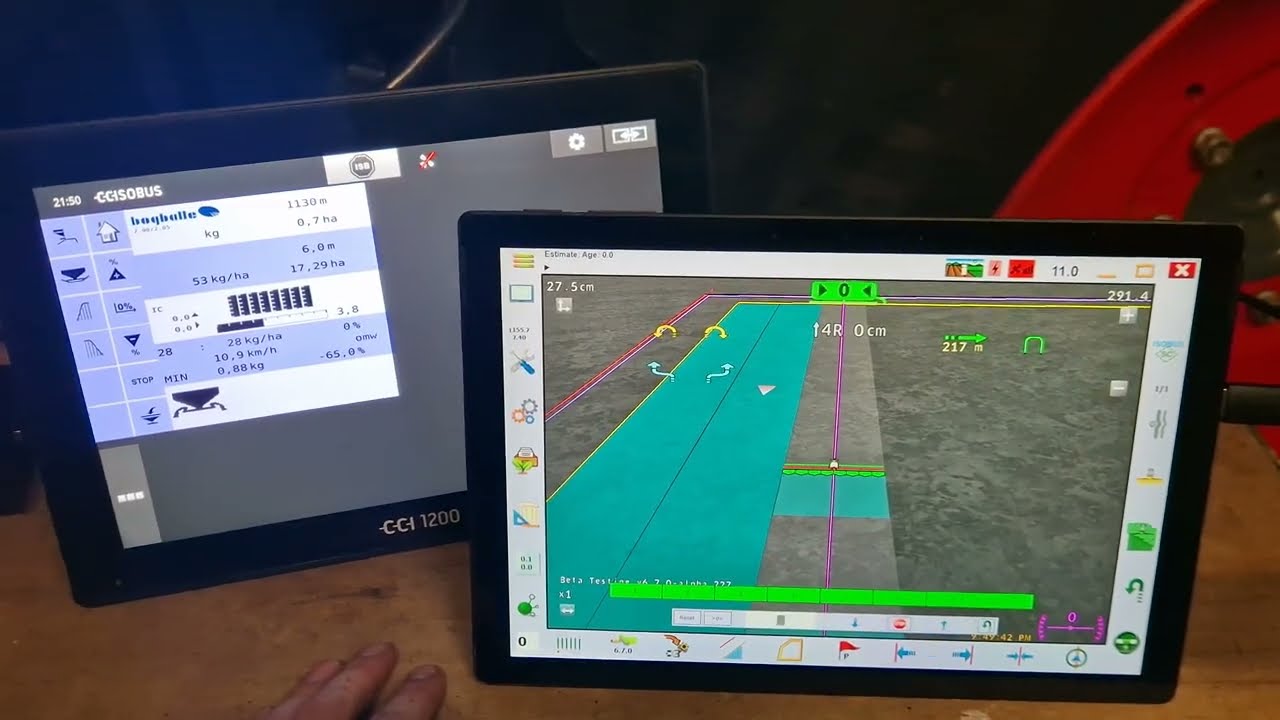
You could select the one that starts the job there as normal. When you've done that, you say stop start and it initializes the whole thing and I'm then in a completely normal mode. You see here, I have the arrow here, I have the direction of travel here as I drive.
I can pull out a small menu here, so I can make the whole thing a little smaller as a map section so that I can see a larger area, if possible the whole field. I can rotate this a bit here. I look for a setting that suits me, I can switch the whole thing to 3D, then or now switch to 2D, select the map section again here, then I only have it as a view, I hope you can see it and he shows me the cover as a supervisor , you have to adjust to that once, then you can leave it like that.
These are my spreading data, which I get directly from the calibrator, i. e. from the on-board computer.
Scatter, don't scatter, is displayed here. So now I'm at the calibrator, scatter, click, all sections open If I were to drive now, it would record a normal coverage here. I'll stop here for now to explain the whole thing further.
I've got a menu bar here, which is important, that I need to get out. Let's go through the menu items one by one. With this I can turn off the app completely.
If I turn them off, save. It asks me if it should save the current field. Always save the fields in any case.
I have the settings menu here, which we have just looked at in detail. I can turn that on or off. I have a floppy disk here as a symbol for a storage option, which means that when I've finished the field, I just go on it.
I want to save the current field. Yes, and the field is now saved and I could now make a new field. But I can also continue a previous field at any time.
It then shows me all the fields that I have worked on, that I have created. We now want to create a new field again. I'll just say test two here so that we have two fields in there so that we can understand it a bit.
Test number two I say okay, then he starts again as normal on this field. Number two I take the keyboard away from writing. Now I'm working on the new field.
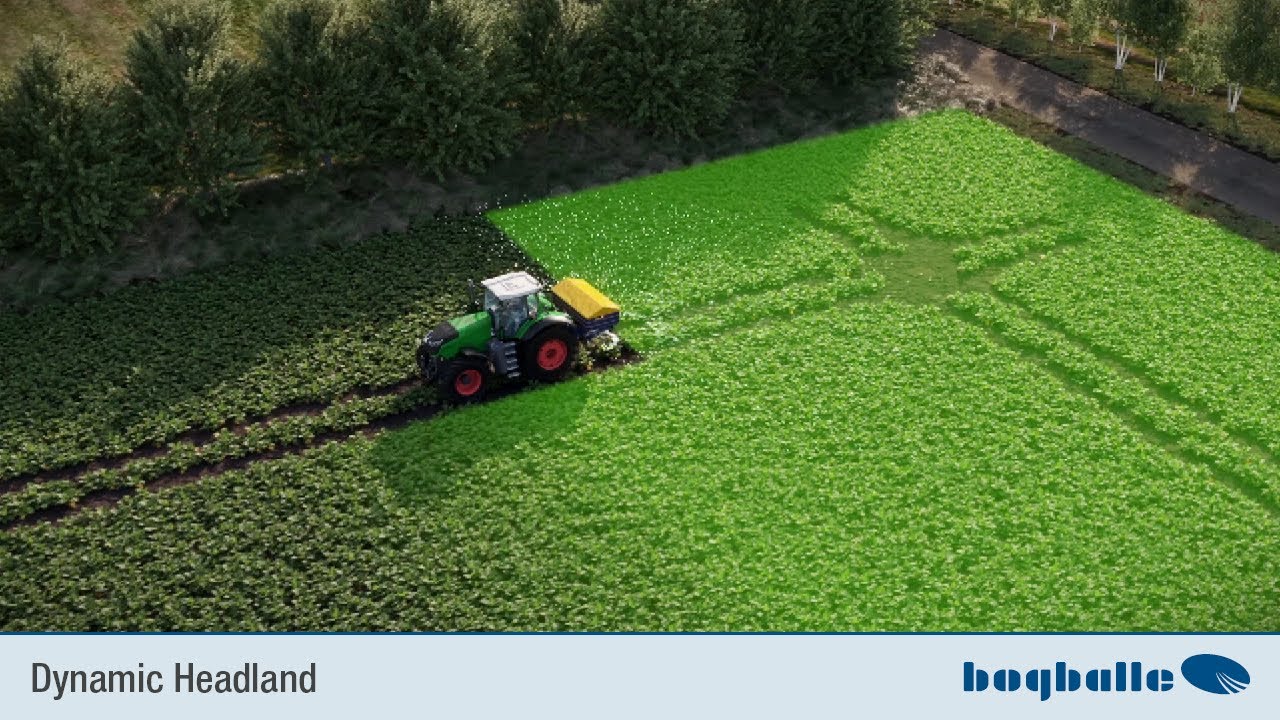
Here I have the option of switching the automatic function on or off at any time. Now I drive with the automatic system switched on, which means the spreader is controlled automatically via the app, which means the spreader is opened and closed. Once I've driven around, i.
e. whenever there is a cover , the spreader is not allowed to spread and of course it adjusts the quantities or those. Spread pattern Depending on what is installed, Section Control, STANDARD or Dynamic Adjusts this to wedge formation or similar.
Here I can define a limit, which is of course important for some farms, if they drive from the limit, if I define the limit, it is impossible for it to start spreading again if part of the spreading bar is outside the field. I can move the menu bar further up. Here I can display an AB point lines, i.
e. passengers. This is purely a display function.
When passengers are laid out, I was always shown parallel lines at the same distance as the wider set on the on-board computer. Here I can drive backwards or forwards, you can correct or adjust it there. These are just information things that you don't really need.
If I've spread now, you can't simulate that now because you can't drive with the camera, just drive off, open it, not the section, when I press start here. For the first border, I still drive with the manual gearshift, which means I have to open and close the spreader because there hasn't been any coverage yet, so it can't know where the limits are, where it has to open and close. When I've done my border, i.
e. the border spread, I change it on the on-board computer. From normal spreading to border spreading vice versa from border spreading to normal spreading.
This also shows me here whether border spreading or not border spreading. And if I then run the spreader in automatic mode, it is automatically switched on and off again at the specified settings when I set the tramlines . This is how it all works , you just have to try it yourself when you drive.
We can hardly show that in the video here. When I'm done spreading, I save the field. I just say save the current field.
It jumps into the mode where it shows me the field names. I can continue previous fields, I picked up two four now. They cannot simply call again if, for example, they have spread or are about to spread.
The spreader is empty and they go home. Always turn off the app and turn off the spreader so it doesn't start spreading on the road. If he doesn't have a cover there, yes, if you're done with this, then here we go.
Let's just get rid of that. I don't want to now. No, I want to cancel this.
Then we are actually done with the field work. What is still very interesting is that if I go to the menu here, I can also display these fields. In this point fields in the normal menu and I can save the whole thing as a PDF, what I did there.
I'll just say the last field here for my own sake. This test two on the third, third 21 at 14:25 ended or recorded. And I go to this PDF button down here and I can enter here where he should save the whole thing.
And of course I want to work or save that on documents and save it in the Bogballe layer so I can easily find this here on the tablet. I'm just saying okay here and I want to look at the file too, so I can just show you what it's storing. And I say okay, now a file, a PDF file, is generated from the spreading work and I just want to display one.
Here does that only this time, that means, here we have the ad here now. Normally now when we are being driven the fields would be displayed as a border or as an outline. But the actual documentation is more important.
Here is the name of the field name, what you entered for the field name. You have here in the description what you have deposited there, you have the fertilizer type there, so if you like calcium ammonium nitrate you can write in the nitrogen content. You can define all of that however you want.
Date of the last spreader notification. Those are the coordinates. We worked on a width of 15 meters, the calibration factor , so the turning value was set at 23.
2. The amount spread that was calculated mathematically was zero kilos per hectare, of course, because we didn't actually spread, the total amount that was spread then becomes zero kilograms. It will be saved there.
The length of time I worked in the field, the area covered and the length of the actual spreading work, i. e. the length of the tramline that was spread, simply added up.
The whole thing is then always stored on the tablet. In the directory under the Bogballe directory in the documents you can always find it again. You can then simply connect the tablet to a normal PC or laptop in the office with the charging cable and transfer the data and simply print it out and save it there in order to be able to easily understand the documentation of the spreading work done.
Or to be able to keep up. That's basically how the app works. So if we open the app again, it shows what I did last.
I'll remove it. If I wanted to create a new field now, you would simply go back to new field. You can then simply start the next field and immediately.
You just can't show that. With the camera while driving you would not take sufficiently good pictures. Be able.
So just try it out. It really can't go wrong. You can also discard any field and start over.
Yes, we have now seen all the menu items on the Navi app that can or must be set. We created a field. We've seen how to create a field, we've seen how you can use the menu navigation while you're working, what you can set there, and we've actually come to the end of the explanation of our navigation app on this tablet.
And it is very important. Of course, the routine only comes with the practical work, when you actually use the whole thing. Don't have to be afraid of it.
You really can't go far wrong. The spreader largely does everything on its own and we wish you every success with the app. With the on-board computer in connection with the spreader okay, my dear Bogballe users, we have now shown the spreader in the main detailed positions and explained how to use it.
Once again very briefly as a summary You look at the fertiliser chart. You will see the scatter vanes that you need to check. You only see the working width inside, the angle of inclination and perhaps the turning values.
You take care of these things. You then adjust the inclination of the spreader at the front of the spreader either via a manual upper link or via the on-board computer via a hydraulic top linker. And then all you really have to do is insert the spreader and spread.
All that we have brought you is actually the necessary equipment to adjust the spreader correctly. And we thank you for listening and wish you every success with your new spreader.