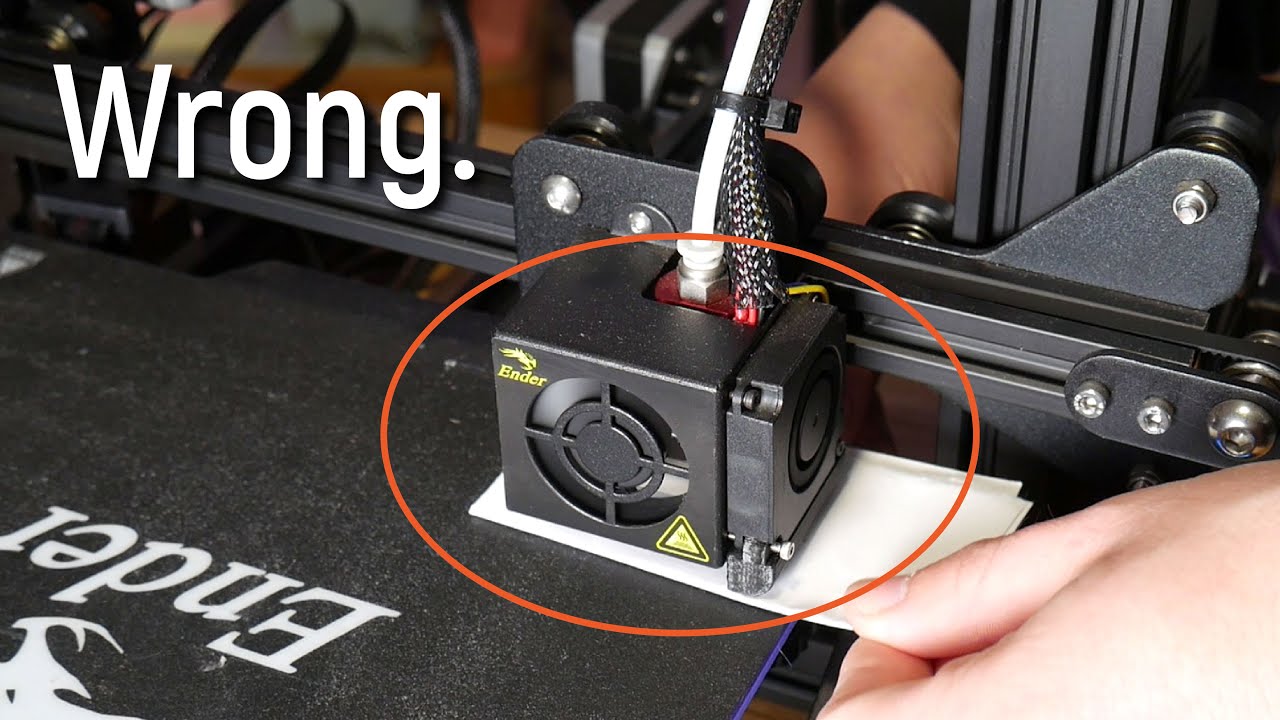
i've been 3d printing for quite some time now and back in the dark ages of 3d printing slices you had to create a printer profile from scratch that worked well on your 3d printer nowadays though it's a little bit easier just go into the wizard select your printer from the drop down menu and then bam you have a range of settings you can use on your printer that for the most part work really well however is a default profile the best profile well i don't think so and i often find myself changing the same settings again and again to get the best prints possible off my machines so i thought i'd make a video sharing my top five settings that i changed from default settings in my slicer to get the best prints possible let's get started [Music] how's it going guys angus here from makers muse and welcome back to another 3d printing 101. now here i have prusa slicer but the settings i'm going to talk about are pretty transferable into any other slicer but i am comfortable using this this software it's free easy to get there'll be link in the description below and this at time of filming is version 2. 4.
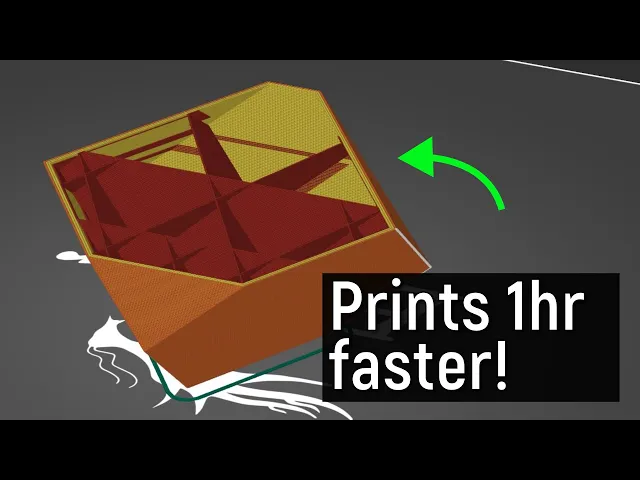
2 but yeah it's pretty transferable between any other slicer you might be comfortable with so how do you get settings for your printer to start with well as i said it's really easy these days you don't have to build a profile from scratch anymore you can just go to configuration configuration wizard and pressure slicer now has tons of different printer profiles built into the wizard beyond their own brand of printers which is really quite cool of them to do so of course if you have a prusa mark 3 you know you can get the profiles for that but if you go to other vendors there's all these different vendors you can choose from so i have artillery printers and behind me i've got a crowley ender three so to select those two and then i can select which printers i want the profiles for so side one to x1 and then the crayoli ender three again there's so many different types of ender threes it's a bit ridiculous but you can see as there's new end of threes coming out like the end of three s1 people are building profiles for them and it's marked as alpha because it's quite new and they might tweak the defaults to make the prints better but you can still select it here so i'm going to select end of three because that's the machine i've got the original and then you're done and then you can see under presets the machine that you've loaded in will pop up so clearly end of three and then you'll get these print profiles these print settings and these are all designed to give you a range of options from really really high detail prints that take a long time all the way to super fast draft prints that are pumped out quickly but might be a bit rough however i'm going to go with the 0. 2 millimeter normal setting for my demo in this video and what i have here is just a simple cube with a corner cut out of it nothing too special just to demonstrate in this video so let's start by slicing it and this is off the default 0. 2 millimeter normal setting which is like the setting that most people are going to use and this print would print fine but if i go down the layers there's a lot of things off the bat that i want to change there's a lot of things going on here that it'll print but will it print quickly and efficiently and look good and be strong not in my book so the first thing i tend to change is perimeters so this setting always seems to be universally set to two two perimeters around the outside you can see that here in the print preview there's only two perimeters however i like to increase this to three and the reason i increase it to three is for several reasons one is for strength i find that three parameters is a really good balance between print time print material and the strength of an object it adds just that little bit of extra endurance to your final print because you might be aware that the outside surface of an object is where the majority of that object's strength comes from for example a pipe is incredibly strong and it's actually pretty much as strong as a solid bar because a lot of that shrinks from the outside i studied industrial design not engineering so i don't get the terms right but yeah the strength comes from the outside so i increase it to three another reason i do it is for quality so with the infill this is uh set at a standard gradient fill which again we'll talk about uh often i find if you just have two perimeters that infill can show through to the outside face because as those lines are laid there's a little bit of intersection between the infill and the outside perimeters and then they can cause that infill to show on the outside faces especially with shiny filaments like the polyalchemy style filaments so adding three perimeters i find makes that much cleaner and the final reason i go to three instead of two is for overhangs i find that three printers give you just that little bit of extra support for each step over layer with an overhang and i find it gives a better result and you're less likely to have gaps where you can see through into the print and into the infill but yeah i changed it to three you might be comfortable with two and that's totally fine but that's the first thing i'd change in a default profile the next up we have the infill and this varies wildly between different presets i've seen it set at way too high a density i've seen it set at just really weird like really weird uh infill types but in this case for this one it's set with this standard grid infill and this is really old-school infill we've moved well beyond this and the reason it's not that great is because if you look at the print from the top in terms of the strength from the top down it's very strong but from the side it's just going to crush in itself like a parallelogram uh because there's no strength in those directions it prints quick fine but uh it's not that great so we have a lot of better better options for infill but what infill is best well there is no real best but i personally prefer cubic i know a lot of people like gyroid and that's totally fine but i find cubic to be a really good balance between print speed and print strength so if i slice this print you can see what cubic is it's not going to take longer as such than grid but because it's a three-dimensional infill it actually gives the part strength from all directions i find cubic prints really cleanly the oversteps and stuff it tends to not have any sort of issues with overhangs and that and i find it actually is a very dependable infill in terms of printing quicker though something i do like in the latest pressure slices is support cubic which is really quite cool so with support cubic what it'll actually do is it'll reduce its density adaptively where it's not really needed so down the bottom of the print it sort of starts really sparse which prints quicker uses less material and then as it goes up it increases its density in a really clever way so it's not going to there's not going to be any parts overhanging thin air it's not going to droop down or cause issues with overhangs and as it builds up it eventually arrives to the top where we end up with pretty much the same as the original settings for cubic to support that top of the print and the solid infill and it's done so support cubic is really cool but otherwise i generally just use cubic at around 15 to maybe 20 density for my prints next up we have elephant foot compensation and this is because i'm lazy so a good first layer is critical for your 3d prints to adhere to the print bed but sometimes you can be a little bit too overzealous and be a little bit too close to the print bed which will cause the dreaded elephant's foot effect where the print squishes out and it leaves you with this sort of really thin lip that extends out past the boundaries of the print which is really annoying if you want dimensionally accurate parts now i do try to keep my prints as level and as perfect as possible but you know sometimes i just throw a print on and i don't want to have to worry too much so sometimes my first layers are a little bit too close to compensate for that i like to use the elephant's foot compensation in the slicer so in prusa slicer at least you go down to advanced and then you have uh elephant's foot compensation down here and again this will vary depending on the setting but i like to increase it usually to 0.
3 uh usually you see 0. 2 uh here it was 0. 1 sometimes there's no elephant foot compensation at all but i find in terms of my laziness that this will give you almost like if your first layer is perfect it'll give you like a tiny little chamfer but if your first layer is bad then what it will do is just give you that extra bit of uh clearance for the first layer to avoid that elephant's foot effect so if i can show you here it's not even 0.