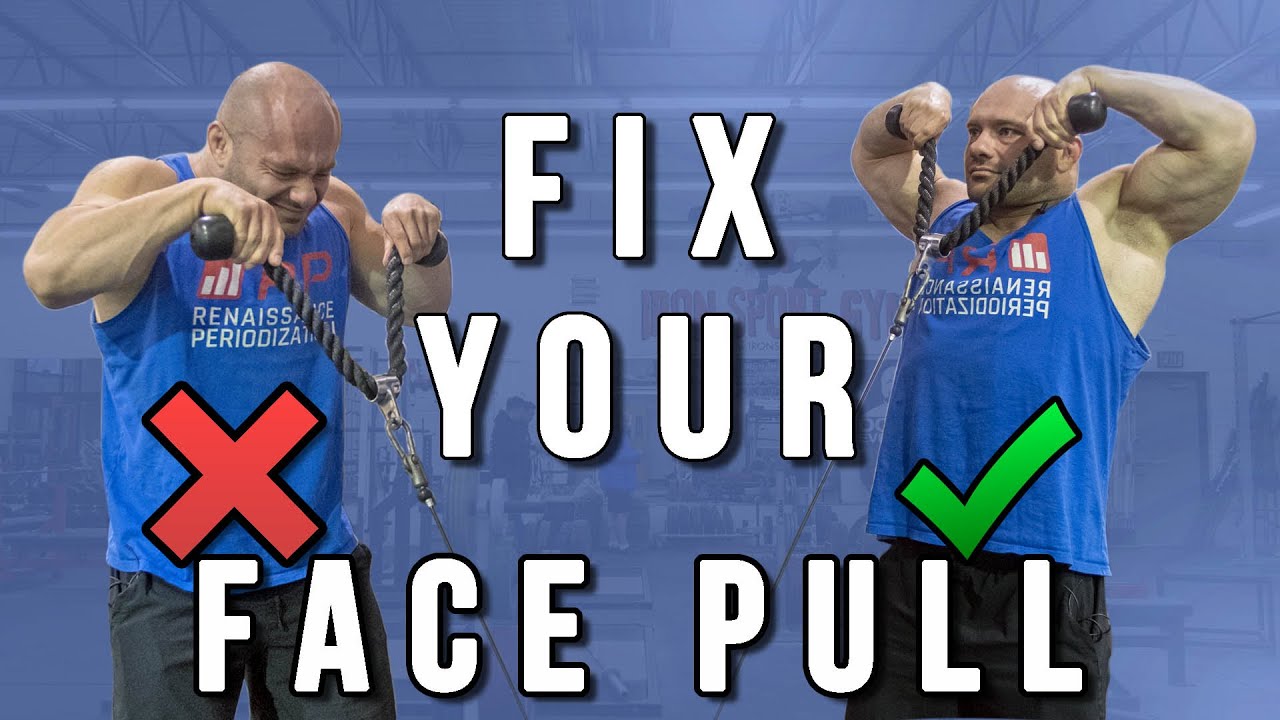
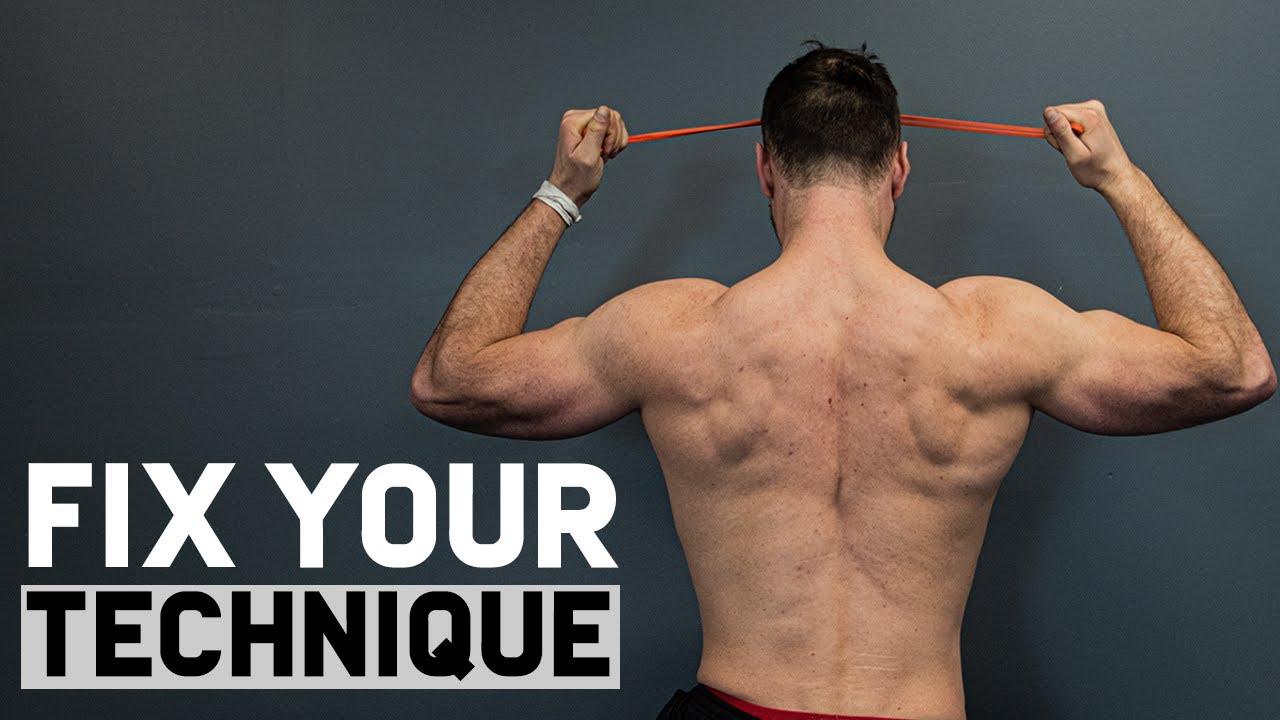
There's not a day that goes by that I don't see someone doing my favorite exercise, the Face Pull. And while it makes my heart sing that they're doing it, the problem is they're fucking it up and that hurts. So, what am I supposed to do?
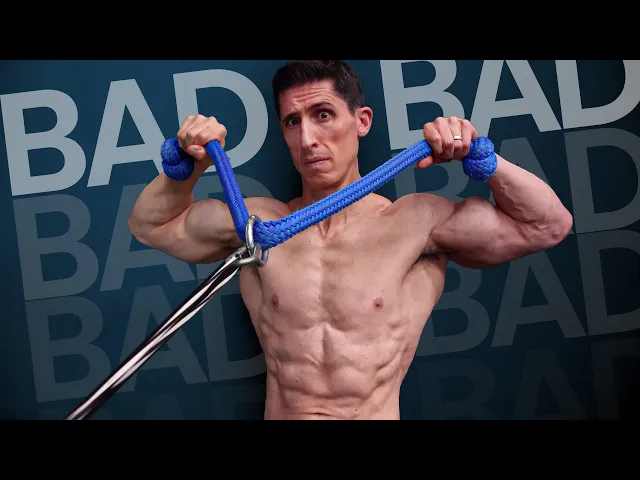
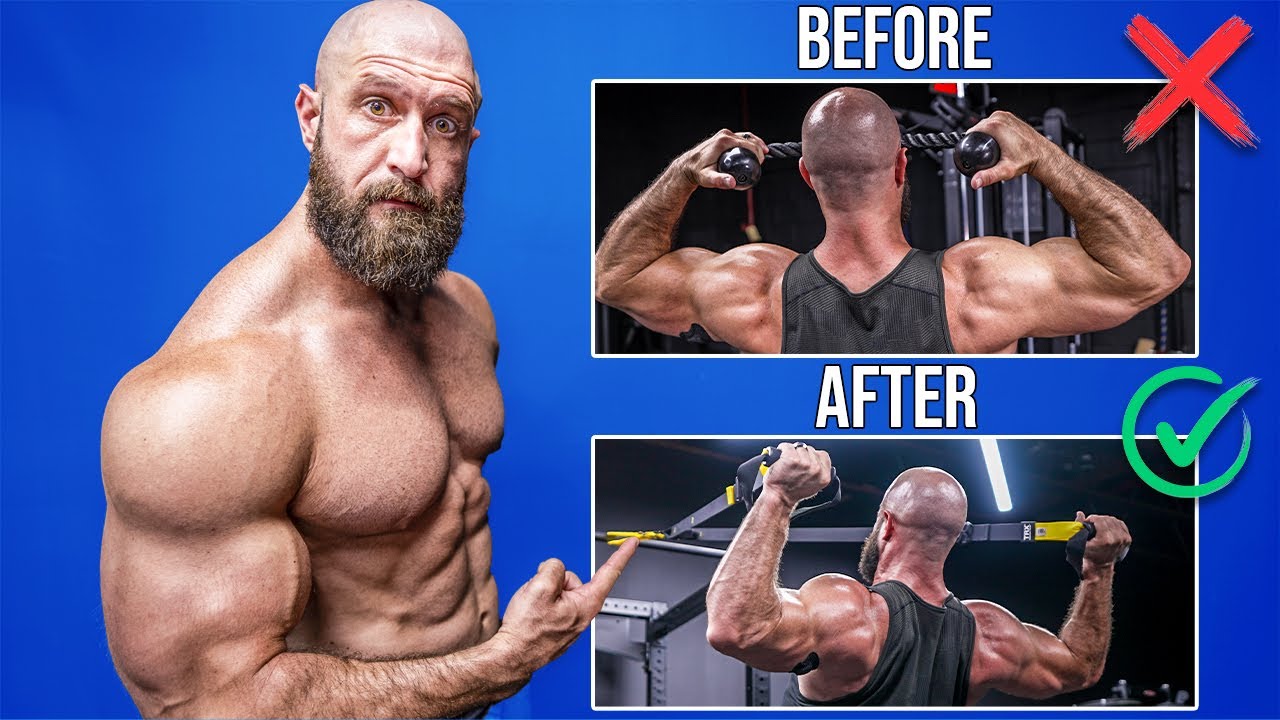
Well, make a video to show you how to do a Face Pull properly and it starts right here with the attachment. Because if you're using one rope to do the exercise, you're already making a big mistake. Because the end position of the Face Pull is going to require that you're not here but here.
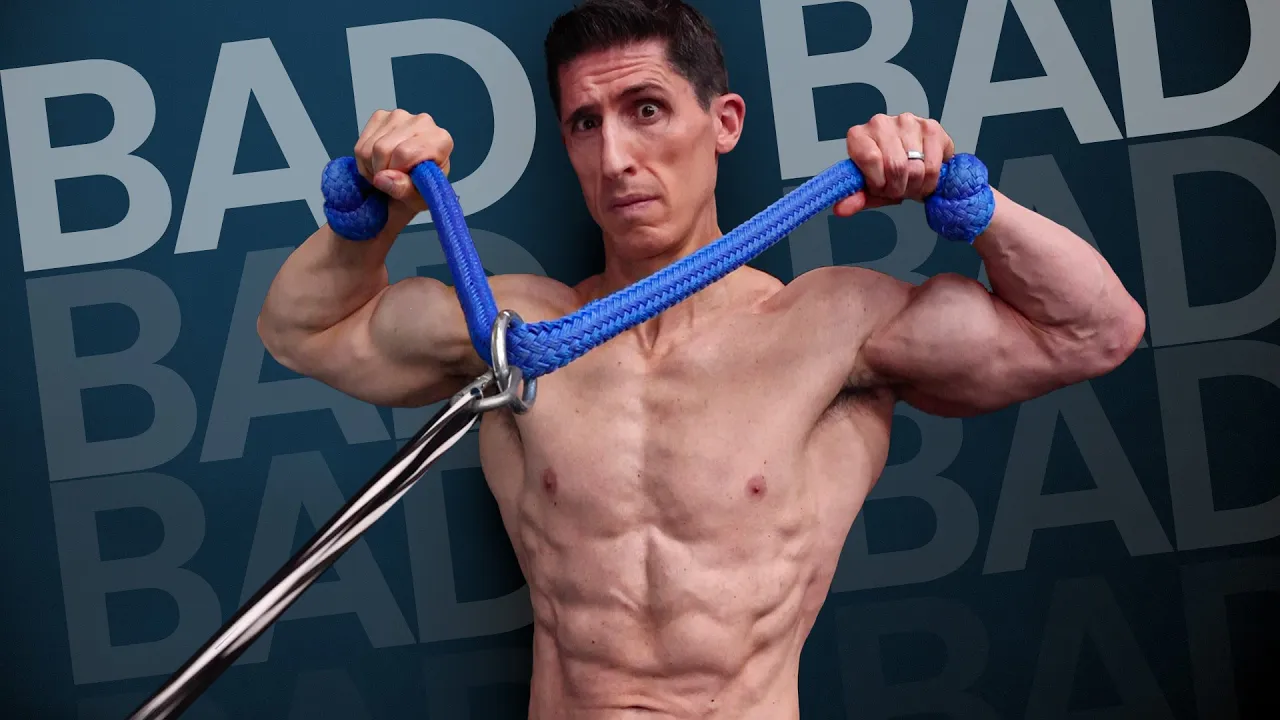
And one rope is never going to be wide enough to get your arms out in a wide enough position. So, what do you do? Just add a second one to the attachment.
And what that will do is now give you independent rope arms that will allow you to get your arms out into this bicep flex position where you need to be. Now, if you have an extra-long rope, then of course, feel free to use it and maybe save one of those extra ropes you're using for someone who actually wants to do Tricep Pushdowns. But with your attachment decision all set now, next decision is how high do we set it?
There's a simple way to get it right every single time. Here's how you do it. You grab the rope, and you pull it out until it's straight and parallel to the floor.
And at that height, these handles should be pointing straight here at about the level of my eyes. If there are any higher, you're going to start to get into a position where you can't even execute the right exercise. Because once they're up here, I'm no longer doing a Face Pull, and I'm changing the mechanics of what I'm actually trying to train in the first place.
Now, if you only have access to something incredibly high, like a pull up bar that you're anchoring a band to, how would you account for this? You just have to change the orientation of your body, because these ropes would have to come down here to be angled at your eye. So, you just have to go and angle your body back at the same time to make sure that you're getting into the same end position.
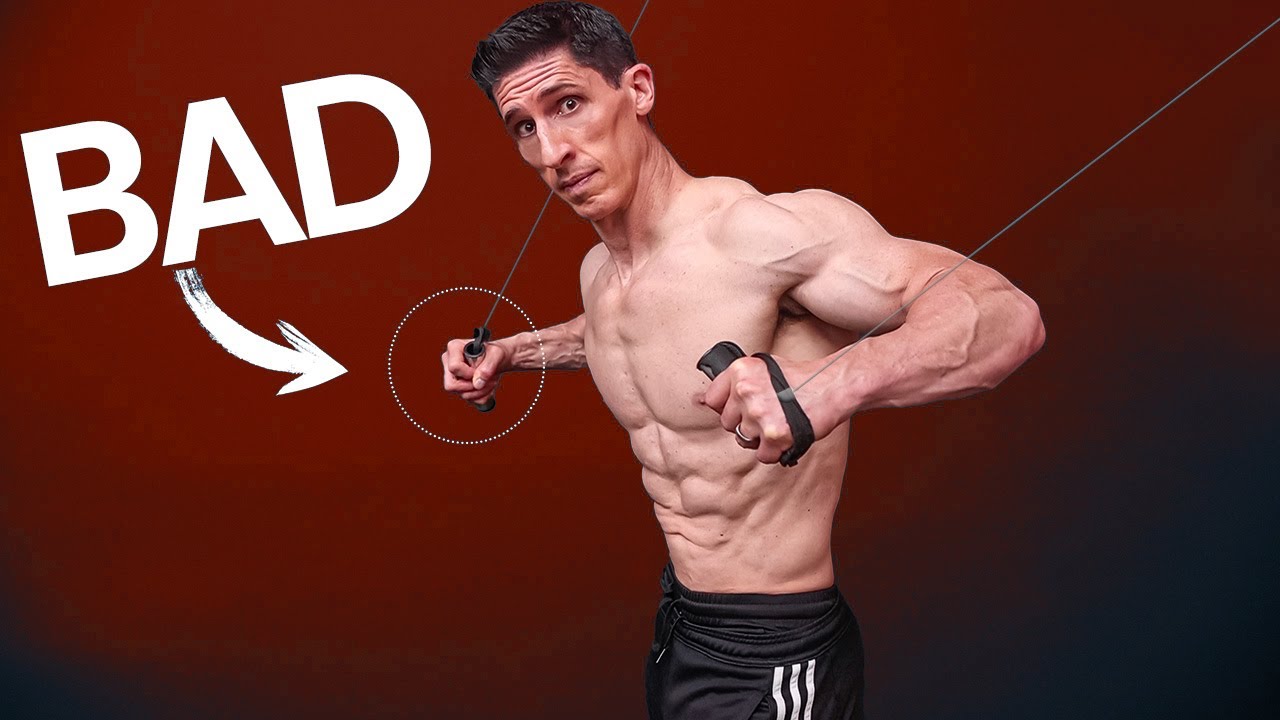
There's always a way if there's a will, but you gotta make sure you know what you're doing in the first place. But it's here that we actually make or break the exercise, because how you grip these two little ropes that are hanging down is going to determine whether you're biomechanically capable of doing the exercise properly. And what most of us do is they go like this and like this with an overhand grip.
And at that point, you've screwed yourself because you're not going to be able to do the exercise the right way. Instead, what you want to do is something I call hook em and hold em. You want to hook the ropes from underneath and then hold them from there.
Because what this does is it's going to set you up to perform the exercise with external rotation, it can either turn on the rotator cuff or in this case, turn it off. But there's one more thing you have to do with this hook and hold grip, your thumbs have to be free and pointing back at you because as you'll see when we pull, you want those thumbs to guide the direction of your pull. So, let's talk about that pull.
There are two things that are going to influence what the pull will look like. Number one is the target point that we already kind of alluded to before. Number two, the width of the arms at the top.
Because I see all the time this closed down width at the elbow. And that's incorrect. What you want to do again with the target point is aim for that parallel position of the ropes at the top here that are going to align with your eyes.
Okay. There's no way that if you're using two ropes, you're going to come anywhere close to contact with your face, so you really can't use your face as the endpoint or the target point. But what you want to do, again, is reinforce that the rope is traveling in the right direction, parallel to the ground, and again, even with your eyes.
The width of the elbows, though, is critical. And that is at the end, I mentioned earlier, you want to act as if you're in the bicep flex position, where I could actually flex my arms in this position here with 90 degree elbow bends. So that means that as I go out, I want to maintain wider positioning of my elbows, I don't want my forearms to collapse.
And you remember when we had that short rope? You were incapable of keeping the rope long enough to maintain this wider elbow position. Instead, you were in here.
What that does is it internally rotates the shoulder. Well, I mentioned that grip again. If I grip overhand like this, I'm internally rotating when I get to the top You see people do this like this all the time I'm in this internal rotation elevated position that puts the shoulder in a position that's not going to be comfortable for most.
Get that hook and hold grip and then with those thumbs pointed backwards, they act as a reinforcement to know you've done it properly. Because those thumbs should be pointing back behind you at the end of every single repetition, with the elbows at 90 degrees and the thumbs pointing backwards. I've also ensured that external rotation that will turn on, as I said, the rotator cuff, a crucial part of the exercise being done properly.
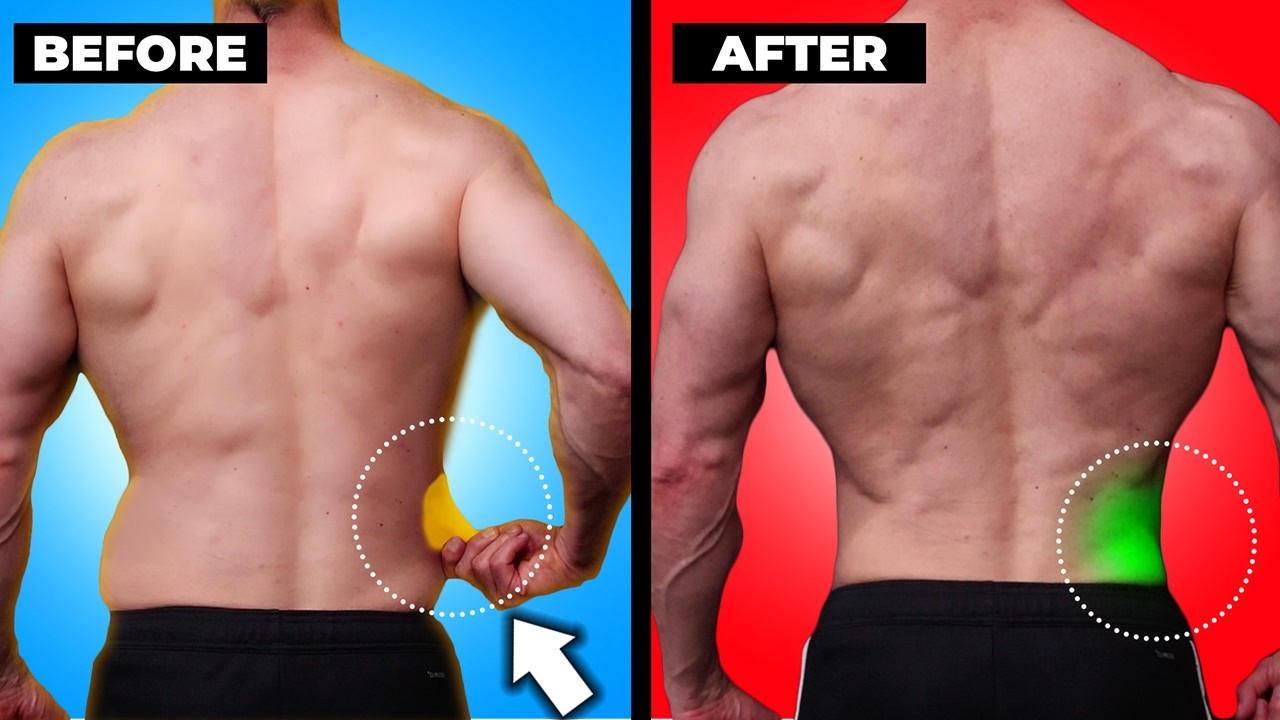
Now, at this point, you've got a choice, you can either let the ropes go back to the stack, or you can do something else. And that is turn an exercise that's already great for training the rhomboids and rear delts and upper traps and rotator cuff and actually now add some lower trap work by raising the ropes up over your head. And the benefit of this extra move is that it's actually training a muscle you're likely not training often enough as it is.
The lower traps are essential in terms of normalizing the biomechanics of the shoulder when you do raise your arms up overhead. So, anyone out there who gets any type of discomfort with overhead pressing is going to find that this additional part of the exercise is a godsend. And regardless of whether you took the option or not, getting the rope back to the stack is important too, because you can actually undo a lot of the benefits you've already done to this point by getting it wrong.
And instead of actually just leading with your hands to get back there, which is just going to throw you back into that same internal rotation with elevation that we were trying to avoid when pulling the rope back, you want to instead think about doing like a Pec Deck exercise. Bring your elbows together this way to let the rope go back to the stack rather than leading with the hands that is going to dump that shoulder into the internal rotation we don't want. Now of course, when you do this exercise, you're going to want to treat it more like a corrective exercise, one where the purpose is not to just build immense amounts of muscle, but to neuromuscular train muscles you're not training often enough.
And that means quality of the repetitions matters most. And what I mean here is instead of ripping out sets of 15, think of it a different way. It might still be 15 reps, but it's 15 sets of one.
I want you to treat each rep deliberately and correctly, to make sure that the form I just showed you here is the exact form that you use on every single rep that you perform. And so now, with this quick Face Pull tutorial, you'll no longer be fucking up your Face Pulls again. That being said, if you want to know how to do other exercises properly, I put together these how to videos for you for a reason.
Check out the how to do Lat Pull Downs exercise video here and how to do Hanging Leg Raises. If you want me to cover exercise of your choice next, make sure you leave it in the comments below. And also, if you haven't done so, click Subscribe and turn on your Notifications so you never miss a video when we put one out.
All right guys, full programs with all the right form and everything we do over at athleanx. com. See you.