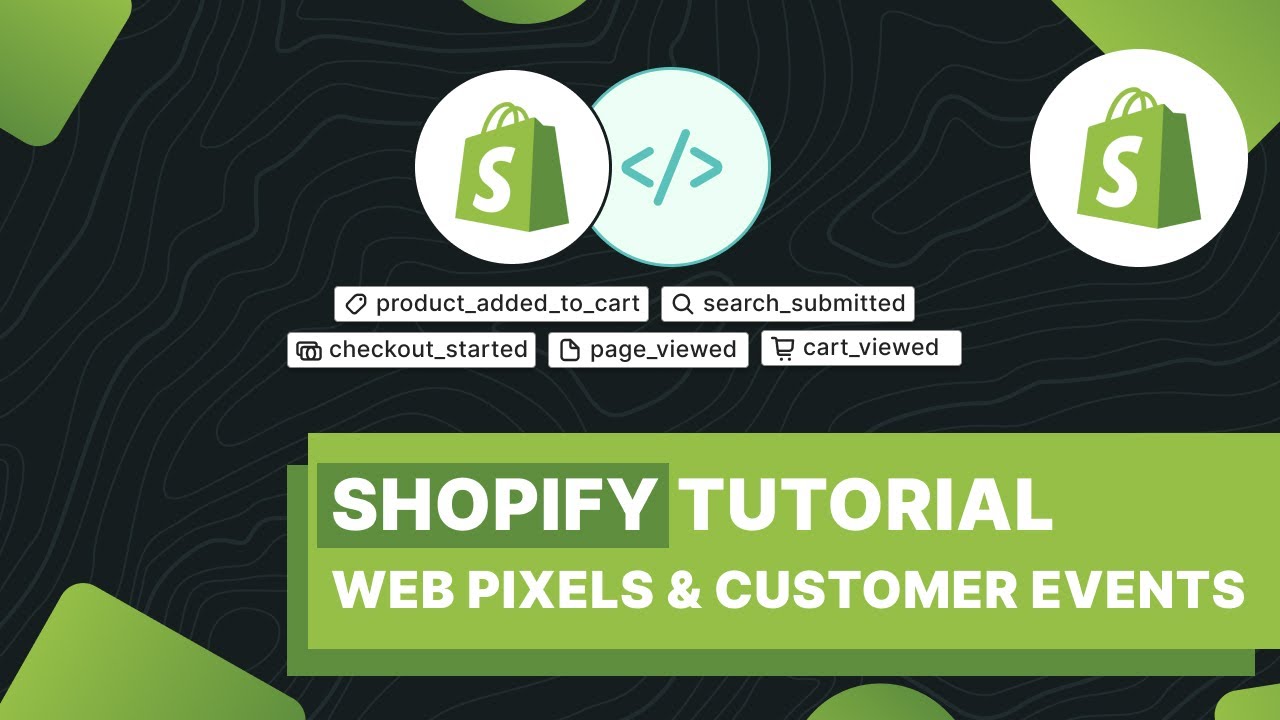
hey there I'm Benjamin from loves data in this video you'll learn how to set up Google analytics on Shopify including e-commerce tracking using Google tag manager to do this we're going to use a custom pixel in Shopify the great thing about using a custom pixel is that it works independently of your store's theme and other files so it's a much more reliable way to implement [Music] tracking before we jump in I need to highlight there are other ways you can install Google analytics on your Shopify store the easiest option is to use the Google and
YouTube app but this doesn't provide the same flexibility as using Google tag manager the other option is to add code to your template and checkout page but this method is no longer recommended so we're going to use a custom pixel instead let's head to Shopify to do this to add a custom pixel let's navigate to settings and let's look for customer events on the left and select this option this is where we can add custom pixels to Shopify this lets us track a whole range of actions taking place without needing to modify our template and
it's a more secure way to add tracking code to our store if you have any existing pixels you'll see them listed here currently I don't have any pixels so let's click add custom pixel now we need to name the pixel since we're going to be using Google tag manager let's name it Google tag manager now let's click add pixel there are two sections to configure our new custom pixel at the top we can choose the privacy settings for the pixel these settings let you control when the custom pixel will fire and these settings integrate with
shopify's built-in cookie Banner if you're using shopify's built-in cookie Banner you'll need to ensure that you choose the appropriate settings since I'm not using the built-in cookie Banner I'm going to select permission and choose not required this will mean Google tag manager will fire for all of the actions taking place on my site even if consent hasn't been granted this is also the setting you will probably want to choose if you're using a third party consent Banner on your Shopify store okay now let's select data sale this lets you control when the pixel will fire
if you're using shopify's built-in data sales opt out page since I'm not using this for my store I'm going to select data collected does not qualify as data sale below this we can add the code for our custom pixel I've already created the code to track when people add items to their cart right through to making the final purchase let's take a look at the code here we can see the code I've created for e-commerce tracking at the top we establish the data layer and add the Google tag manager container code then traveling down we
can see Standard customer events that Shopify makes available to us when using custom pixels these standard Customer Events let us capture different details as people engage with our Shopify store at the top we can see shopify's checkout completed customer event this event lets us capture details once someone has completed a purchase on our site we can see when the checkout complete event occurs we're getting details for all of the items people have purchased and then we're pushing a purchase event to the data layer for Google tag manager the purchase event includes all of the information
that is required to configure tracking for Google analytics this includes the currency transaction value other details and the items people have purchased traveling down we can see the Shopify customer event for payment info submitted this is used to push the add payment info event to the data layer we can also see other Customer Events are used to push the ad shopping info to the data layer along with begin checkout view cart add to cart and view item you can also customize this code further if you want to capture additional details or want to adjust the
information that is captured to save you time I recommend getting a copy of this code you can also refer to shopify's support articles however they haven't provided the best solution so again I suggest getting my version I've included a link in the description below this video okay I'm going to copy this code now let's head back to Shopify and let's paste the code we copied now we need to adjust the code so that it uses the container ID from our Google tag manager container so let's head to Google tag manager we can see the container
ID at the top so let's copy this and let's head back to Shopify we need to paste our container ID into the code now now let's click save on the top right corner next to add the custom pixel to our website we need to click connect at the bottom and click connect again now our custom pixel has been added to our Shopify store so the next step is to configure things in Google tag manager so let's head back to Google tag manager this is a brand new Google tag manager container so I'm going to import
my preconfigured container for e-commerce tracking to do this let's select admin then select import container I'm going to choose the preconfigured container if you got my code for the custom pixel this also includes this preconfigured container or you can get this separately if you like again I've included a link in the description below this video now let's select existing for the workspace select the default workspace and I'm going to select merge and I'm going to import the container now let's navigate to variables we need to edit the variable named change GA form measurement ID so
let's select this let's edit the name and now let's head to Google analytics to get our measurement ID I'm already in the admin area so let's select data streams now let's open the data stream and we can copy the measurement ID on the the top right corner now let's head back to Google tag manager and let's replace the ID with the measurement ID we just copied from Google analytics and let's click save now we're going to create a variable to capture cleaner URLs from Shopify this is because the URLs automatically captured from our custom pixel
implementation can be different from the actual URLs on your Shopify store this is due to the way custom pixels work cleaning up the URLs is optional but you will probably want to do it so let's create a new variable let's name the variable Shopify page location let's select variable configuration and choose data layer variable as the variable type now let's enter URL or lowercase as the data layer variable name and let's save the variable next we navigate to triggers and let's create a new trigger let's name the trigger Shopify page view and let's select trigger
configuration and choose custom event as the trigger type now let's enter Shopify pageor view or lowercase as the event name we're going to use this trigger to track page views on our Shopify store the reason we're doing this is so we're also C capturing cleaner URLs for the pages people view now let's save the trigger next we navigate to tags we can see the e-commerce tag that was imported let's select this and let's select event parameters I'm going to add an individual parameter but you could configure an event settings variable instead now let's select add
parameter and enter pageor location or lowercase then for the value let's select our Shopify page location variable this will mean cleaner URLs are reported in Google analytics now let's save the tag since we only have an e-commerce tag configured we also need to create a Google tag for Google analytics so let's create a new tag let's name the tag Google tag ga4 page view and let's select tag configuration now let's choose Google tag as the tag type and let's select the ga4 measurement ID now let's select event parameters then select add parameter enter pageor location
and for the value let's select our Shopify page location variable now let's scroll down and select triggering let's choose the Shopify page view trigger we created and let let's save the tag now let's click submit to publish our container let's name the version and let's click publish we've now added Google tag manager to our Shopify store using a custom pixel and we've configured our tags in Google tag manager so the next step is to test that everything is working correctly one limitation of custom pixels is that we can't easily use Tag assistant or the Google
analytics debug view to see what's being tracked so Shopify recommends using the Legacy tag assistant extension for Chrome let's take a look at this let's head to My Demo store and I've already in installed the Legacy tag assistant extension if you want to install it and haven't yet I've included a link in the description below this video now let's navigate to viewer product let's select the extension then we just need to select our Google tag manager container ID and then choose the data lay layer tab this shows us the events that have been pushed to
the data layer along with all of the information that is being captured here we can see the view item event along with the e-commerce information that will be captured by Google tag manager and sent to Google analytics so you can use this extension to check that everything is working correctly for each of the steps in your Shopify store apart from this option another great way to check that everything is working correctly is to use the realtime report in Google analytics let's head to Google analytics to take a look let's navigate to reports and then real
[Music] time in the event count by event name card we can see all of the events as they come through let's select the view item event we can see the currency parameter for e-commerce tracking has come through and we can see the value parameter items don't appear in the realtime report but we can also see page location we've now implemented e-commerce tracking on our Shopify store using a custom pixel once data is coming through to Google analytics and you've waited a day you will also be able to see information in the monetization reports and create
your own exploration reports too if you previously installed Google analytics on Shopify using another method you must remove this to avoid capturing duplicate events for example if you've added code to your template and checkout page then make sure you remove this once you're using the custom pixel how did you go setting everything up I'd love to know let me know in the comments and please take a moment to subscribe to this channel for all of the latest updates thanks for watching and I'll see you in the next video


![[Stape Webinar] Google Ads conversion tracking for Shopify: advanced server-side setup](https://img.youtube.com/vi/7ASTO--LNLE/maxresdefault.jpg)