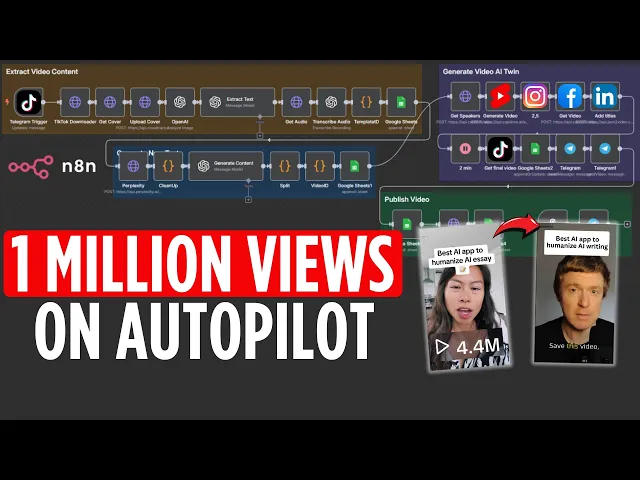
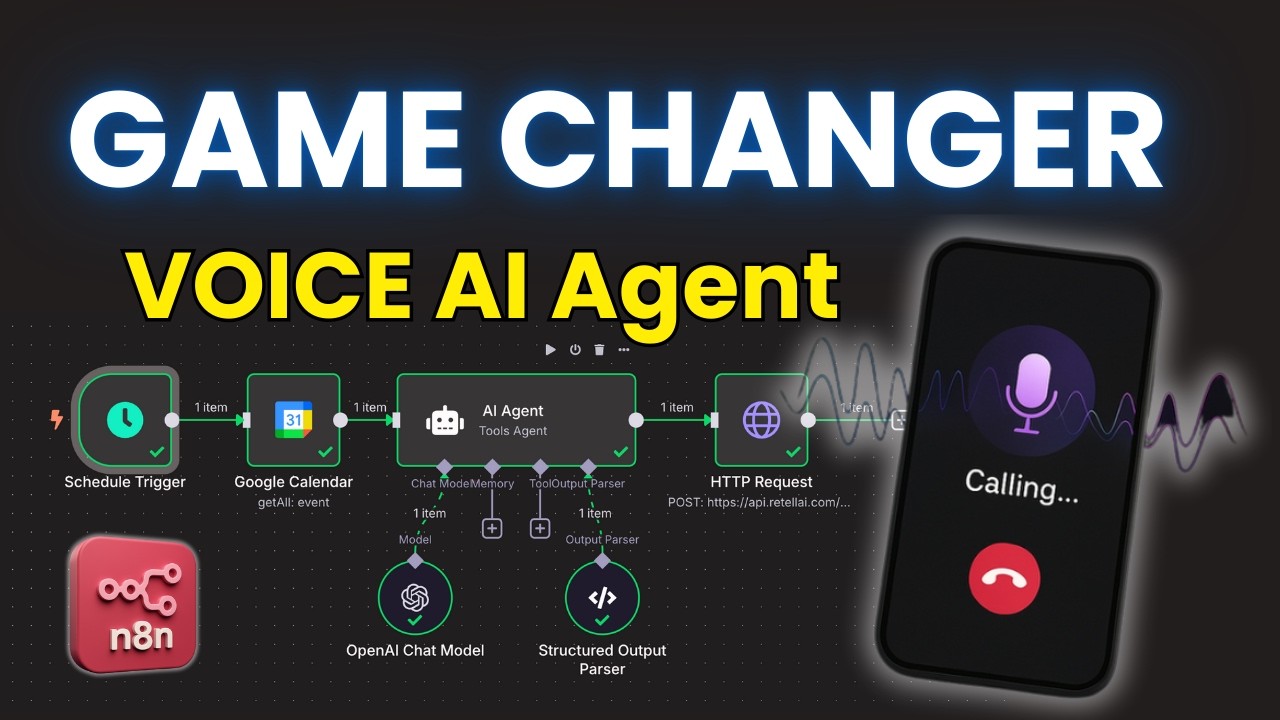
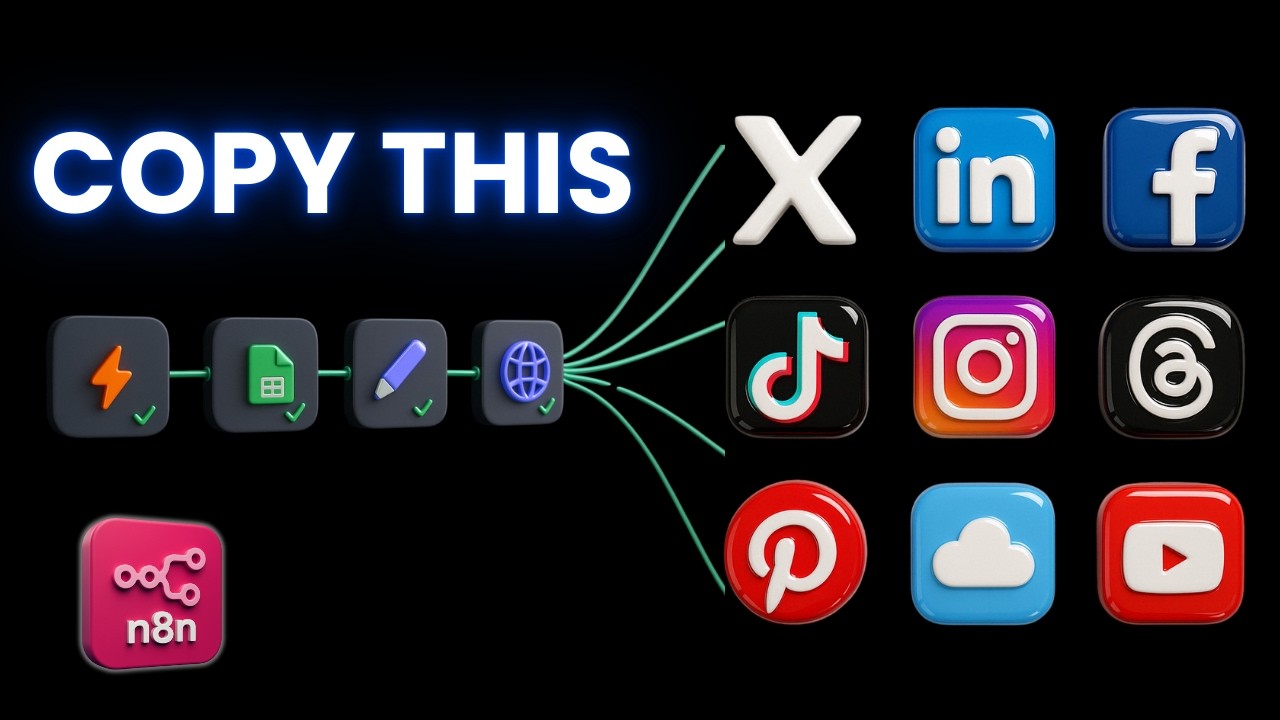
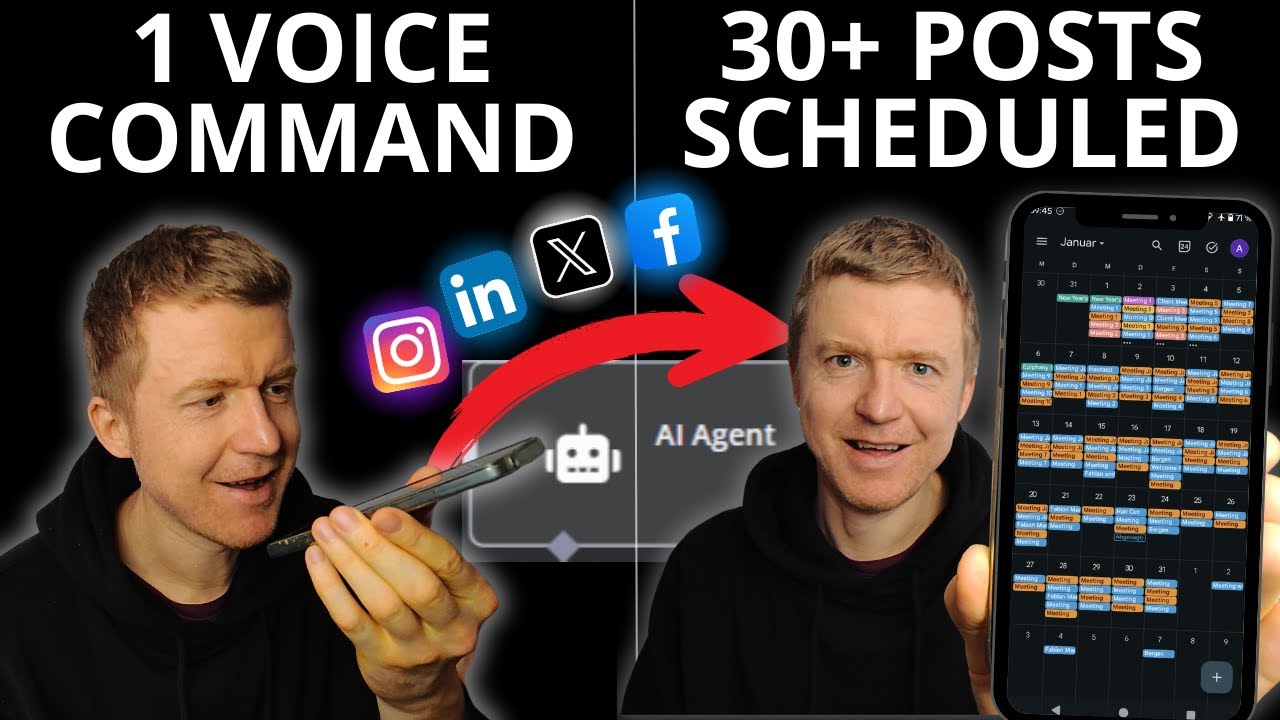
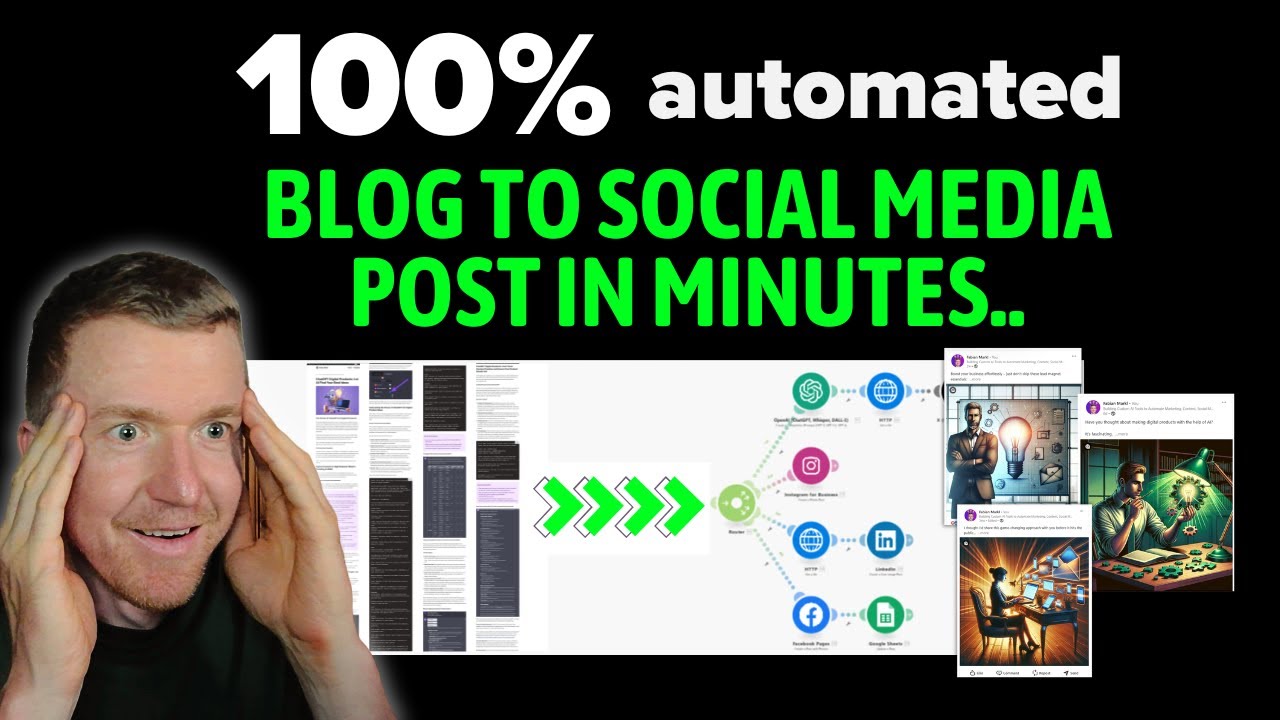
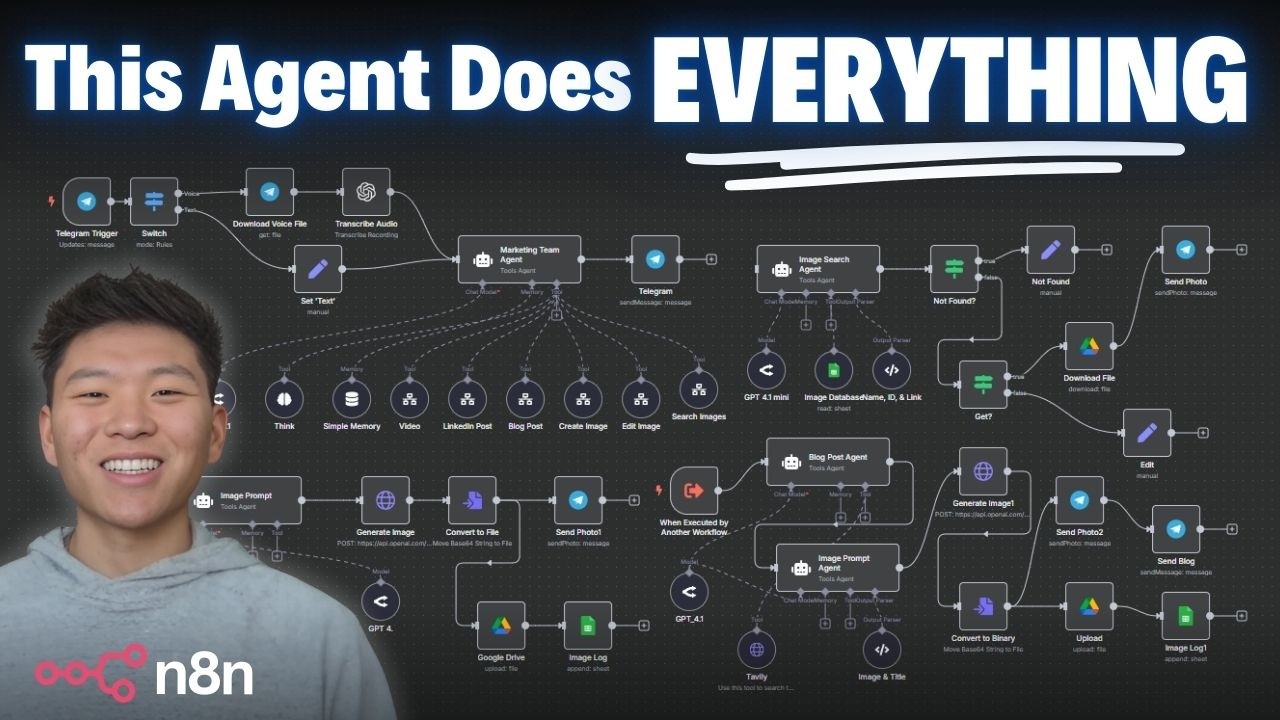
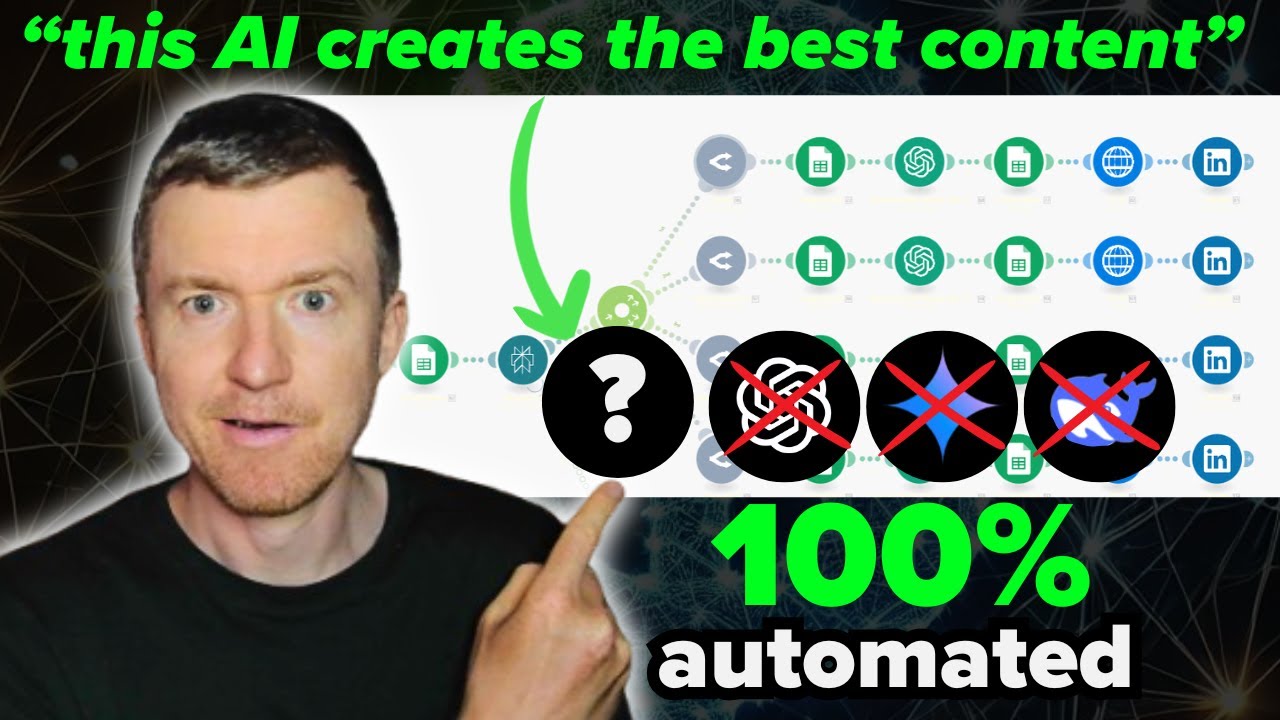
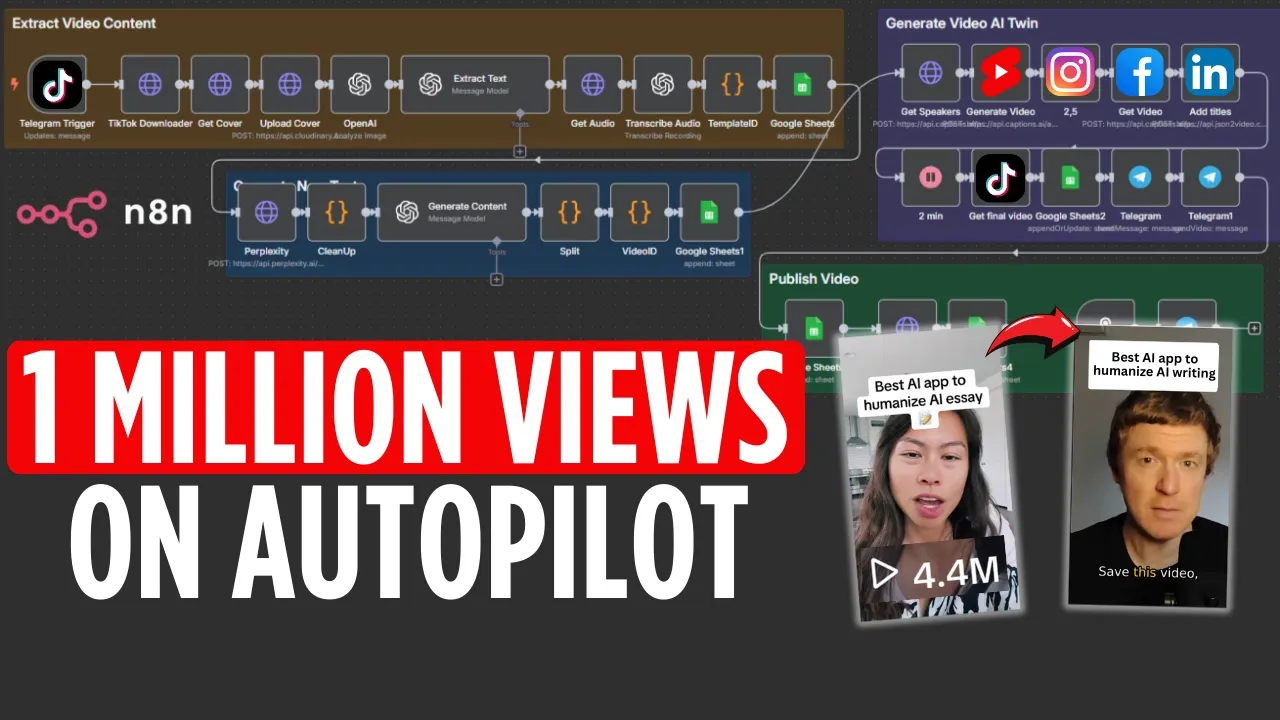
These types of videos are getting millions of views. But making them daily takes hours every week. That's why I automated the entire process. You just send a link to a viral Tik Tok. The system extracts the content, researches a new unique idea, and generates a video using an AI clone and then posts it to Tik Tok, Instagram Reels, YouTube Shorts, LinkedIn, and Facebook. In this video, I'll show you exactly how to build this AI automation step by step, even if you've never built one before. If you want to skip the setup and get this AI
system running instantly, you can grab my pre-built automation template. It's available inside my AI automations and agents template subscription where you find a growing library of readytouse blueprints and workflows. Make sure to stick around till the end because I'll break down exactly what it costs to run this automation. Even if you're not on your computer right now, make sure to watch this till the end because it's your chance to take advantage of the system before everyone else does. You can get this document that contains all the setup resources by clicking the first link in the
description below this video. The first thing we need is an N8 account and then you can click on get started for free and then you can start a free trial. Once you have done this, you will be directed to your workflows and there you just click on create a workflow and then we can start building our automated process. Now I've already prepared this workflow a little bit for you divided it into three blocks because these are the three parts of our AI systems. First we want to have the automation that extracts the video content from
a viral Tik Tok video that we can just grab here from a link and send to this automation. And then it will generate the text for me like the video script, the text that goes onto the video, the caption text that will be published along with the video. Then it will generate the AI twin based on this script for me and the finished video will then be published to different social media accounts. Now the first step we need is obviously in any automation here they call it node like a node is like a module like
a tool that you can implement into your automation to do something. We're going to use telegram. So telegram we're going to use it like our user interface to interact with this automation to send it information and to receive information back. So here what we need the trigger that's just a starting point the switch of our automation. And now here we will select telegram and here I need to click on create new credential. Now before you can use telegram you need to download it to your computer and to your phone to the computer because then we
can switch and switch back and forth to telegram during the setup. So I've already installed it here and then I click on open. Now here you will type into the search field bot father. This is the bot that you can use to manage your own bots. Like a bot is just a chat that we need to talk to our automation. Here you just click on start. You click on new bot and then we just give it a name AI clone automation and I will copy that because I need it in the next step because here
I need to just um add the word bot. And then I already get the access token which I plug in here and then I click on save and then it's connected. I can go back and now let's see where is my trigger here. I will drag it here to the middle. So the next that we need here is a tool to extract the video content. So if I go in here to a Tik Tok account, I sort according to the most viral videos and then I go through and I specifically look for videos that have
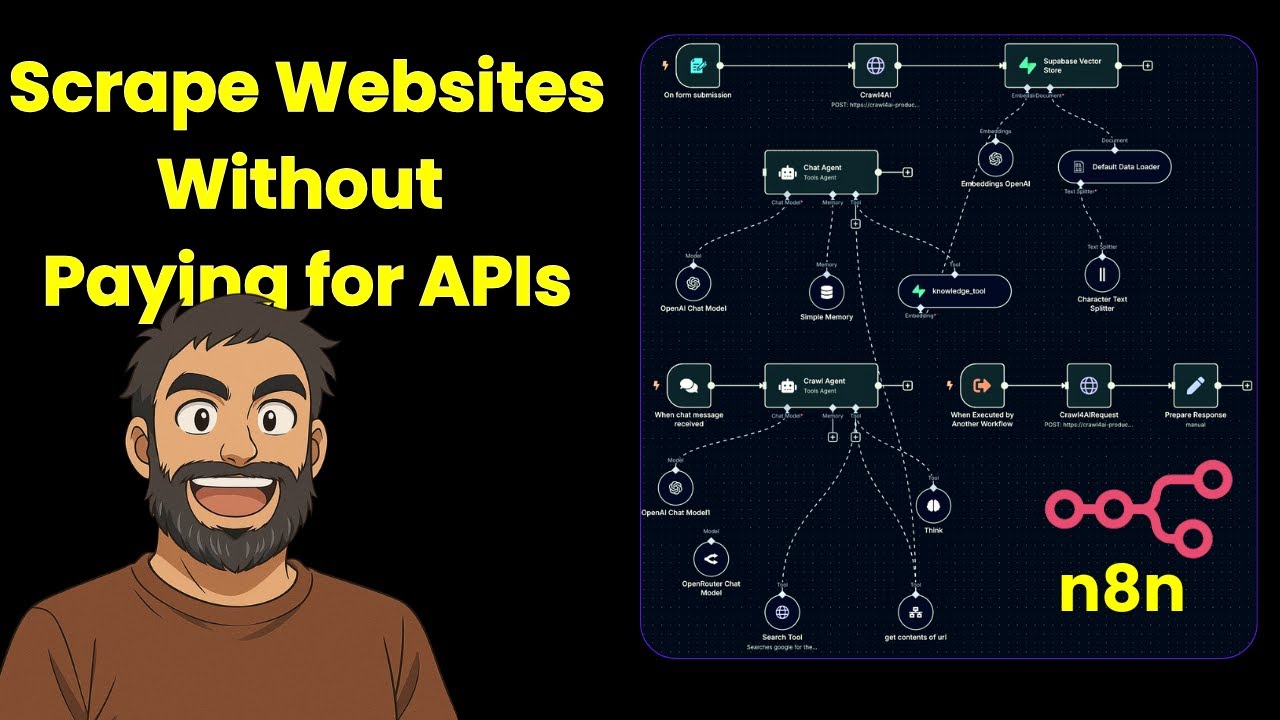
like a title on top and the person talking for example like this one. I would like to extract the title text that is here shown as an overlay and also the voice over. Now there's a tool I can use. I have linked it up here which is called get like Tik Tok video scrape or Tik Tok downloader. This is what we can use on a platform called rapid API where you can get access to lots of different tools you can use and you can sign up for a free account and then on this link you
click on that and then you click on subscribe and there you can have like 200 requests per month. So you can scrape 200 videos a month for free. And then once you have done this, you can go to this one, get Tik Tok video info. And there we have all the information we need to put into our automation to get the video content. But before we do that, we need to add an HTTP request module here. Now here we need to put in a URL. And we find this here on our rapid API. So this
is the URL here. So we will just get it from here to here. So this is the URL in here. We will then enter the link of the video or map it. But first let's continue. We need to click on send headers using feed belows add parameters. Now I've prepared this for you also already in the resource document. So first we need a a name called X API rapid API host. Then we need to put in this URL here which you could also find on the rapid API page but I put it for you on
this document. So you can just copy and paste it and here the name and then what we need is the AI API key and you find this here. So here I will just copy that from this part. Copy that and then go back. Place it in here. And then I will rename this tick tock downloader. Rename this. Now let's do a test run. So because we need to send this Tik Tok link to our automated system. So let's go to my Tik Tok. I will grab a video here like this. Let's pause it. I grab
this link here from the top and I send it to my AI automation. So, I click on this link first. Then I'm in the automation of my chat. Then I can submit this link here. But then I need to trigger it again. So let's trigger it again. Now we'll get an error, right? Because I need to map this link correctly to the link that I've sent in my telegram. And I will see that where will I see the link? Here's the start. Okay, I need to go back again. I need to trigger it again. And
now it's sent. So now I should see the link. Yes, here. And then I drag the URL on here. And when it's green, it's all fine. And then I click on test step. And there you see all the information it gets me from this Tik Tok video. So it gets me the the this is the caption. Then it gets me also the video itself which I will then in the next step um transcribe to get the actual script of the video. It also gets me the cover image. So let's continue. So let's drag this in
here first. Let's click save. So the next step is I need to get the cover image. So that's like this text I want because that's also part of the video I want to generate with this title that makes people click and stop scrolling. So I need another HTTP request and this is very simple. I just have get and then I just need to find the origin cover. That's this one. Now then it will download this for me. And if I view it you see that's the cover I need. And in the next step I need
to upload it. So I need to have so first let's rename this to get cover I want to have a website URL like a link to this image so I can processes the next step and get the text from it. So, and to do this, I need another HTTP request node. And here, let's scroll a little bit down. I need to use a tool called Claudinary. It's an online cloud storage platform where you can use in your automations to upload and manage files. So, you can just sign up for a free account. And then let's
first go back to my request note. Here I need post. And there I have prepared a link for you that you need. This uploads the image for us. Now here you need to enter one placeholder. So I need to put in my own. Let's go to home. And there I find this cloud name. I need to put this in here. This is my claudinary ID. Then I need to go to authentication generic credential type. I need to select basic or and there you need to go and create new credential. Here I need user and password.
Now I find this here under settings scroll and here under API keys I click on create a key. Then I need to check my email inbox and look for a new key that I have received a confirmation code and I put in the information code I received from email and then I get the API key. This is the user and then I can also copy the API secret which is the password then click save and that's it almost now here I need to switch on send body select form data and here I need to select
binary file and there this name is file and here this input file name is is data with a and I need to add another parameter and this is called upload preset and here the value I need to first you go here to upload presets and here you click on add upload preset and there you give it a name I just give it this name doesn't really matter and here I select unsigned that's important then I click on save and then I copy that. I paste it in here. Now when I click test step, it should
give me a link to this file. So now the image is uploaded. You see? Good. Let's rename this to upload cover. Let's go back. Click save. Zoom a little bit in here. And then we can continue with the next step where we can extract the text from the image. There we use another module openai analyze image. Now first you need to connect an openi account and we can do this via this link here platform openai.com. You can sign up for for an open eye account using your chatbt login details and then you go to settings.
You can add some credits here like $5. And then you can go to API keys. Create a new key. The name doesn't really matter. Then you click on create secret. Copy the key. Paste it in here. Click save. And that's it. And here the only thing we need to do here is select the model. And then we need to map the URL that we have gotten from our claudinary upload. So this one. Now when I click on test step, it should already get me the description of the image. Now before I continue, I want to
actually only have this text extracted as a variable. But you can do this with the analyze image function. Um it always gives it a description of the image or when you ask it, hey, what is the text of the image? It will tell you uh it can't do this for whatever reason. So that's why I need to add another open AAI um module called messenger model that just extracts the text from that. So I will just select the account I have just connected in the previous step and there I will choose the model GPD4 O
here and then I go here to my prompts already prepared this for you. So we'll just have a prompt the instructions. So what it should do it should just extract only the text that is mentioned in the image description. So but here I need to map it properly. So I need to drag this in here and then if I click test step it should only give me the text. Yes, you see here that's exactly what I want. So I can process it as a separate unique variable. Now let's just rename this to extract text. Click
save. Now the other thing we also need besides the text is the script like what is the person saying in the video because that's also really important for a video to go viral. Now first I need to get the audio file from my Tik Tok downloader. So I will have an HTTP request which can do this for me. So we will just get audio and then here in the URL I need to find that the URL or the the variable that has this part for me. So, and it's it's it's called music, I think. So,
that's what it's called, music. And the music, if I put this in here, it should give me the audio actually. As you see, that's the voice of the person talking. And now I can transcribe that using another OpenAI module that can just transcribe audios for us. So, here transcriber recording and here connect my OpenAI account. I've connected here. This is everything is the same. Now if I click on test step, it should already transcribe the audio. Yeah, you see it here. That's the that's the audio we want. So let's rename this to transcribe audio. Next,
I have extracted all the content I need to generate my own video based on that. So now the only thing left to do are two steps. First I want to add a a template ID. Basically I want to give this video I've extracted an ID because I will then in the next step save all the information into a Google sheet as a database along with an ID. And here I just will add a function that generates a random ID for me. I've already prepared this for you. So you can just copy and paste this. I
didn't code this myself. I just asked CHPT to do this for me. So when I put it it here makes change this to template ID it will just do give me a random ID of consists of numbers and letters. Now I can save all the information into Google sheet. So here I go into here because that's important because the Google sheet is our central database where all the content that we generate and publish is managed and sent to different tools. So go to Google sheet go to append row in sheet and now you need to
connect to Google account but before we do this I've already prepared a Google sheet template for you that you can use so here Google sheet template click on that where I already have organized all the columns we need to make it work for our automation and then the only thing you need to make sure of is you need to connect your Google account so here click on create credential sign in with Google make sure it's the same account where this Google sheet is in. So I select this account because then I can connect this to
my automation. Continue. Now here let's give it a name. So today is May 2nd. And now let's um go through quickly so you understand how it works. So I have two sections of this Google. I have templates. This is where all the the extracted text from my Tik Tok videos that we've just set up in this first part of the automation is in. So that's what this part should do. It can I send it a link to a viral Tik Tok video. It gets all the text and saves it in the template section. So then
in the next step I can use these templates and modify them to generate my own videos based on proven templates or proven other viral videos from others which gives me a higher chance for my video to also um go viral or at least get lots of views and clicks. And here on the generated post that's just the videos and the content that is generated for me and stored. This is what we will set up in the next steps. So let's first go into this Google sheet here. So Google account is connected. Now from list the
document here is my Google sheet and the sheet is here templates. So that's this part and there I need to specify okay what values should be saved. And here you see already the columns listed. You see here template ID video link or text overlay that's like the the text that is that's on top that's called text overlay. a video script that's what we have extracted and the captions like that's this part here the text that is published with the video here and we want to save all of that into our sheet and that's very easy
to do so we just need to drag in the values we want to save the template ID and it needs to turn green then we have the what's here that's the that's the video script drag it here next we have text overlay and video link so we have the video here's the text overlay text so that's from here now the video link that we have at the very beginning because that's just the URL that we are sending to our telegram so you can just use that and then we have the captions and that is already
in the extracted information here I think it's somewhere at the top here the it's called title so drag it in here and then when we click save. This should be saved to our templates. And you see it here. It was saved. Great. So, this process works. Now, we can continue with generating our own content. Now that we have extracted the content for our video, we want to not obviously use the exact same content, but we want to make it more unique to add a fresh spin to the topic we have extracted. So, and to do
this, we add another module which is going to be connected to a powerful AI research tool that is called perplexity which is here. So, let's rename this to perlexity. Now, here we need a URL. already prepared some information for you to enter there. So we are here now. We need this URL. Put it in here. Then we need to click on send headers. We need again two parameters. The first one is going to be authorization. And let's also copy that. We need to put in your API key for that. We will enter this in the
next step. I'll show you exactly where to get it. content type application and JSON. Now let's go back to our links. Now let's also copy. This is basically a prompt that does the research for us. We need to click on send body using JSON. Put this in here. Now here we need to map this field here to the right information. And the right information for us is just a video script. So it should just look at the video script we've extracted from the video and do research around this to find new fresh angles on this
topic. Now to use perplexity you need to get the API key and you get it by first setting a free Plexity account. So, and once you've done this, you go here and you go to settings and there you go to API key. And there you can click on API key and then it generates an API key for you. We need to copy the entire thing and then here to the top and we paste this in here. Now we can already click on test step. Now we got an error but because we need to switch this
to post and then we click test step again and then it should work. Now in the meantime one thing to point out this perplexity is very cheap but it's not free. So you can here go to your API um account and there you see um that you can buy some credits and add them to that and so you can use the service and here you see it's now done. It has gotten me the content. And now in the next step, I want to clean it up a little bit. So let's drag it first to the
top. Now I want to add a cleanup function because I only want to have specific information from the result extracted. And here I already have created this for you. This is my cleanup function here. Go in there. Put it in here. Rename this clean up test because here you see like the output of this is like quite long. It it it lists out everything it has researched and also the step it the steps in this process. I don't need this because I only need like the final result like what is the topic for my specific
video that it has researched for me. What is the fresh angle? I want to already create a content for me. So, I will just copy this one or duplicate it. And now I can turn this into my own like um text overlay, video script, and also captions based on this proven template. And that's what I do with this. So, that's my Let's open that. Double click. And the only thing I need to change first, we'll change the name. generate content and then I will just change the prompt and I've prepared this for you. It's this
one. So I will go through it in the next step. So let's just copy that. Let's expand this here. Remove that and then make sure all of these things are green. So this is how it works. You are rewriting Tik Tok video script captions and text overlay. Now here's the content idea to use. This is what we got from Perplexity. This is the newly researched topic. Now, here's the original script of the video. We need to get this from our video script extractor or from here like from this one. I think this is the original
script. We need to drag it in here. Make sure it's green. You want to change the original structure. So, this is just some formatting guidelines on how it should generate this for me. You can modify the prompt to get the outcome you want. So after you run a few tests, you can um do this. Now what's important um that the video script text so it first generates the video script in the first step as you see here. This is the first step. But what's important it must be less than 800 character because that's the limit
of our video generation tool that we set up in the next step. It has a limit of 800 characters. So to be safe, I just tell this AI to make it 700 characters um or less. And then once it has done this, the step two is to write a caption. Now this is the caption template. Make sure it's the right one. So scroll down. This is the caption template. So this is this one. Yes, it is green. Good. And now the final step is the text overlay. So that's the overlay text green screen. Yes, that's
it. And then it should give me the output in this specific way. This is really important because then I can separate each of these variables in the next step which is with a separation function. So let's just click on test step and while it's running I can already go here. Okay, it's already finished. Now you see it gives me this information but it's still like crammed into one text block. That's why I want to split this up with another function to split it up into three parts. So I have the video script, the captions and
the text overlay separated. That's what this function is for. I've created this just asking chat GPT. The only thing I need to make sure of that this is the right variable. So let's switch to schema here. I will just let's see if it already works. So if I click on test, you see it's not the right variable. So we need to delete this part and then drag this in here. And then let's see. Now you see it work. We have three things. text overlay, video script, and caption text. And now we can move forward. First,
let's click save. Let's drag this over here. Let's rename this to split. Now we have all the content we need to generate the video in the next step. But before we do this, we want to save it. And here we also want to give it an ID. So we want to have a unique ID for our own generated content. So we'll just duplicate the template ID function because we use the same function. So go in here. Then we just going to rename this. It's just going to be renamed to video ID. And when we test
it, it just gives us a unique code that we can use as a ID. And then we want to save it all to the Google sheet. So I can already grab this, duplicate it, and here. And now it's also append row. The only thing that changes is this one. So it's generated post because now I want to save my generated posts into that area here. So I need to only I need to have the template ID. So I have the original template. So I can see okay what template was my post based on. So I
could identify this. So let's first drag in the video ID. Then what is the topic? like the topic that is just the what the cleaned up response from Perplexity. Then we have the text overlays. Now here we have at the top the split function and that's why we name all these modules so it's easier to find the the values you need. Then we have the script that was generated. There we have the captions that was generated. Now the video URL this comes in next step. So, we don't need to save this at this point. The
only thing else we need is the template ID. And we have this a little bit more at the bottom here. So, that's this. And if I now click on that, it should save this here. And I have all the information I need to generate my video in the next step. So, let's click save. continue to this part. To generate our AI clone video, we will use a tool called captions.ai where we could either use one of their pre- defined avatars and or we could also create an AI clone of ourselves. So, you can sign up
here for a free account and then you can here go to AI twins and there you can create your own avatar and you need to upload a video. So you go here to upload video and then you can just upload any video. Click on confirm I own this video. Click on confirm. You can give it a name like video one. And then it will take a few minutes until the avatar is created and then you can use it in your automation. Now the first tip we need for that is here another HTTP request that gives
us all the available AI avatars or icons we can use. And for that to work we need here to switch it to post. Then we go in here and here we need to use this URL and we need to paste this in here. Then here we need to click on send headers. Add parameters. Again I've already prepared them for you. Again first one is content type and application JSON and next one comes the API key. So first is namex API key and then we have your API key and you get this API key in your
captions account here API dashboard and then here API key we just click on copy it. Now, he will also get like 300 or 500 credits. I've already used most of mine up during the testing phase. Um, but here you put this in here and that's all we need to do. So, this is just get speakers and let's see should already work if we click on it. So if we click it, we see here's all the list of speakers we have available and there even like thumbnails for those different avatars. So you can take a look
at it. So here are even mine or any anyone else. So you can check them out. So you can look at them here and see which one you like. So I will just pick the one that I have just created. So for me, I think it's that one here. actually the other one I like better. So it's this one I think and then we will select this in the next step but it's just important to see okay which one is the one you want to use. So I want to use this one and I just
keep in mind okay that's twin two fab and v2 okay good because as the next step we will generate our video. So here let's click on duplicate. Connect this here. Double click. And now here the only thing we need to change is the URL here. And then also we need to add a video generation code. So first we need to replace it with that submit. Then you scroll to the bottom. You click on send body. And then you click on using JSON because now we need to send the video script right and select our creator
like the avatar or AI clone that we want to use. Switch it to expression expand it. Now if it's green good if it's not for some reason you can just drag it in. So here first I need the script I have created in the last step. I just make this shorter. So here is my script. I drag it in here. Now here I can select my creator name. So here I wanted to have this one twin tool for two and resolution I just leave it as it is. And that's it. I will say change this
to generate video. I can already click test. Now I see the video operation ID was rec created. This is a good sign. In the next I will add some wait time so of around 2 and a half minutes to be sure that the video is finished before I can process it further or use it in my automation. So just set it to two and a half minutes. Put this in here 2.5. Rename. The meantime I can already move to the next steps here which is I need to get the video URL. So duplicate this connect
it after this weight node. Drag it over here. Then we need the next one which is this. It's just called P. So go here. Scroll to the bottom. I don't need to send body and then let's rename this get video. Let's go back. Click save. So while it's running, we can already continue because the next step is we will actually put this video we get because we only get like the raw video like it's just the person speaking but there's no subtitles and there's no title text that they want to have on top. But we
can add a module a video editing tool that can do this for us. So we'll type in another HTTP request and then we need to here go to post. Let's go back to our sheet. Let's scroll to the top first because we need to set up an account on this tool which is called JSON to video. You can get started for free and then once you've done this, log in. Now let's go back here. Now here the URL I've prepared this for you. We have it here. This is the URL here. Place this here authentication
generic credential type and here we need to select custom O and there you need to create new credential and here you need to enter this code and then place it with your API key and you get this from JSON to video go to API keys and then here's your key. Copy that. Paste it in here. Click save. Go back. And here we need to click on send body and using JSON. And here is like our settings for the video that should be created. I will explain a little bit about it and how you can customize
it. So let's first switch to expression. Before we can continue, we need to actually wait until this video is finished. So now we are at two and a half minutes. So we still have a few time a little bit time left. So let's rename this to add captions or add title titles. So while we wait we can go in here and explain to you how this work and how we can modify. So here you see um this is the setting is like Instagram story. That's that's the vertical format of the video. Here is this is
the source video URL. So that's our AI clone speaking that's generated at the moment. Then we have the top text. That's going to be the text that goes on top of our video. And here is the styling, the font family, font style and so on. You can modify this as you want. And then here we have the subtitles. That's just the subtitles of the video. So that the voice that is spoken converted into text. And you can also modify the styling if you want. Now let's go back, click save, and I will just wait until
it's done. So here I I just switch it to seconds to to shortcut the process. And later I will switch it back to minutes. So here is the video. Let's go in here. Get the video. Now before we can actually get the video we have um we need to add one more thing which is send body and here we need to select JSON because here under get video URL we need to actually put in the operation ID which will give us the video. So it's already green. So that's this ID here. And then once we
click it we should get the link to the video. So this one. Click on open that. So that's it. And so now we can go to this one and see if it's matched correctly here. Yes, the URL is also there. So and this is like the type text on top and in the bottom we have the subtitles. We don't need to match it because it's automatically generated from the video file. Now we can already go in there actually and click on start test step. Now I go back to this. I actually turn it back. Let's
just have it two and a half minutes. Good. Now here I also need to have a wait note. So I will just duplicate this. And this can be like 2 minutes before the video is processed and changed to video. So to two minutes set this also here to two minutes flat test step and then we will duplicate this. Get the video URL. We have a a settings here. So scroll to the bottom. Get video. We need this. So here we are here. Now let's need to get final video. Switch it to get. Put this in
here. Switch this to expressions. And that's it. Now we just need to wait till it's finished. Now when you go into render logs and chase into video, you see how long it took. It took like 46 seconds. Sometimes you see here rendering time is like one and 20 seconds like 2 minutes. Now this will already be the video that will be given to me in this automation. Let's click save. Now in the meantime I can already set up a new Google sheet because now I can also save the URL to my Google sheet which I
need to then send to my publishing platform. So Rene let's open that and then we will go here generally post. Yes. Now we need to wait a little bit. So the only thing we need to send here is um actually we first need to change this to append or update row because it should be written the same row as this here. So it should be written into this row here. to this cell and there I need to have a matching row which should be the the video ID and this is going to be the video
ID here and there actually need the URL. So the video URL I need to wait. So let's type in something here and then let's wait until this is complete. Okay, now it has run. So now let's go in there. Let's actually go first into that one to get the URL here. See the project ID is green. Good. That's just the project ID from that. The video is received. Now we can save it here in the sheet. So the video ID, this needs to come from. Let's actually go to table and we have the video ID
here. Drag it in here. The URL comes from that one. So switch to schema. This is the URL to the video. So if I click test step, it should now be saved into this one. Yep. Now I also want to receive a confirmation in Telegram that the video was generated. All the text it has created for me. So I can take a look at it what gets published. So I will add another telegram note or I will add two. The first one will be a text message. So I see this where do I see the
text message here. Send a text message be connected to the same telegram account which is 22 in my case. Now the chat ID we need to scroll to the beginning because I want to receive it in the same chat window right in the same chat. Now the text I've already prepared a response message format which is this. So it gives me the caption text and the URL to the video. So let's go on here. I need to switch it. It creates the expression. Let's make it larger. Adjust the formatting. So I want to have it
clearly formatted. Caption text. Video URL. Great. And so when I click on test, I should receive it here. Yes, caption text. Now I also want to see the video inside telegram. And to do this, I will just add another telegram. Send a video. Note that we have where we have the video. Send a video here. Select the right telegram account. Put in the chat ID which I can get from this one. Now I only need to put in the video URL which I have here and then this should send me the video as you see
here. Yep, works. So now we already at the final step to publish the video. Now we will not do this directly in N8N because we want to publish like to five different platforms to Instagram to YouTube to LinkedIn and to Facebook and also to Tik Tok but it's technically a little bit more complicated to do in N8 and it can be done but I found a much easier solution um and that is to switch to another automation platform you probably already heard of and it's called make.com. Here you can set up a free account. Once
you're logged in, you click on create a new scenario. Like that's what workflows are called, scenarios. It works in a similar way, but the big advantage of make.com is it has direct integrations with those different social media platforms. And the first step we actually need is a web hook. A web hook is just a way for two different tools or in this case automations to talk to each other and exchange information. I actually need not a web hook response. I need a web hook. I need a custom web hook. I need to click on add.
Just click on save. And now I copy that work that hook. And now I need to continue here. The first step I need is another like Google sheet module. First I want to gather all the information I need to send to those different publishing platforms. And I want to do this with that one. Here is just called get rows. And I only need to like add a filter video ID. And then I have the value which is then just the video ID that I get from here. So I will just connect this here. Select table
and then where's my video ID? It's here. Drag it in here. And then it should just give me the all the values from this. So you see here template ID video. Great. And now I can send this to my make.com platform and then to my social media platform. So I need to go to another HTTP request. Now here we need the method needs to be posted. In there we put in the webql that we have just copied from that. And now we need to click on send headers. So let's go down to my make.com web
hook request because here we need to send these headers here. this one and this and now we need to click on send body JSON type using fields below now this is where we decide okay what values do we want to send now I want to send the row number that's important so I just drag it from here to that then I want to send the video ID ignoring drag it in here. This is the video ID. Then I want to send the caption text which I have here. And then I want to send the video
URL and I have it here. And the other thing I want to also send is the chat ID because I also will set up a response back from make.com to Telegram to confirm that the video was actually published. So I have chat ID. I will just grab it from these Telegram note here. Chat ID. Now when I click send, it should send this. And here we have seen successfully determined. Now when I click on run once and send it again, I should see all this information here up here. Yes, perfect. First I need the flow
control router. I have um four four platforms because Tik Tok will be set up in a separate way and first will be Facebook. So select Facebook pages. We need to have upload a video. Then you need to connect your Facebook account. So you just click on here save, click on continue, sign in with your account. Obviously you need to have a Facebook page first created that you are an administrator of and then the pages will load here. Just pick that one. Actually we need download a video from URL. Then we can map the URL. Just
click on it. The description is just the caption text. Click save and that's it. But I also want to have a like a confirmation in my Google sheet that it was published and and what date it was published. So I will click on update row. You can add your Google sheet account again. The same Google sheet that you have already open here. Select my Google account. Continue. Allow. And then I can here search my Google sheet. It's already here appearing. Now I need to select the sheet name generated post. Now the row number. That's why
we've sent this to my automation because now I can um put in here I want to have the publish date and I've prepared this for you already. So it just writes the the date the current time and day into that using that and the status should be published. So that's all I need here. And now what I also want to send up next. Great. Now let's set up um also Instagram, LinkedIn, and YouTube. So let's go in here. Type in Instagram. Create a real post. Now we need to like add a connection here. But before
you do that, you need to go to Facebook, your Facebook page that you've connected in the previous step. And then you need to go to here switch. Click on switch and then you need to go to settings. Then you need to go to linked accounts Instagram and then you need to connect the Instagram account you want to publish to. And once you have connected that then you can here click sign in and then you will just be prompted to sign in with your account. Again Facebook continue and then it will load your Facebook or Instagram
your Instagram account actually and there we can just map URL caption is just the caption text we don't need the cover frame so that's it and here we have the same just clone that now here for LinkedIn we first need to have this get a file node to get the file and then we can publish it to LinkedIn so now we can go in here type in LinkedIn Click on show more. Create a user video post. Connect your LinkedIn account. So click on it. Click save. Then you will be prompted to log into your account.
Click on login. Once you've done that, your LinkedIn account will show up. You can connect it here. This should be selected to http get a file. The content is just our caption text. And that's all we need. Click save again. Okay, click save. Now I also want to add the sheet here. And now we have YouTube. And here we also need this first. So let's just clone that. Let's remove this. And then we can add YouTube. Type in YouTube. Upload a video. Click on add. Connect. to your YouTube account. Select yes. Sign in with Google.
Select the YouTube account where you have your channel managed. Then select your channel. Now here we need to add a title. I will just type in watch. Now I don't have a custom title for that. Video category needs to be selected and then you need to select to public and that's all we need. So here the description is the caption text and then this should be it actually. Yeah. Then we can also clone this. Click save. Now let's do a test run. Click on run once. Go back to our workflow here. And we need to
go to this one, the HTTP request. So this is basically our make web hook and I click on test step and then it should trigger it and it will upload the video to those different social media platforms. Now I have to say one thing. If your video's file size is long, more than five megabytes, you will hit an arrow here in the make.com free plan because it's limited to five megabytes. And then you have two options. You have to upgrade your account. So you go to here organization then you go to subscription and there you
can upgrade to the $10 a month plan which gives you lots of other cool features if you're more serious about building automations that are effective or the other options you have is you join my paid subscription membership because there I have added this as a bonus upgrade basically where you can use make.com free plan and we just add this add this quick workflow So here the compresses the video below 5 MB. So you can publish this even on the free plan to make.com. So these are your two your two options. Now I see for me
it has worked. So there's no arrow. So I can check. Let's go to Facebook. Reload my Facebook page. Reload my Instagram page. Reload my LinkedIn page. Reload my YouTube page. And there I see on Facebook it was published. YouTube Reels, the video is here. LinkedIn, the video was published. And to YouTube, it was also published. So, it works now. But what I also want to receive is I will also set up the Tik Tok account. But this we will do in a few minutes. First, I want to receive a confirmation message whenever my video is
published to these platforms. And to do this, I need to add a HTTP make a request. And there I need to first go back to my workflow again. And here I need to add a node. So let's click on that. Here add a node. And here we need web hook. And this needs to be set to post. Now first I will go into that. There we have two URLs test and production. I will pick the test one and I will put it in here. Then we need to switch this to post. The body type should
be raw. And here the request content. This is the content we send. We have this here. So that's this one posted in here. Now we need to just map the correct video ID and chat ID. This is for Facebook. Good. Now what I would actually want to do is I want to um click this and on run this module only. But before I do this, I will go and here and listen for test event. And I will type in anything. It doesn't really matter here. Just anything. Click okay. And then I have received some message
back which is good because now I want to also receive the response message back. So here I need to click on duplicate in here. Now I just need to map the chat ID. Here we have it from the web hook. chat ID we have here now as a response message I also have prepared something here this is just telling me where it was published and when it was published and what was published so you see it's already on green so here we have the post ID then the platform it was published to which came from
here I drag this over here and then the time it was published to and then when I click on send test obviously it won't work because the the chat ID wasn't And um I just entered it randomly but it doesn't really matter. It's connected. I will test it in the next step and then um that's basically it. So before I move forward what I need to do I need to copy that and then I need to go in here and paste the production web hook in here and then I can duplicate it, clone it. The
only thing you need to change is the the platform here. This is Instagram. Duplicate again. LinkedIn. Save. Duplicate again. And there we have YouTube. Click save. And with that, it's all set up. So I know the web hook response is going to work. So we'll just switch this to active. So then here, let's uh actually one more thing we need to do and this is our Tik Tok publishing. And we will change one more time to another platform because in make.com there is not really direct Tik Tok integration to set this up. In N8N it's
also a little bit complicated to do so. That's why we will do a process that's the easiest I could find to automatically publish to Tik Tok and then we use two tools. One is called Sapia and the other is called called Buffer. Buffer is like a scheduling platform. You can sign up for a free account on buffer and on sap here and then you go here to create and go to saps and there you will create a new sap. Now before we do this we need to go back to our workflow which is here and
we want to add one more thing here. So we want to because we need to trigger our workflow in our safe here so that it's published to Tik Tok. Now it will be clearer right when I show you actually walk you through the process. So what we need to do here the value we need to send is here now the actually we don't need to send it. Yeah we need to send it update row. Yes. And what we want to do is Tik Tok. And here we just type yes. So it just writes it in
this column here on the right. Tik Tok it writes yes. And whenever the yes is written then this workflow is is triggered to publish the video to Tik Tok. And here we need to select the Google sheet. And trigger event is new updated sheets. Here's the account. So you can just click on connect a new account and then you log into the same Google account where the Google sheet is in click on allow continue. Now the worksheet what the sheet is this is the name of the sheet the worksheet is our generated post trigger column
is now obviously Tik Tok. So here let's click test trigger. Then it will get a test event so we can use it for the testing process. And now we have buffer. Now you need to set up an account from buffer. Here you just click on add to queue. That has not worked. And then you click here on select. Click on connect a new account. Click on allow access. Then click continue. Select this organization ID. Now the channel we need to connect. The channel is just the platform we want to publish to. So in this in
our case is Tik Tok. Click on connect to Tik Tok. Select the account you want to publish to. Click on finish connection. I don't need this right now. And there it should load my channel. So if I click on refresh results, my Tik Tok account. And now I can already map the variables. So here I need the captions. The video is the video URL here. Now, this method should just be at UQ like share share next or share now for some reason gives me an error, but it doesn't really matter because it's still published automatically.
Now, it will send the video post to my buffer account. Now, I can go in here and check if it was received. Yes, you see it here. And now it's scheduled like to be published at this specific time. Now you could modify your schedule obviously by going to more and manage posting times. But for me that's fine now. So I could even click publish now and then it will be published to make Tik Tok account directly. So but now the process is set up. So it works. So, I can go to publish and let's just
go back here, rename this Tik Tok auto publish. And that's it. Now, that's all we need for that to work. So, I click on save. Now everything is set up. Actually I would here delete this. And the only thing left to do you switch this to active. You click on okay. And here this is switched to active. So this works. And then you could already test and run this automation. So you would test it again. See do one final check to see if it works. Now there's one thing I need to mention here. Um with
JSON to video. Yes, you can use it on a free account but you will see some watermarks in your video. And to remove that, you need to get a few credits. So, you need to go on here and click on top up with credits. And there you can buy this onetime payment. It gives you 700 7,200 credits, which will last for more than 700 videos. And then the watermark is removed and you get the high quality video out. Now once everything is set up, all you have to do is you pick out your phone, you
go to Tik Tok, you go to any account, then I would do to top filter posts based on the top performance. So I can go to the top performing and then I click on one that I could could work for my niche and then I just click on this share button and then I share it directly to my automation. So click on AI clone automation and then it will be shared and processed turned into the video using a unique angle a fresh angle and using my own AI clone. And as you see here we got
the caption text we got the video and also got the confirmation that was already published to Facebook and also the other confirmation for the publishing will also follow. If you want to see more videos like this where I show you how to build this AI powered automations without having a coding background, make sure to like and subscribe and hit the notification bell so you don't miss any of my new videos.