- Hey, my name is Matt Johnson with who is matt. com. And today I'm gonna show you how to export high quality Twitter videos using Adobe Premier Pro.
And to save you time, I've created a set of free export presets for Adobe Premier, that will give you the exact settings that you need to edit an export horizontal, vertical and square videos for Twitter. You can download those presets at the link down in the video description. Welcome to Adobe Premiere.
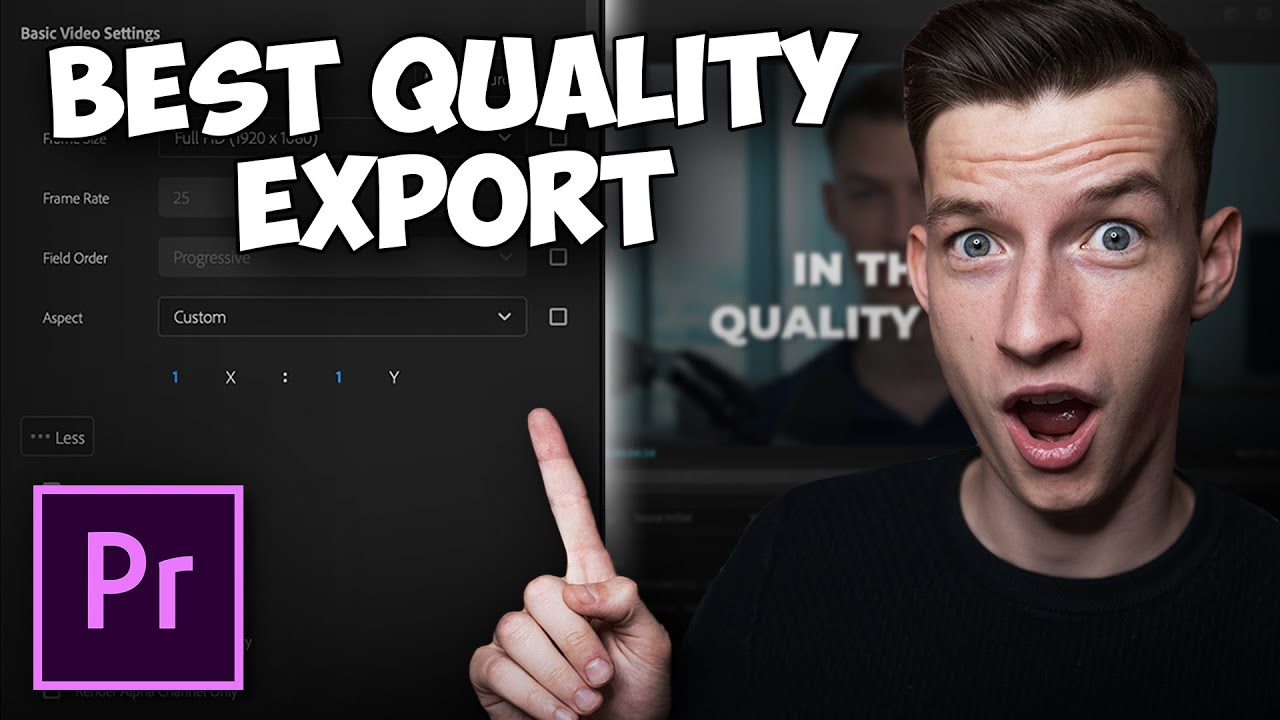
The first thing that we need to do is to create a new sequence and this sequence needs to match up with the resolution and frame rate of video the Twitter supports. Make sure that you are here in the editing workspace at the top and then go down here to the project panel in the bottom left, and you can either press control in if you're on PC, or command in if you're on Mac to bring up the new sequence dialog box, or you can go up to file, new sequence. With this dialog box open, you'll see that we have a lot of options as far as presets goes but we're actually gonna customize and save our own as a preset for easy access.
Select digital SLR, 1080P, DSLR 1080P, 24, then go up here to settings. This preset has a frame size of 1920 by 1080 which happens to be the maximum resolution that Twitter supports for video. So if you want the best video quality you should definitely upload at the highest resolution.
I do want you to be aware though that this is gonna create a normal horizontal video. If you want your video to be vertical instead, I would set your horizontal frame size to 1080 and your vertical frame size to 1920. Or if you want to upload your video as square set both of these values to 1080.
If this is a lot to remember, don't worry, those free Twitter video presets I've made for Premiere include options for horizontal, square and vertical video. So this should help you save a ton of time and keep things simple, that are linked below. Looking at the time base which is also known as the frames per second, because my video is filmed at 23.
976 frames per second I'm going to leave this at 23. 976. Alternatively though, if you're editing a video that you shot at 30 frames per second or 60 frames per second, I would select 29.
97 frames per second for 30, or 59. 94 frames per second for 60. We'll leave it at 23 though and we need to save this preset.
So I'm gonna go down here to save preset and let's title this Twitter, horizontal, 24 FPS- who is Matt, and click okay. Premier we'll reload here for a second and then down here at the bottom under custom get down here to it, you'll notice we have a new preset that we just saved. So now instead of you needing to go through all of this customization over here you can just select this preset and move on.
Let's now name this sequence, I'll call it Twitter video and press okay. We now have a new sequence and it's time to import some footage. I've actually already imported a video clip here so I'm gonna drag it over to the timeline and dang!
It's a long video, look at that thing, seven minutes! Here's the big issue, this video is far too long. The maximum length of a video that Twitter will support is two minutes and 20 seconds.
So to make sure that your video fits, I would keep it at most to two minutes and 19 seconds in length, that way you don't accidentally go over. I'm gonna go over here, we'll pretend I'm editing this video not just shortening a clip and we'll drag it back over here to two 19, and there is our shortened video. Let's now say this video is ready to export.
With the timeline selected, you can either press control M on PC or command M on a Mac or go up to file export media, welcome to the export settings dialog box, for format, you're going to want to make sure that H. 264 is selected, and then for pre-set we're gonna click on this and we're gonna scroll all the way down here to Twitter, 1080, full HD. You may think, all right, they already got a preset we're good to go.
This not gonna give you the best quality if you keep it to this default though. Let's customize this now to improve the quality, for output name, this is where you select where you want your video to be saved. Click on this blue text here pay attention to the folder where you are saving your video that way you can find it later.
And we'll title this Twitter video and click save. Next, make sure that the export video and export audio check boxes are checked, and let's go down here to the video tab. By default, this is going to say 1920 by 1080 but if you are exporting a vertical Twitter video clip you're going to want to flip these two numbers and change width to 1080 and height to 1920.
Or if you're exporting a square video change both of these numbers to 1080, or you can download my Twitter presets and this will all be done for you. For frame rate now this should already be set to the frame rate that you chose in your sequence so you shouldn't need to change it. Make sure that the render at maximum depth box is checked which can help improve your video quality.
And let's scroll down here a bit to encoding settings. For under-performance, you're gonna see that you have an option for hardware and coding or software and coding, if you have the option for hardware and coding I would make sure that you select that because that can help you export your video faster. If you only see software and coding, that's perfectly fine, your video will still export.
You can leave the profile at main and the level at 4. 2 and let's scroll down here to the bit rate settings, here is where you are gonna make the biggest difference in video quality for Twitter. First, I would select CBR for your bit rate in coding which stands for constant bit rate and means that regardless of what's happening in the video clip, Premier is gonna be giving it the highest bit rate and quality possible.
Next, under target bit rate, this is where things get a little tricky. See, in general, the higher the bit rate you make your video the higher the quality will be. But the issue is that the higher you raise the bit rate, the larger your video file size will grow.
And Twitter has a video file size limit of 512 megabytes. So here's where you're gonna need to experiment a bit. Look down here at the bottom of the export settings dialog box, and you'll see it says, estimated file size 106 megabytes, but this also may be a different number depending on the length of your video.
Now, remember though, the maximum file size that Twitter will support is 512 megabytes and so you have a lot of room here to increase this file size and increase the quality of your video. To do that let's go up here to the target bit rate and let's start increasing it. Bump it up to 10, all right, we're now up to a file size of 176, 15, 263, 25, 437, all right, we're getting closer here.
So let's get a little more fine tuned. 28, 489, 29, 506, ooh, okay. 506 is really close to 512.
And remember that the estimated file size is just that an estimate. So let's drop this down to 28, keep us in the safe zone there. There's like the price is right, you wanna get as close as possible without going over.
With the bit rate as high as it can go without the file size being larger than 512 megabytes, we are almost ready to export this video. Make sure that you check this use maximum render quality box because we definitely want the maximum render quality. And let's go up here to the audio tab, all of these settings look great the only thing that I would change is change your bit rate from 128 to 320 which can help improve your audio quality.
With that done, let's now save this as a preset so you don't have to go through and re-type all of these settings every single time you want to export. Go here to the preset section and click this a little down arrow and let's title this Twitter horizontal 24 FPS - who is Matt. There we go, press okay.
And now here for your preset you'll notice that you can click the preset and there it is. Or if you've downloaded my export presets that option should already be there. Lastly, it's time to export this video and you have two options for how to do it.
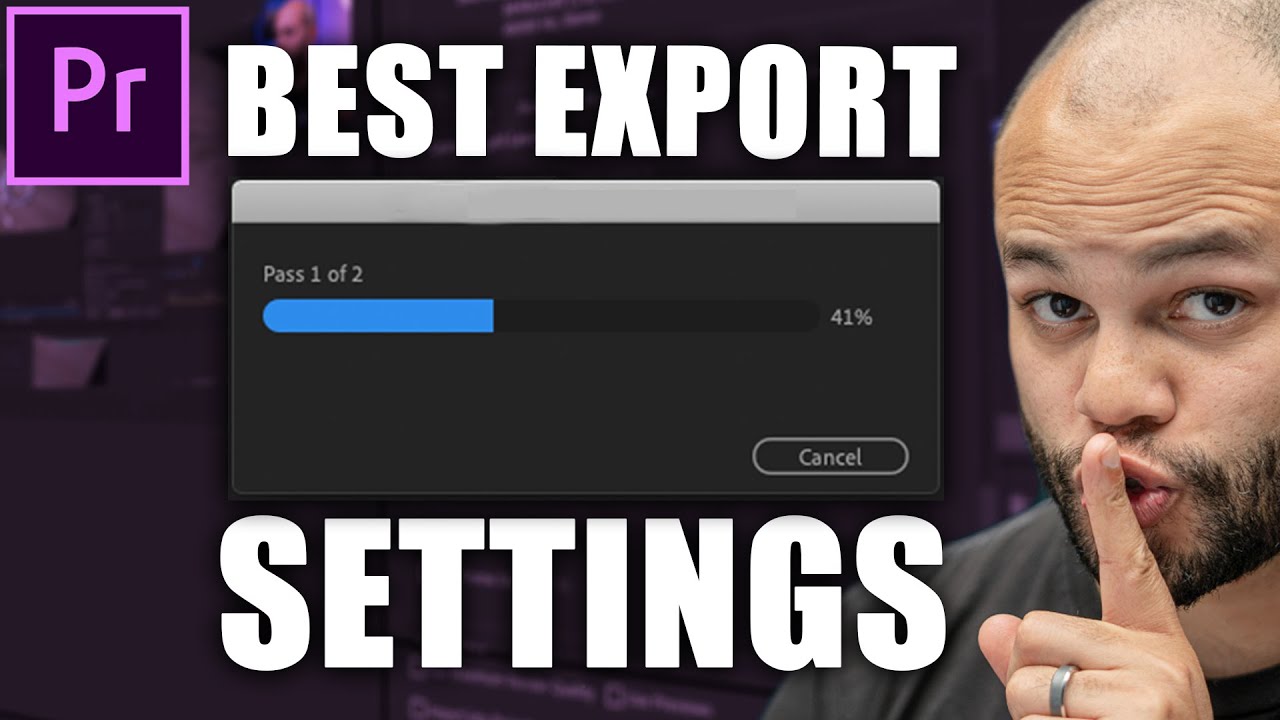
You can either go down here and click export which will immediately begin exporting your video, or you can click queue and that will open up Adobe Media Encoder so you can continue editing in Adobe Premier if you want to. I'm gonna click Queue. Adobe Media Encoder has now opened and here is the project and I can click this green button here to begin the export process.
Once your videos export all you have to do is go to the Twitter website, click this image icon here that says media and select your video clip, press open, type up a tweet like I got this cool video, yeah. And press tweet. This video will turn gray for a bit, this could take several minutes or more depending on your internet upload speed, but rest assured eventually your video will be posted and you've done it.
You have now uploaded your video in the highest quality possible for Twitter. Thank you so much for watching. If you didn't get a chance to download my Twitter exports settings presets yet, they are completely free and link down next to the like button.
In addition, if you're interested in seeing more videos about Premier Pro, I would love if you would consider subscribing. Thanks so much for watching and have a good day. (humming) Exporting.
(humming) Exporting.