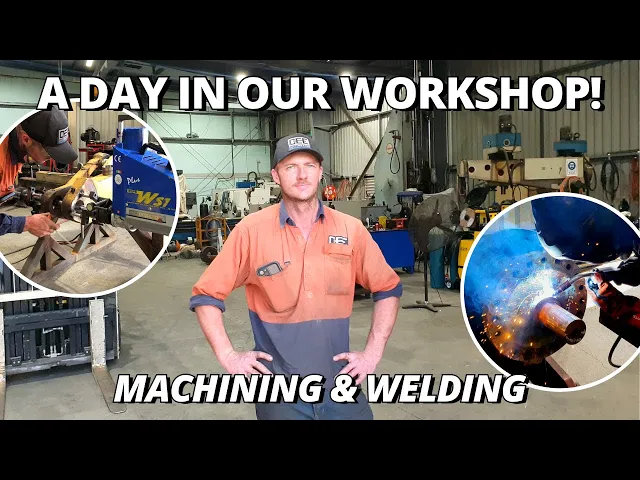
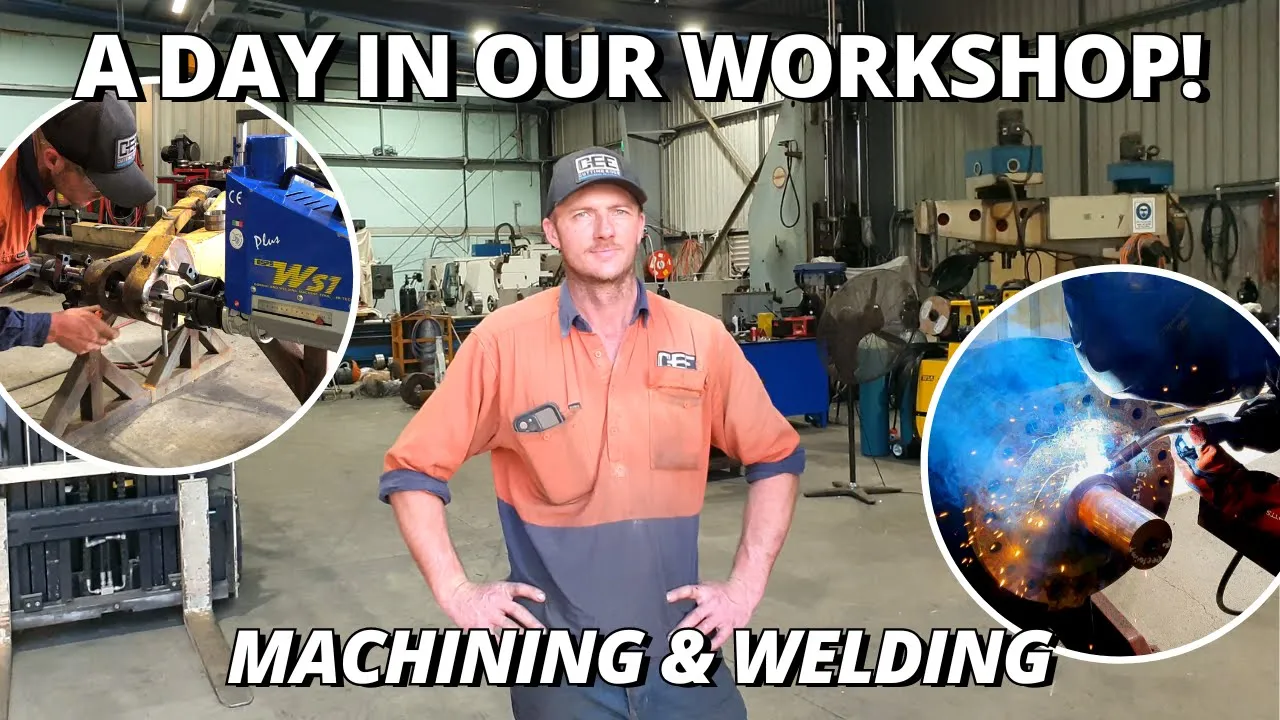
hold on who's that where'd he go hello mate thank ya how you going guys Kurtis from cutting edge engineering today we're going to sort of show you what an average day here at cutting edge is like it's monday morning i've already been out at a customer's place i've just gotten back got a new cup of coffee it's about seven o'clock we've got a few jobs on the go and we've got a lot of jobs waiting to go through so we're going to get stuck into it before we get started we're just going to show you
what jobs we've got going out and what jobs are here waiting to be done these are just some of the jobs that are on their way out of the workshop now we've got a tilt bucket off a 30 ton excavator it's had a complete floating pin upgrade we've got a hitch here a quick hitch off a 960 loader it came in for line boring and new pins and we have a d10 equalizer bar that's come in for repair as well some of the jobs we've got in for this week we've got some d10 ripper lift
barrels we've got an ex 1200 bucket cylinder needs a new rod and a new barrel we've also got a big housing in here for a cast iron repair we have 651 apron cylinders in for re-barrels re-rods and new pistons that is just some of the stuff we've got going on at the moment plus the work we'll be doing today so we are extremely busy we have a lot of work on and this is just what's here at the moment there is a lot of work coming in so we choose to only film one job a
week because a lot of the parts we're doing are repetitive parts we've done them before we are an actual workshop that our customers need us to make sure their components are repaired in a timely fashion and back to them so they keep their machines running and that's why even though we have all these jobs youtube only sees one video a week we're just far too busy to try and film anymore and unfortunately that's just the way it goes so today's priority jobs we have a front end out of a 16 h grader it's came in
for one position to be reclaimed the bush is a little bit loose in the hole so that needs to be line bored we also have two triple seven strut top caps so what the strut cap actually does it helps support the top of the strut while it's mounted on the machine so your main strut is mounted onto the bottom chassis then your strut cap is on the top of that and it is then connected to the top part of the chassis so it is therefore support it does have a spherical bearing that fits over the
top and that is just to absorb any of the movement that the chassis does while the truck is in operation they are quite common for them to fail or to wear out and it usually comes down to improper fitment so once they're put on the machine the truck should be put back on the ground and then they shim out the the spherical bearing mount and then they can tighten that to the top chassis quite often they don't do that their strut is fitted on the machine tighten down and then they just send it to work
without doing any of those other things that really need to happen when components are fitted so these have come in to be reclaimed which means machining down the outside diameter of the pin welding that up and then machining it back to size while i was bringing these in i did notice there was a bit of a problem with one of them it has reclaimed written on it but i've actually found a crack at the base of the pin generally when these crack the whole pin is broken off so because there's a crack there that tells
me someone's already had a go at repairing that and it's cracked through their welds so with that one we're going to have to machine out that crack and find out how it was repaired and if it is repairable we can then do a weld repair on it and then reclaim the bearing surface so the first thing i'm going to get started on today is the strut caps so what we need to do with this one we need to machine down this surface here get rid of all these high and low points once we get about
two ml worth of material off that that will then be prepped in order to take the new weld layer to reclaim the pin so that's the first one prepped ready to be welded we're going to get the other one up here and we're going to see what we need to do to that all i'm using the tail stock for is i'm just using that to hold a little bit of pressure against the end of the pin in case when i'm machining it it tries to fall out something that size getting hit by a chuck and
thrown from a machine would be quite dangerous so just put it there just to hold it in place so i don't get hurt okay i know what happened so i figured out what has actually happened to this there wasn't enough weld there in order to support what this component does nine times out of ten when we see these there's a very shallow weld they're just relying on the interference fit from the pin to the strut cap in order to hold them in place i've repaired many of these and anything that's got a very shallow depth
of weld tend to fail so we're going to open this up a little bit more i'm going to then machine the od of the pin down i will re-weld both sides of it and we will be able to reclaim this part this should be an easy repair too so another reason why these fail when someone is repairing it if they machine the pin to size and then try and fit it into the top cap and weld it in position if that pin then pulls to the left or the right you've now got a part that
isn't running true and concentric they weld it in place fit it back to the truck and within the first couple of hours of operation that weld that they have done will crack because the part is not running straight and it's not running true so the way i do it is i will machine the pin to within a couple of mil i fit it to the top cap i weld it in place and then i machine the od to size after it's cooled down that way if the weld does pull it out of shape i can
always fix it so now that second one's prepped we can take them over to the welding area and start welding right right oh so for this repair we're going to be using two different wires one to build up the structural joint and then one to build up for the bearing surface two different wires for two different purposes what we're going to be starting on is the joint and for the joint we're going to be using hobart xl525 it is a dual shield wire in a 1.2 that will be perfect for that joint and the build
up wire we're going to be using on the bearing surface is an er 80s3 wire so it is a much better wearing wire it's a bit harder material than your standard er 70s6 wires so before i can start welding this i do need to give it a preheat it is quite cold and it's still quite cold outside so we need to get the chill out of the material in order not to give it a thermal crack hey mate oh are ya right oh all right no dramas see you in a minute bye righto so that
was pretty good timing i've just finished welding that i have got a customer about to pull in so we can have a look at a job for him righto guys so customer brought in a job i was only supposed to be quoting it i gave him a ballpark idea on what it might cost in order to do the work he wanted to do and he started unstrapping it and he left it here this is a ripper that mounts onto a 45 ton excavator it needs a little bit of head modification in order to make it
fit his quick hitch so this is another one i've got to add to the list but i need to get back onto what i'm doing thank ya mmmm right guys so it's going to take a couple of hours for those to cool down so what i'm going to do i'm going to have a quick smoko break and then after that i'm going to get stuck in to line boring the front beam yeah right [Laughter] good boy so this component is actually off a 16H Grader this is a front steering beam so there are spindles mounted
from here which have the front wheels attached to it and then you can lean the cylinders in or out or steer the machine around it also does move side to side in order to walk over uneven ground so it has one position that needs to be reclaimed and that is because the bushes are slightly loose in the end of the holes and if the customer was just to put the bushes back in there over time the bushes will go to the path of least resistance and start to walk themselves out of the hole and that
would end up with a failure so what we need to do is bore this out ball weld it and machine it back to spec so we've got that set up now you may have noticed that the line boring machine is a ws-1 and not our standard ws2 so we got our hands on this a little while ago and the way this come about is another aussie machinist he bought the machine but he decided to take his business in another direction i gave him a call because i found out it was for sale we come up
with a deal and i ended up buying it from him the machine came in really good condition it hasn't got a great deal of hours on it and we did get all of the tooling we got all the bearing blocks boring bars the facing head it came with pretty much all the fruit i also bought the baby bar kit that goes with this so i can now go down to a 20 mil bore it has been really handy for these smaller jobs that i originally wouldn't be able to do and one of the other reasons
why i've been looking for another machine is my ws2 has not been back for a service in nearly four years i do need to send it back down to a service shop in melbourne so having this line borer means i don't have to reject any work i can keep the work coming through yes it is a smaller machine but it will still handle the work so the timing couldn't have been better he wanted to sell it i needed a backup machine everything worked out so while the line bore is running i generally don't go too
far away from it in case something goes wrong i need to get back to it in a hurry to stop it while it's doing that i'm going to return phone calls check emails i'll quote jobs do a general bit of a tidy up we're going to get everything else set up we're going to need so our welding lance set up on the welder so we can remove the bar and get straight into welding yes and returns for all ahhh just workshops fine awesome thank you bye what color oh pink one yeah thanks arthur righto guys
so all the welding is now completed i did have to go through and touch up just the start of the bores with the welder by hand when you are doing reverse rotational welding and it's feeding back out of the hole there is always about half of the hole that won't get a weld on it just on the front edge so sometimes you go back and touch it up it depends what the bore is and what it's used for but i like to have a nice crisp 90 degree edge there so i go back and tack
them up by hand and then when i go to bore it it has a really nice clean 90 degree edge so that is all welded now that is really really hot our strut caps have actually cooled down enough now we can get back onto machining those but before i can get back onto them i do need to go down to my local tooling shop and pick up a few bits and pieces before they close so let's go do that and then we'll come back and start those strut caps hey mate what'd you break so that
there is a customer of mine he is a good guy but he'll call you and ask for your opinion about something and you will say look i wouldn't do that and then he goes and does it and then it breaks and then he calls you the following day to inform you that what you said happened let's get back to what we're doing righto guys so that one there is now done the size we were shooting for was three and a quarter inches so that is 82.55 it is smack on the money so what i've done
there i've just sprayed on a soft seal so that is just a film to stop any rust from forming until the customer manages to put it back together again so we'll get this one out and get the other one set up and keep on going right oh so these strut caps are now completed i've just gone and checked the 16h front end it is cool enough now we can get back onto boring that so we'll chuck these to the side keep boring the front end here what's in here what's this mail come on got a
piggy righto so i'm just going to change up the inserts a little bit i'm having a bit of dramas with chatter and vibration in the bores while it's cutting so i thought i'd give them a go they did come with the deal when i bought the ws1 but they're not performing so i'm going to change out to a proven insert that i use on my other machine which is the pramet upgrade inserts sorry sandvik these inserts just didn't cut it these can cut anything another job so just got a message from a customer he sent
me through some photos that's crack it looks like we have a nose cone on a d8 that needs some repair it looks to me by the photos that someone's already had a go at this and it hasn't worked so this will be another job that will be coming in the next couple of days righto guys so that is our day finished it was a pretty typical day from what we see here in the workshop we did get our two priority jobs done we did get a few interruptions with phone calls and whatnot what i'm going
to do now i'm going to have a quick tidy up roll up some leads shut the doors and i'm going to go home so hope you enjoyed a in the cutting edge workshop thanks for watching hello puppy ready [giggle] yeah oh it does take a lot of time to edit and film especially my intros and my talking it's very hard for karen so where am i starting that from oh [ __ ] i lost it wait where'd i start that wait what [sigh] it's gonna be a long day so it was just really good timing
that ugh i said really again so just cut out really okay so it was just awesome timing [giggle] the machine the mission mmm balalalub machine say the word you [ __ ] head [giggle] let's get stuck into the joint let's start welding oh we're just gonna start welding mmm coffee number four [Laughter] anywhere oh [ __ ] off train i'm gonna write a strongly worded email to them their operations manager i know the guy hmm HMM you son of a no all that for that which one are you going into are you going to this
one first got to make sure i've got enough length [giggle] ohhhhh good isn't it [Laughter] righto guys so that is every oh [ __ ] oh my gawd how are we starting that righto guys so that is our oh [ __ ] oh my lord savior christ help him [giggle] he can't help i'm just gonna say what i want you can deal with it ready yep righto guys so that is d the oh [ __ ] oh that went well it was a good aye [Laughter] practiced that one shut the doors and go home what
thanks for watching oh [Laughter] hey hey hey hey hang on hang on wait sit hey [giggle] sit good boy [chomp chomp]