I'm going to introduce you to the extremely powerful animating tool Adobe Flash Adobe Flash is and has been my animating tool of choice since 2005 I prefer it because it makes it easy to do both motion graphics as well as hand-drawn styled animation there are many versions of flash dating back to 1996 but there's very little difference to the fundamental tools and features throughout the series I will be talking about Adobe Flash cs6 but if you have cs4 or CC it's okay because most if not all the things I mentioned should translate across the versions
so to start flash is a vector-based application this means it is not pixel based when you zoom into a pixel-based image you will start to see pixels but if you zoom into a vector image the smooth curves will always be retained therefore a Flash movie can be scaled to any size without losing detail of course when you import pixel based graphics into your movie as I do you run into some limitations when we first open flash we get all these options let's create a new animation if you aren't going to add any code it doesn't
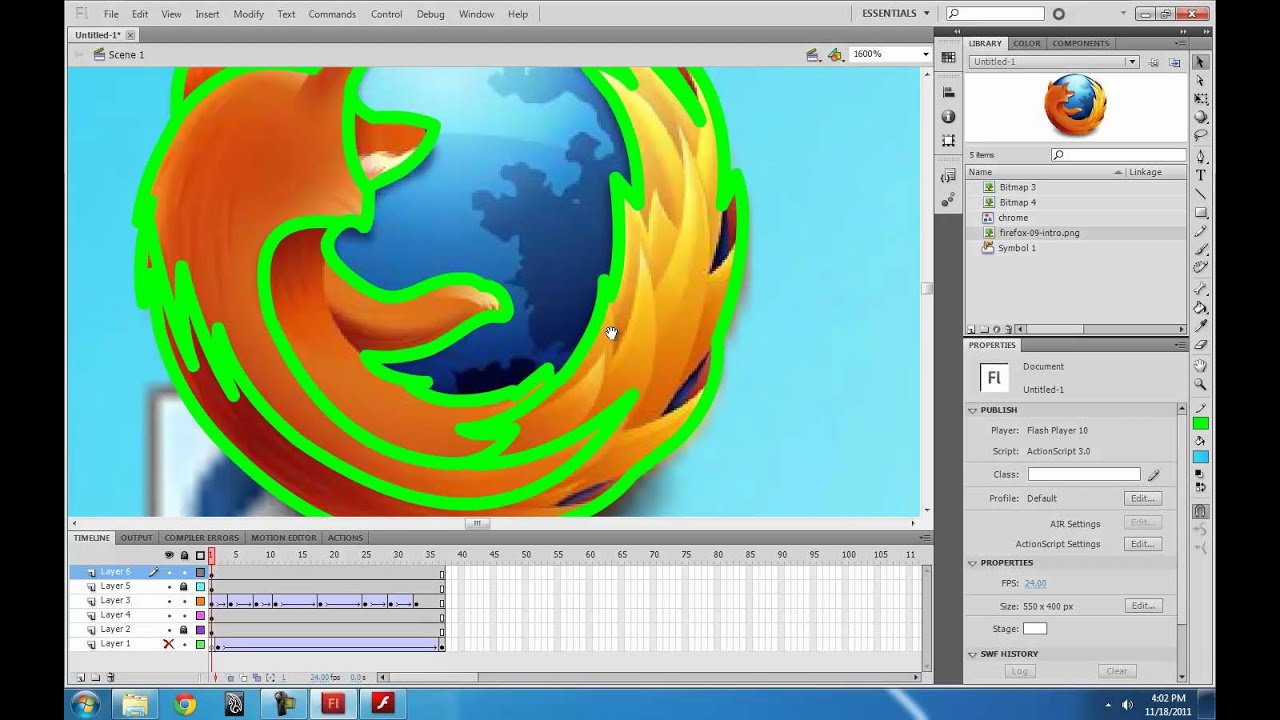
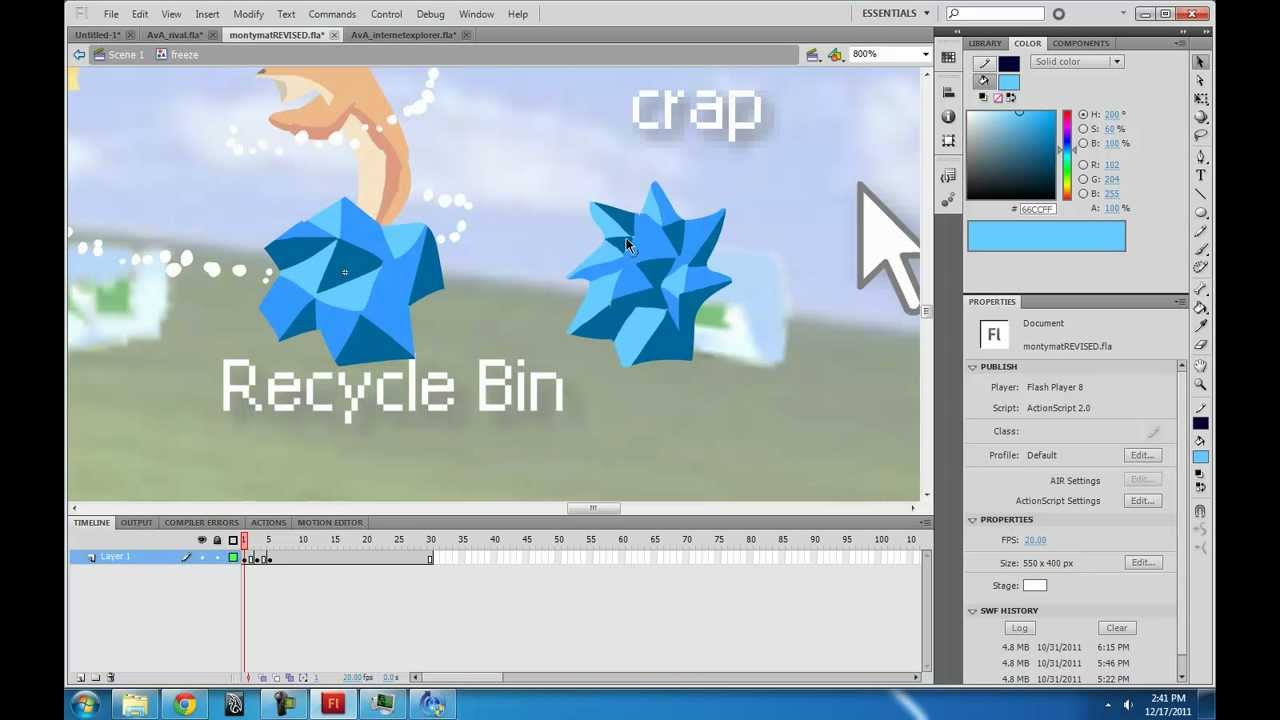
matter which of these options you pick I usually just click actionscript 3.0 so let's talk about the layout this is the stage where you draw everything this is the timeline where you have all of your frames and layers this is the toolbar extra options for each tool are under the toolbar and even more properties for each tool are in the properties panel the library is where you keep your assets up here you can customize your layout I prefer essentials but the animator layout may work better for you you can also customize the layout however you
like manually let's move down the list of tools really quickly the selection tool lets you select and move things the subselection tool lets you look at and edit curves the free transform tool lets you scale rotate skew and warp your selections the 3d rotate and translate tool will treat your object as a flat plane in 3d space and rotate and move it in that space the lasso tool lets you make more precise selections the pen tool lets you draw very precise curves using Bezier handles the text tool lets you write text the line tool lets
you draw lines the shape tool includes rectangles ovals as well as more advanced rectangles and ovals as well as poly stars the pencil lets you draw freehand lines the brush lets you draw brush strokes more about the difference between the two later the deco tool is a tool that I never really tried until making this tutorial and I realize it's a lot cooler I thought it was and I regret not taking advantage of some of these tools before it basically lets you decorate your scene with many preset brushes the bone tool if you have it
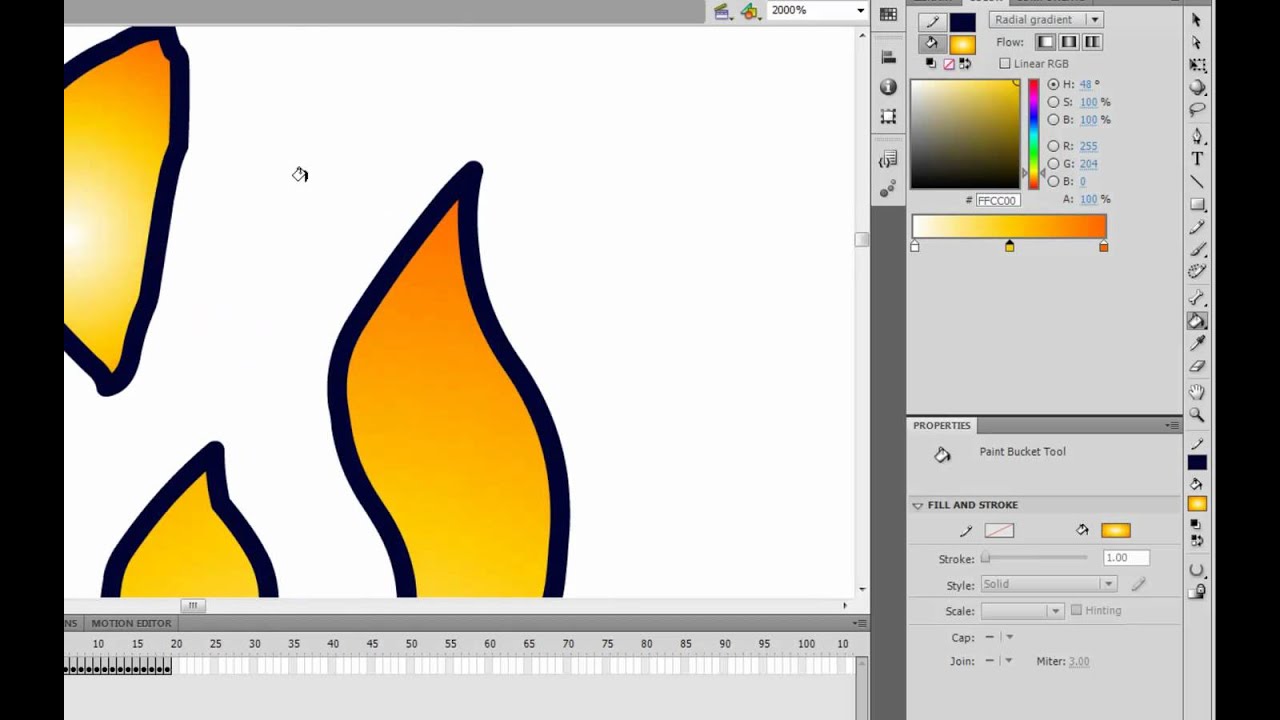
lets you create a joint system for your character the fill tool will fill a shape with a color and the ink bottle tool will add an outline to your shape the eyedropper tool will select the color of anything on the stage the eraser tool will erase anything except symbols the hand tool lets you navigate the screen by dragging the zoom tool lets you zoom into your work now I want to discuss the difference between strokes and fills the pencil deals with strokes which consists of a single vector curve with thickness that expands from that curve
the brush deals with fill shapes which consists of a color bound inside of an enclosed vector curve there are two color selectors one for the stroke color and one for the fill color if you make a rectangle for example the stroke color will define the outline while the fill color defines the color of the box strokes have no thickness in the sense that if you draw a stroke over a fill shape and then delete it it leaves nothing behind whereas in the case of a brush stroke it would leave behind an empty space this makes
the pencil tool good for subdividing a shape so you can add color variations and shading when making selections double clicking allows you to select the whole stroke or the fill and its outline the timeline consists of what are called keyframes each keyframe corresponds to a new drawing on the stage when a keyframe is extended like this it means that the drawing that it contains will hold for that many frames the box at the end simply designates the end of the keyframe when the keyframe is white that means it is empty and when it's black it
contains something keyboard shortcuts to know are f6 to create a new keyframe f7 to create a blank keyframe f5 to extend the keyframe another frame shift f6 to clear the keyframe without changing the length and shift f5 to delete the frame and shift everything backwards you can add as many layers as you want there's no virtual limit to that you can group layers into folders as well click here to delete layers typically the background will be on its own layer underneath everything double click to change a layer name click here to show or hide the
layer click here to lock the layer so you don't erase your background while working on something on the above layer click here to show only the vector outlines of the layer this is helpful for seeing through objects if there's too much going on turning on onion skin here will allow you to see previous and next frames as ghost images specified by these two brackets this is a very good tool for making in-betweens you can view your onion skin as outlines or you can click this in order to edit multiple frames simultaneously an essential feature of
flash is converting objects into symbols this adds it to the library and allows you to have multiple instances of your object and when you edit the symbol it updates for all the instances this makes it much easier to make changes for the whole animation after you're done because you only have to make the change once instead of hundreds of times the cool thing about symbols is that they contain their own timelines so you can create a looping animation like a walk cycle or a glowing orb and have it loop throughout your main timeline to make
a symbol you select your object and hit f8 there are three types of symbols graphic symbols which will loop its animation normally as the main timeline progresses movie clip symbols which loop independently of the main timeline so if your Flash movie is paused the symbol will keep looping and button symbols which let you create buttons making the button actually do stuff requires some simple ActionScript as soon as you make a symbol you can find it in your library you can also find your imported sounds and pictures in here as well to import a file either
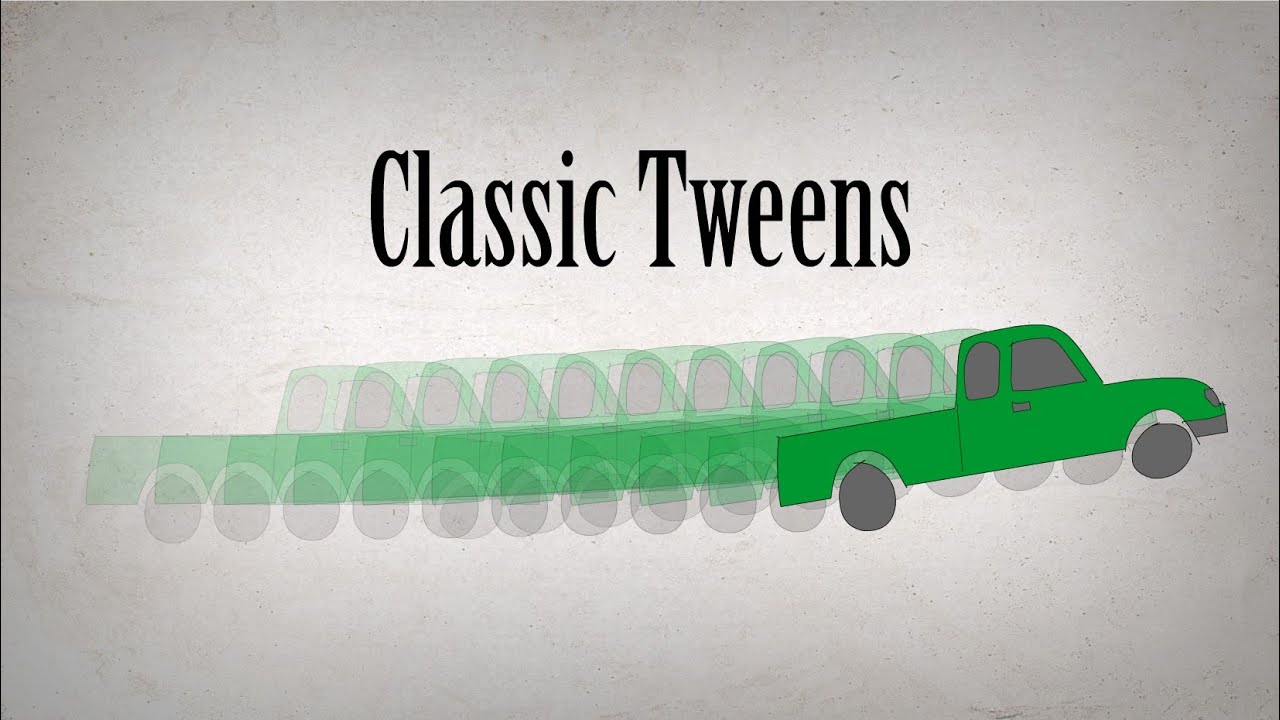
click file import import to library or just click and drag to export and view your animation press f12 this will save your animation as a swift file and show you what it looks like and that is all I've got for flash basics next I plan to make a video about classic tweens so thanks for watching and I'll see you in the next video you