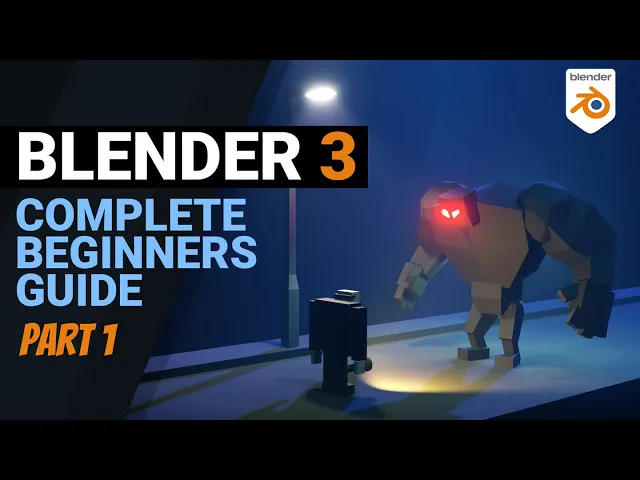
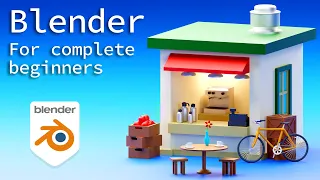
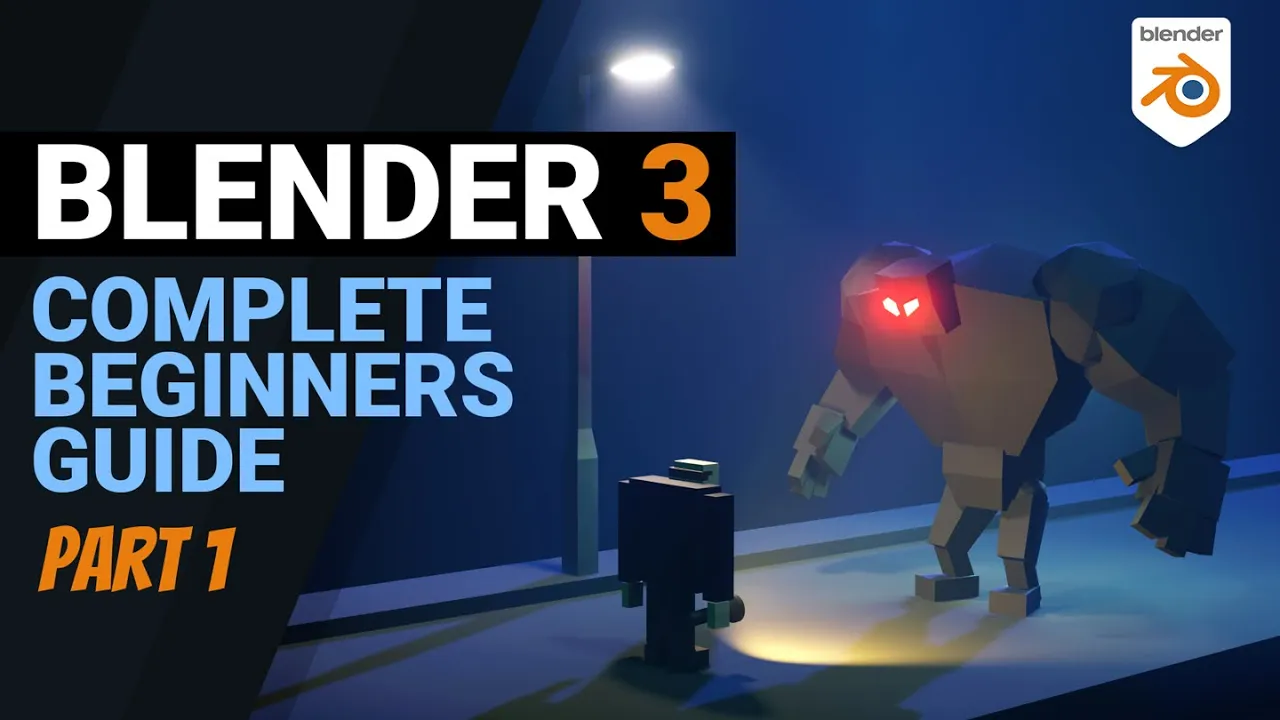
hello and welcome to this video series about learning blender for complete beginners this course will be split into several videos giving you an introduction to modeling texturing and making fun scenes in blender and together we'll be making this scene you can see here this is for complete beginners that have never seen blender before or any 3d program for that matter i'll be introducing new tools and techniques slowly and methodically and giving you challenges to complete along the way to help you learn i strongly recommend that you follow along to get the most out of the
learning experience if you like what i do then do check out my website and the playlist and other free resources on this channel for more great content i've got many free mini courses like this for all different levels and more in-depth paid for options for those looking for more detail so let's get started making our scene so where do you find blender and how do you download it well it's quite simple you go to blender.org and go to downloads and the latest version will be up here download that install it and you're ready to go
so when you first come into blender you should see something like this with this splash screen here the version numbers at the top it's also down the bottom corner here i've got my recent files i've used there we can open a file or we can start a new type of file such as general animation sculpting and so forth we're going to go for general so you can tick on that or you can actually just click away and it will give you the general startup scene at first blender can seem very intimidating it's an extremely complicated
program so we'll build up your knowledge step by step and we'll start with what's called the viewport here so this window that comes across the bottom here and up the top here is our viewport and in my viewport i've got an add-on which will show you the keys i'm pressing down the bottom here the first thing we want to be able to do is navigate the viewport and for that ideally we need a three button mouse if you haven't got a three button mouse you can go up to edit preferences under input you've got emulate
three button mouse you can then tick that close this down and you can hold down alt and left mouse button and that will emulate the middle mouse button and that's the same as pressing the middle mouse button as you can see down the bottom here so i'm going to turn that back off edit preferences input emulate three button mouse untick that incidentally you don't have to save these settings as soon as you close it down it automatically saves them you can actually change that down here to auto save preferences and untick that if you don't
want to save them so middle mouse button will orbit in this case our 3d object but it's orbiting the middle of the viewport so our viewport here and the cube just happens to be in the middle of that in order to strafe side to side we hold down shift and middle mouse button so that would be shift alt and left click for those emulating the middle mouse button to strafe side to side to zoom in and out we use the scroll wheel you can hold down control and middle mouse button as well to give you
a less jumpy zoom in and out so that's navigating the viewport with the mouse so shift middle mouse button and middle mouse button to orbit and middle mouse button scrolling to zoom in and out now you can see this red line going across here and the green line going across here that's our axes and you can also see those up there so the y-axis is in green the x-axis is in red and the z-axis or z-axis if you're american is not shown but it's up and down we can also actually click on these different axes
if i click on the z we're now in top view the x and we're in side view and the y we're actually in back view with the y if i press middle mouse button i can come back round to the front which is here so the labeled ones are the positive so that's positive x positive z and positive y positive goes away from the camera hence why front view would actually be negative y in this case you can also click and drag in the middle of these cartesian coordinates or on a grey area to get
that sort of panning mode as well as that you have got buttons over here for zooming in and out so i can click and drag to zoom in and out and click and drag to move the view or strafe around underneath that we've got camera and perspective if i go to camera we look through our 3d camera the 3d camera is important because that's what our finished result or output will actually look through and look like so if we've got an animation that we've made when we render it to a movie file we'll be looking
through this camera here and to come out of camera view you can just press middle mouse button again or come into the middle here to orbit around again if i zoom out just to touch with the wheel of my mouse you can see that camera that we just looked through there and when i press camera view just here it will go into the camera like so so middle mouse button to come out again and let's zoom out just to touch the other button is switching between perspective and orthographic so at the moment we're in perspective
view and if i come around to the front here you can kind of see these lines going off into the distance and it gives us a sense of perspective if i press this button they go off really flat it looks really unusual and difficult to kind of visualize but this is very helpful for lining things up correctly but most of the time you're in perspective when you're in any view that isn't straight onto the front side or top so if i go to front view which is this negative y here you can see it changes
to orthographic mode that's so i can line my shapes up like this really easily without any perspective if i put it in perspective mode it's tougher to see when they're lining up especially if something's behind this now keyboard shortcuts are really important in blender and they'll speed up your workflow so it's good to get used to them so instead of pressing these buttons up here for top view side view and front view you can use keyboard shortcuts and for that we use the numbers on our numpad one is for front view so you can see
the negative y there and keep your eyes up here whilst i change them three is for side view so looking down the x axis and seven is for top view and we're looking up from the top down on our object and all those side front and top view are in orthographic mode so they've got no perspective and if i press the middle mouse button i can just orbit around again go back into perspective mode to view my objects so hopefully you're following along with this if you're not just pause the video for a moment to
have a go and practice moving around your scene okay so we can navigate the scene but what about moving objects around well i've got my cube selected in the middle here i can deselect objects by just clicking away into an unoccupied or blank area of my scene and we can left-click to select objects we know they're selective and active because they have this yellow outline so i can click on my light or my camera to select them i can also box select objects and you can see all three are selected now so one has a
more yellow outline and the others are orange that means it's the active object which is an important concept to understand later on in your learning journey okay so how do i move objects well let's click on the cube and i can either use the gizmos up here so move rotate and scale but also if you hover over them you get the keyboard shortcut it starts off with shift spacebar which you can use if i press shift spacebar now it gives me the different options here which is pretty much this menu over here or you'll notice
it also says g and that's the one you'll want to move so g for grab you'll want to remember i never use these tools i always use the keyboard shortcuts and it's fairly easy to remember g to grab and that starts the movement off and i'm moving my mouse at the moment then left click to set that movement in place again like i say you can use the gizmos if i go to the move gizmo here i can then click and drag on these arrows and i can move perpendicular to my camera with these kind
of buttons here or the rotate gizmo i can click on an axes to rotate around the scale is the same you can scale in one direction or click in the middle and scale the whole object i'll undo all those with ctrl z but i'm going to turn those gizmos off and use the keyboard commands because they're not difficult to remember g for grab r to rotate and s to scale so g to grab to move r to rotate and that rotates perpendicular to the camera and s to scale again i'll undo those what you can
also do is press g and then x to constrain it to the x-axis or if i press y now it's constrained to the y-axis or z i can also if i move up here and i haven't set it i can right click to cancel that movement so g then let's say z and then right click to cancel if i think actually i don't want to move it you can do the same things for rotation so r then x we can then rotate around the x-axis and again i'll right-click to cancel that or scale and then
i can press z for the z-axis and scale it up and down in just that axis and again i'll right-click to cancel that okay i'll give you a chance to practice that in just a moment but first of all let's add a few objects into our scene we've got the add menu up here and there's lots of things in here which will be a bit confusing we'll only be using the mesh and the lights in this course and as a beginner that's all you'll need for now so let's go to add then mesh and we've
got all these different meshes we've already got a cube in our scene so let's add a uv sphere as it's called when i press that we can see the sphere is right inside our cube there if i press middle mouse button to move around we can't really see it except for its yellowy orange outline which shows us that it's selected in there incidentally you can see that it's added it in my outline here as well which has all the items in my scene listed and it's quite a nice way to select objects in my scene
as well i'll click back on the sphere so it's currently inside my sphere so let's move it to the outside i'll come to front view have a quick think about how you can get to front view nice and easily well there's the keyboard shortcut of one on my numpad or you could have pressed the negative y up here to come to front view now think what i need to press to move my object so it's g to grab let's move it along the x axis and let's just move it next to our cube just there
our middle mouse button to come and see what that looks like and that's great hopefully you can see why it's really useful to be able to go to orthographic so front view like this with one on my numpad is lining it up was nice and easy if i'm in perspective mode it's a little bit more awkward because i haven't got my grid lines there also if i go back to front view pressing g then x and constraining it to the axis keeps it nicely aligned now whenever i add an object it uses my 3d cursor
which is right in the center of my scene at the moment as the point to which it will be added i can move this 3d cursor by holding down shift and right clicking so now when i add an object add and then mesh let's take a cylinder this time it adds it where my 3d cursor is so it's a quick challenge to you i want you to move the 3d cursor to a different position and add a cylinder remember shift right click to move the 3d cursor okay so hopefully managed to add a cylinder in
a different location now my challenge to you is to line it up with the other two and my hint is to use side view and front view to do this and remember it's g to grab okay so let's go to front view again with my cylinder selected i'll press g to grab and move it upwards and across so there's one of these grid units apart not that it makes much difference in this case but we also need to go to side view to line it up this way so g then y in this case to
move it in the y axis remember you can see these axes up here the green one is the y and now it's nicely aligned if i go to perspective view we've got it in line now what would be nice is if we had a floor for our objects we can add that by either going to the add menu here or if i hover over you can see the shortcut key there shift a so let's do that shift a and then i've got my mesh menu here and a floor we use a plane for that so
i'll click on that and again it's added it where my 3d cursor is i'll undo that and i'll move my 3d cursor back into the middle so i can shift right click to move my 3d cursor but it hasn't moved it to the middle of my scene as you can see there means it actually kind of sticks to objects which is very useful but not what we want in this case now this might be a tougher one to remember but it doesn't matter so you don't have to worry too much but if i press shift
s at the moment and hold it down it will bring up this pie menu where we can hover over the different things we want to do and it's a pie menu for our 3d cursor and i can for example move my cursor to the active object have a quick think what the active object is hopefully remember it's the one highlighted in yellow so i can do that moving my mouse over to here and letting go my 3d cursor is now on my active object or if i press shift s again cursor to world origin it
goes to the middle again don't worry if you can't remember that because i'll move my 3d cursor over to here for example and add my plane so shift a to add mesh and then plane and it's added it where my 3d cursor is i can remove any movement by using the alt command which is kind of like an undo command and if i press alt then g so undo any movement it moves it into the center of my scene okay so what i want you to do is scale this plane up and move all your
objects on top of the plane or what will be our floor in this case so pause the video and have a go at that okay so s to scale we'll add a few more objects in a moment so i'll make it nice and big and we'll select our cube go to front view notice we don't see our plane in front view but i know it's right in the middle on the x-axis that we can see in front view because i removed any movement away from the center so i can press g to grab in the
z-axis and move that up to the top there i could box select these two but i've got my light selected as well and that can be a bit of a limitation of box selecting so i can't just select these two with box select what you can do is click on one and then shift click on the second to select multiple items so shift-click g to grab in the z-axis so the one going up and down and move those up on top of the floor just judge it by eye for the moment and that will be
fine and there we have our objects nicely lined up and sitting on the floor okay so the last challenge to you is to add a few more objects in the scene so shift a to add and we can add all these different objects don't worry about the grid or the circle because you won't really use those much as a beginner try all the different items to see what they look like and line them up in a nice line along the x-axis on top of our floor here so pause the video and have a go at
that so for this i'll do it nice and quickly i'll come to the top view to add them and i'll press shift right click to move my 3d cursor roughly in the position i want my next item in shift a to add mesh and then we haven't done an ico sphere yet so i'll put one there i'll start going this way as well so shift right click to move my 3d cursor shift a to add mesh and then cone one more over here shift a to add mesh and then taurus and one more over here
shift a to add mesh and then monkey okay so all these are kind of embedded in the floor let's go to front view then with one on my keyboard i can select these three here with shift left click g to grab in the z axis and move those just above like that the torus is a different size so i'll have to select that separately did grab in the z axis and move that above the floor okay so that's great we've lined them up one last challenge then is to rotate the monkey so it's not sort
of standing up on its chin and to rotate the cylinder so it's lying on its side and then rotate the torus so it's standing upright you might need to reposition them so g to grab so they're again standing on the floor pause the video and have a go at that okay so i'll start with my monkey because that's the toughest and i'll move in on that object now you might find that it's a little bit difficult to center your object there's a useful tool for framing the object if you've got a numpad it's the period
key on numpad or you can go to the view options here which has all your viewport options so top view front view and so forth you've also got frame selected just there so numpad period or full stop we say in britain so numpad period and i will zoom in on that and now when i orbit my viewport camera is centered around the monkey i'll just move out just a touch now really i need to be in side view for this so i can rotate it around the x-axis going along here that's the x-axis up here
so let's press 3 on my numpad but unfortunately the monkey's hiding behind these objects so i need to go to the negative x this side and notice when i hover over that you can see it's control numpad 3. so holding down control and the numpad number like side view gives you the reverse side view as it were or the negative x in this case so i click on that and i come to kind of reverse side view and see my monkey now i can press r to rotate and rotate that along the x-axis if you
don't press a specific axes then it will go perpendicular to your camera which in this case is along the x-axis so if i press r then x is the same as just pressing r because we're looking down the x axis if i press r then y it'll go around the y axis so we've managed to line it up roughly and then i can press g to grab move it down a little bit more rotation just there g to grab again and we're there so r to rotate g to grab okay so that was the toughest
one let's try the cylinder next now i'm going to cheat slightly because i don't even need to go to side view for this first bit which is r then x rotate it around the x-axis and i could line it up like this or i can actually just type in 9 and 0 for 90 degrees and that turns it around 90 degrees nicely i press 3 to go to side view i can see the orange outline just there and line it up so it's on the floor just there last one was the taurus rx 90 press
enter go to side view and again i can see that orange outline so i can press g to grab and move it above the floor i could always go to front view as well not sure why i didn't do that in the first place okay so that concludes this first lesson i would suggest if you want a bit of a practice to move all your objects on top of each other one on top of the other hope you're enjoying it and i'll see you next time