(gentle music) - So you might be new to filming on an iPhone and are wondering, "How in the world can I make my videos look better? " And I get it. As a beginner, it might be overwhelming.
I've been there too because you're not sure where to start. Well, how about starting with these five super easy hacks I'm about to show you that will take your B-roll from looking boring as hell to creative in no time? That's right.
We'll make it happen with just an iPhone without any additional accessories. I will film everything handheld, and show examples of how a beginner would do it and then how an experienced person would film the same shot. So get your iPhone ready and let's start.
Boo! Gotcha. I always like to start with the camera settings, as getting this right will help you get the most out of your videos.
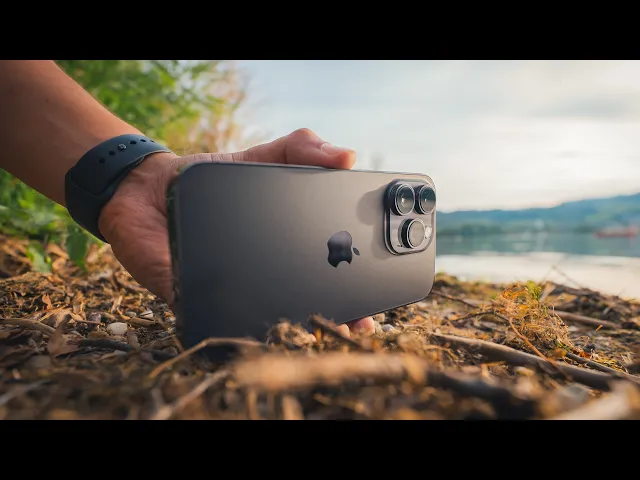
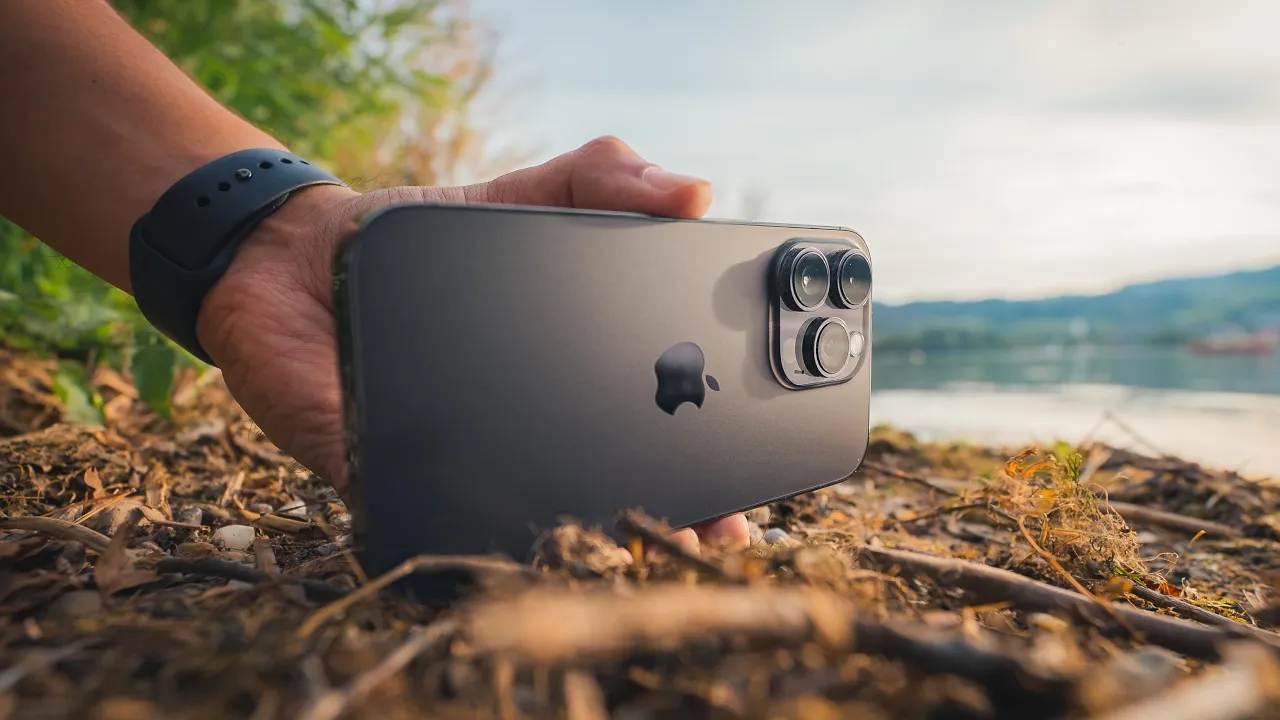
I'll be filming on the iPhone 14 Pro using the default camera app. Now, even though there are other third party apps available, I like to keep things simple and use the default camera app to shoot all of my B-rolls. So I'll be filming with the standard video mode.
There are definitely other shooting modes available, like slow motion, cinematic mode, or time-lapse recording. But for now, we'll stick with the standard video mode. I'll make sure to set my resolution to 4K for the highest quality possible, and the frame rate to 60 frames per second to slow down the clip, which also helps make the footage less shaky.
Now, one of the most important settings within the camera app that you need to be aware of before you start recording is locking your focus and exposure. This way, you will avoid exposure changes during your recordings. Okay, so the first simple hack I have for you guys is to start shooting from a lower angle, because too many beginners make this mistake of filming everything from eye level because it's just super easy.
But since everybody sees the world that way, try to be a little bit more creative and just get lower to the ground. So here's a video I shot from eye level filming the grass, and you can see it's nothing really special. But then you can see in the second shot, as I get lower, there's much more happening.
And I also noticed a bee which I also included in the video. And also by going low to the ground, you also creates more depth, which means creates a more three-dimensional image. So really take that extra step to get low to the ground and look for interesting things that you normally wouldn't see.
So the next simple hack I have for you guys is to use precise camera movements. So what most beginners do is they just whip up their camera and start moving the camera in all directions. And you wanna avoid that.
You wanna focus on just one direction. It could either be a slide shot or a push in shot or an orbit shot. And just by having your camera move in one direction makes a huge difference and will make your videos look more professional.
So here's an example of how a beginner would add camera movement to their video. (lively music) And here's another example of how a more experienced one would create that camera movement. (lively music) And something else to keep in mind is, in order to keep your camera movement as smooth as possible, it's also a good idea to move in a constant speed.
Because if you start speeding up and slowing down constantly, your viewers will feel dizzy. So just keep that in mind. So my next simple tip is to simply let the action happen in front of the camera.
Adding camera movement to your video can add a lot of dynamics. However, it is a bit more advanced. And because of that, if you don't have a lot of practice, it's good to start off with just capturing static shots and letting the action happen in front of the camera.
This could be anything, from a bird flying off a tree, a river, or even a subject that is sitting on a bench. Because if you don't have any action in front of the lens and it's simply a static shot, then it will look like a still image. So here's an example of a beginner filming something without any action in it.
(soft upbeat music) And here's another example including an action in front of his lens. (soft upbeat music) So a simple trick to make your videos more unique is to include sound effects. This often gets overlooked during the editing process, but it can make a big difference.
Here's a video without any added sound effects, and another video with them. (gentle music) (water rippling) (gentle music) (bee buzzing) (gentle music) (water rippling) (gentle music) You will quickly notice that the one with sound effects makes the video more realistic and helps your viewers feel more engaged in the moment. But how do you find high quality sound effects?
Well, that's where our sponsor of today's video, Artlist, comes in. They have a wide range of royalty free music and sound effects with unlimited downloads that you can use in any project. Artlist has one of the best intuitive search functions, making it easy to find the right soundtrack or sound effects for your video.
They include categories where you can choose the mood, video theme, genre, and instrument for your music. And what's great is that I can see the waveform of each track, which gives me a good idea of how the music will sound. Furthermore, I can also find a similar songs to the one I selected to get even more options.
And when it comes to sound effects, the same search principles applied. Again, I can choose between different categories, like ambient, realistic, foley, and more to narrow down my choices. Now, for instance, if I need sound for a forest environment, I can click on Ambience which provides subcategories that are really helpful in narrowing down my search.
In the Nature category, I can choose Forest, and it will show me the various types of forest sounds available. From here on, I can download as many sound effects as I need for my video. And by having a collection of high quality sound effects, you can use them for future projects and create a cinematic atmosphere for your videos.
Now, I've worked out a special deal with Artlist where you can get two months additionally for free using the link in the video description below. Additionally, from September 12th till October 12th, Artlist is rolling out its biggest creator fund ever, the Artlist 100K Fund where you have the chance to win $100,000 to make your dream project a reality. To join, all you have to do is post a video of your $100,000 idea on social media.
Don't forget to tag @artlist. io and use the #Artlist100KFund. All the details can be found at artlist.
io or using the link in the video description below. Good luck to you. My next hack is to stop filming everything.
You want to focus on one thing at a time. I just see too many beginners pointing their camera at whatever looks nice. But the problem with that is it makes the editing process much more difficult.
And by focusing on one thing, you can really take the time to set your composition, think about how you want to create the camera movement, and also think about the subject you want to include in your video. And this will also make it easier for the viewer because otherwise they don't know what to look at if you're pointing at everything, resulting in them clicking off quickly. So keep that in mind.
Have a clear start and ending point. Now, once you have that mastered, as a bonus tip, once you import all of the footage into your timeline, you want to make sure to trim out the unnecessary parts. You want to remove the fat and keep the meat.
It doesn't mean just because you recorded that clip that you can use the entire clip in your video. For example, when pressing the record button, there's usually a little shake in the video, and you surely don't want that in your video. So let me give you an example.
Here's an edit of the entire clip. (playful music) And here's an edit with the bad parts removed. (playful music) So as you can see, there is a difference, and you wanna make sure to look at your video and really take out those unnecessary parts to make your video look more professional.
All right, folks, now that we have all of the shots, let's put them together to create a final edit. First I'll show you the beginner's version and then the experienced edit. (suspenseful music) (static buzzing) (playful music) (static buzzing) (water rippling) (gentle music) (bee buzzing) (gentle music) (water rippling) (gentle music) So by now, hopefully you have a better understanding of how to create interesting B-roll videos with your iPhone.
It's important to understand the basics of using your iPhone's default camera app, because if you don't get it right in camera initially, you won't be able to make it look better in the edit. That's why I created a mini course called iPhone Camera 101: The Basics of iPhone Camera with 24 valuable lessons for those who want to master the iPhone's default camera app quickly. In this mini course, you'll find the best video settings, get to know the different shooting modes, and fully understand all the features of the default camera app.
And on top of that, you'll also get my premium mobile LUTs that you can instantly apply to your videos to make them look cinematic. So make sure to not miss out on this opportunity, and get started by clicking the link in the video description below. Other than that, guys, thank you so much for watching, and until the next time, stay creative.