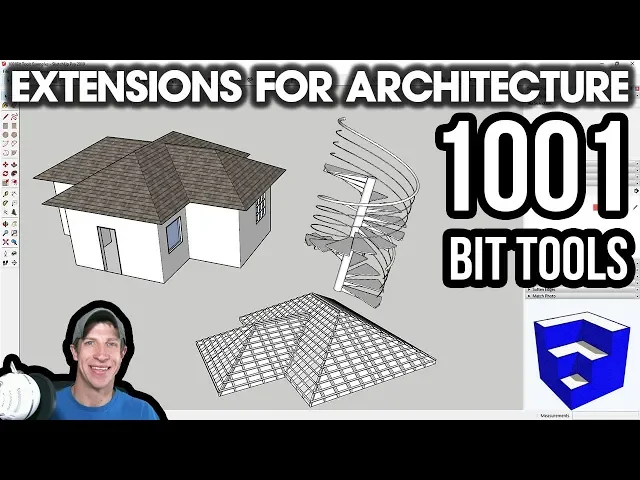
what's up guys Justin here with the sketch of essentials calm back with another Sketchup extension overview for you so in the next few weeks I'm gonna be starting a new series about extensions that are really helpful for architectural applications inside of Sketchup so these are gonna be extensions that are really good for doing architectural things like drawing houses or other things like that some of them will have different applications and others but all of them are gonna be helpful in addition I have also created a new resource so if you want to get the whole
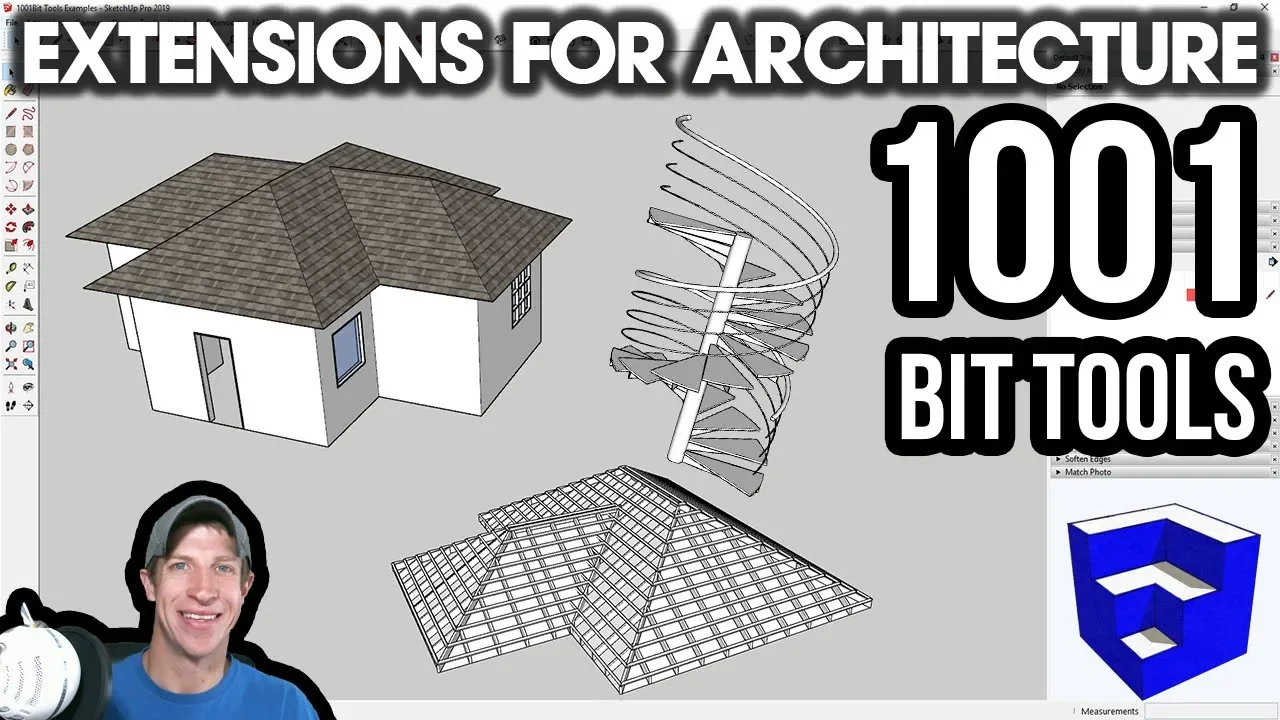
list of architectural extensions now you can download that by going to the Sketchup essentials comm slash architectural extensions to get the whole list if you don't feel like waiting a few weeks for me to talk about all of them but in this week's video we're gonna talk about an extension that contains a full suite of tools for working with the architectural applications inside of Sketchup so this week's architectural extension is a thousand and one bit tools now let's go ahead and just jump into it alright so a thousand and one bit tools can be downloaded
from the Sketchup extension warehouse so if you go to the Sketchup extension warehouse you can download that from there one thing I will want I do want to caution you about just a little bit is this extension has not been marked as compatible with Sketchup 2019 the last time it was marked as compatible with Sketchup 2015 however if you download this and run this I've had no problems working with this there is a little bit of a use at your own risk type thing going on here but I haven't had any issues with this and
when you download this Sketchup will just give you a little a little message saying this hasn't been marked as compatible with your version of Sketchup and if you click continue then you can go ahead and install that and it seems to be working fine so the other thing is on a thousand and one bit comm there is also a pro version of this extension and I have no idea if it's been kept up with based on some of the dates that I'm seeing on here maybe not but you can download that one and that one
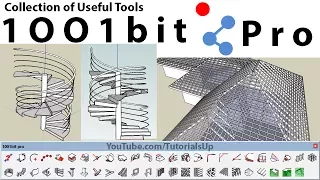
does contain some additional tools as well but this version that we're talking about right now is the free version so all the tools I talk about in here are going to be free and so what I really like about this tool said is it contains a number of different tools that you can do a ton of different things with so you can see how if you look at this menu bar when you install this this has a bunch of different tools in here and it can be a little bit intimidating but I'm going to show
you a little trick so that you can find the tools that you're looking for no problem so one of the things about this extension is that you can customize this toolbar by going up to extensions a thousand and one bit tools and manage toolbars when you do this you're gonna get a menu that looks like this and you can check a box in here to arrange all of these in one tool bar or you can set this to give you multiple different toolbars for each tool bar group and I usually leave these in one tool
bar but you'll notice what this does is this gives you a list of what each one of these buttons does so you can kind of go through this list and figure out which tool you want and first of all you can check or uncheck boxes in order to add or remove things from this toolbar you can also see what each one of these does meaningly you can find a tool really quickly and I'm gonna talk through some of my favorites I'm not gonna go through every single tool on this list there's something on this list
that you're interested in that I don't cover just let me know and I can talk about that a little bit more in depth but I'm gonna go ahead and click OK and we're gonna take a look at some of my favorites in here so one of the one of the very simple things that this extension has that I really like is it has kind of an expanded divide edges tool so if you go up here and you look at this button right here you can see how this says it divides and places construction points and
every one of these tools when we open it up its gonna pop up a little menu like this where you can select different things but in this case you can either use this to divine divides lines into segments which isn't really any different than anything that's already in Sketchup but there's also this option down below which I really like which you can set a fixed distance for your segment and the nice thing about this is you can divide your lines into different segments by setting a length so like for example I could divide this line
into 18 inches and you can tell this to either do that from the middle point of your line or from a start point and so if you do that and you click on this and then click on divide edge you can see how this is going to divide that up into your number of segments but if I was to undo that and pick a different fixed different distance so let's say I pick something kind of weird like 7 inches or something like that and I click divided edges so what that's going to do is that's
going to divide this into 7 inch segments you can see how the last one it just doesn't place a control point right here so what that means is you could divide this up into like framing lengths or other things like that based solely on the length so the next tool I want to talk about is the extend edges tool and so this is a tool that you'll find in a lot of like CAD applications but it can also be helpful in Sketchup especially if you have a bunch of edges that don't go all the way
to the line so the way extend edges works and you can find that one you can find extend edges by clicking on this button right here and the way that works is that one you can click on it and then it tells you to select an edge and then it tells you to select a target edge and so you can see how what this does is this will give you a little guideline right here showing you that if you run this and this is your target edge it'll extend this edge all the way to this
point right here so you can use this to quickly extend edges to lines if you have gaps or something like that without having to come in there with a line tool and do all that manually so there's another tool in here called offset edges so what I like about offset edges right here is offset edges will allow you to offset a single edge which is something Sketchup won't allow you to do so like for example if I was just select this and try to run the offset tool you see how it tells me that I
have to select a single face or two or more edges so the built-in tool it'll allow you to offset multiple edges like this but it won't let you offset a single edge and a lot of the time you want to do that you want to offset an edge by a certain length so let's say like 4 inches like type in a value hit okay I can move my mouse to set if this is gonna offset edges along the red axis the blue axis so you can see how by moving my mouse I can set which
direction this will offset so that's really nice if you need to offset a single edge because that's something Sketchup will not do by itself and so now I want to talk a little more about the architectural applications for this tool and so there's a number of different tools in here that are really helpful for architectural applications so they allow you to draw different things inside of your model so like for example you can see how as I mouse over these this will tell me what each one of them do well in this case I'm gonna
click on this first one which is called build vertical walls what that's gonna allow me to do is that's gonna allow me to set my walls based on a thickness and a height and then build that wall as a group so like for example let's say I had a 6-inch wall it was gonna be 10 feet high I could just type in those values and I could click build wall and I find it to be helpful to come in here and actually sketch out your lines that this is gonna run along first so like for
example I've come in here and I've created the shape that I want to run this wall along and notice that that was outside of this edge which I didn't necessarily want but you can adjust the alignment of where that wall is going to be placed so if I select wall alene alignment left and then click build wall what that's going to do is that's gonna build this wall along the path and it's gonna offset that to the left instead of to the right so that allows me to draw all of this within this footprint that
I've already laid out you can see how as I do this it automatically goes around corners and then once I get to the end and click it's automatically going to fill this in so you can see how that allows me to really quickly create a number of different walls in here and it'll also bring these in as a group which is really nice because you don't have to worry about push pulling or geometry merging or anything like that and then from there there's multiple different tools in here that are really helpful for architectural type applications
like for example let's say we want to add a front door well there's a tool in here specifically designed to create openings in vertical walls and what this will do is this will allow me to set the width and the height of the opening that I create so I would type in a width of 3 feet and a height of 7 feet and click create opening and then you can see how this is going to give me kind of a preview and it's gonna ask me to pick a reference point and then it'll ask me
to select my point that I'm gonna place my door on so right here and then it's gonna ask for a vertical height which in this case is going to be the ground and you can see how when I click in here that creates a door opening so that's really helpful you can also use this to do windows so let's say I had a four foot by four foot window I would just do the same thing where I would just be able to set my window opening wherever I want it to be one thing that might
be a little bit helpful before you do that is you might want to come in here and set a guideline at the bottom of your window so let's say you wanted your window to be four feet off the ground you might want to set a guide with the tape measure tool before you do that but you can see how I could once I get this figured out I can add these in here really quickly without having to go in there and do a whole bunch of like drawing and push pulling and things like that and
then from there there's multiple different tools in here for creating door frames and window frames so if I come in here and draw across this face if I draw a face right here and then I click on the button for create door frame what that's gonna do is that's gonna allow me to set my depth so in this case that would be six inches and then you can set other things to like your frame widths and things like that and then you also said if you want this frame to go on the front the middle
or the back based on where your face is so in this case we want this to be on the front and then you just click on create door frame and actually I should have selected the back but you can see how that comes in here and that creates a frame really quickly and then there's another tool in here that does the exact same thing for my window so I would set this to six inches and there's a couple different offer options for if you want this to have like a beveled edge or something like that
but then you just click create window frame so you can see how that's really easy to do and there's also a tool in here designed to actually create a more complex window so if I was to draw another face in here there's an option in here for de la divide selected face into panels so if you do that that's gonna create more of a complete window in here instead of just a frame around the edges you can set the number of rows that are in here you can set the depth of your window you can
set how wide your frame pieces are gonna be and these usually kind of default in here kind of thick so I'm gonna bring these back to like one-inch and then I'm just going to click on create window frame you can see how that'll create this whole window inside of this face that I had selected so this is a really easy way to add those in then the nice thing about this is these all get added in here as group faces and I'm gonna go ahead and reverse them but it's really easy to go inside this
group click on this face and then add a glass material to make it transparent so it looks like an actual window so you can see how this suite of tools can be really helpful for architectural modeling and then the other thing I'm going to do really quick is just demonstrate the roof function so I'm gonna make a copy of this face so that I have a face on the roof there's an option in here to automatically create a hip roof from a face meaning it'll come in here and it'll create a roof based on this
face right here so all I have to do is select it and then click on this last option and just tell it what I want my pitch to be and what I want my overhang to be so I could adjust that to like 24 inches click on create hip roof and that'll actually come in here and that'll create a roof and for some reason it looks like it didn't fully and for some reason it didn't fully fill this in but it's really easy to come in here and fix this so you can see how I'll
just trace over this face right here you can see how this created this complex roof really easily without me having to mess around at the follow me tool or anything like that so you can see how this is really easy to use to add these architectural features in here the last feature I want to touch on for just a second is the feature that allows you to add different stairs in here so there's options in here for building like single flight staircases or multiple flight staircases that's really easy to use you can adjust the widths
and your depths of your treads and the numbers of risers all of those things are adjustable in here then all you have to do is just draw where you want that stair to go and then click in order to create that stair really quickly and the nice thing is it creates these handrails in here as edges which you can then use to extrude a complex handrail along again the last feature that I want to talk about is the spiral staircase so there's a function in here that'll actually create a spiral staircase in here that'll create
both the staircase as well as the rails but all you do is you just come in here and you just set the different properties of this stair like number of risers riser height things like that and then just click on build staircase and you just pick a center point and then I'll come in here and create your spiral staircase I will note this one seems to take longer than the others I think it's just because it's creating a whole bunch of a complex geometry one thing I would recommend when you do this is do not
have the outliner open if you have the outliner open you can see how this comes in here and it creates a whole bunch of groups and for some reason this just kind of seems to sit there and spin for a lot longer if you have the outliner open so if you're gonna use the spiral staircase function I would say just make sure that just make sure that you have that outliner minimised before you do that so that's where I'm going to in this video leave a comment below and let me know what you thought how
do you feel about thousand and one bit tools have you used it let's love having that conversation at you guys if you're looking for more great architectural engines make sure to check out that architectural extensions guide at the Sketchup essentials comm slash architectural extensions if you like this video please remember to click that like button down below if you're new around here remember to click that subscribe button for new Sketchup content every week as always thank you so much for taking the time to watch this I really appreciate it we'll catch you in the next
video thanks guys