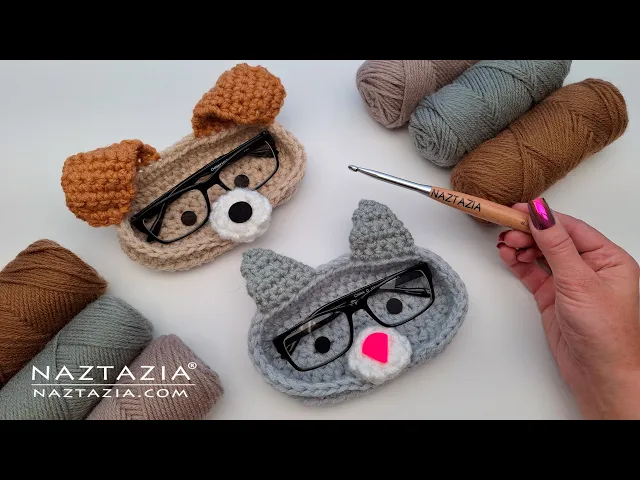
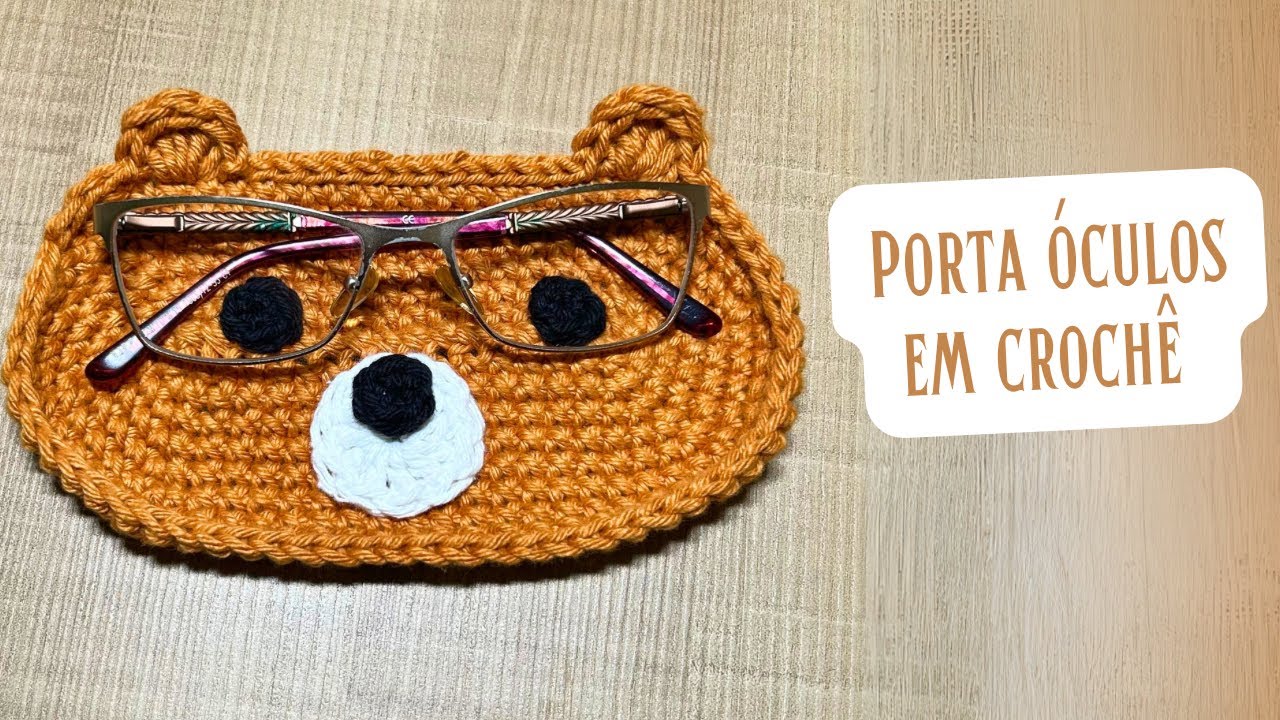
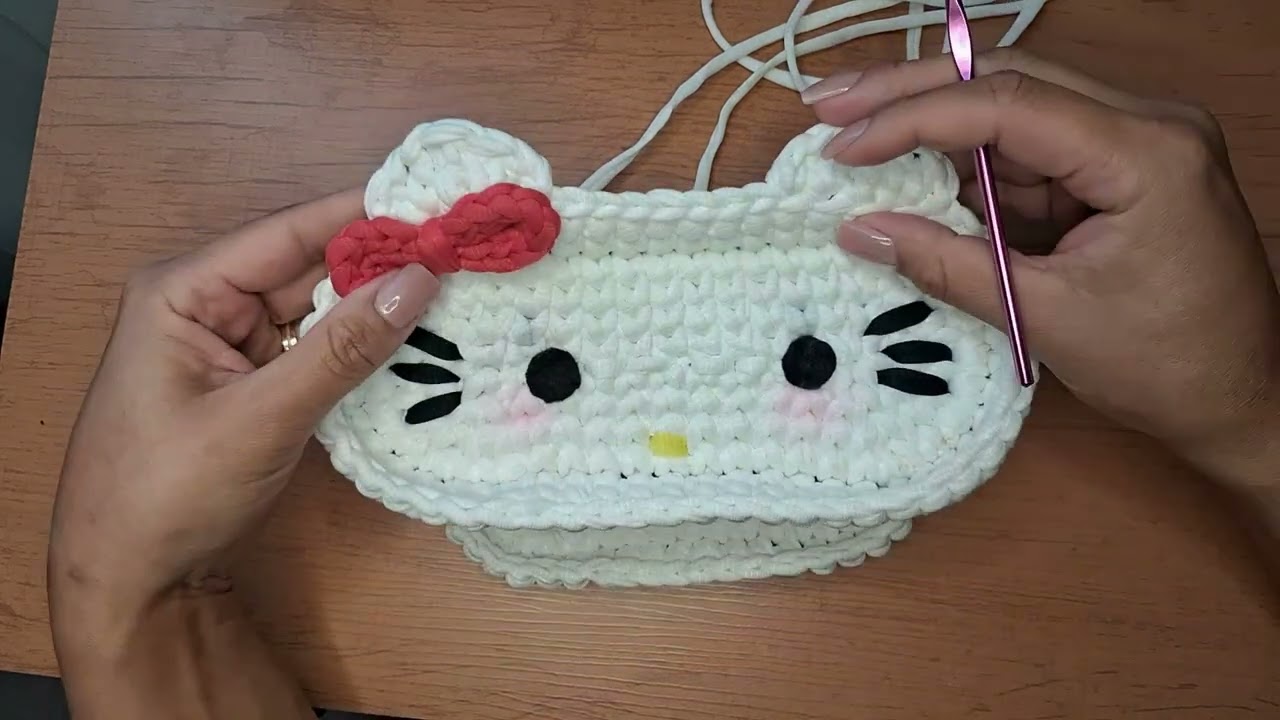
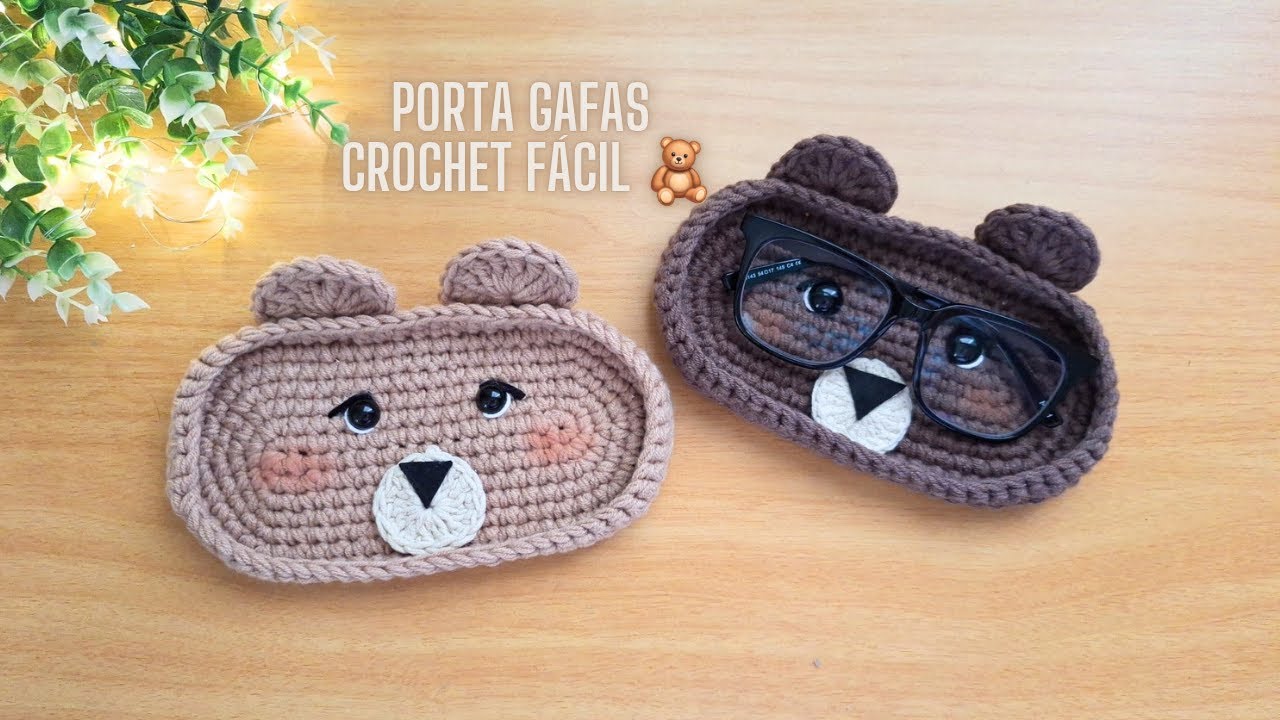
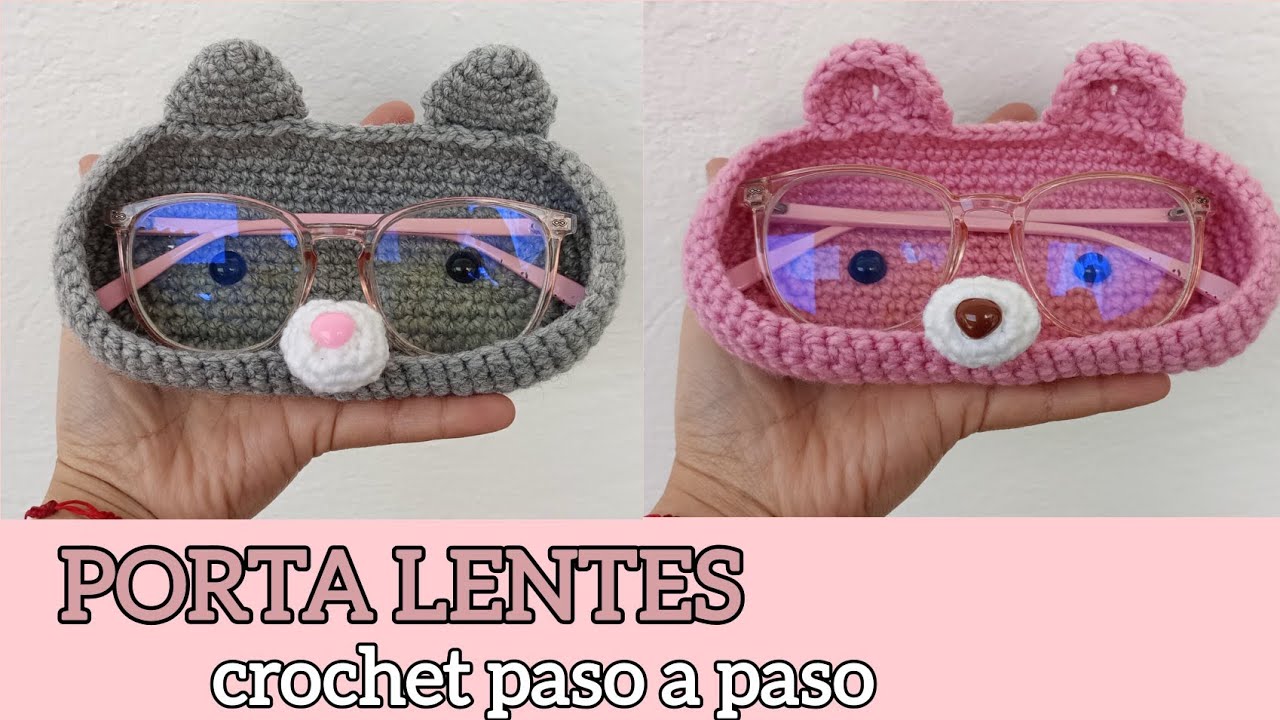
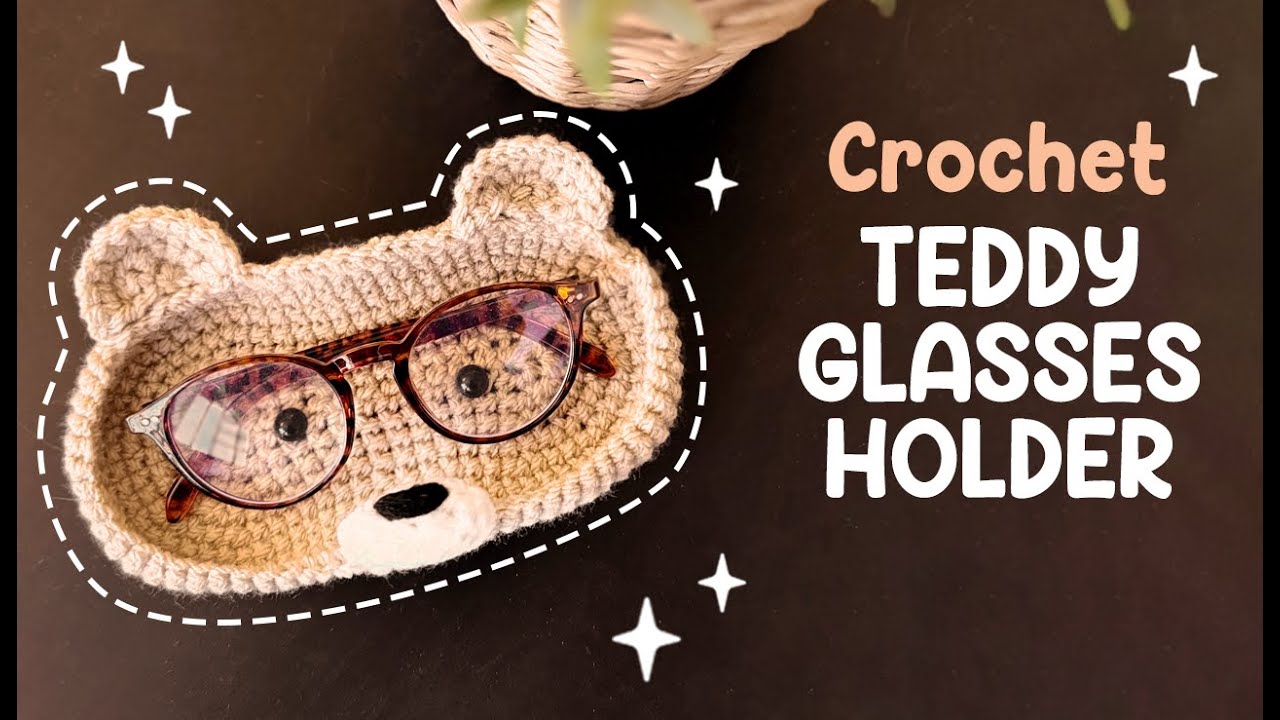
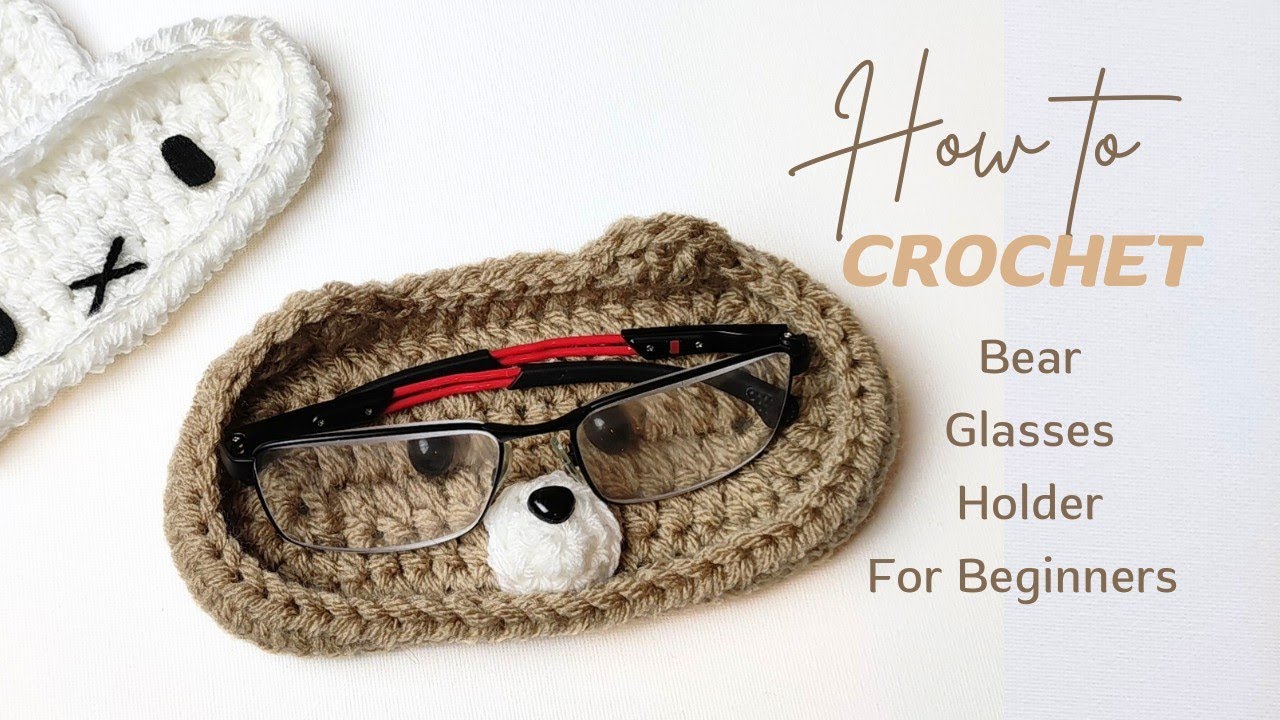
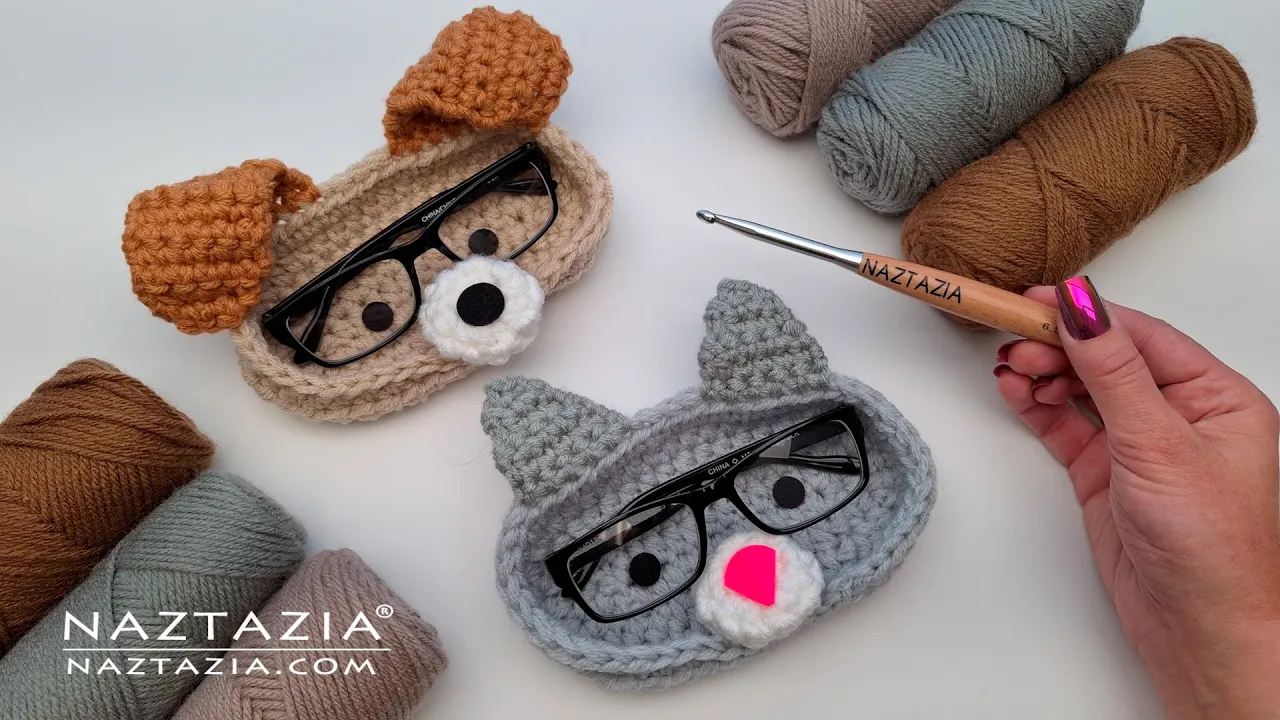
Hi I'm Donna Wolfe from naztazia. com Crochet glasses can have a cute little dog and cat holder in this tutorial by Naztazia. Both the cat and dog crochet holders are made the same way except the ears are slightly different.
To do this I'm using 100 yards of medium worsted yarn and a size H 5 mm crochet hook. Throughout the entire pattern I'm holding two strands of yarn together. It's also helpful to already know how to crochet in the round and make basic stitches, as this tutorial assumes a more intermediate level of crochet.
Crochet ovals are basically a square or rectangle in between two semicircles. When crocheting think of the sides as always having 11 half double crochet stitches and the two ends will be worked like typical crochet circles. To begin I make a slip knot and a chain 14.
Make three half double crochet stitches in the second chain from the hook. This is forming one of the two semicircles. There's the first half double crochet stitch.
The second half double crochet stitch. And finally the third and final half double crochet stitch. I like to mark the first and last stitch of the semicircle so I know where the beginning and ending of the semicircle is for this oval.
Over the next 11 stitches make one half double crochet stitch in each of them. This 11 half double crochet will be used quite often in this pattern for the two longer sides so it helps to remember it. There is one chain remaining.
In this last chain we'll form the second semicircle. So we'll make three half double crochet stitches in this last chain. As on the other side it helps to mark the first and last stitch of these two end semicircles.
Working on the other side of the chain now we'll make 11 half double crochet stitches to match the other longer end across from it. So place one half double crochet in each stitch across right above the previous 11 half double crochet stitches from the other side. For the remaining rounds always make a slip stitch at the end to connect the round and a chain one.
Over these three end stitches I'm going to make two half double crochet stitches in each of them. This is the typical method used for making circles as well as semicircles, so I make my first set of two half double crochet stitches in the first half double crochet from the previous round and then I make my second set of two half double crochet stitches and finally my last set of two half double crochet stitches for this semicircle. As always mark the first and last stitches.
Across the remaining stitches before the next marker I have 11 stitches so I will make 11 half double crochet stitches across this row. And for this other end I repeat what I did for the other side which is two half double crochet stitches in each of the three stitches from the semicircle end and mark the stitches then across my last side I have 11 stitches again so make one half double crochet in each of these 11 stitches. I make a slip stitch to join the round and chain one.
My pattern for this round is two half double crochet stitches in the first stitch followed by one half double crochet in the next stitch. And I repeat this two more times for the end. I make my second set of two half double crochet stitches in the first stitch followed by one half double crochet stitch in the next stitch and then I make my third and final set of two half double crochet stitches in the first stitch followed by just one half double crochet in the next stitch.
Once that is completed make one half double crochet in each of the 11 half double crochet stitches across then repeat the end semicircle pattern of two half double crochet stitches in the first stitch followed by one half double crochet in the next stitch. Then after that is completed make the 11 half double crochet stitches along the last remaining side of the oval. Slip stitch, chain one, and begin the next round consisting of two half double crochet stitches in the first stitch followed by one half double crochet in the next stitch followed by one half double crochet in the next stitch.
Once the semicircle and is completed make the 11 half double crochet stitches along this edge. Then over the other semicircle make the 211, 211, 211 pattern and then complete the 11 half double crochet stitches across followed by by a slip stitch. Once that is completed fold the oval in half to find the centers of the two longer sides and mark them with stitch markers on both edges for the top and bottom.
We'll work with the bottom edge first where the snout will eventually be sewn into the work. Make a chain one and then turn the work. We'll be working on the reverse side of the work to help fix the curl that is occurring.
Count how many stitches until the stitch marker and make a note of it. And then slip stitch over to the stitch marker then make the same number of slip stitches as we did before the stitch marker. This lower section helps the snout stay in place.
In my case I had four slip stitches before the stitch marker the stitch marker and then four more slip stitches. Once the slip stitches are completed just make one half double crochet in each stitch around until the initial chain one is reached then make a slip stitch into that initial chain one to close this round. This is what the work looks like thus far.
I like to fasten off and leave a longer 15-inch tail end because I will be using this tail end to sew the snout of the dog and cat onto my work. Speaking of the snout to make it I like to use a different color yarn than the base. I make a slip stitch still with the two strands of yarn held together and then I make a chain two.
I try to make that first chain a little looser since I will be making stitches into it. In that second chain from the hook I make six half double crochet stitches all into it. 1 2 3 4 5 and six.
Once the six stitches are made I make a slip stitch to close this round and then I make a chain one and on this round is the typical circle pattern of two half double crochet stitches in each stitch around so make two half double crochet stitches in each of the six stitches from the round below for a total of 12 stitches. At the end slip stitch to close the round. And finally the last round is a chain one followed by just one half double crochet in each stitch around.
Slip stitch to close the work and fasten off the yarn. At this time I like to sew the snout onto the work. If any kind of embroidery will be used instead of felt for the nose it is probably a good idea to do it before sewing the snout onto the base.
I'm using that longer strand of yarn from the base to sew the snout onto the work. Since this item won't be washed very often even some hot glue will work just fine instead of sewing the item to the base. Because these are eyeglasses I use felt circles especially with sticky back for the nose as well as the eyes since felt is soft and probably won't scratch the eyeglasses.
Now it's time for the ears. I'll show how to make the dog ears first and take note this counting and placement method applies to both the dog and cat ears. Make a slip knot on the hook, count over seven stitches from the stitch marker that we placed before and make a single crochet stitch into it.
Then make five more single crochet stitches for a total of six single crochet stitches for the width of the first ear. To keep the edges straight I turn my work but I don't make a chain one instead I just lift my loop a little higher than usual and make my single crochet into the first stitch then I make five more single crochet stitches across this row for a total of six single crochet stitches. I continue making six single crochet stitches across for a total of 10 rows or any number to change the length of the ears.
For the next to the last row I do something a little different to taper the edge I make a single crochet two together decrease stitch over the first two stitches of the row and finally over the last two stitches I make another single crochet two together stitch. I turn my work and make one single crochet in each stitch across to finish the ear fasten off and either weave in the end or bend the ear down and tie and knot it to the base to keep the ear in place instead of having it flop around. For the cat ear or even the second dog or cat ear I count over two from the center marker and make a single crochet into it.
Then I make five more single crochet stitches across for a total of six single crochet stitches, very similar to the width of the dog ear. Then I turn my work, no chain ones for the cat ear either, and I make one single crochet in each stitch across this row for a total of six single crochet stitches. I decrease the next row with a single crochet two together stitch over the first two stitches then I make a single crochet followed by another single crochet.
Over the last two stitches I make that single crochet two together stitch again. I turn my work and on this row I just make one single crochet in each stitch across for a total of four single crochet stitches. Once completed I turn my work again and this time make two single crochet two together decrease stitches over the first two stitches and the last two stitches for a total of having two stitches on this row.
I turn my work and make one single crochet in each of the two stitches then I fasten off my work and weave in all the ends from everything. And that's it. That's how I crochet a dog and cat glasses holder.