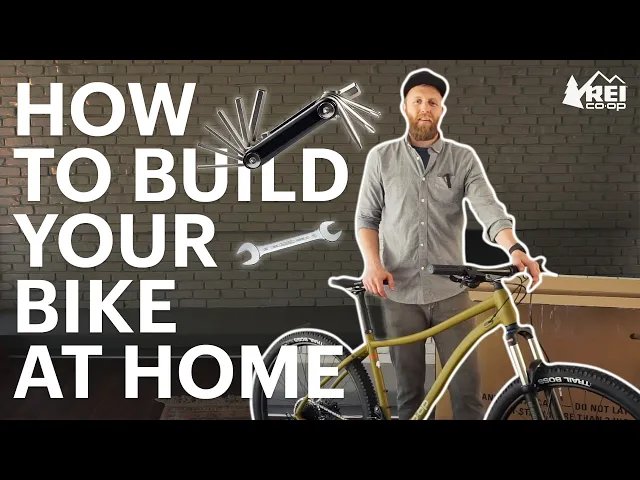
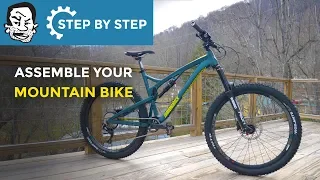
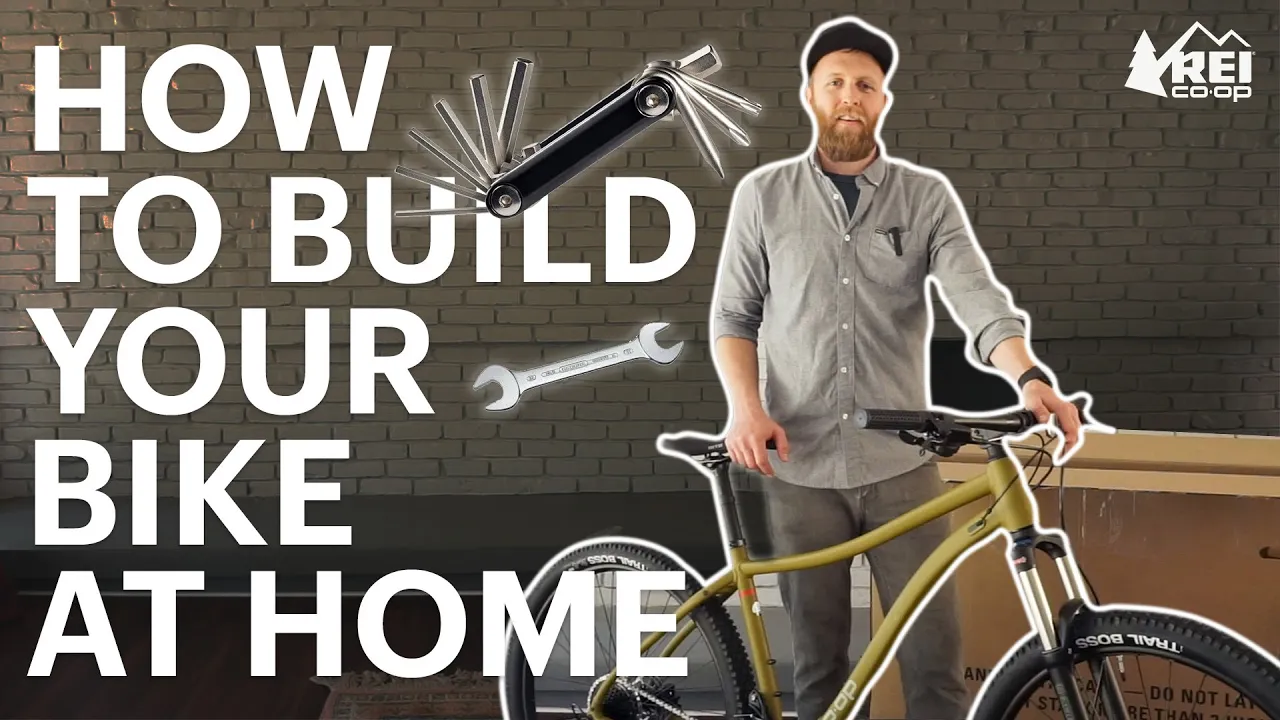
Hi, I'm Reinke a certified tech and shop coordinator with REI co-op, and we're here today to talk about assembling your new bike. For this demonstration, I'm gonna use a mountain bike, but the techniques we cover will apply to a variety of different kinds of bikes, road, hybrid, and even kid's. There are five steps to assembling your new bike.
First, we're gonna get everything out of the box and unpack it. Then we'll install the handlebars, the seat post, the front wheel, and the pedals. Before beginning to unbox your bike.
We wanna make sure that we have a few things on hand. The first is a multi-tool, which includes, a four, five and six millimeter hex key or Allen wrench. And that should be included, with the parts in your new bike.
Other tools you'll likely need for assembly that aren't included in the box, are an adjustable wrench, or a 15 millimeter open-ended wrench for installing pedals if they're included. A pair of scissors or set of cutters, a phillips, flathead screwdriver, and a bike pump. If the bike you're assembling is a mountain bike with air suspension, you'll also need to have a shock pump, to set that up.
If you're assembling certain kids' bikes. It's also nice to have a 13, and 17 millimeter open-ended wrench. The first step is taking the bike out of the box.
Now as you go through this, we wanna hang onto the outer box. That's gonna come in handy later. There should also be a smaller parts box inside the larger box, that's gonna contain things like your multi-tool, your pedals if they're included, and any installation manuals required.
Now that you've removed both the bike, and the small parts box. Go ahead and remove all the foam and packaging from the bike. Be careful not to cut the cables, and make sure you check the bottom of the bike box, to ensure we haven't left anything behind.
We'll remove the plastic protectors from the wheel. When we do this, it's important to make sure, that you don't touch that disc brake rotor with your fingers. The natural oil in your skin can contaminate the rotor and lead to excessive noise, or a diminished braking performance.
Next, we're going to install the handlebar. To make it a little bit easier, and help balance the bike. You can put the fork over the box like this.
We wanna make sure that we've got all the cables, untangled. And that they're free to travel between the levers, and the components they attach to. We also wanna make sure, that we've got the stem, and fork oriented in the right direction.
The stem is going to face forward away from the rider, and we wanna make sure, that the disc brake calipers, are in the back of the fork. If you've got rim brake calipers, then they would be positioned in front of the fork. We're gonna identify the stem, the face plate, and the face plate bolts.
Loosen these and take them off, and then install the handlebar. Be aware that this stem face plate might be inside the small parts box. As you're taking these off, it's really important to make sure, that they don't get loose and roll away.
Now we'll insert the handlebar into the stem. There's a center mark, on each set of handlebars, that'll give us a rough guide, for where we wanna start. We'll, put the face plate over, and we'll start each screw by hand, just to make sure that we don't get anything cross threaded.
If you're feeling a lot of resistance, or if the screw really doesn't wanna go in, you may need to stop, just back it out a little bit and try again. Once they've gone in by a few threads, we can come back with our tool, and start to snug things down. We don't wanna go all the way tight right now, because we still have some adjustment to do on the handlebar, so make sure that it's centered, and angled correctly.
If you're feeling a lot of resistance in the screws, it might be the case that you've got them cross threaded. Again, just stop, back them out and try again. Now we've got the face plate attached, but the bars are still loose enough, that we can move them back and forth, and rotate them up and down, to get our final adjustment position.
While we're riding the bike, we want the handlebars angled down, at about a 45 degree angle, or whatever feels comfortable to your hands. Once we're there, we're gonna check in the window of that stem for those marks, that'll help us make sure we got that handlebar centered. And then we can start to snug the bolts down.
So we're gonna tighten, in a kind of cross pattern, to distribute that tightening force equally, and keep that gap even. So with small increments, moving back and forth in an X or cross pattern. We're gonna start to snug those face plate bolts down.
It's important to note, that at the top and bottom of the stem face plate, when we tighten everything down, there will be a gap. We wanna make sure that, that gap is equal from top to bottom. We don't need them super tight.
A good rule of thumb is as you're tightening, we just wanna tighten them enough that the tool leaves a slight imprint on your palm. Again, in an X pattern, making sure that we get all four, small imprint, good to go. We'll make sure we get all of them.
And a good way to check, that we are tight enough, is that we've got that imprint. Try to rotate up and down, on these brake levers, and make sure that that handlebar is secure and won't move. Next step is to install the seat.
There are some important notes here. On the bottom of every seat post is either painted or etched, what's called a minimum insertion line, and when we install the seat post into the bike, that line has to be below the top of the tube, the seat goes into. So we're gonna open the seat collar lever.
If your seat post collar doesn't have a lever, it may open by tool. You'll find that there will be a fitting on one side or the other for a four or five millimeter Allen key. We'll insert the post into the frame, making sure we get past that minimum insertion line and close the lever.
It's tight enough, when we've got a small imprint, on the palm of our hand. Now we've got to see a post installed. It's time to move on to the front wheel.
To make this easier, we're gonna go ahead and flip the bike over, so that it's on its seat and handlebars. And that'll give us access to the underside of the bike. Your bike may be equipped with one of two front wheel attachment styles.
The first is through axle, which we can identify, by these larger circular shaped openings, that our through axle will slide through, and thread into the other side. This one is equipped with a hex key tightening system. Yours may have a lever on it, a lot like a quick release.
The second is a standard quick release, which we can identify by these open C shaped downward facing slots, that allow the axle to fit through. These will be equipped with a standard quick release skewer. Now we're going to install the front wheel.
To do that, let's start with getting the front wheel oriented, so that the disc brake rotor, is on the same side as the breaking mechanism. In this case, a disc brake caliper. You may notice that there is a plastic spacer installed between the pads on the brake caliper, to keep them apart.
Let's go ahead and remove that. It's important not to depress either brake lever. If you do, the pads can close, and we won't be able to fit the rotor in.
This particular fork, is equipped with a through axle. Yours may have a lever a lot like a quick release. If it does, just open that lever, unthread.
In this case, we're going to insert the tool into the end, and unthread it like this. Once it's free, we'll pull it back, so that we can drop this wheel in. We're gonna put the wheel between the legs of the fork.
We'll set the rotor between the fork legs, and looked down from the top to make sure that that rotor is gonna slide down in between the pads inside the caliper. Once we fit that rotor in between the caliper pads, we'll take a look at the ends of the axle, and make sure that they fit in the dropouts on the fork. And wiggle those into place.
It may be a snug fit, give it a little bit of wiggle, it should drop right in. Once we're there, we should be able to slide that through axle into place, it may take a little wiggle of the front wheel and start to thread it in. Start it by hand.
Make sure there's no resistance and all the threads feel good. Once you're there, fit the tool in, and tighten it like this. We can go ahead and tighten that down, to its final position.
Again, we're gonna look for that light imprint, on the palm of your hand. To install a front wheel equipped with a quick release skewer, we need two things, we the wheel with all the plastic packing pieces removed, and then we need the quicker least skewer, which will probably be in your small parts box. It's important to pay attention to the parts here.
We've got the closing lever end, one conical spring, the quick release axle, another spring, and then a nut. To install this, we're going to unscrew the nut. Remove the conical spring.
Once we install that, through the axle, from the other side, we're going to install the conical spring with the narrow point in, and then place the nut onto the threads and give it a few turns. To install the front wheel in the fork. We're gonna take the wheel, place it in between the fork legs, and look for the ends of the axle, to line up with the openings, in the C shaped dropouts.
Line up both sides, and it should fall right in. If it's a snug fit or doesn't want to go right away, you can try giving the wheel a wiggle, to help it fall down in, or unthread the nut at the end of the quick release, just one or two turns. We don't need it to come all the way off.
We'll take the closing lever on the quick release, and hold it out in line with the axle. Thread the nut on the other end in, until everything's nice and snug. Then we'll take the folding lever, and move it into a position where when we fold it closed, it's gonna be in line with, but not in contact with the leg of the fork.
We wanna make sure that this is nice and snug, so that the wheel doesn't go anywhere. We should need to push that closed. We'll double check, that it's not gonna come open, and you're good to go.
Once you get the front wheel installed. We need to make sure that we close the brake system. This is a V brake system that's common on a lot of kids bikes and hybrid bikes.
To close that up, we're gonna flip over this catch lever, so that it's in line with the cable, and we're gonna pull on this J bend, to fit the narrow part of this cable, down through the notch in that catch lever. We might have to pull kinda hard, and push it to fit down through, but once it sits, you'll see the, end of that J bend protrude through the end of the black lever. We'll fit the dust cover over the tip, we'll actuate the brake lever a few times, to make sure that everything's working properly, and we're getting good lever response.
The next step is installing the pedals. It's really important to note here that, left and right pedals are different. The threads on the pedal spindles face different directions and needs to go on a certain side of the bike.
The left pedal is gonna go under your left foot while you're riding the bike, and the right pedal under your right foot while you're riding the bike. And if it helps to remember, the right pedal is gonna go on the side of the bike that has the derailleur, gears, and all that stuff going on. There may be a few ways that the pedals are marked, to help differentiate between left and right.
There could be an L and an R stamped on the end of the pedal spindle. You may see a sticker somewhere on the body of the pedal, or it may not be marked. Now, if the pedal spindle doesn't have an L or an R stamped on it, and if there's no sticker to tell us which is which, then we're gonna take a really close look at the pedal spindle threads, to see which way they angle.
On the left pedal. These threads, will angle up and to the left. On the right pedal, they'll angle up and to the right.
The difference can be very minor, so it's important to pay close attention, because this is really important when we're ready to install the pedals. Now that we've identified left and right pedal threads, we can go ahead and install. We'll install the left, on the side that doesn't have gears.
The right on the side that does. We also wanna check either a zip tied to the ends of the crank arms or maybe in your small parts box. There could be pedal washers which would need to fit over the threads on the pedal spindle and around the flange at the base.
The other important thing about thread direction and identifying the difference between left and right, is that the pedals are going to thread in, in different directions. The left hand pedal has left hand threads, so it's going to thread in counterclockwise. We'll start with the pedal spindle flush, and in line with the crank arm, and we can begin to thread it in counterclockwise by hand.
If you're encountering resistance, stop, back it up, try it again. Once we've got that most of the way in by hand, we can go ahead and use a wrench, that's a 15 millimeter open ended wrench or a pedal wrench. Now it's important to note here that, the head width of some wrenches may be a little bit too thick to be able to tighten down, and then be able to pull out of the narrow gap between the pedal and the crank arm.
So if you run into trouble with there, go to REI. com and pick up a pedal wrench. It'll save you a lot of trouble.
The other important note is that, we don't need this to be as tight as we can possibly get it. If we use all of our strength and crank on these threads, we risk pulling the threads, and stripping the threads between the crank arm and pedal spindle. So we just need this good and very snug.
I've got the left installed, we can move on to the right. This right side pedal has right hand threads, and so it's going to thread in clockwise. Opposite of the left side.
We'll do the same thing. We'll start with it in line and flush, and start threading in by hand. If it feels like it's going in sideways or giving you a lot of resistance, stop, back it up, try again.
Once we get most of those threads in, with our 15 millimeter open ended wrench or pedal wrench, we'll finish the job and tighten those down. All right, that's it. Now we've got all of our components installed.
We're just gonna flip the bike back over, and make sure everything's secure and then you'll be ready to ride. We can start with the stem faceplate and the bolts that we tightened there. Make sure we've got them all tight.
We can check the security of the handlebar, by supporting the front wheel between our legs. Try and rotate, try and push, and make sure that that bar is not gonna move. We'll do the same thing with the seat.
Support the rear wheel between our legs, give it a push, make sure it's not gonna move. We'll double check the pedals. We'll make sure that the tires are inflated to the recommended pressure located on the sidewall of the tire.
Whatever tool or quick release we use to attach the wheel, we're gonna double check to make sure that it's secure. In this case, it's the tool, so I'm just gonna go back over and make sure everything's tight. If it's a quick release, you just wanna check the closing and release levers, to make sure that they won't come open easily.
We'll double-check the brakes for lever feel and for function. And you're ready to ride. If you had any trouble with the steps in this process, feel free to reach out to us at CYCLINGHELP@REI.
COM we've got a team of expert technicians, who will be happy to answer any of the questions that you might have. Thanks. Let's go.