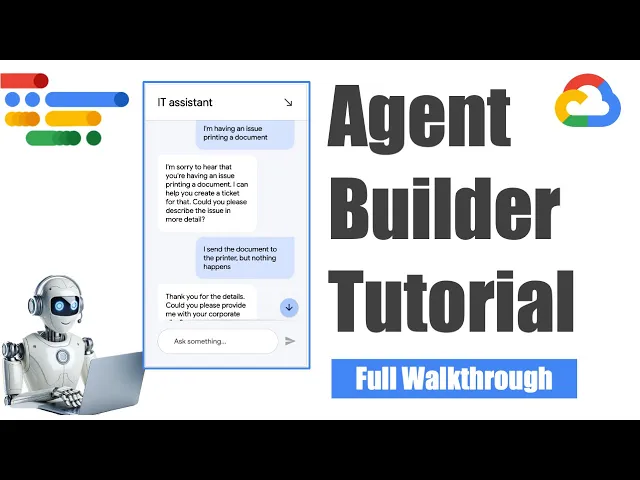
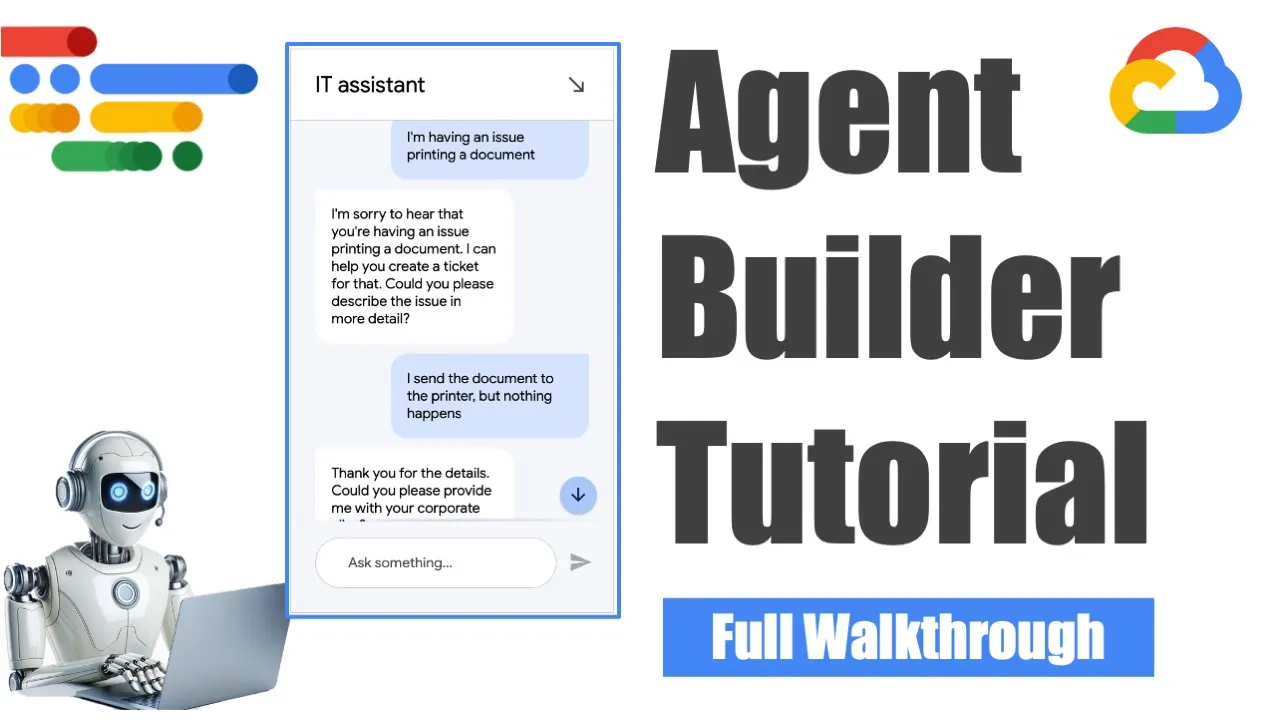
in this video I'll walk you through step by step on developing an agent using agent Builder on the Google Cloud platform this video is a bit longer than usual but by the end of the video you'll be able to create your own internal it assistant agent that looks exactly like this one or a similar kind of agent I will show you every step along the way from creating your app to configuring multiple agents that will talk to each other to setting up tools that the agent can use including API based tools and their store tools
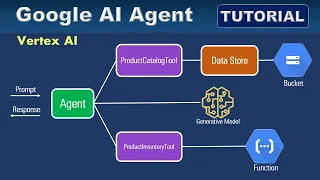
I'll also show you how to run code and Cloud function that the agents can use I'll share some best practices for agent development and I'll even walk you through setting up the right IM am permissions for your agent to work so what we're going to build is a multi-agent system where the default agent will determine if the user is looking for information in which case it will route the request to an info agent which has access to a data store tool or if the user is experiencing an issue it will route the request to a
ticket agent which has access to an open API tool so in short we have three agents but you could easily extend this with additional agents each agent having access to different types of tools you can create data store open API or function calling tools so let's get started we'll Begin by navigating to the agent Builder service on the Google Cloud console and we'll click on new app so here we'll scroll down to the agent app which is currently preview and we'll give this a name and we need to choose a region I recommend the global
region unless you have a reason to localize this so I'll click on Create and we already have here a vanilla agent we can even already start asking some questions for example I'll say hi and I'll ask a Google workspace related question and agent is answering uh web generative responses so this is working more or less like a typical generative a iBot but we want to do more interesting things here we want the agent to answer questions based on a knowledge base we also want the agent to Route some requests to another agent which will make
API calls so let's go ahead and save this agent and we'll create one new agent which will be the info agent and this agent's goal is to provide information about Google workspace here you want to keep your goals concise I'm going to save this and create my third agent which is the ticket agent with the goal of helping employees by filing an IT service TK ticket I'll come back to these agents later to configure them but let's create all tools so first I'm going to create a tool that is the data store tool which will
contain our knowledge base so I'll call it the workspace docs and you'll see why in a second it's a data store type tool we need to provide a description here and we need to create a data store I'm just going to save this first and here we'll be taken back to the agent Builder console to configure our data store that is attached to this agent so we need to give this a company name and we'll create our data store here the data store can be of different types I'll select cloud storage because I have a
couple of PDFs in a bucket here that we can use and these are Google workspace related documents they are unstructured documents now we need to give the data store a name I'm just going to call it uh the Google workspace knowledge and if we expand the document processing options here we can see a couple of configuration options the first is the default document parser and here you have three different types you can learn more about them in this link here so let's take a look and see a brief description of those three different types so
we got the digital parer which is on by default and it's basically a generic parser for different types of documents the OCR parsing works for PDFs that have images in them and the layout parser which is in public preview uh considers the layout of the document to create a smart chunking strategy this is by the way the documents that I have indexed it is only some simple um pieces of text here talking about Google workspace so I think it is more appropriate to choose the layout parser for this one I'll keep the chunk size limit
as 500 tokens which is the default and I'll check the box to include ancestor headings which helps preserve context when creating chunks from middle of documents now that our data store is ready we can select it and click on Create and with that our data store is just about ready it will take a while for the documents to be embedded in index so let's go back here save this tool and in the meantime I'm going to configure my second tool and this one will be an open API type tool this will correspond to a cloud
function which is going to execute my code to create a cloud function you can just click on create function select second generation give it a function name region the trigger leave it as https trigger and require authentication to keep it private and I'm going to leave this with the default values but you can configure the runtime here if you need more resources to your function so we click on next and here we can select the runtime so I'm going to go with a python 3.10 and here I'm going to right away paste in the contents
of requirements.txt so we have our Google Cloud libraries in there and here I'm going to paste in my code which by the way you have access to in the GitHub repo Linked In the video description we need to make sure that the name of the main method here matches the entry point in the cloud function configuration what this function does is that it takes a coroporate Alias and an issue as parameters and it calls a submit ticket method which will input that information into a fire store database just to kind of Mark some kind of
ticket collection or ticket creation system so if you want to do the same thing you do need to create a fir store database and in that database create a collection called issues that should be fairly straightforward to do now let's go back here to the function then we also have a categorized ticket method which will call a large language model to categorize the ticket based on the description really just so we have something to work with now I'm not actually going to deploy the function just because I have created it before with those exact settings
so let's go back here to agent Builder I'll give this tool the name of ticket logger and uh description that explains what the tool does and here we paste in the open API schema and you'll have access to this in the GitHub reple as well here you need to make sure the URL matches the functions URL and that the path here matches the function name now that should be enough for this U tool we can now scroll down here and and choose the authentication type I'll leave it with the default of service agent token and
then we can handle access via identity and access management so in the IM console click on R access start typing dialog flow here for the dialog flow service agent to pop up and give the role of cloud functions invoker if you have a first generation Cloud function otherwise give the role of cloud run invoker if you have a second generation Cloud function which runs on cloud run so this should be enough for um the IM permissions we can click on Save and let's go back to the agent Builder console and now we have our tools
ready and I'll just go back here to dialog flow to finish the setup you may need to refresh the page to see the data store configuration options after you created your data store and here we can select the data store we created under the unstructured documents type here we have configurations such as the grounding threshold I'll leave it as slow so that we get more responses you can select the company name the generative model used for summerization you can optionally even customize the summerization prompt but I'm not going to do that so I think I'm
happy with this tool I'll go ahead and save it and now we can go back to our agents and start configuring our agent instructions and to use so for that I'm going to switch over to another agent that I have created previously which includes those exact same agents and tools but I have already configured them here and you will have access to these instructions and goals in the GitHub repo but essentially our default agent is basically routing the request to one of those other two agents based on whether the employee wants information or if the
employee is experiencing an issue so we can specify these instructions in natural language here in markdown format and for the info agent the instruction is very simply to invoke the data store tool to find the information that may answer the user's question if no information is found then it will tell the user that it couldn't find that information it's an important instruction to include to mitigate hallucinations so that's it for the info agent and then finally the ticket agent will have instructions to first of all collect some more information uh for the parameters needed for
the function so that would be a detailed description of the issue and also the corporate Alias which serves as a unique identifier for the employee and then will invoke the function and if the execution is successful it will return the issue ID that it got from the function if not it will tell the user to manually create a ticket okay so that's our ticket agent and now we can start testing our agents here on the right side of the screen we have a simulation panel and we can choose the agent we want to interact with
I'll go with the default agent to test the entire flow already here so I'm going to start with a high and I'll ask a question related to Google workspace and here we can see that the info agent was invoked and that he used the data store tool to find an answer to that question so now I'm going to ask a follow-up question related to Google workspace as well I also got an answer from the tool and now I'm back in the default agent so now I'm going to say that I'm experiencing some kind of issue
here to see if it's going to route me to the ticket agent and it did so correctly and now the ticket agent is asking me for a description of the issue and my corporate Alias and now it's invoking the function hopefully and it did so and we can see here the parameters how the input to the function was set and what the output was and again the issue ID here is the fire store doc doent ID uh just representing some kind of ticket now here you can select different agent invocations just specifically see uh interactions
with that agent and you can save any one of them as an example which is something that you should definitely think of doing as it is a best practice to have examples to better guide the behavior of your agents I have already done so and saved a few interactions here one thing you want to make sure of is that the agent status is okay when when you want to conclude the interaction with that agent and go back to the default agent in your full interaction and then I have also examples of specific agent invocations and
ideally should have more than these and also ideally you should have examples for each of these specific agents which I haven't done here but you get the idea and the best way to create examples is to actually have a conversation with the agent select interaction and save it as an example that way everything will be PR populated and if you're getting wrong responses you can always click on undo action and and try again with different input or the same input to see if you get a different answer you can undo the action several times if
you want to you can expand the agent invocations here to see details that you may want to edit and you can also see here the tool invocations and what the output was and if you're not happy at all with the results you can always reset the conversation and try again once again here you can select the default agent but also any one of the other specific agents and have interactions with that agent if you want to specifically test that flow so for example if you want to test the info agent and how well it response
answers from the data store we can select the info agent and ask some questions here now I want to show you the settings that are available in the agent Builder console so here we have some basic settings under the general tab under loging we can enable Cloud login and conversation history which will log our conversations for us and we have the option to enable B query export if you want to send a conversation history there under the jni tab we have a couple more options here we can select a generative model to use and any
Bend phrases which are things the bot is not supposed to say I'm not really going to set any here and under the git tab you can set up git integration if you want to do continuous delivery of your Agents from a GitHub repository in the Integrations menu here you have a couple of options to publish and and integrate this chat with different products here the dialog phone messenger is the native um a messenger which is web based that you can use here you would need to set up an allaf authorization with a client and you
set up the client ID here you can do so through the Google Cloud console I'm not going to do this for this demonstration there are also other options here including messenger Google Chat slack to Discord and a few other uh products you can integrate with a as well now I'll share a little hack with you which is that if you go to the dialog full console and select your app you can click on publish and then here you have an authenticated API option if you want to quickly test this bot in a UI you can
optionally restrict domain access here but otherwise you get this unauthenticated API which you can try right away by clicking on try it now here or by copying this and basing it to some website for example from science. gole you can click on the embed option here embed your code and you'll have your uh little chat UI embedded in a web page that you can use here you can choose the title that appears in the chat window now you can size this any way you want and once you click on publish this will be available in
your organization and this could be useful for quick experimentation but ideally you would set up a authentication for your Bot now I want to share a couple of best practices for agent development and you can find them in the documentation so things like for example having quality instructions that are concise and straightforward having a couple of examples for different agent there's a recommendation of at least four here which is not one that I followed but ideally should have instructions that are precise and clear a tool schema should have the operation ID value there are a
couple of more good practices here related to how you handle tools there are also recommendation on instructions to handle mty tool results and how to mitigate hallucinations by saying for example you must use the tool to generate answers you want to avoid Loops in your agents as well now in the introduction video section of the documentation you will find some videos here that will explain some of the basic concepts what are tools what are the different types of tools some best practices and recommendations as well so recommend you follow these if you need a little
bit more in terms of exploring those different concepts and otherwise I hope this video was helpful in that you now feel able to create your first generative agent with agent Builder thank you for watching and let me know in the comments what you like to see next