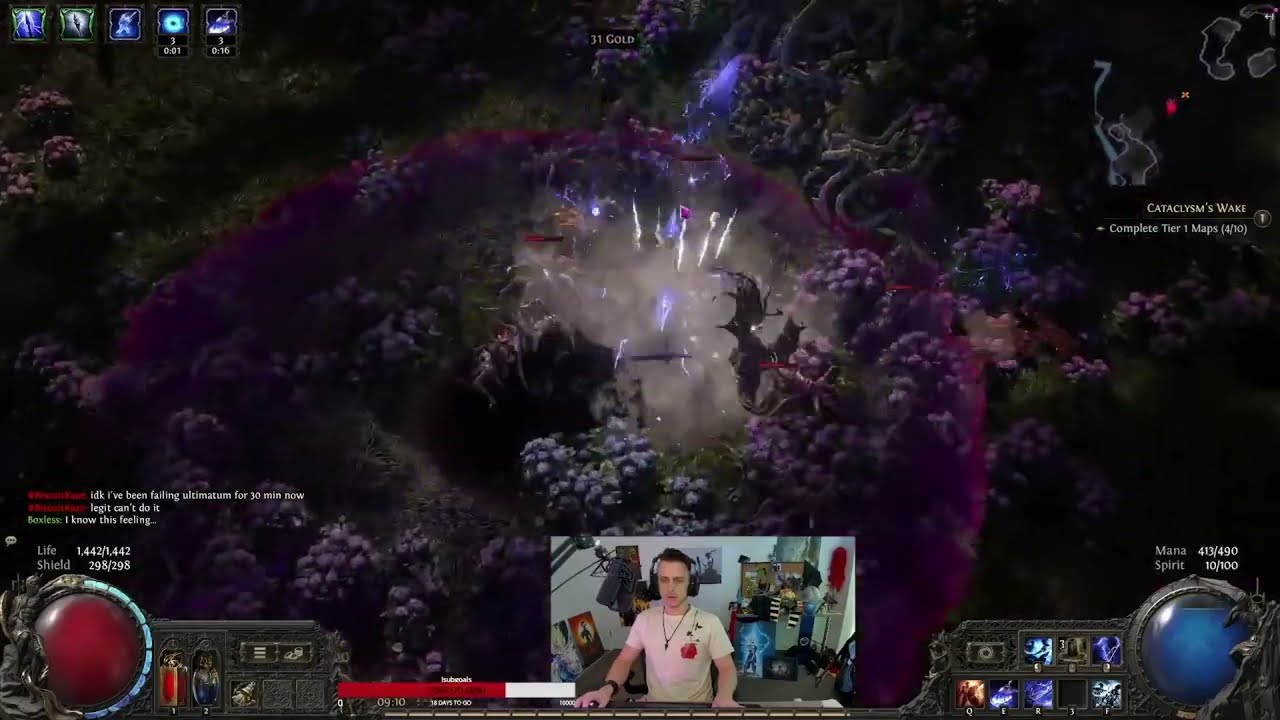
today Early Access of puff of Exile 2 finally released and I was able to reach maps on my storm R Sorceress in pretty much exactly 15 hours so a lot of people have been asking me what build I am playing and what was I using early on so today I want to give you a full storm leveling guide starting from act one to Maps using my cast on freeze Comet build so far the build has been very fun and it's very easy to play the way it works is you use Frost bolt which pierces enemies
freezing them and when enemies Frozen the metag gem called Caston freeze is triggered which procs Comet and comets just fall down the sky and obliterate everything on your screen but of course you cannot start with the comet you can get it towards the end of act three so first let's focus on how to play sorceress before you get comets starting with act one so in act one most of the areas were pretty easy with maybe few exceptions but uh you shouldn't have too many issues as long as you're leveling your gems and checking vendor for
the weapon and by the way this is one of the most important things every single time you level up you should go to the vendor and type skill and maybe also rare if you want to and check for the weapons because weapon is the most important upgrade and what you want to look out for is plus two levels of skill gems depending on which skills you are using and early on we are using spark so you should look out for plus two lightning skill gems and if you want to use uh one one-handed or two-handed
it doesn't really matter as long as you get more of it uh that's good remember that if you you you're you're using one-handed weapon you can also use focus and on Focus you also can get plus two skill jums so if let's say you get stuff two-handed with plus two skill jems or you get a one with plus one and focus with plus one it's basically the same thing it doesn't matter too much but let's talk about the skills so what was I using uh in act one so there is basically a tri that is
just everyone is using pretty much it is spark flame wall and frostbolt so spark is just your main damaging ability you're just going to cast it all the time but if you use flame wall the projectors about that pass through flame wall are dealing way more damage it's actually very very significant damage it's very important to do it this way and also if you cast flame wall on boss boss is also going to take additional ignite damage and the third scale is Frost bomb Frost bomb is just going to detonate after a few seconds and
while it is on the ground it is also applying exposure the minus two cold resistance to enemies but this one doesn't matter too much early on you mostly care about the damaging ability for the skills uh and supports what I was using is unleash unleash basically make it so every few seconds here you can see the counter so two it's going to actually be used three times but the first time is going to first skill is going to deal 100% damage and then the second and third one is going to do only 50% damage damage
which basically means it doubles damage of the spark as long as it says two so you use it it's zero now it's one now it's two and it's full again so you basically every like two seconds you have um basically double damage and the second support is control destruction just for additional damage so you are basically running around casting spark then waiting few seconds and casting again but of course you don't have to wait you can just cast constantly it's so fine then uh flame wall I was using with this with spell Cascade just so
that when you cast it there are going to be two more uh waves behind and in front so that when let's say there are enemies here and you cast flame wall but you are uh running away from them very often what's going to happen is flame wall is going to be cast uh like here and you're going to have basically more opportunities to hit enemies and the same thing if you are running after enemies you're going to move forward sometimes it's like kind of scaffed and it's being cast to the side but most of the
time it's going to be like this so when you're going to run forward is still going to have another clame wall and frost bomb is most important on bosses you can also use it for clear but on bosses you always want to use it on cool down so let's say this is a boss you always want to start with frost bomb flame wall and just run around cut spark and then Frost bomb on cool down recast your flame wall spark again Frost bomb just dodge around boss flame wall and basically that's your uh game play
then later on you can also add to your Arsenal orb of Storms and it's basically kind of like flame wall just short range you want to use uh Frost bomb uh orb of Storm Flame wall and again just run around Frost bomb just make sure to cast Frost bomb on cool down because when boss is frozen you have more opportunity to just deal damage you don't have to dodge ability so freeze is just very op and yeah that's basically our game play and to be honest you're going to keep this setup for a very very
long time what you can also do is is when you are fighting bosses you can swap the magnified effect on Frost bomb to concentrate effect and then on mapping you can swap back to magnified effect and I also was using glaciation for more freeze buildup so basically bosses are being frozen way faster orb of storms I didn't use any supports because to be honest I don't feel like I need to but if you want to you can use Arcane Tempo and maybe something like overabundance so you can use two orb of storms but it's also
a bit more annoying because you have to cast them more often and you have to cast them twice so you're are casting Sparkle less often so it is bit more annoying I I wouldn't do that I would just go for Arcane Tempo if anything and that's basically it I actually don't even know if this works for orb of storm because orb of storm is casting it itself let me actually check it I guess it increases the DPS yeah it does work now what about the passive skill Tre so what I would go for early on
is is go through this area just get some uh spell damage then go here and actually don't take this go here take lightning damage and then go here for these two points for just additional Cas speed and then go all the way to the left and take these additional damage when enemies are affected by ailments so this is just a lot of damage because enemies are always going to be either chilled shocked or frozen you're doing three different ailment types so it's always going to happen just remember here early on you take lightning and then
eventually you're going to swap to cold and this is the only swap we do in the entire build just swapping from lightning to cold now in act two I was still using the same setup so spark flame W Frost bomb and orb of storms I know that a lot of people are actually using some different setups like for example one of the more popular things is arc Arc is apparently pretty good I haven't tested it because to be honest the moment I thought of actually trying it out I was already thinking about stopping to CS
I was thinking like well what's the point and another option is frostbolt with ice Nova because you can cast ice Nova on frostbolt but ice Nova actually doesn't do that much damage it freezes enemies pretty easily but doesn't do that much damage so I also didn't want to go for it and one thing I have to say it doesn't really matter what you're going to end up doing act two is always going to be the hardest part of a campaign in my opinion at least for the storm Weaver who knows maybe there is actually some
kind of setup that people have still have not figured out but for now it looks like people are just struggling in this act and I also was struggling in here so what's the point where you actually start swapping to the cold skills so what I was doing is at the point where I was finally able to complete the trial so trial of Saka I actually would delay it I wouldn't do it at level 22 maybe go there at like level 27 or something like that so somewhere towards the end of act two so complete this
trial then on top of that you want to go all the way to the top on your tree and get this plus one to cold skills and probably even inescapable cold for freeze buildup and glaciation for some a cold exposure effect because when you get the ascendancy you're going to get this point scouring winds this is going to make your Frost bump apply additional minus 20 resistances so normally it applies 20 with this it applies 40 and then thanks to the exposure effect it applies even bigger minus two Elemental resistances and then you go to
the left side here and you apply even more so it's just crazy minus two resistances but yes to swap to cold skills I would 100% recommend getting your ascendancy your first point so the exposure getting this wheel and being around level I would say 27 maybe even higher and the last piece of the puzzle is getting your skills so what you want to do is you want to get frostbolt and cold snap I would say at least level seven skill gem so you will have to drop them or get them from quests and you want
to support frostbolt with scatter shots so you can shoot three Frost bolts instead of one and gation so you can freeze with frost bolt more often and cold snap you want to use with spell Cascade so it's being used three times instead of one and concentrated effect for more damage and you still want to use Frost bomb but this time with magnified effect and control this struction for a little bit more damage and then eventually once you get it you also want to use hypothermia for a little bit more extra damage and the way your
gamep playay is going to look like at this point you're going to cast frostbolt and then you're going to use cold snap on top of frostbolt and the way it works is cold snap has to be used either on fro bolt or frozen enemy when it's used on Frozen enemy it's going to consume that freeze and they'll damage or it can be used on frostbolt and then just detonate that frostbolt also dealing damage and basically just to show you this is how it's going to look like you're going to cast it and detonate and that's
basically it so it's very simple gamep playay it's kind of small clear I'm not going to lie it's not that amazing but you're going to freeze enemies more consistently than you were before because previously you would do that only with frost bomb and when there are some tougher enemies you're going to also use Frost bomb and then the same thing and remember Frost bomb is applying exposure because you have your ascendancy it's going to be crazy amount of damage so make sure your Frost bomb is also always up when you are fighting tougher enemies and
I wouldn't expect anything crazy for from this swap it's just you want to swap to one type of element as fast as possible so that you uh have more things to go for on the tree like for example going for these cold nodes and these cold noes if you are a little bit of fire with cold a little bit of lightning it's a little bit harder so I would recommend um just going for cold at this point immediately so that you you just focus on cold you don't have to worry about anything and yes it's
not going to be that amazing you're probably going to still struggle especially with the uh last Zone called called the uh dread note dread note is probably in my opinion the hardest area in the entire game like enemies are just crazy if you're going to struggle maybe try to get better weapon maybe level up a little bit somewhere is you're probably just going to die a lot try to clear it very slowly and then eventually fight V boss and boss also is uh very hard but if you are able to finish act two you're finally
going to reach act three and this is where the fun begins because this is where we get cast on free and to get it you have to go to the aak bog and then kill the boss the IGN do the bog witch and you're going to get 30 additional spirit and you're also going to get the spirit gem which is going to let you take the cast on freeze and remember when you get cast on freeze you can put a skill in here so we're going to put cold snap and we're going to support it
with Spell echo and you have to activate it so you have to right click it then it's going to be activated it's going to work you can deactivate it here and so on it's just going to consume 60 spirit so like I said we're going to use it with cold snap and Spell echo so it's going to be casted twice so now you no longer have to use cold snap now you can just run around spam a frostbolt and when they are going to be enemies just to show you the cold snap should be used
automatically maybe I'm actually going to kill enemies here uh too fast so maybe they are not even going to get frozen forun I cannot find anything kind of unlucky okay here it is and yeah you can see these are being automatically detonated so that's how it's going to work on top of that you still use the uh Frost bomb so it's basically the same thing magnified effect but now you can use strip away which is going to increase the effectiveness of the exposure on Frost ball still still gation with scatter shot and another addition to
our Arsenal is Frost wall which is we're going to use with spell Cascade and icicle so the way Frost ball works is you're going to use it and it's going to spawn these crystals and these crystals detonate after you deal enough damage to them this is why you want to support it with icicle because icicle make it so that they have less life and also eventually on the tree you go for the shter crystal which is going to make them have even less life so this way they are easy to shutter and they're going to
deal damage around the crystals when well they are detonated on top of that when you spawn the frost wall on some kind of big enemies so for example bosses some of these crystals within the frosts are going to instantly detonate without even having to damage them which is very very good for bosses and it this is actually going to become your main bossing damaging ability so the way you're going to start the fight is you're going to use Frost bomb then the frostbite after that Frost wall three times because you can use it three times
and then just spum Frost bolt to just deal damage but I actually would recommend remove cast on free so deactivate it when you are fighting bosses and just fight bosses with frost wall and just regular frostbolt and that's basically it and frost bomb just Frost bomb Frost wall frostbolt without cold SN because if you use cold snap you're going to remove freeze from the bosses which is actually kind of annoying you want to use Frost walls and then if boss is still frozen just wait for fro will cool down and you can just deal damage
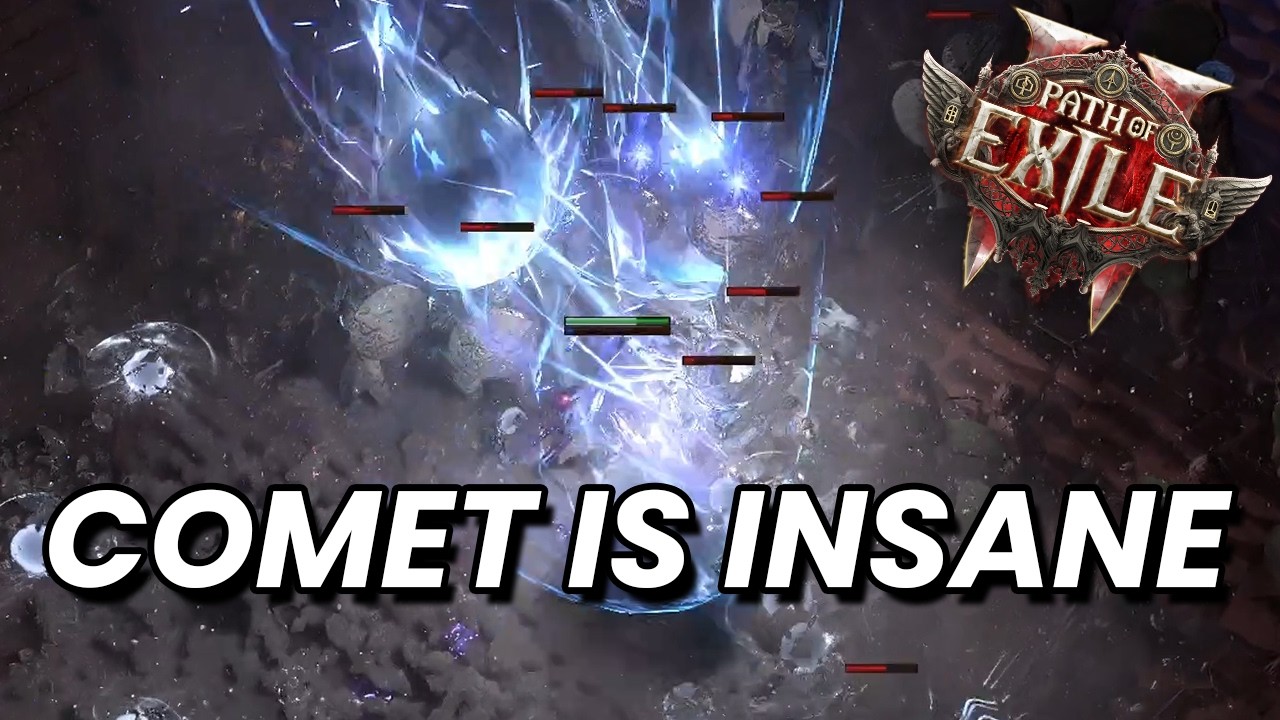
to boss again and then towards the end of act three when you're going to get skill gem level 11 you're finally going to get comment and at this point swap is actually kind of simple you just get Comet and remove the cold snap and you put on Comet instead and that's basically it and now when you're going to freeze something comet is going to spawn instead of the uh frostbite instead of cold snop so now you're just going to do something like this just to show you or some enemies again just freeze and comat it's
going to just deal damage and because you're supporting with it with Spell echo there's going to be two comments every single time but this is actually not that insane for bossing because you're not freezing bossing bosses too often so you're still actually going to deal most of your damage to bosses with frost wall so rotation is going to be on bosses like on clear when you're going through M you're just going to use Frost bomb occasionally Frost bomb or where there's some big enemy some or something you can use Frost B but very rarely most
of the time uh you're going to just use Frost Bol but on bosses you're going to uh spawn the frost bomb hypothermia then walls one two three and then just Spa Frost bolt and this time you actually don't need to remove cast on freeze because you actually want to spawn comat because combats actually deal damage unlike the call Snap where it removes freeze the comet does not remove freeze so it's actually pretty nice to have additional comments but what I also like to do is at this point once you get another level 11 uh skill
gem you can get second Comet and what you can do is you can uh put it separately and you can also cast it yourself so not only you cast it on freeze not only use Frost W but when everything is on cool down you can also use Comet and you can use comet to actually destroy the uh crystals of the frost wall so what I support it with is The Hourglass and then inevitable uh critical so that it becomes cool down but it deals more damage because you don't care that it's cool down you only
use it from time to time anyway mostly on bosses uh so it's just a lot of damage and because you are using it very rarely you get basically 100% chance for it to be uh crit and then eventually when you get the lesser Jeweler orb which gives you additional sockets and that's by the way how do you how you get the additional sockets you need lesser Jewel or which drop from act two very rarely but they do drop eventually you get super critical once you get the level three support you put it on the comet
and that's basically your uh second Comet setup and now finally let me show you what I was using when I finished the campaign and reached the end game so again cast on freeze with Comet with concentrated effect and impetus impetus is pretty important because it actually allows you to use Comet every single time you freeze something you need to combine it with one point of energy if you don't have it just impetus itself is going to give you 96 I believe energy with ever freeze and you need 100 so you need just one point you
don't need any of these points so uh you need to use it and get that one point and this is basically perfect setup for the second comment again our glass inevitable crit and super critical but later on what I also added is third Comet because you can never have enough comets so what Elemental invocation does is every time you freeze ignite or shock you get stacks of Elemental invocation and then you have button in here and usually when I have 500 energy which means you have four casts you can use comets and it basically is
casted four times and use a lot of Mana you have to actually spam a lot of Mana flask when you're playing this build and stacks a Mana region because it's Mana heavy build but it deals a crazy amount of damage and the best thing about it is just it's very good for rares so you have cast on freeze for just regular enemies whenever you encounter some kind of rare or some kind of tough enemy you just use AAL invocation and usually you just ones shot them and you have Comet additional one just for bosses you
can actually remove this one but why not I don't have really anything else I would be using at this point so Elemental invocation I'm using Comet with Spell echo and with capacitor because it gives you more energy so you can use more comets at the same time I decided to use Pelco here instead of the C on freeze because I actually didn't feel like I need more damage on C on freeze most of the time just single comet would kill all of your regular packs so I removed it if you don't have that much damage
you can actually use Spell echo here and also for Elemental invocation you're going to need some additional spirit and if you're wondering where do you get the last spirit you do get 30 Spirit from the act one when you do the king of the Mist then you get additional 30 when you get the cast on fre with in the act three the the aak book and then at the act three on cruel difficulty again at the aak B when you kill the boss you get additional 40 spirit so you end up with 100 so if
you want to use custom freeze and Elemental invocation you need a little bit more energy and I have it from the chest which gives me 50 but it's actually easier to get it through the amulet I actually dropped a few amulets with Spirit uh that pointed that yeah that are usable for this build and I was actually thinking about doing it but I have a good amulet with a lot of attributes and you need a lot of dexterity if you want to use Elemental invocation so attributes are pretty good for frost B still scatter shot
with glaciation and I added control destruction just for more damage so it's actually easier to freeze and frost bomb with magnified effects trip away and considered casting just for a little bit more damage and frost wall with spell Cascade iicle and now cold Mastery just for a little bit more damage it's actually not that amazing but I'm running out of supports to use I have no idea what I'm going to use if I'm going to have five or six links then hypothermia with persistence and heightened curse just for a little bit more damage and I'm
also using in my weapon swap I'm using two one-handed Hammers and I'm using leap zom just for a little bit of movement it's nothing too crazy but it also helps when you are stuck when there's like a big pack of monster around you and you cannot move it actually helps a lot for my gear I am using actually the most important thing is using the flasks you want to have uh as uh best flask as possible so you can just recover your Mana preferably you have uh prefix with increased amount of recovered suffix doesn't matter
as much but reduce charges per use is pretty good and on your lifel you want to have percentage of recovery is applied instantly it also helps a lot when you are getting hit a lot you just Spam your life L and yeah you recover instantly your life for a weapon I actually got this towards the end of campaign I got plus six to c spell skills then I Regal critical uh strike chance and then I exalted uh fire and cold damage is actually very very good stuff I would actually prefer to use one hand and
focus at this point because Focus gives you energy shield and I'm planning to swap to energy Shield soon but this is good for now on helmet just some life attributes resistances gloves I actually want to remove them but they give some freeze buildup it's pretty good but nothing too crazy so yeah I'm going to remove them chest again just for the spirit and redu Mana cost is also decent uh amulet for some attributes spell damage and a little bit of Life Rings same thing attributes resist life attributes resist life or here I have just resist
boots movement speed and resistances these are actually pretty bad but I'm using them for movement speed and Bel again life attributes that's basically all of the other items for V charm I actually swap them a lot depending on which zone I'm doing if I notice that there's a lot of freezing enemies I'm putting on the freezing charm if I am getting stunned I'm using this one and so on and so on now the biggest issue of this build is defense right now I do have 1.2k life but I actually don't have almost any resistances I
have almost no armor I'm actually dying quite a lot so at this point my biggest plan is going to be swapped to energy shield and speaking of energy Shield let me show you the final three so I talked about going for this cluster when you are around act two because you want to swap to cold skills and after you get these points you want to go for exposure here and the climate change for some additional freeze buildup and freeze build up is very important because of course you want to freeze with single Frost bolt preferably
and you get some additional damage against Frozen enemies then after you get these points and uh the top three you want to start moving towards the right to get the shuted crystals so that it's easier to shutter the uh Frost wall then you don't want to go here yet you want to go to the right and you want to take this energy node and then go for invocated efficiency and after that you get the thin ice for some additional damage against Frozen enemies and freeze buildup you don't want to go for for heavy Frost because
we don't need to penetrate uh well ignore resistances because we are already applying exposure so it doesn't matter that much and then here some mon regeneration is pretty good and at this point I start to go for energy Shield because I want to swap to es so I went for these points I needed some attributes so I took these because I'm probably going to go here and this dexterity and intelligence and strength you don't have to copy them exactly just take whatever you need remember you can respect them so if you need a little bit
of strength change intelligence to strength you need deck change it to deck and so on it doesn't really matter what you go for and yeah that's basically the tree for the ascendancy the second one and I went for the arcan sword I'm still scouring winds and when I get the third one I'm probably going to go for shaper of Storms and remove Aran s I'm wondering how my Mana is going to be looking like but I guess we'll have to manage so yeah the build is pretty fun that's what I um did so far my
next step is going to be swap to energy Shield so I don't die as much damage is pretty good clear is pretty good we only need defense so once I reach that hopefully build is going to be very good and if I figure out what I'm going to do with it later on I'm going to make another video so that's going to be it for today and see you next time





![[PoE 2] Get All Of The Permanent Buffs During The Campaign In Path Of Exile 2!](https://img.youtube.com/vi/vKEa9M2X4ng/maxresdefault.jpg)