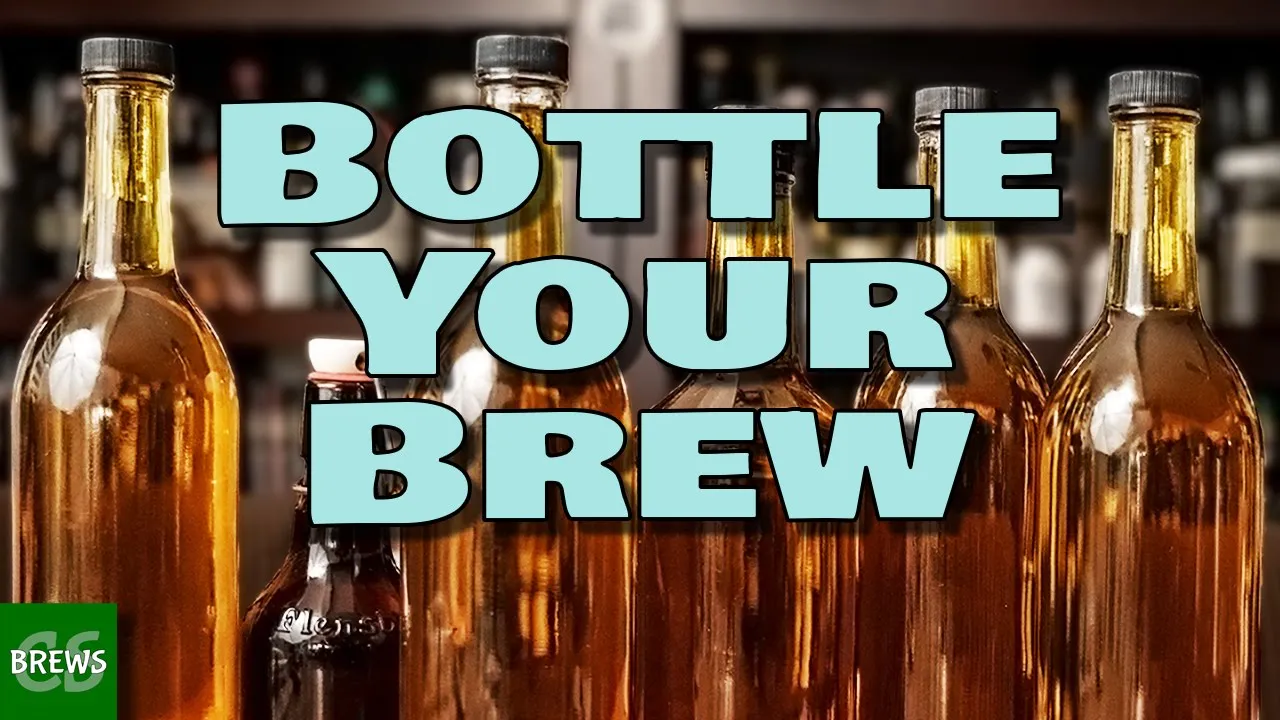
so you made your mean your wine your Brew whatever it is and now it's time to bottle if you don't know if it's actually done we have videos on that but let's just assume for a moment it's done it's ready it's been sitting you just want to get into bottles so you can share with your friends put it on a shelf or consume it so the first thing that we want to do is this is in a fermenter and there's probably some leaves in the bottom here that we don't want in our bottles you could
skip this process and just go right to bottles if you want to but we're going to Rack it to a pitcher first this does two things first as I said gets you away from that lease so that you know that everything in the picture is clean and second it gives you a measurement so that you know how many bottles you're going to need so we're going to Rack this right now to the picture but this video isn't about racking it's about bottling so we're just gonna go so after racking we have about 3 400 milliliters
which is a hundred and eight ounces weird in America bottles generally come in milliliters unless they're beer bottles then they come in ounces I don't know why we happen to have a one liter bottle and a couple of 750s now three 750s and one one liter comes to about 32.50 which is 150 less than what we got so we might have just a teeny tiny little bit left over but when it comes to bottling your bottle choice is important this is not carbonated this is what's called stilled okay because it doesn't have any carbonation in
it if we were carbonating we'd have a couple of different things to consider we want to make sure all of our bottles can hold carbonation so straight right there yes so this bottle we know is pressurized for a carbonated beverage because it's a repurposed bottle that originally held a carbonated beverage yeah it's it's the Aldi bottles that have the free lemonade yeah yeah so these are our favorite sweet larger size bottle goals so hopefully you have an Aldi near you and you have access to these these seals are amazing they're going to last a long
time we we love the swing top bottles because they're reusable and there's no waste you also can purchase the new rubber steel parts in case they mean these last few years so you can get Replacements now this is a store-bought swing top that are one liter and we find that they actually don't seal as well as the ones we get from Aldi if you look at the metal on the Springs this is a little weaker than this now you might be looking at this going are you sure that's one liter yes it is it's just
a little bit bigger because one liter is only 25 bigger so but whatever it holds 250 mils more so our next bottle here is our Plastics top 50 numbers not my friend um this is something that we get from Amazon I'll put a link in the description below I love these bottles this is our favorite wine style bottle but it just looks like a real wine bottle they do have the gasket inside so it is a pressure we reuse the Caps no problem as they are just clean it out re-sanitize and reuse our final bottle
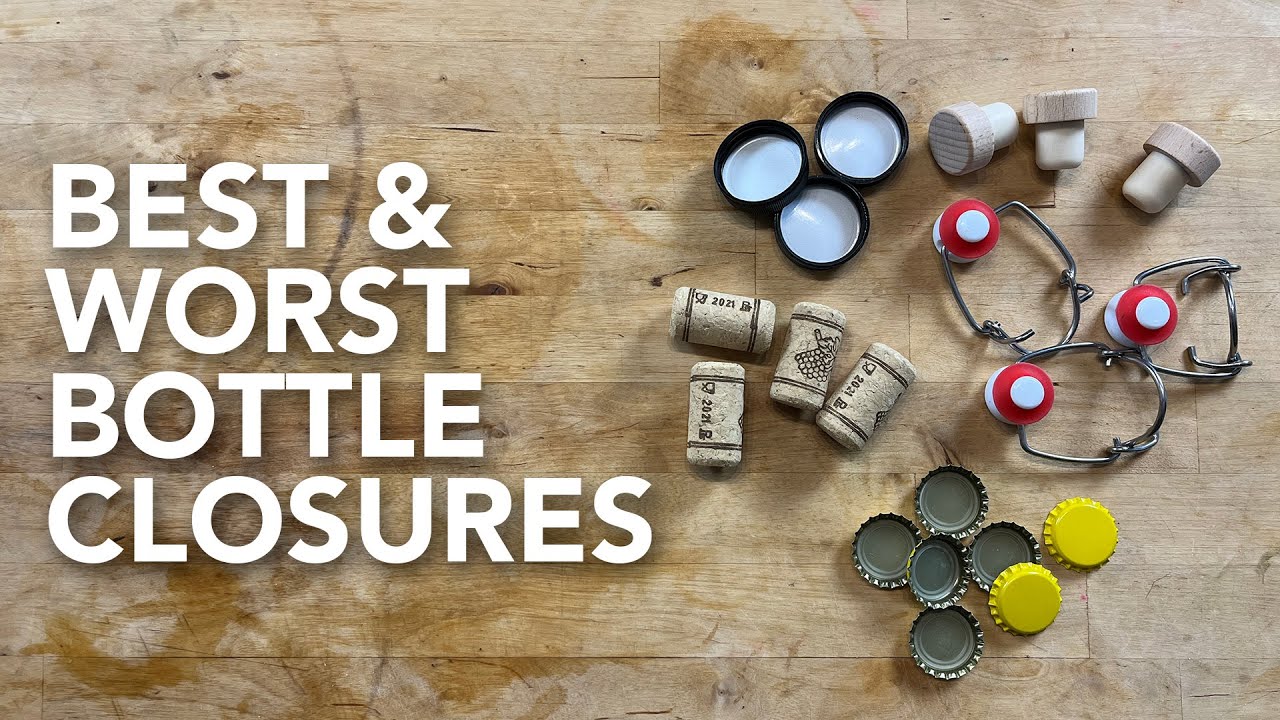
here is actually a repurposed Scotch bottle now this is a screw top bottle yours doers oh it's doers there you go I didn't even know I bought doers anyway our tops as long as they have enough threads and that they will reseal some of them are a little chintzy so keep that in mind when repurposing a bottle we've also found that the cork style bottles even though they tend to be more pretty and aesthetically pleasing the cork is really difficult to reuse now you can get new corks come over again and that's fine um the
problem is that the the moisture and the ingredients can retain in the porous cork structure and therefore create a mold situation and you definitely want to avoid that right so those are our four styles for this type of beverage that we would recommend basically for this because it's non-carbonated we could do all of this bottle and be perfectly fine a word about longevity on these my trust for longevity is these two bottles right here that's how these will go three years without a problem and trust me you really don't want Homebrew to go much past
three years because it starts to either even off or downgrade slightly at about that point in most cases your mileage may vary but I find this bottle and this bottle to be my favorite this one would be next and this one because it's a reused screw cap probably my least how long would I let these go I don't know probably until I start seeing it oxidize a little bit or something and then I'd worry about it but I if I had a choice to pick one of these four to drink first it'd be this bottle
right so in this scenario these are going to be our long term storage bottles and these are going to be our drink sooner exactly and on our Channel what we do is we store one for one year one for two years so there's our one and two here right there and then the others we drink them probably within the next few months so that gives you an idea now as usual and you can tell by the foam that you can see in this bottle all these have been sanitized and sanitization is equally or medium more
so important at this stage than throughout the rest of the process this picture was sanitized before we racked into it everything here has been sanitized our hands everything two more pieces of equipment that you're going to need are the auto siphon like what we used for racking so you probably already have one of these if you've ever racked before and a bottling want now the bottling wand has this little thing at the end it's just a plastic tube stiff tube with a springy thingy at the end it's also called a stem valve I always call
it a springy thingy just because it's easier and more fun some of them have Springs some of them are gravity feed try to get one with a spring they're like seven dollars or eight dollars they're not expensive at all so definitely makes this a lot easier and I'm just gonna jam it onto the tubing only about a half inch or so just enough that it won't come off unintentionally but I can take it off later so that we can use this siphon for other things so a little trick that you need to keep into consideration
is that you have two people Brian's breathing as he was talking about is what is going to stop or allow flow to occur so you need to depress it to engage that screen won't start and you'll be pumping that way it'll be open and available to flow before you start right your your pump on your auto siphon or you're just going to have a big giant mess the other thing is you want your your source to be higher than your destination so she's just going to lower that bottle I am going to take the protective
cap off here because we wrap this already we know there's no gunk in the bottom or shouldn't be or it hasn't had time to settle yet so that's perfectly acceptable to do here so we'll have minimal minimal loss and the last little bit I usually just pour it in anyway and then I'm going to go all the way to the bottom and get it started you want to get it started with as few Strokes as possible to ensure you get as little oxygen into the brew as possible as you're racking it so another thing that
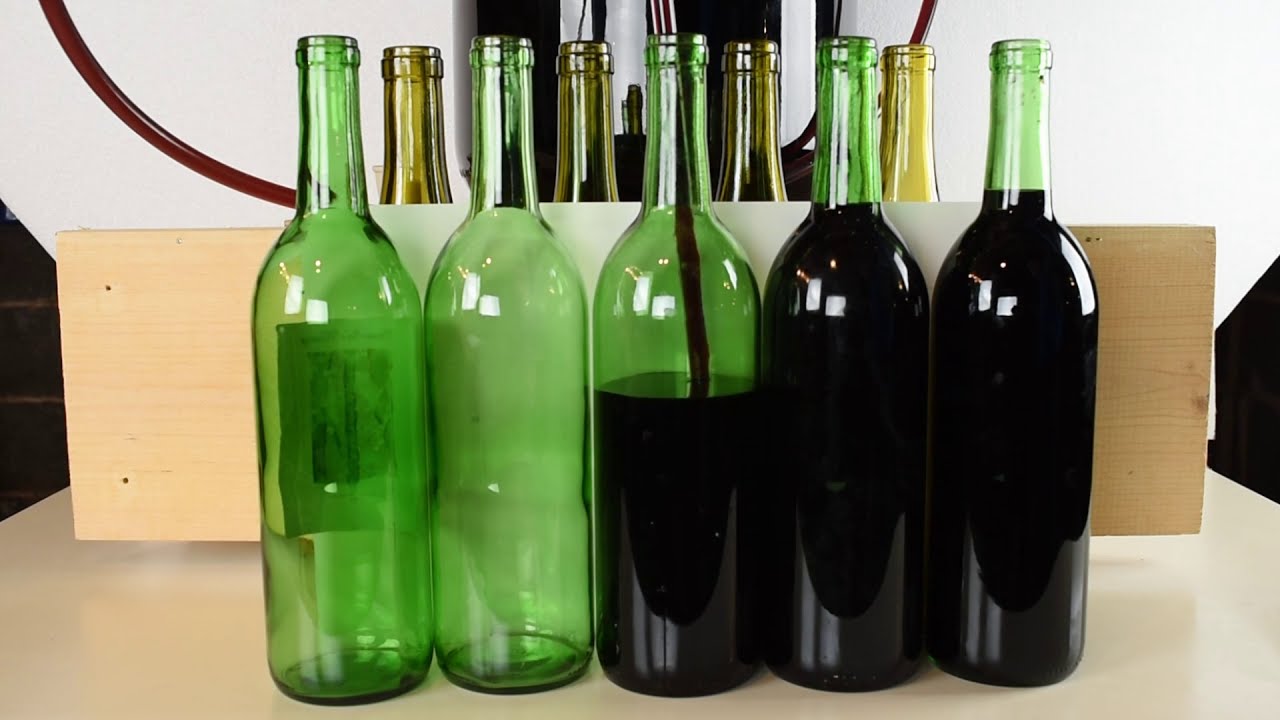
we need to talk about that's going to be slightly difficult because of how I have to hold this lower is when to stop when to pull the plug as it were don't worry I got a plan okay okay this is what I call the crotchler mesh method of racking and bottling what I'm doing is I'm holding two bottles okay they're in my lap so I have my legs to help control and I just put a towel there in case and I have one of them pushed down filling it up as you can see the liquid
is coming up if you're using colored bottles this is a lot harder to do but in clear bottles this is great and I'm filling it I'm filling it I'm filling it it's almost there don't freak out it's almost there when it gets to right there I pull it out drop it into the next bottle now before I start filling that bottle I put this bottle up on the table and try to seal it with one hand or have someone else do it for me grab a second bottle have it ready to go and then push
down and start this bottle and just wash rinse and repeat until all of your bottles are full sometimes when you get towards the bottom you have to lift the pitcher up to get it to flow a little bit faster otherwise you could sit there for quite a while or lower the bottles more because I'm using this in my lap makes it a little bit complicated so we just lift it up okay so one other thing that I want to talk about is order of bottling we bottled our most secure bottles first now if you're using
all identical bottles that really doesn't matter so we ended up with the last bottle being that one that's got the possibly dodgy cap but I don't think it's actually dodgy but we have a little tiny bit left at the end and it's not totally full so I'm going to use this pitcher and this is another reason why I love this picture if you watch our videos you see me talk about all the time I can pour very accurately and carefully and it was only a little bit but I don't mind pouring into this bottle because
this is going to get consumed first so is that enough to fill the bottle and leave it for years no I don't think so but is it enough that I can put that on the shelf and drink in the next couple weeks absolutely so there's our four bottles the next step is labeling which that's a whole other video but technically we just use masking tape and a Sharpie and just put the pertinent information but anyway that's the basics of bottling thank you so much for watching and have a great day bye