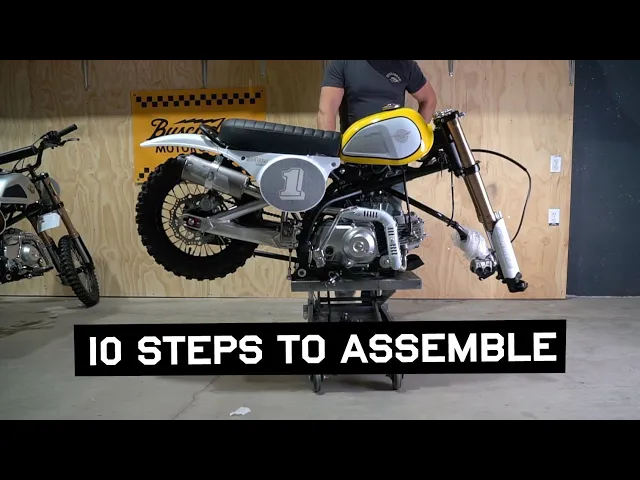
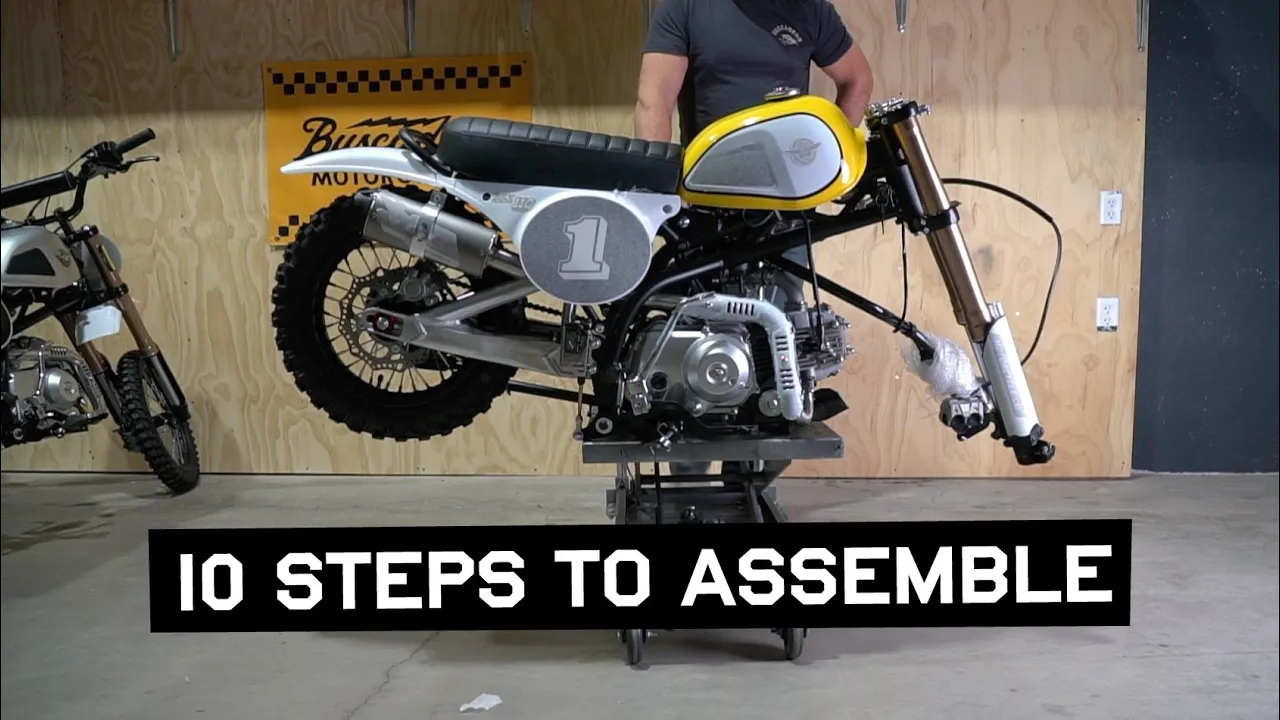
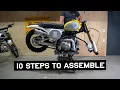
[Music] hey this is Mike with muscadero motorcycles uh really excited that you've got one coming in the mail when you get it it'll come in a crate and it's easy to put together but there's a definite order and a few tricks we've learned so why don't you follow along with me and we'll get started right away all right you'll start by cutting away all the cardboard and packing materials inside you'll find everything secured with wire and zip ties the bike will be packed inside a metal crate you'll just need a 14-millimeter socket to take it
apart keep in mind yours might look slightly different in the way that it's packed every batch might be different but the core process should still apply either way if your gas cap is locked use one of the keys that comes in the ignition to unlock it then you can remove the protective film and put the cap back on so nothing falls into the tank in order to get the bike off the crate you need to remove the axle Bolt start by using a five millimeter Allen wrench to loosen up the axle clamp then remove the
nut on the axle and pull it through but keep in mind there are two spacers that will fall out so make sure you put them both back on the axle and set the whole thing aside in a safe spot for later once you've cut the wire on the rear wheel and freed everything up you should be able to lift it off the crate this whole process will be a lot easier if you can get the bike up on something if you don't have a bike stand like this you can use something like a milk crate
a Yeti cooler whatever you can find in the garage to get the bike elevated for the next step you'll need a six millimeter Allen wrench and a 13 millimeter socket to remove the handlebar mounts for shipping they install them underneath the top part of the triple clamp and you'll need to remove them and place them on top for your handlebars so now you just need to free up your bars and it's important to do this very carefully the wires feeding into the starter button and the kill switch can be pulled out if you tug too
hard on them so if you set the bars down make sure the tension is on the throttle cable not on the electrical wires so now you can place the mounts on top of the triple clamp set the bars and Slide the bolts into place and fasten the nut from underneath once you start tightening them down keep an eye on the gaps in the clamps and make sure you're tightening them down evenly and as far as the angle of the bars we usually like to start out in line with the rake of the forks and then
adjust them from there if you need to also make sure the bars are centered in the clamps before you tighten them down all the way all right let's move on to the front wheel for shipping they temporarily Mount your brake caliper using one bolt remove that bolt and let it hang for a minute grab your axle and pull the two spacers off there should be a big one and a small one these spacers are crucial for getting your front wheel to fit if they're on the wrong side you won't be able to get your wheel
on right place the small spacer in the side of the Hub without the disc and place the bigger spacer obviously on the other side with the disc brake then hold the wheel in between the forks and align the holes as closely as you can then slide the axle through it might give you a little grief but if you wiggle and move everything around till it aligns it should push through eventually fasten the nut on the threaded side and then grab a 10 millimeter Allen wrench and a 19-millimeter socket and tighten it down then grab your
five millimeter Allen wrench again and tighten up the clamp bolts now we're going to install the brake caliper there's a plastic spacer in between the pads that needs to be removed just pull it with some pliers and it'll come right out and make sure the gap between the pads stays open before you install it we like to use some blue thread lock on these bolts just to make sure they don't vibrate loose now just slide the disc in between the two brake pads and fasten it with the bolts there's a cable mount on the left
Fork guard that you can loosen up insert The Wider section of the brake cable into and then tighten it back up make sure it looks similar to this now we're going to connect the swing arm to the shock keep in mind there are bushings in both the shock and the swing arm that could fall out so make sure you don't lose them for this you'll need a 13 millimeter wrench and a 15 millimeter socket just lift the swing arm up into the shock and fasten it with the bolt and nut then crank it down nice
and tight now we need to take off the seat to get access to the battery you'll need a six millimeter Allen wrench to remove the two bolts below the seat through the side panel access holes remove the bolts then pull the seat back and up now you'll see your battery remove the rubber Fastener strap and pull out the hardware place the nuts inside the terminals on each side then you're going to connect the red wire to the red terminal and of course the black wire to the black terminal then slide the rubber caps over the
terminals tuck the wires down nice and tidy into the frame and then take your last line which is your tail light connection and place it towards the back until your tail lights ready to be installed and here's your tail light this part is optional you can leave it off if install it underneath your Fender at this Mount one thing to note is that in production the plastic mold overlapped the threads by just a hair and it'll make it a little difficult to get the bolt started so you might want to take a blade like this
and cut away the excess plastic first then use the three bolts that come with it and a four millimeter Allen wrench and fasten it to the rear fender then take the lead and feed it through the holes toward the battery then you'll want to connect the green wire to the green wire and then connect the yellow wire to the block wire once they're connected you can turn your key and make sure that the light works if it's all good you can replace the rubber strap to secure your battery now you can put your seat back
on you just need to slide this bracket underneath the tank so it catches foreign and then replace the two bolts through the side plates to secure the back of the seat now we can install the front fender you'll need a 10 millimeter socket to remove the three bolts underneath the triple clamp since you're against the plastic don't tighten these ones down too much just get them nice and snug now let's do the headlight it's mostly just fun and easy stuff from here on out just mount it face down using the four bolts included peel away
the protective backing make sure the wires and cables are tucked away and remove the two Bolts from the front plate bracket then insert the two posts on the bottom of the front number plate into the two holes on the bottom bracket then secure the top of the number plate to the top bracket using the Two Nuts and Bolts that were there again not going too tight on the plastic the headlight feed is already mounted right onto the frame near the steering stem so you just need to plug it into the one coming off the headlight
it's pretty simple then you can turn the key on again to test it this is an optional spark arrestor that comes in your parts box if you're riding in a dry climate where there's a high fire hazard you can install this as a safety precaution it also makes it quieter which is good if you're riding around the neighborhood however it does sound and perform a lot better without it just slip it into the silencer and use the set screw to hold it in place then replace the cap look for your handlebar pad in the parts
box and slide it onto the crossbar and then put the cover on one of the foot pegs needs to be installed there's a cotter pin that you need to straighten out with a pair of needle nose pliers and remove then pull out the pin and place the spring on the peg and back into the bracket then slide the pin back through the hole and replace the cotter pin where it was and then just bend it back to keep it in place make sure the peg freely moves and springs back in place now cut off any
leftover zip ties and remove all the backing paper from the decals depending on when you ordered you may or may not have to install the badge and rubber knee pads on the tank they're just a peel and stick but make sure the badge is in the right spot before you stick it down so that it lays completely flat all right this is a good time to look everything over make sure your brakes work make sure you tighten every nut and bolt check the chain tension if everything looks good then it's time to drop it down
and put some gas in it this isn't a two-stroke so you don't need pre-mix but we recommend using premium gas your bike will run so much better on the higher octane once you've filled it up look for the petcock valve all the way up is reserve in case you run out of gas horizontal is off and down is on it's a four stroke so you can leave the gas on most of the time this is the choke you need to lift it up in the on position whenever you're starting the bike once it started push
it back down in the off position before you run now that it's all put together and we're excited there's just a few things to remember you want to check that your your brakes are working back in front we've checked all the nuts and bolts that you messed with make sure everything's tight the starting sequence on these bikes is really easy first you want to do is is turn it on right here and that's obvious when that's happened because your headlight and tail light will come on the these bikes like to be choked when they're cold
so pull the choke on like that turn your gas on and the starter button is the gray one right here the red one right here is kind of your little emergency kill switch you need to turn it off quickly you want to remember to always turn the key off and not just turn it off here so they don't kill your battery a couple of things also to remember is this is a brand spanking new motor it needs to break in a little bit you also it takes a second for the gas to go in here
and fill up this little float Bowl so that takes a minute so don't be alarmed if it doesn't start right up immediately the break-in for the motor is really kind of important you don't want to do high revs or work it too terribly hard until you've run a tank of gas or two through it once you've done that then have at it start button there we go all right on these semi-auto bikes it's important that they don't idle too high because you don't have a clutch you're pulling in so you don't want it to idle
high but if you do need to turn your idle up just a little bit it's that knob right there don't even need a screwdriver you can just turn it up a little like that you can hear it idle higher down a bit that's about right right there um you don't want to take off on you when you click it into gear so keep keep vital about right there we are so excited that you decided to try one of our bikes we think you're going to have a blast with it we personally have had so much
fun with ours now if you have any questions don't hesitate to give us an email or a call if you have questions uh have fun