hey Ash here from Elementor today I'm going to teach you how to save time when launching campaigns on your online store and then teach you how to Showcase them on your home page in a beautiful carousel how will we do this well I'm glad you asked and the answer is with loops [Music] explore waterloop is and then learn how to use a loop Carousel to display our campaigns effectively a loop is a template type that dictates the appearance of repeated content such as posts products or other custom post Types on archive Pages or other sections
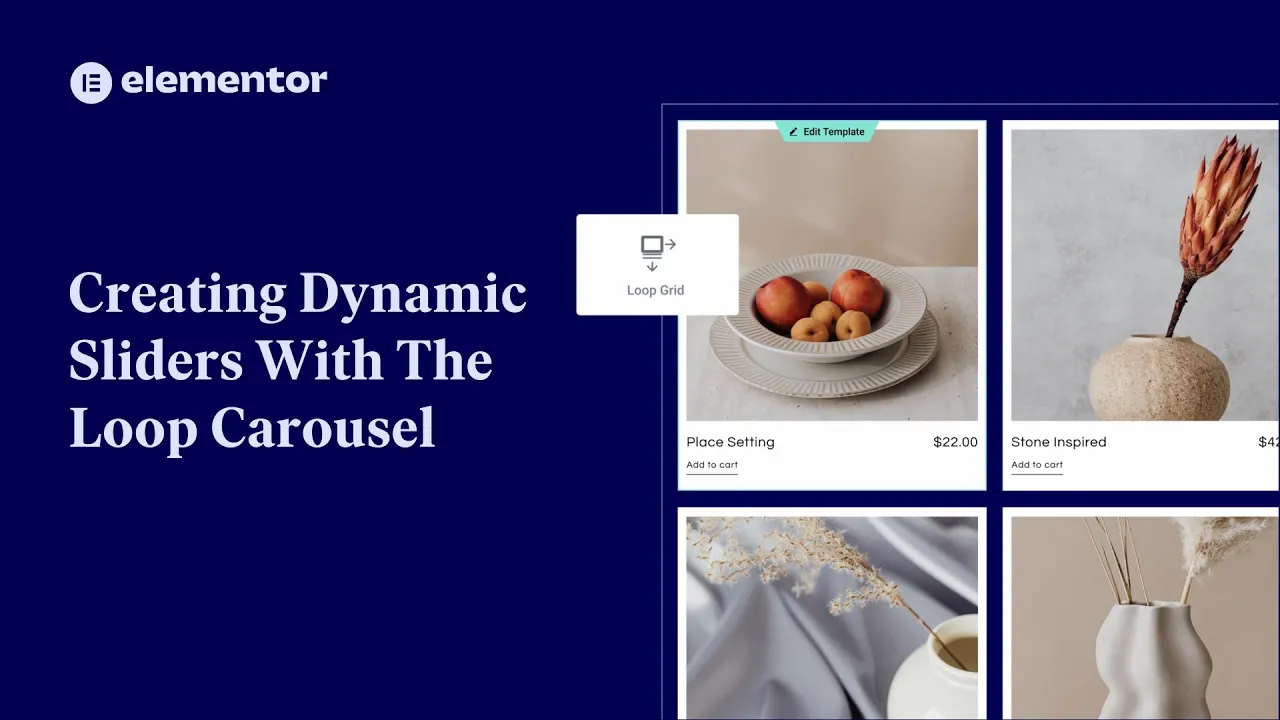
of a website the Elementor Loop Builder provides design flexibility allowing us to choose and customize which pieces of information we want to display in our Loop templates by utilizing the loop grid widget or Loop Carousel widget we can set the query to determine which posts will be displayed the order in which they appear and the template used for presentation the loop grid enables visitors to browse content vertically by scrolling down the page displaying the content in multiple rows and columns in contrast the loop Carousel presents content in a single row allowing visitors to browse by
swiping horizontally today we're going to explore how to dynamically display store campaigns in a hero slider but first let's quickly review our Loop Builder knowledge together let's begin by deleting this Loop grid widget and then re-adding it together start by dragging a loop grid widget onto the page selecting the template type either posts or products at this stage will save time later on you can choose from your pre-created Loop template so opt to build a new one by clicking create a template a quick tip when you create or edit a loop template click save on
the pop-up as this saves the changes you've already made on the page or template that you're working on as you can see since we selected the template type products we're now presented with woocommerce related widgets in the recommended area first let's configure the container settings and begin dragging in widgets you can use the recommended widgets from the widget Library or harness the power of dynamic Tags by employing Advanced widgets just like we're about to do with the flipbox widget which we conveniently added to our favorites now is a good time to remember that the flip
box doesn't only flip it has additional effects and our favorite is the fade by leaving the content Fields empty you can use it to display an alternative product image on Hover simply assign your alternative image to the background of the back part of the widget using Dynamic tags we added our alternative image with the help of advanced custom fills thank you it is always recommended to name your Loop templates properly to keep your templates organized in your theme Builder and Library the default preview post or product may not have all the necessary data to display
your design and settings as in our example in such case you can select another post or product to preview of all the necessary details while you design great now that we have a loop template let's save our progress and return to the landing page that we're working on back on our Loop grid we can adjust the number of columns items per page and even choose to display the content in a masonry grid if desired set items to equal height to accommodate longer titles that may not fit in a single line then under the query settings
you can select a group of products by choosing the term and typing the name of the category or tags you can even exclude items you don't want to display and arrange them in any order that you prefer [Music] now that we've covered how to insert a loop grid widget and design a grid let's move on to adding a loop carousel in this section we want to display newly added products in a carousel so we'll simply drag and drop the loop Carousel widget here if we want to use the template we created for the product Grid
in the landing page earlier we certainly can just type in the template name this time instead of number of columns we have slides to display and slides on scroll because the camera cell displays items in a single Row the query works with the same logic as in the loop grid widgets it's set to show the latest product in descending order just as we want it to appear under navigation settings you can choose different icons to change the next and previous arrows or opt to hide them all together then configure the pagination settings you can also
set the gap between slides and style the navigation and pagination elements to your liking once you're familiar with how loops work let's move on to a more advanced case displaying Dynamic data in a loot Carousel from different landing pages as in this example first let's delete this Loop Carousel and then recreate it together to start make sure that landing pages are selected as post types to be recognized under the elemental settings through the WordPress dashboard returning to our page let's create our hero slides together I'll begin by changing the settings so that we can preview
our template with its final look as we work let's start by giving it a title then adjusting the preview settings to 100 VW and previewing a specific post or item from the landing page finally type the name of the landing page you want to preview click apply and preview Pro tip after you finish designing your template you can always come back here to check how these settings work with a different content type to see if you can repurpose it elsewhere on your website let's start populating our Loop by adding a container with full whip set
to 100 VW and a minimum height of 85vh it's not recommended to use full viewport height in hero ciders so that the content leaves room for pagination at the bottom allowing the viewer to quickly absorb the content type and then understand what to do with it next set the background to the featured image through the style tab and begin populating with other elements before moving forward let's check the adjustments that we made for mobile we reduce the minimum height of the container change the background image settings for custom positioning and display size to fit the
new container size adjusted padding to be smaller and set typography settings in the global fonts under site settings for mobile view once you're done designing your Loop click edit post to return to the original page that you were working on back on our loot Carousel widget set the number of slides to the number of landing pages that you want to display and slides to display to 1. finally set the query source to landing pages and we're done now you know how to create a hero slider where each slide leads to a different campaign we hope
you found this tutorial helpful if you enjoyed it and found it valuable don't forget to hit the like button and subscribe to our channel for more content like this thanks for watching and we'll see you in the next one