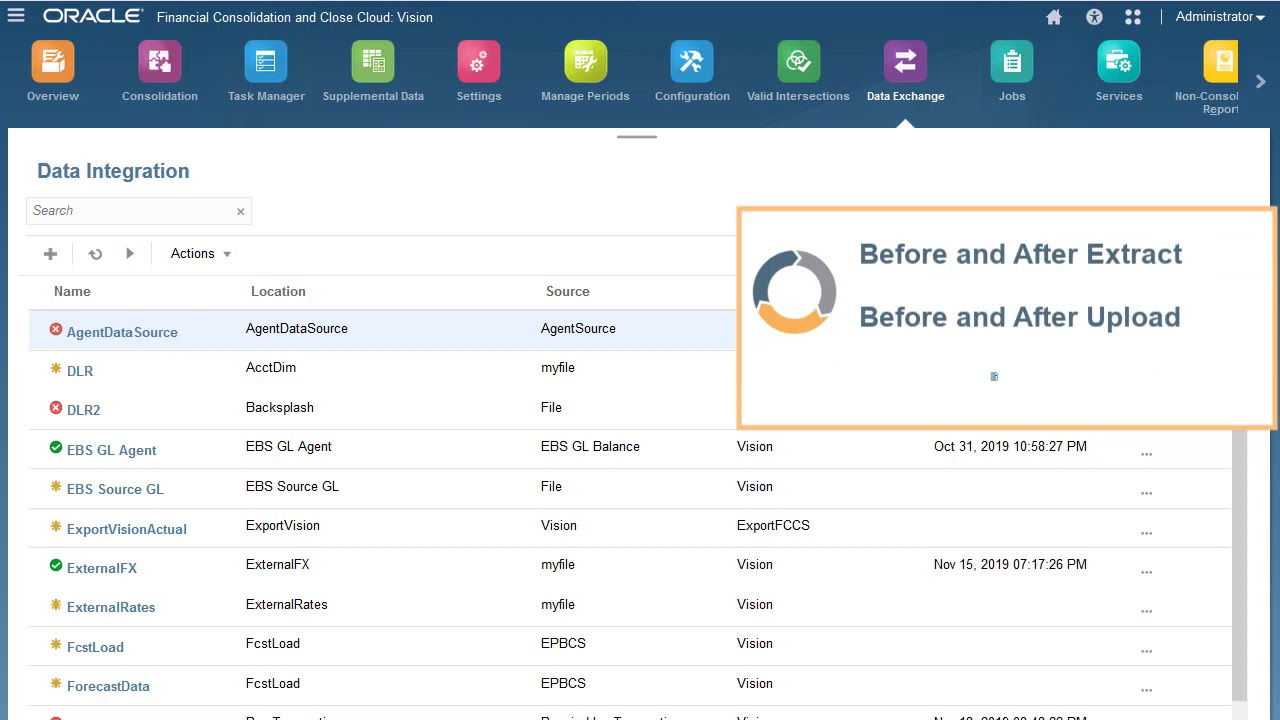
To extract data using data integration, begin by opening Data Exchange on the Home page. Before you create and run data integrations you must define period mappings to map source system period names and keys to Financial Consolidation and Close periods and years, define category mappings to categorize and map source system data to a target Scenario dimension member, and register source and target applications. For this example, I have already registered an FCC application to use as the source.
Let’s create a target application. The target application defines the fields that will be included in an output file. Select Data Export as the category, set Type to Data Export to File, and then upload and select an export file.
The file contains a header row that defines the fields in the output dataset. A field for amount is not required. It is added automatically by the system.
Click OK to create the application. The application is visible in the list. Now, let’s create a data integration to extract data.
The Create Integration page identifies the four process steps you must complete to create the integration. On the General page, enter a name and an optional description. For Location, you can select an existing location or create a location.
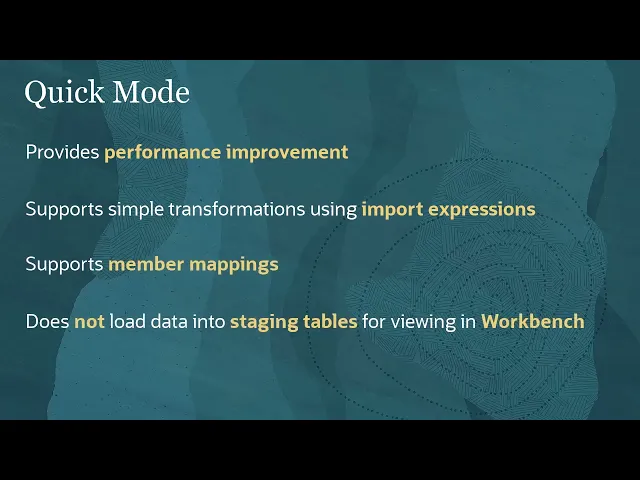
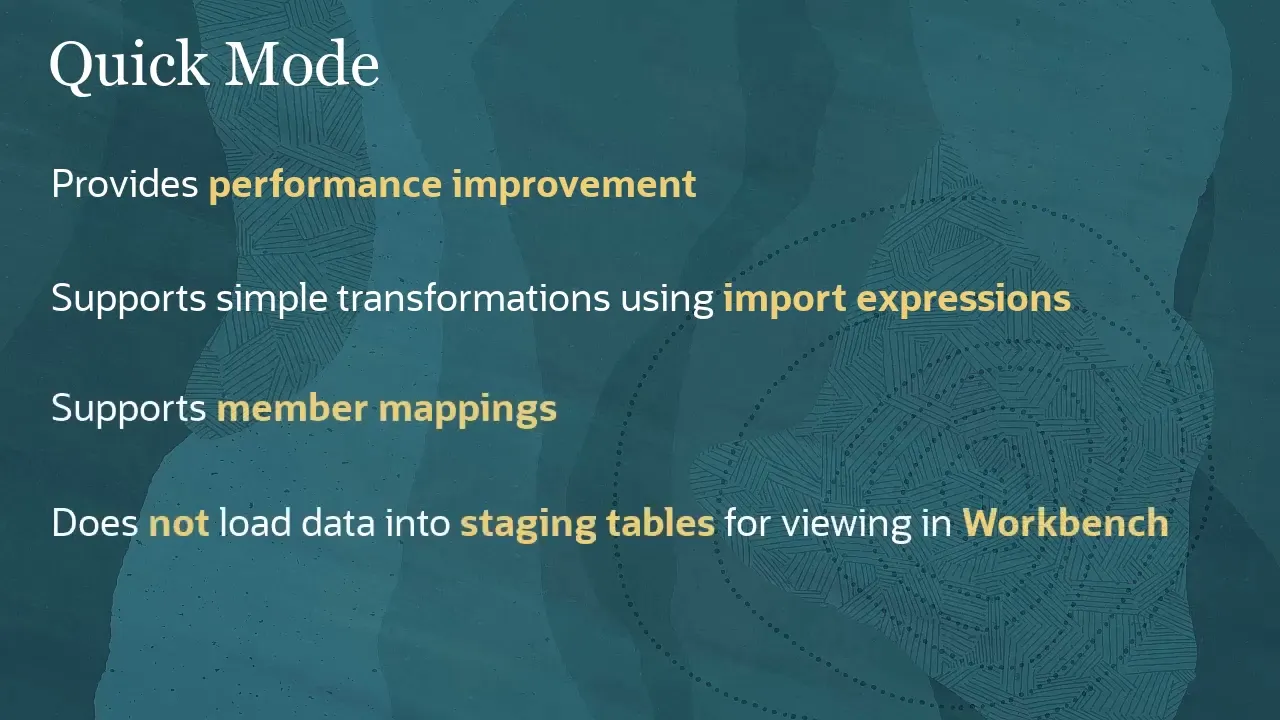
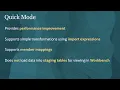
The demonstration in this video uses the Standard Workflow Mode method to extract data. However, you have the option to use Quick Mode. The Quick Mode method provides significant performance improvement over the Standard Workflow Mode method.
It supports both simple transformations using import expressions and member mappings. Data is not loaded to a staging table so you cannot view the data in Workbench. The Quick Mode method is ideal for extracting large datasets.
For more information on the Quick Mode method, refer to the documentation. For Source, you have the option to select a source application or a file. This example shows FILE and FCC as sources.
but there are many other source types you can use, such as Fusion General Ledger and Sub-Ledgers, NetSuite, on-premise data warehouses, cloud databases, and so forth. For this example, you are extracting data from the FCC application. Set or verify the source cube.
For target, select the Data Export application you created earlier. Set or verify the Category. Click Save and Continue to navigate to the Map Dimensions page.
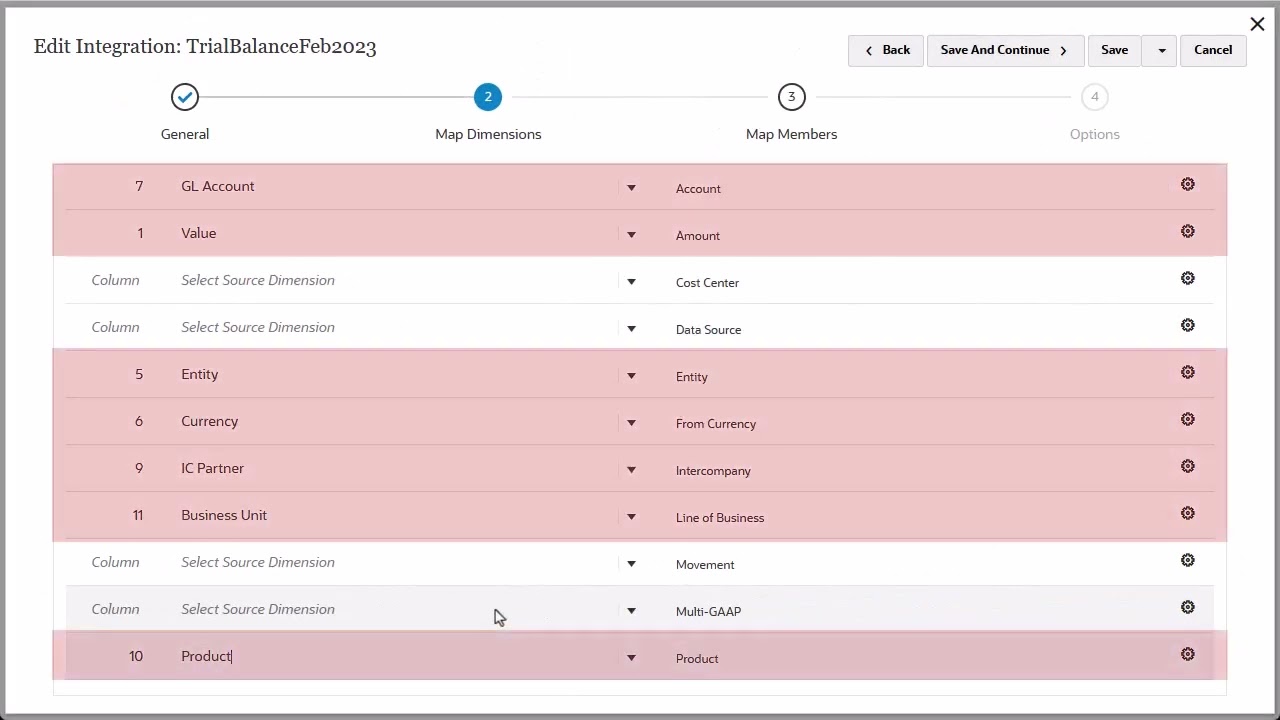
Map source dimensions to target dimensions. You can use expressions instead of member mappings to define simple data transformations. For large data sets, using expressions can improve data load performance.
Click Save and Continue to open the Map Members page where you can map source system members for each dimension to their corresponding target members. Begin by selecting a dimension and clicking Add to open the Add Member Mapping dialog. Select the member mapping type from the Mapping Type drop down and then specify the source and target values.
In this example, I’ll use an explicit mapping to map a source entity to a target entity. The mapping for Entity is displayed. Repeat the process to map members for all dimensions.
Click Save and Continue to open the Options page. Use the Options page to define filters and options for how to process the data when loading to the target application. You have the option to select the type of member data to extract.
I’ll select All Data and accept the remaining default Options selections. Click Save and Close to return to the Integration page. Now we’re ready to run the integration.
Select the import and export modes, the start and end period, and run the integration. Wait for the integration to complete. Return to the Data Integration page.
The icon shows the integration was successful. Select Process Details from the Actions menu to download the output file. The file name is the application name with the job ID suffix and a DAT extension.
Open the file to view the extracted data. I can verify that my explicit mapping is correct. To learn more, visit docs.
oracle. com.