automate this process by using matching imates by default a component placed with a standard imate is placed at the first available imate of that type to specify the order in which components are placed then you can create a list of preferred matches for a component i made when you place a component with a matching list in an assembly inventor looks for imates with names matching ones on the list before placing the part on other imates in this lesson i'll explain how to add a matching list to an imate and how the matching list behaves in
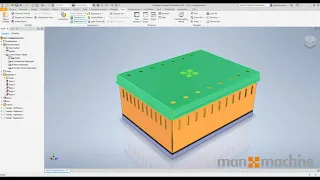
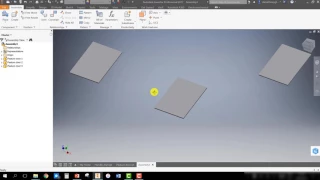
an assembly this assembly has two panels each with five pegs and each peg has an insert i made when i expand the imates folder for one of the panels notice that four of the imates have custom names and there is also an imate between the middle left and middle right with the default insert name to demonstrate the different effects using a matching list can have i'll add two different types of knobs to these pegs first i have a half dome knob with an insert i made but no matching list i'll add the part to the
assembly and each time i click a knob is placed on the next sequential imate while i can place the knobs quickly i don't have control over the order in which they're placed to show how to add that control i'll switch over to a round knob model with an insert i made this time i'll open an edit to add a matching list to the insert i made before adding it to the assembly i'll first right click the imate and select edit next i'll click on the more button to display the options and i'll click on the
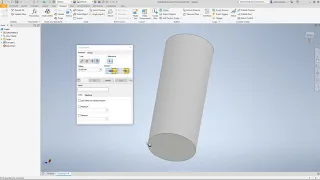
matching tab so i can create a list of matching imades there are four buttons on the side add name to list delete selected name move selected name up in priority and move selected name down in priority i'll click the add name button and enter left then i'll add middle left right and finally middle right if you need to move a component select it and use the arrows and to remove a component select it and press delete notice the order of the imate names middle left first followed by right and finally left this is the order
in which the knobs are added in the assembly i'll click ok and then save the part i'm now ready to place the round knob in the assembly in the place component dialog i'll select the component and make sure the use imates option is selected when i click open the first instance is placed on the middle left peg which is the first constraint on the knobs imate list i'll click to place the component and then the preview is at the next name on the list as expected it follows the list order first middle left then right
and then left once all of the matching names are used it follows the order of the imates on the pegs once all of the imates are used the preview is attached to the cursor just like placing a standard part