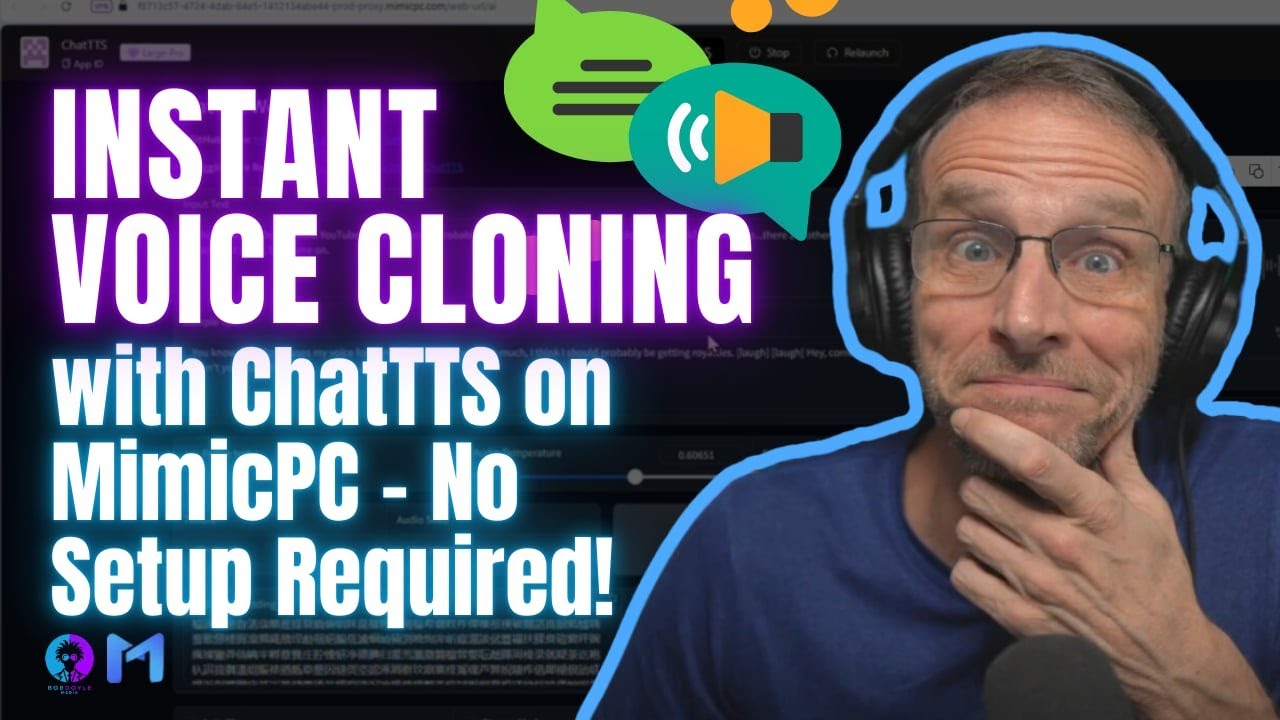
today I'm going to share with you an updated version of RVC so that you can clone your own voice and also use that voice with text to speech and some other features that have been added to this updated version of RVC as well that I want to share with you today welcome back to the channel where we discuss the creative uses of AI and voice cloning is a big topic of conversation I learn about the coolest stuff in the comment section of these videos and that's how I heard about the tool that I'm going to
share with you today it's a special version of RBC or retrieval-based voice cloning that we've been talking a lot about out over the past few weeks that is super simple to install includes the text to speech feature built right in allows you to of course train your own voice this version is called Appo and what I really love about it is number one it's super easy to install number two it adds the text to speeech feature but three it adds another feature that might make that text to speech feature unnecessary for you so let's get
into it Appo is a free download and just like with the other caveats I gave you regarding RVC and similar technology your going to need an Nvidia GPU please don't get upset with me I don't create this technology I just happen to have an Nvidia GPU and I can share it with you the good news here is you don't have to have a particularly powerful GPU for example on this particular demo I'm using a pretty old graphics card it's an Nvidia RTX 2070 super and it does the job just fine on the page here which
doesn't have a lot to say you just click the download button when you get to this page you're just going to go ahead and click on installation right here now you'll see that there are instructions for Windows and Linux and I'm running a Windows those machines so I'm going to follow those instructions and you have choices you can download the code from the GitHub repository and if you don't know what I'm talking about you don't want that option you can download a zip file or you can download an executable zip file or you can use
a script my recommendation is just to go with the exe file you simply click download here and it will download to your system when you launch this file to extract you want to make sure that you follow these instructions that you place the Appo inside a folder on your C drive I'm going to choose C Appo and click extract once everything's extracted you'll just navigate to the folder where you extracted it and inside that folder will be an Appo V3 Point whatever the version is for you you're going to open that up and then all
you have to do is Click run Appo the first time you install this it's probably going to download a lot of models so it may take some time but that's a onetime thing it would just sit tight and then when it's done the interface will appear on the screen now if you're familiar with RVC you'll see some similarities and you'll see some differences one of the main differences you'll see right off the bat if you use RV we see a good bit to train models from scratch is the absence of the tool that allows you
to separate out stems and remove vocals from an audio track but there's plenty of other tools that we've talked about that are absolutely free that will allow you to do that and the reason you would do that is to get training data for a particular voice you'd want to take out I'll show you what we mean because we're going to build a model using this let's just quickly look at what we do have here the first tab is the inference and that's where you're going to be doing any conversions of existing audio into your cloned
voice whatever that is the training tab is where you'll do the training to create the voice models in the first place text to speech is one of these new editions that Appo has that's not in the original RBC as text to speech somewhat like you would use it with 11 Labs you create a voice model you type in whatever you want it to say and then it says it now the way this does this is fairly clever and I'll show you when we get there The Voice blender allows you to take two different models and
make a blend of them to create an entirely new voice plugins I don't know what that is I assume there's plugins for this thing out there the download tab is new and it's really cool and it makes things a lot easier in terms of adding models and downloading model models in our other videos when we were using a conversion tool we would need to go to a website that had these voice models download them and then sometimes even extract them and drag them into various folders before our conversion program would see them but something amazing
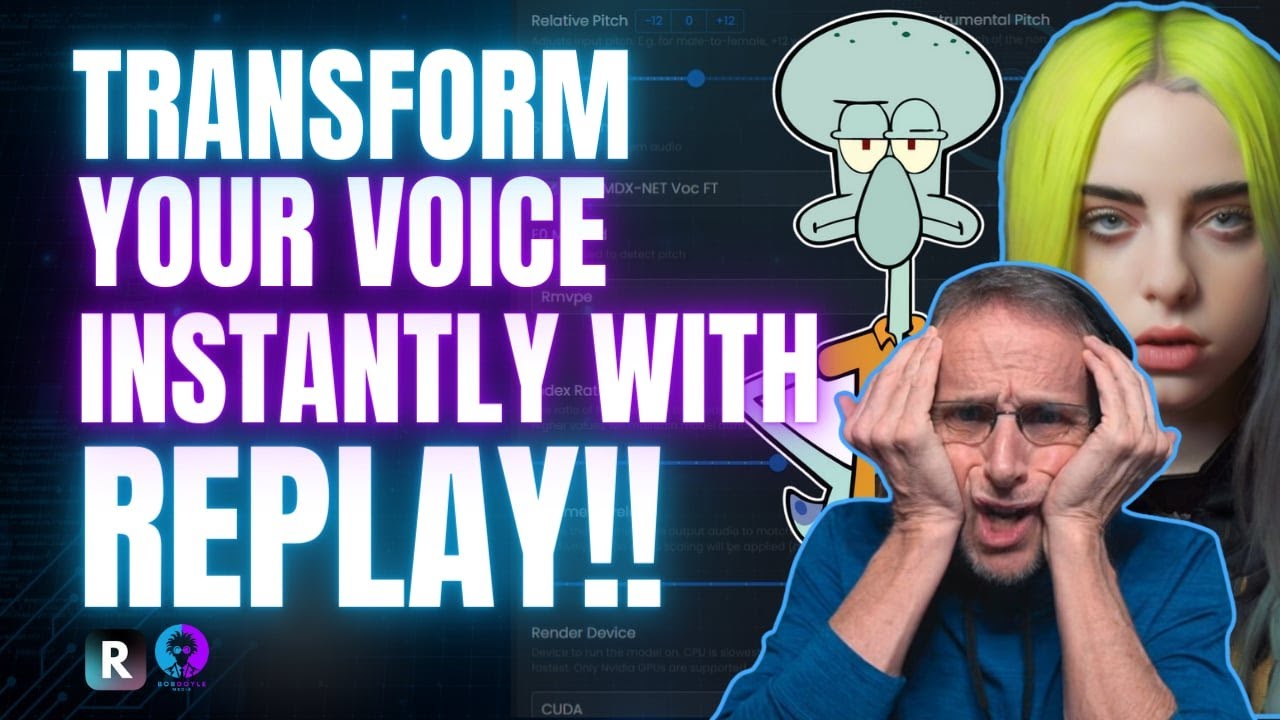
is happening here if you go back to the original website you'll see along the top here this models tab they already have a huge library of models that you can choose from but you don't even have to choose them from here you can choose them from right within the interface let me show you how that works so we're going to go back into the interface we can scroll down here to search model name and let's just go back to one of our favorites let's say uh Squidward and I'm just going to hit enter and look
at that this already has a good many Squidward models in it so all we got to do to install one of these things is copy the link from right here for example we'll just use this one I'll hit contrl C I'll come up here to download model I'm just going to click that right in there to the model link to make sure there is no leading space up here just delete that up there okay and then click on download model you'll see it's processing here and it's doing all the work it needs to do in
the back end automatically it's going to download it's going to extract what it needs to do it's going to put the model files where they need and they'll be ready for instant use so it says here model downloaded successfully let's just go test it real quick we go back over to the inference Tab and we're going to click refresh to update our list of models that we have you'll find Squidward down here we're going to just click that and then in terms of choosing the audio you convert one of the things I love about this
new updated version is we no longer have to copy and paste a path of where the file is we can simply click to upload a path like the oldfashioned way or drag and drop or my very favorite way is to click on this microphone here and just record directly to the page of course you want to make sure that your microphone is set up and all of that is working properly but then all you have to do is record your audio right here and now I'm imitating Squidward because it helps the model do it a
little better I know sometimes people give me grief because I'm doing an imitation and why don't I let the model do it well it just turns out better this way okay so now there's our audio file right now I'm imitating that's just me and now I'm going to click convert and you will see that as I'm talking it's going to happen in just seconds and now I'm imitating Squidward because it helps the model do it a little better I know sometimes people give me grief because I'm doing an imitation and why don't I let the
model do it how and I can choose anybody else from this list here let's just say this narrator file and click convert and really just as quickly it's converted again just seconds and now I'm imitating Squidward because it helps the model do it a little better I know sometimes people give me greet because I'm that's obviously not supposed to be Squidward's voice that's a narrator voice so how does it work with text to speech well let's go find out first click the text to speech Tab and then we can choose whatever voice we want to
use for the conversion here's one for just SpongeBob himself now because RBC is a conversion program it's not like 11 Labs where it creates a voice file out of text but there's plenty of other technology that does and that technology has now been built into Appo the way it works is first it's going to take the text that you type it's going to generate it in one of these many voices that it's already predefined with various dialects and accents from all over the world and then it will take that voice and convert it from The
Voice you chose from your model dropdown from what I can gather the first couple of initials are the language and I can't identify all of them but n I'm taking as English and then next in the capital letters is the I think the country of origin and so there's going to be a certain dialect it will be the English language but it will have a dialect to it the Squidward we're just going to say he's an American we're going to choose a a male US voice just as a starting point and then we're going to
type in what we want squibber to say why do I constantly have to be used as an example for these land Walkers or you can upload a text file which has that text in it you have the same advanced settings except you have a couple of additional options where do you want this converted audio to go and then the other options that we had here let's listen to it why do I constantly have to be used as an example for these land Walkers oh I forgot I'm using SpongeBob not Squidward but you can see how
it work let's type another sentence for him to say and we're going to up the pitch a little bit I totally forgot what I was doing and who I was supposed to be isn't that funny Patrick okay and just click go down click invert and you'll see again it happens in just seconds done I totally forgot what I was doing and who I was supposed to be and I forgot that I was going to raise the pitch so let's go back up to advanced settings here take this pitch just knock it up I don't know
a few tones to make it a little bit more SpongeBobby click invert wait just mere fractions of a second sort ofish and we're ready I totally forgot what I was doing and who I was supposed to be isn't that funny Patrick so that very text to speechy and sometimes that's the fault of this model up here some of them sound way more natural than others let's try Eric for example and we'll just try this again now remember it's converting the text into Eric's voice first and then it's taking Eric's voice and converting it into SpongeBob
in this case I totally forgot what I was doing and who I was supposed to be isn't that funny Patrick it's about the same actually that's why I like the ability to just record your own audio file that way I have total control I forgot what I was doing and who I was supposed to be isn't that funny Patrick uh Patrick see I can add a little bit more in there definitely add the emotion accent the right syllables and all of those things I want and then click on convert change this over to SpongeBob and
click convert I forgot what I was doing and who I was supposed to be isn't that funny Patrick uh Patrick really good job now let's use this to train a model if you watched my other video on training a model with RVC I'm going to do things a little differently here I'm going to use different values and for the most part I'm just going to use their defaults rather than trying to do something clever that I saw on other videos just to see what happens and also show you another really cool feature that I tried
out once before I made this video and it worked fantastic I'm going to hope that it works this time too things are a little bit more clear in this version too instead of saying experiment name like it did in the other RVC it says the model name like what's the model name you want to create I'm going to create a model of my friend Rob and I've got 20 minutes of him that I've taken from a show that we do together on the internet and so I'm going to go ahead and call this Rob from
the show because I might record Rob from a sound booth and I record rob you know and then have different kind of reads I probably won't do that all right and then the path to the data set folder in this case I do still have to copy and paste the path to data folder I don't know why and I wish they would change it but in this case the folder's here I'm going to go in there and inside that folder is my 20-minute audio file we talked about how to create an audio file for training
in another video basically you want to get just pure voice data if it's for a singing model and you can get singing that's great if it's for a speaking model that's fine it also works pretty well for singing you just miss some of the nuances that only singing delivers but you want 20 minutes of clean noisess no harmonies no background noises and you put it in here you can put in a series of files or you can put in one large file in this case I have a 16 minute and 38 second file which I'm
going to use I'm going to come right up here I'm going to right click up here where it says Rob for training I'm going to say copy address as text I'm going to go back in here I'm going to paste that this data set Creator is an option that's new to this and I don't know what it means I didn't check it last time and I still got my model I'm not going to mess with things right now I'll learn a little bit about this later I'm going to keep the sampling rate at 40 normally
I would go up to 48 and I'm going to keep the RVC version at 2 now I click pre-process data set and wait just a few seconds unlike RVC we don't have a way right here on the screen to track what's going on but along the bottom of the screen there is a terminal window that you can look at and so it's showing you all the output that is happening in this particular task starting pre-processing it's done doing that and it will say that here pre-process data set model Rob from the show pre-processed successfully okay
now we're going to go down here and choose our pitch EX exraction algorithm which we're going to leave at rmvp and we don't have to do anything else here except click extract features this will take a little bit longer and we can again track the progress of it down here now this process will go slower or faster based on your GPU my other system has an RTX 3090 on it and this whole process would go a lot faster on this but it is doable and it doesn't take that long also the length of this particular
process is going to absolutely depend on how much audio you have in that folder to process keep in mind this is not the training part this is just getting things ready for training you can see it broke it up into literally hundreds of little tiny wave files all right feature extraction is done model Rob from the show extracted successfully now before we click the start training button let's check our settings here this is where I'm doing things pretty differently than I've done in every other model I've done I was watching some other videos on this
whole process and it seemed to indicate that I might have better results if I changeed some of my settings I tried it and it worked just fine we're going to hope that the same thing happens here with the Rob from the show model for example normally with RVC I would crank this all the way way up because my card would handle it instead I'm going to keep it down at eight because from what I understand the smaller the batch size the more precise the conversion is in fact what I saw recommended a batch size of
four for the very best eight being good enough and eight is what's going to happen now because otherwise your training is going to take I don't know maybe twice as long that's a guess save every Epoch in my other videos I've always saved them every 50 epochs or so with a total Epoch setting of about 250 so I have like five models to choose from I'm learning that people take lots of different approaches to this model thing they'll create many many different versions of it and test them over and over again and look at all
kinds of graphs and data to find out which one is specifically the best match I generally go by ear you can do it however you want to we're going to go by ear today and if you want to drill down into the technical aspects of it you go for it I'm going to go ahead and just drag this up to 50 cuz I'm not going to train that many and I will take the total Epoch here to 250 under here we want to keep pitch guidance clicked especially if you're creating a model that's going to
sing because that's where all that data is contained there's lots of reasons to keep save only latest off in terms of going back and maybe trying to retrain your model or other reasons you want all the iterations I'm going to go ahead and leave that unchecked now save every weights this setting enables you to save the weights of the model at the conclusion of each Epoch that way you can test it so I leave that set custom pre-trained I leave off GPU settings since I have a GPU I will click it on but really the
only thing you have is the ability to choose which GPU you're using in this case I only have the one and is the RTX 2070 super as I mentioned before with 8 gigs of RAM and the last thing which is new or at least new to me I never noticed anything like this before is the overtraining detector it detects overtraining to prevent the model from learning the training data too well and losing the ability to generalize to new data basically you never want to overtrain your model and that's where people start looking at graphs and
analyzing all the numbers and going here here right here is where we need to do it well this takes a lot of that out of the equation for you just click on overtraining director and it says set the maximum number of epochs you want your model to stop training if no improvement is detected once it determines that hey I think this is as good it's going to get it won't do any more than 50 epochs okay so in this case I'm just going to leave that there too and I'm going to click on start training
we can track the progress of the training again in the terminal window here now in terms of how long this is going to take it depends on a lot of things first of all of course the GPU most of the models I train on my faster GPU for a good reason but for the purposes of this demonstration and for my testing earlier I used this GPU I thought it was going to take about an hour and 20 minutes based on the math and the numbers that was running and showing me on the screen is how
fast it was doing each Epoch but then it actually ended early because it detected overtraining then I listened to it where it stopped right then and it sounded fine we're going to hope that something like that happens here if it ends early that's great otherwise this might take as much as an hour and 20 minutes whereas when I used to use the other RVC it only took me about 20 or 30 minutes to train a voice because my batch size was much larger and the GPU was faster so as you can see here it's a
fairly slow process to get started here we'll check back when the model is done okay if we look at the log it's been about 20 minutes actually and it stopped and the reason it stopped is because it sensed over training so at 50 Epoch it saved which is what I told it to do and then immediately because I told it not to do any more than 50 Epoch if it reached overtraining detected it stopped and saved it says right here stopping training due to possible overtraining and it saved an index file that we can it
should be ready to test let's go over to the inference Tab and click Rob from the show there it is and we'll click the index file it should be there as well Rob from the show and then let's just record something hi I'm Rob and even though Bob Doyle is using his voice to make me say this I just want you to know that it's done 100% against my will and um yeah basically anything that you hear with my voice you probably shouldn't trust cuz it's probably just Bob that should be good for his voice
over career let's click on convert that took what two and a half seconds I don't know nothing let's listen hi I'm Rob and even though Bob dwell is using his voice to make me say this I just want you to know that it's done 100% against my will okay I noticed that I've got the pitch up a little bit I can tell yep from a previous settings I'm going to pop this down his voice is a little bit higher than mine I'm going to put it to four instead of zero but let's just see what
happens since it takes basically no time to convert hi I'm Rob and even though Bob Doyle is using his voice to make say this I just want you to know that it's done 100% against my will and um yeah basically so there you go in about 20 minutes with a 20- minute sample I got a usable voice clone now I'm sure that if I had kept the EPO up at 250 and maybe not stopped it when it detected possible overtraining it might have gone on and might gotten a little bit better quality and this is
definitely something I'm going to test as time goes on but I wanted to show you this because there there's a lot of interest in the voice cloning and my goal is to make it as easy for you as possible to get started and this is probably one of the best and easiest tools to install run and get great results from that I've seen even though I know that this particular tool needs you to have an Nvidia GPU and therefore excludes a lot of people out there if you do qualify to use this software this is
a great all-in-one cloning and conversion tool which adds the benefit of text to speech which does a fairly decent job and the ability to record the source audio file to be converted right into the interface with no more weird copying and pasting paths to files on your system if things like voice cloning face swapping AI art AI video AI animation if these things interest you then I invite you to subscribe to this channel because that's all we do here if you subscribe now I will not look for you I will not pursue you but if
you do not I will look for you I will find you and I [Music]