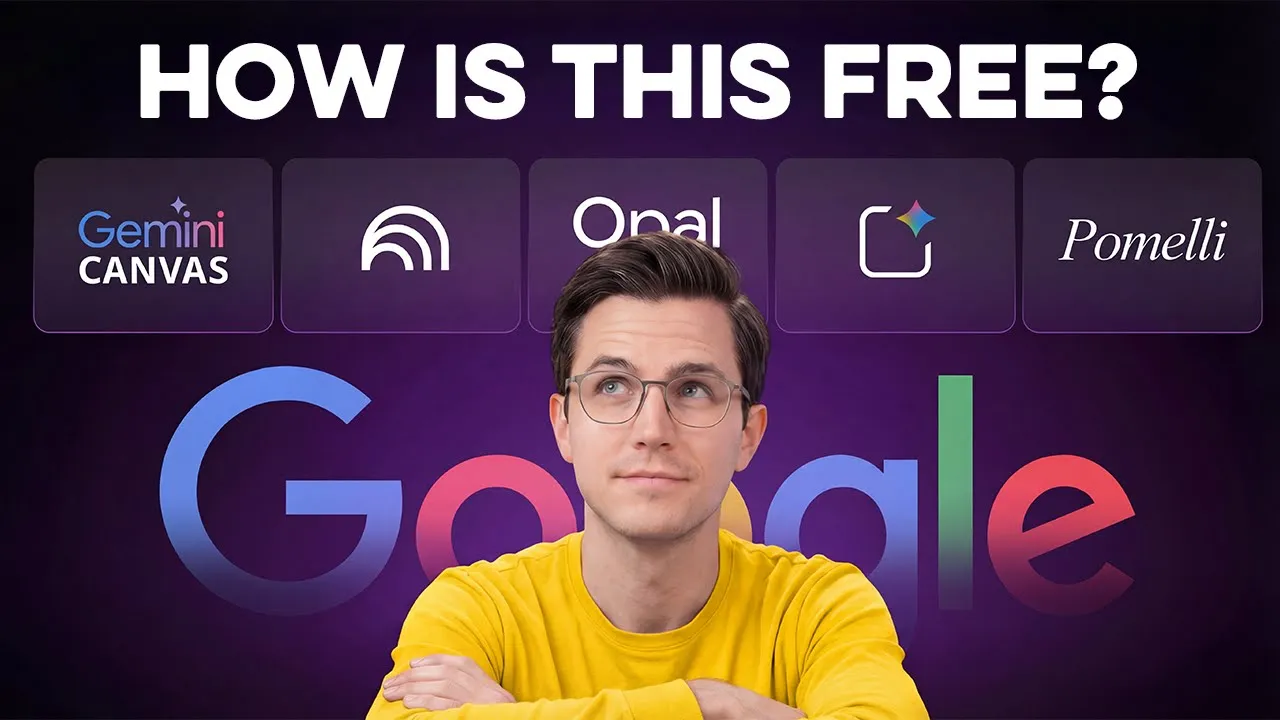
I spent the last month testing every free AI tool Google has released, expecting them to be mediocre at best. But what I found was shocking. Seven of these tools are not only completely free, but they are actually outperforming paid alternatives that cost $ 20 to $50 per month.
So in this video, I'm walking you through all seven and showing you exactly how to use them to replace your entire tech stack. Starting off with tool number one, we have AI Studio Build. And you can access this at aistudio.
google. com. Now, this site is usually where Google releases their experimental models for developers.
So, the interface might look a little technical at first, but don't let that scare you. It is actually incredibly easy to use. To access the feature, you just go to the left sidebar and click the build button.
That opens up a window asking you to describe your idea. This literally means you can type in plain English and Gemini will handle all the hard work, writing the code from scratch. So, I'm going to type a simple request.
Build an event registration landing page. Include fields for name, email, ticket type with pricing options, and a payment form. Make the design clean and modern.
Watch what happens. AI Studio instantly starts planning the structure, writing the code, and building the interface in real time. And look at what it created.
A fully functional event registration page with a clean design and input fields for attendee information. It includes a dedicated pricing page where users can clearly view ticket options and prices. And if you don't like something, you can just tell it to make the button blue or add a logo, and it updates instantly.
You can use this for landing pages, client portals, or really any web app where you would normally hire a developer or pay for a tool. And the best part is it is completely free inside Google AI studio. Tool number two is Opel which you can access at opal.
google. If you have heard the hype around automation tools like nadn, this is basically Google's direct competitor to that. But while other tools can get expensive or complex, Opel is completely free and incredibly simple to set up.
It lets you build workflow apps using nothing but plain English. You describe what you want and it automatically constructs the logic using a node-based system connecting triggers, actions, and outputs visually so you can see exactly how the data flows. Here's how to use it.
Once you land on the homepage, click create new. You will see an interface like this. Just head straight to the text box at the bottom to enter your prompt.
I'm going to type a really simple request. Create a tool where I enter a topic and the AI generates 10 viral YouTube video titles about it. That is all I am telling it.
And hit submit. Watch this. It took about 20 seconds.
And look at the structure it built. Now, if you wanted to get technical, you could go up to the top menu, manually add a user input node, and connect it to the AI generation block to customize the logic yourself. But honestly, looking at what the AI just created, the workflow looks perfect.
So, I'm going to delete this. On the left, you have the yellow input node where you enter the topic. The middle section is the AI processing node, which handles the brainstorming, and the final step displays the results.
To test this, I'll click start and type in productivity. And immediately, it gave me 10 title variations listed right on the screen. The key difference here is that while AI studio build creates deployable web apps for the public, Opel is all about creating internal workflow apps to optimize your own operations.
So while you can use this for specific tasks like client onboarding or lead qualification, the real potential is actually much broader. Basically, you can use Opel for any situation where you need to standardize how you collect data and have AI process it instantly. It allows you to build sophisticated internal tools without writing a single line of complex code.
Tool number three is Notebook LM. And honestly, it shocks me how many people are still unaware of this platform. You can access it at notebookm.
google. com. And while it is incredible for general research, the real game changer is a new feature called video overview.
This takes your raw files and actually transforms them into a full explainer video. Here is how it works. Once you are in notebook LM, just create a new notebook or open an existing one.
For this example, I am going to use a notebook I created about workflow automation where I have already uploaded several articles and strategy guides. Now look over at the right side under the studio tab and you will see the video overview option. But before you click generate, here is a pro tip.
You can actually configure the output before it starts. Just click the settings icon, hit the custom button right here, and you can give it your own specific instructions. So I'm going to type this.
Focus specifically on the budget planning section and emphasize the long-term ROI. Keep the tone professional but engaging. Now I'm going to click on video overview.
It usually takes a few minutes to render because it is effectively reading through every single document, understanding the context, and scripting a show from scratch. And here it is. So, today we're going to talk about something that could seriously change your workday.
Workflow automation. We're going to break down what it is, how it works, and most importantly, why it might just be the key to unlocking your team's real untapped potential. Okay, let me ask you something.
Do you ever feel like you're just drowning in busy work? You know what I mean? All those little things like copying and pasting data, sending the same follow-up emails, updating spreadsheets, they just eat up your day and completely drain your creative energy.
The quality is honestly shocking. It synthesized information across all my different articles and produced a result that feels incredibly premium. You can use this to turn research into training materials, create onboarding videos from dry documentation, or basically anytime you need to turn dense technical papers into content people actually want to watch.
Moving on to tool number four, we have Pamelli. And this is a brand new tool from Google Labs. What Pamelly does is essentially act as an AI marketing agency.
It scans your website, pulls in your brand colors, fonts, and messaging, and then uses all of that information to automatically create social media posts that match your brand perfectly. Here's how to access it. Just search for Pamelli Google Labs and you'll find the page right here.
Once you are there, it will ask for your website URL. For this demo, I'm going to paste in an example URL. And watch this.
As soon as I hit enter, Pamelli starts building a complete profile of the site. It analyzes everything from the visual design structure to the actual copy on the page. And let's take a look at the results.
It is honestly spot-on. It captured the exact hex codes, identified the fonts, and even nailed the brand voice perfectly. I could make changes if I wanted to, but since this is already accurate, I'll just click looks good.
Now, Pamelly automatically generates three different campaigns for me. Look at this. Here's a campaign about web development.
I can click into it and see readyto use posts with the correct branding, colors, and copywritten in the right voice. But here's where it gets powerful. You aren't stuck with just these suggestions.
I can actually give Pamelly a custom prompt right here to build exactly what I need. So, I'm going to tell it create a campaign for a one-day flash sale on my course. And here's the result.
It generated an entire campaign for me with multiple social media posts and different format variations that are all cohesive and ready to schedule. You should absolutely use this tool if you run a business and hate designing social graphics. They might not be award-winning, but they are professional, on brand, and good enough for most campaigns.
Now, just a quick heads up on this one. Right now, Pamelli is currently only available if you are in the United States, Canada, Australia, or New Zealand. So, if you don't see it yet, that is probably why.
Tool number five is Gemini Canvas, and this is built right into the main Gemini interface. What Canvas does is transform documents into presentations automatically with AI generated slides and visuals. Here's how to access it.
Go to Google Gemini and once you're on the screen, click where it says tools at the bottom and select Canvas. I'm going to upload this business plan I created. It's pretty boring.
It has all plain text, lots of white space, and very basic formatting. Now, I'll tell Gemini this. Create a presentation from this business plan.
Include visuals for each section and press enter. Watch this. Gemini is analyzing the document, identifying key sections, planning the slide structure, and generating visuals in real time.
And let's take a look at the result. This is honestly impressive. It didn't just copy and paste text.
It restructured the entire information into slides, added relevant images and graphics, and created a clean visual layout. I can click through the slides. Each section from the business plan became a dedicated slide with appropriate visuals.
The formatting is professional. The information is organized logically and it's actually presentation ready. And if I wanted to make changes, I could just type instructions right here at the bottom, like telling it to make slide 3 more visual or add a comparison chart, and it would update in real time.
When I'm happy with it, I can click export to slides at the top right. This saves it directly to Google Slides where I can access and edit it later. You can use this for turning reports into presentations, transforming written proposals into pitch decks, or creating training slide decks from documentation.
It works anytime you have a textheavy document that needs to become a visual presentation. And the best part is that this is available right inside the Gemini interface for absolutely free. Tool number six is Nano Banana Pro, Google's image generation model, and it's also built directly into the Gemini interface.
To access it, let's open a fresh chat, click tools at the bottom, and select create images. Here's what makes this powerful. The image quality is competitive with expensive tools like Midjourney and Dolli, but it's completely free inside Gemini.
I'm going to type this prompt. Generate a product mockup of a minimalist water bottle with a matte black finish. Show it on a clean white desk next to a laptop and notebook.
Professional lighting, commercial photography style. I'll press enter. Now give it about 10 to 20 seconds to process.
And here is what we get. Look at this quality. The water bottle has realistic texture and reflections.
The composition matches what I asked for. The lighting looks professional and not AI generated. The text rendering is accurate, which older AI image models struggled with.
The overall aesthetic works for a product pitch or marketing material. One thing to note here is that Nano Banana is also available in AI Studio with more advanced controls like temperature settings. But for most use cases, accessing it directly in Gemini is the easiest way.
It's perfect for product mockups, pitch deck visuals, or anytime you need high-end marketing assets without waiting on a designer. And finally, we have tool number seven, multipe audio generation inside Google AI Studio. This creates studio quality voice audio with multiple speakers having natural conversations.
And while platforms like 11 Labs charge you $ 20 to $40 a month for this level of quality, here it is completely free. To access it, go to aistudio. google.
com. On the left sidebar, click home and then click right here to open up the speech interface. Now you have two options here.
You can generate standard single speaker audio or select the multis-speaker option where you can have multiple different voices having dynamic back and forth conversations. So, I'm going to click on multis speaker and I'll demonstrate exactly how this works by creating a podcast intro. First, I need to provide the script.
So, I'll paste in this dialogue right here. Now, I can actually go to the right side and select different voice profiles from the drop down if I'm not liking the current ones, but honestly, they seem pretty solid. So, I'm going to leave them as is.
But before I continue, I want to direct the performance. So, right here in the style instructions, I'm going to type keep it high energy and conversational. Speaker A is skeptical and speaker B is enthusiastic.
I'll hit run and AI Studio will take about 20 to 30 seconds to generate the audio. And just like that, it is ready. Let's take a listen.
>> Welcome back to the show. Today we're diving into AI productivity tools that actually save time. >> And trust me, we tested a lot of tools that didn't make for cut, but these seven absolute game changers.
>> That is really amazing. The voices sound incredibly natural and the pacing is conversational. They are actually reacting to each other dynamically, not just reading separate lines in a vacuum.
It honestly sounds like a real podcast recording session. Now I can just click the three dots, download the file, and it's ready to use. And this is a total paradigm shift.
Accessing studiograde multi-voice audio without a budget means the possibilities are literally endless. So there you have it. Now you have access to seven completely free Google AI tools that compete with paid alternatives.
You can build apps, turn research into videos, generate presentations, create professional images, animate product videos, and produce high-quality audio, all without paying a scent. If you want more videos like this breaking down the best AI tools, subscribe to the channel and watch the video on screen next for more free AI tool breakdowns.


![1 A.M Study Session 📚 [lofi hip hop]](https://img.youtube.com/vi/lTRiuFIWV54/mqdefault.jpg)