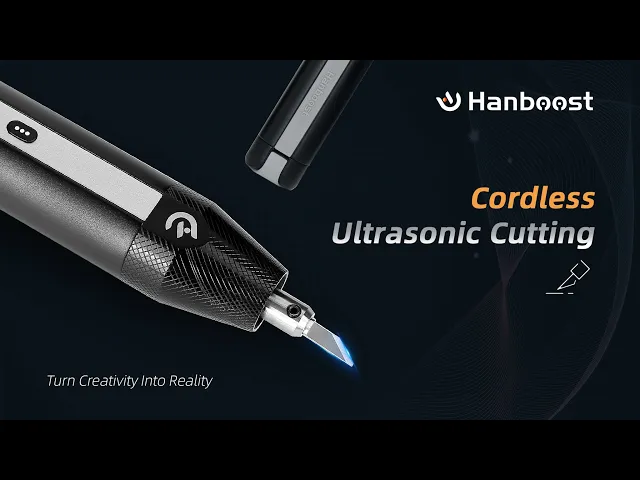
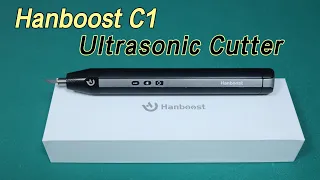
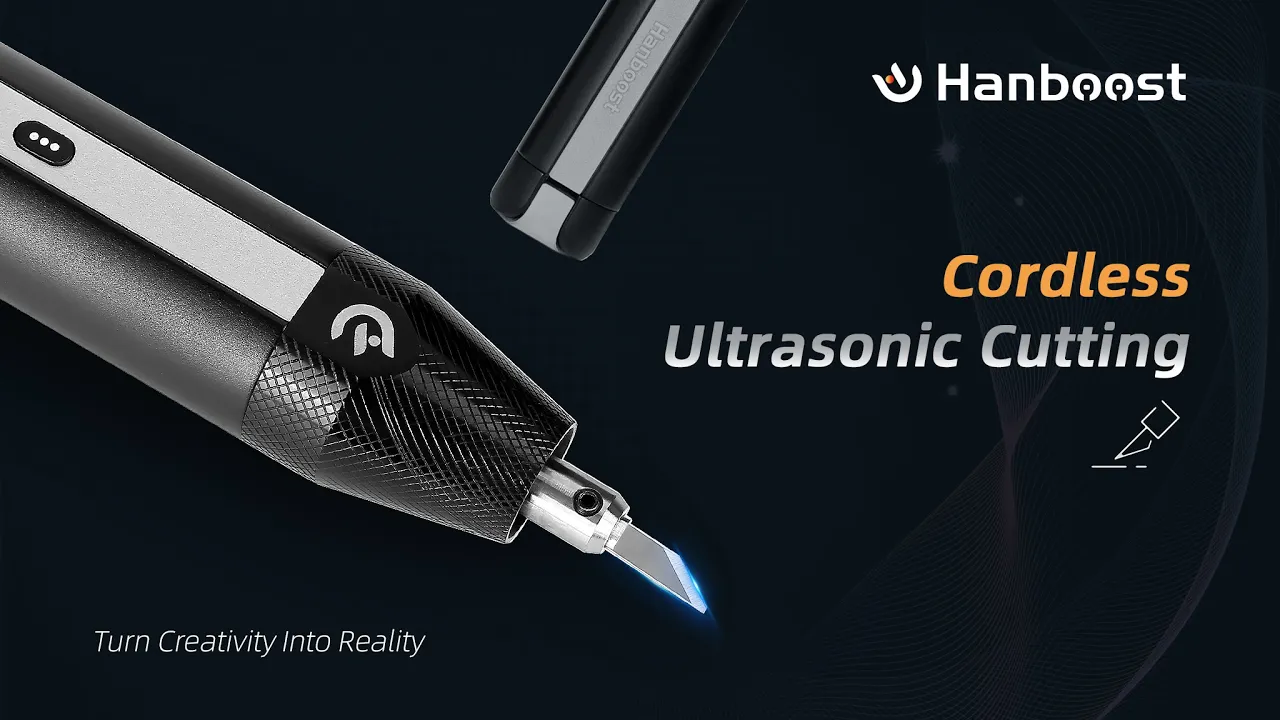
Hey everyone. Today I'll show you how to use the HandBoost C1 ultrasonic cutter properly and get the best results for your DIY projects without much talking. Let's get started.
When you open the package, you'll find a carry case inside. Open it up and you'll see the Hand Boost Ultrasonic Cutter along with a neatly packed accessory box. Inside the accessory box, you'll find two small boxes of blade sets, one USBC charging cable, one protective blade cover.
Now, let's get started by installing the blade. First, open the head cover and take out the small hex wrench stored inside. Next, carefully attach the blade to the blade holder.
We strongly recommend wearing gloves while doing this to avoid injury. Once the blade is in place, use the hex wrench to tighten both screws on either side. Make sure the blade is firmly secured.
This step is absolutely critical. If the blade is loose, the ultrasonic function won't work properly. A quick way to test if the blade is working, touch the tip lightly to a metal surface.
If you hear a buzzing sound, that means the ultrasonic vibration is active and ready to go. After installing the blade, let's power on the machine. Press and hold the power button for about 2 seconds.
The LED screen will light up and display the current power level. For better visibility during cutting, you can activate the LED work light using the middle button. Especially helpful in dim environments or for detailed work.
Hand Boost C1 features three power levels. The higher the number, the more cutting power you get. You can easily cycle through the modes by pressing the mode button to match the material you're working with.
Now, let's see how the Hand Boost C1 ultrasonic cutter performs on different materials. Before we start it, here is tips for cutting. Always hold the cutter at a slight angle.
Apply gentle pressure and place the blade tip directly onto the material. Then, let the 40,000 vibrations per second do all the work. First up, let's try to cut leather, PVC, and plastic at gear 1.
These materials are commonly are soft and easy to cut. With low power mode, you can make precise clean cuts without fraying. Unlike scissors or knives that crush or tear soft materials, ultrasonic cutting glides smoothly.
Perfect for intricate designs with soft material. Next, let's try gear 2. We have PLA, TPU, and resin.
Commonly used in 3D printing. Many makers struggle with removing support for 3D printing model, but watch how easily the ultrasonic cutter trims excess plastic with precision. So, in medium power mode, you can also reshape and refine edges, making post-processing a breeze.
Now, let's try Gear 3 for harder material cutting like acrylic and ABS. Regular blades won't be able to cut this kind of material at all, but Hand Boost C1 delivers smooth, precise cuts. This maximum mode unlocks more creative possibilities for makers and builders.
A quick note, the Hand Boost C1 is not designed for cutting metal. For those materials, you'll need a specialized cutting tool. One more bonus feature, by swapping the blade with a sanding strip, you can smooth out rough edges on plastic or resin models, and we will develop more blade type in future.
Please stay tuned with us. Finally, there is one important safety reminder. After continuous use, the blade head can get very hot due to ultrasonic vibrations.
Do not touch it immediately after cutting to avoid burns. Let it cool down for a few minutes before replacing or uninstall the blade. If you're new to the machine, we highly recommend wearing gloves for extra protection.
Also, always cover the blade with the protective cap when not in use to prevent accidental cuts. All right, that's it for today's video. You're now ready to use the Hand Boost C1 ultrasonic cutter like a pro.
If you found this tutorial helpful, like, share, and subscribe for more tips. See you next time.