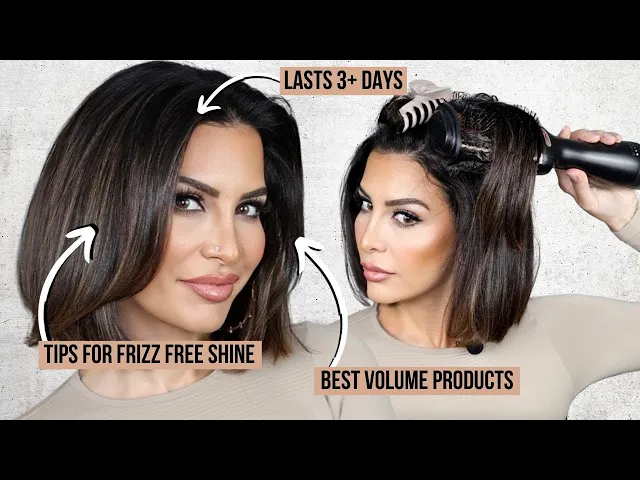
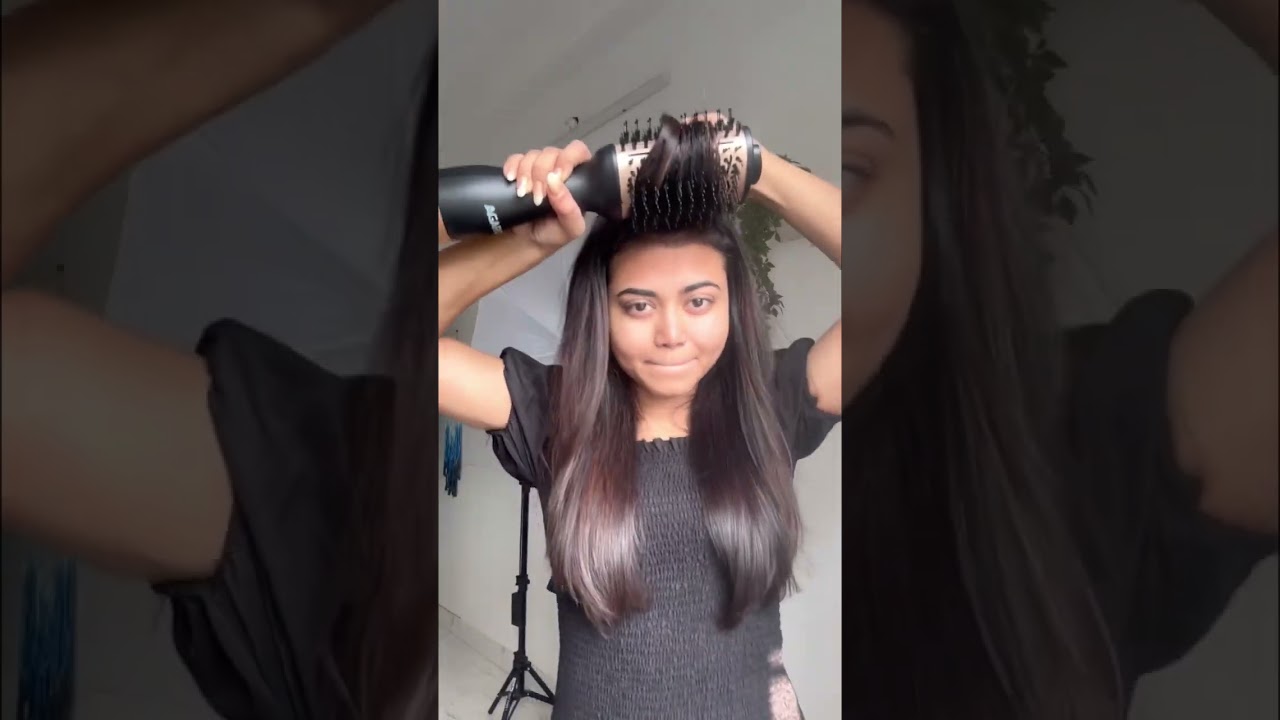
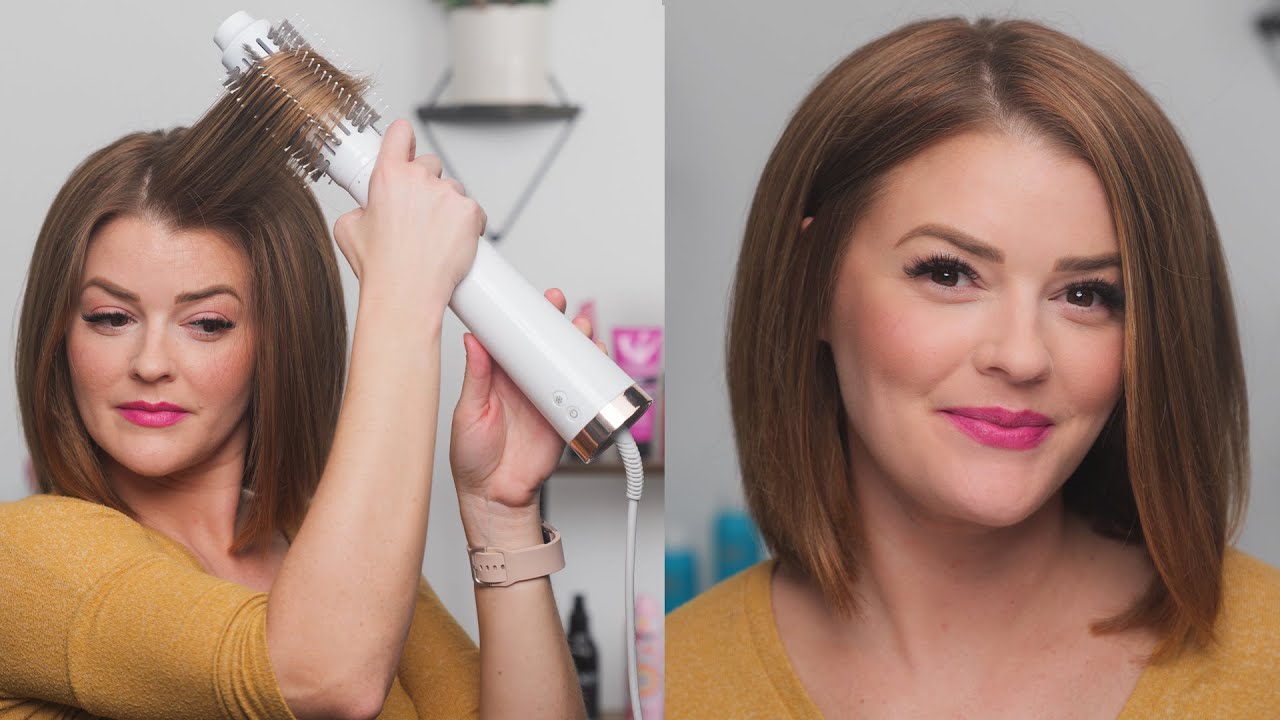
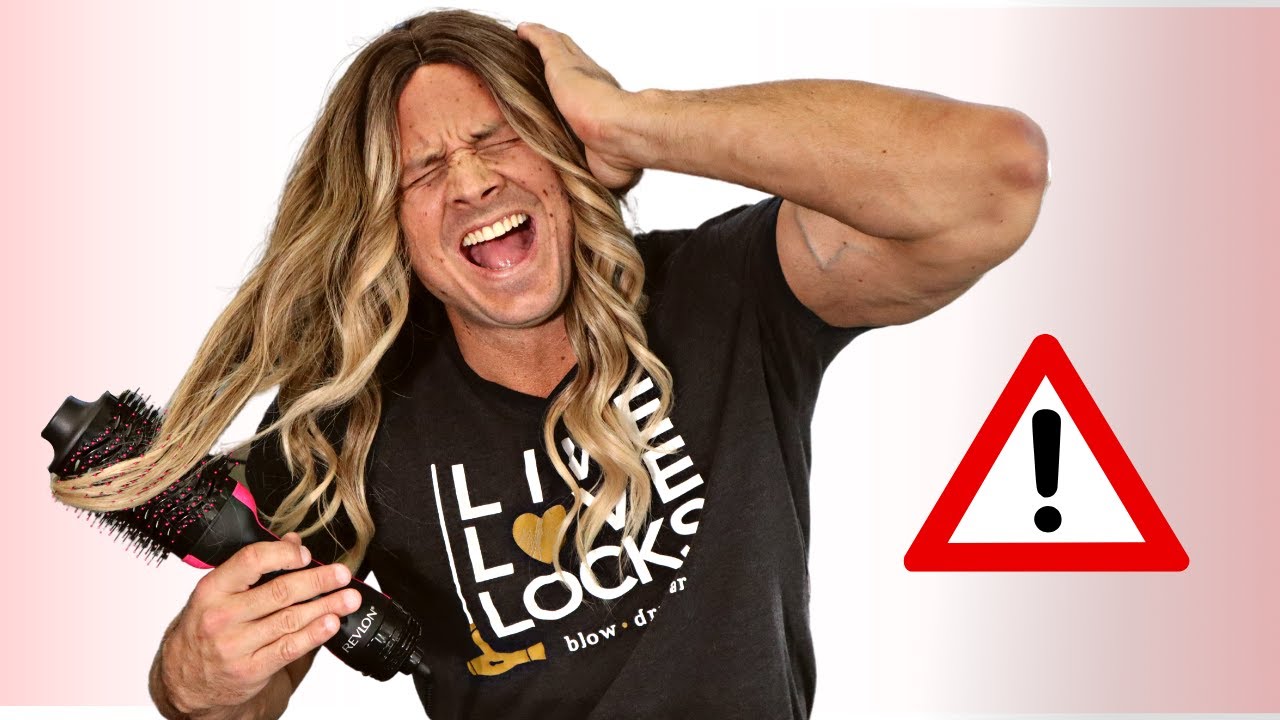
There seems to be a lot of struggle with using the blow out brush. There is a lot of struggle using this tool and getting a smooth, voluminous end result with it. I read your comments and I can see that some of you guys are having a hard time with it.
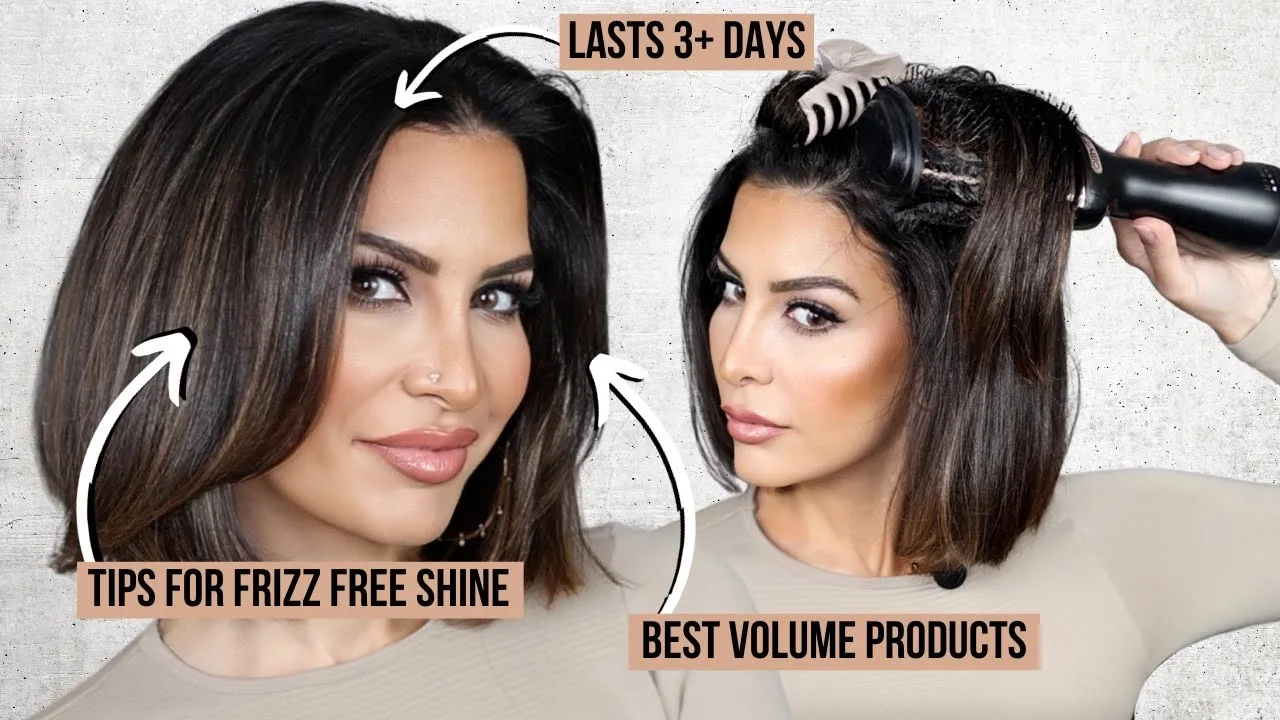
Today I'm going to show you how to use a blow out brush to not only get incredible volume but also beautiful, shiny, smoothness on hair that naturally dries like this. Let's go. So our first step is going to be product prep.
I don't want to spend a lot of time here because I talk about products a lot in my other videos. I also have an Instagram where I actually pop up flat layers of my favorite products for different looks, and I show you which ones I use, what combination I use them in. I do all of that in a really easy visual format for you guys to see.
So if you don't follow me on Instagram, definitely follow me on Instagram. I am very active on that platform now and I give really great, very easily digestible bits of information. That's not as long and wordy as the YouTube channel.
So if you want some quick tips on products, go over there because every day I'm posting something new for getting a desired result with your hair. So for today, my goal is going to be volume. We're going to work on volume today, Even though I have very textured hair with the blow out brush, I can get it very smooth and I'm going to show you how to do that.
But my hair does not like to say voluminous. So my biggest concern is volume. So I'm going to target it with volume products.
If your biggest concern is smoothness, so say you have very thick hair and you want to have very smooth silky hair, then you probably wouldn't choose volume products. You would then choose products for smoothing or humidity control that kind of realm, right? So you can go in different realms when it comes to prep products for your blowout.
We're doing volume today for me. when it comes to volume, I like to do two things. So I like to amp up the root and then I like to bulk up the mids and the ends.
So the way that I'm going to do that is I'm going to use a volume root spray and I'm going to use a volume mousse. I almost always combine these two products, root spray and mousse. A volume mousse won't get your root as high as you might desire, but root spray on its own really doesn't work well on the shafts.
So we like to combine these two things. It doesn't matter what product line you use. I mean, some are better than others, for sure, but you don't have to buy this one.
This one is by the brand Kerotin. I really like it, but I also often use this one by the brand Alterna. So this is a multiplying volume styling mess that I will use on my roots.
And then I use this on mid shafts and ends. I'm going to use this one today just for the sake of the demo. Okay, so when it comes to my root spray, where I really want volume is here in the top, right?
So I'm going to split my hair and I'm going to apply some root spray in there and here. So as you can see, I am working layer by layer now where we want our roots to be really high is right here and back here in the crown area. So you can definitely go crazy with the root spray everywhere.
You can do your whole head if you want to, but I don't even bother because down here I don't really need the roots to be that lifted. It's just up in this area that I want them to be really lifted. So after we apply that, I just like to gently massage it and a little bit to evenly distributed it and then I'm going to go in with my volumizing mousse.
Now, the amount of mousse is very dependent on the amount of hair that you have. I like to go in with about this much and I want to put it through the mid shafts and ends. You always want to brush your products from root to ends.
Brushing your hair after you apply your product is going to evenly distribute it all the way through. You don't want like a blob of product right here and like no product here and like a little blob here. So when you brush it, you're just basically combing it through the entire head of hair equally.
All right. Another very important step is to rough, dry your hair. If your hair is very, very, very wet, like I say in percentage terms, like your hair is 100% wet, so it's soaked.
If you start with your blowout brush, it's going to take you forever and a half to get through your hair. It's going to be such a huge pain. It's going to just take forever.
And it's also pretty damaging because putting that much heat on super wet hair is really damaging. Wet hair is more fragile to begin with. Dr hair is stronger than wet hair because wet hair is more elastic.
So it stretches and it breaks more easily. So we're going to want to rough dry until the hair is about, I would say, 50% dry. Some people go drier than others.
Because I have textured, curly, wavy hair. I don't like to go so dry because if I go to dry, it's harder to control my hair afterwards. If you have smoother hair, you can get it to a much more dry stay with rough drying and then just polish it up with the round brush.
But if you have textured hair, you do need moisture in the hair or else you won't be able to control it as well. So as you can see, when I am rough drying, I am lifting my roots up. I don't want to rough dry it like this because then I'm going to flatten my roots and then it's going to be a lot harder to get it lifted later.
Wet hair is super malleable. It wants to do the things you want it to do when it's wet, it's stubborn when it's dry. So if we dry it down, that's it, it's down.
So we want to always dry it up, even when we're rough drying. All right. So now you can see that my hair is significantly more dry, Right?
But we still have that moisture. You guys can see some of those glossy areas. We still have moisture, but it's significantly more dry when you see it in the state.
You guys can see what I mean by the frizz and the texture. I really do have a lot of frizz and texture so I can relate to all of you who really struggle with styling your hair because I struggled with styling my hair my whole life until I became a stylist and learned all of these tricks. Okay, So the first thing I'm doing, I'm starting from the bottom up and I just use my fingers to section an area straight up, and then I clip the rest of it away.
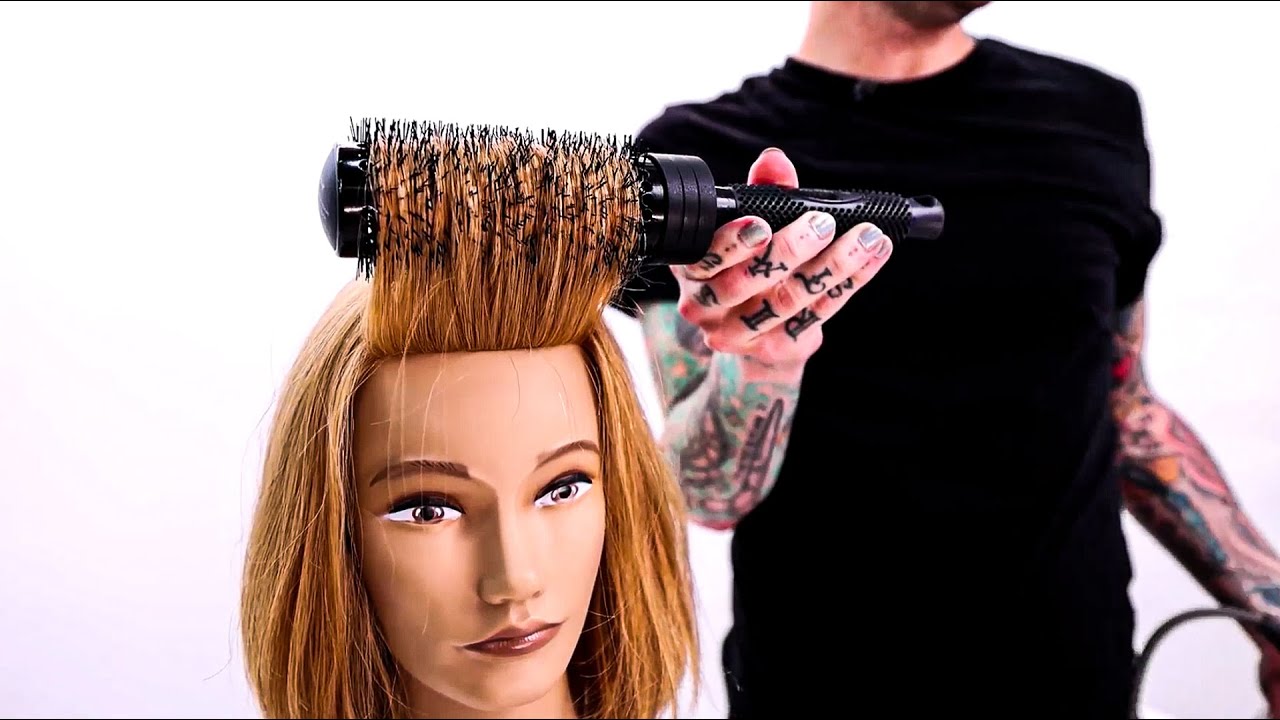
So let me show you how that looks in the back. It doesn't have to be insanely perfect, but you want to work up the head. Okay, so now for me to get a lot of control, I'm going to go to the max temperature, which is right here.
And this is what I'm going to do. Before I turn it on, I will show you. You want to take your brush and you don't want the section to be any larger than the barrel.
You really need to have control, and then you're going to turn. You're going to turn, turn, turn. So I keep one hand here on the barrel, one hand on the base, and I turn, turn, turn, turn, turn.
And then I will release. And it will be like glossy and smooth and amazing. And then I move to the other side and I turn, turn, turn, turn, turn, release.
Glossy, smooth and amazing. So now you can see I have lift and I have so much smoothness already. So now we're going to release our hair.
Don't let all of this drop because if this is wet, it's going to drop on here and it's going to start to frizz this area. So you want to take your finger. I just take my finger.
Some people take a comb, but I don't I kind of gently let it rest like this and then I slice up about an inch. See that? And then I twist and I clip.
And again, we're going to do the exact same thing. Make sure that your hair fits in your barrel. It's not spilling out right.
The more we control our hair, the better it's going to look. So if you have control over your hot tools, it's going to look significantly better than if you just kind of go crazy with it and have really big sections. You want every single section to be paid attention to in order to get an optimal end result.
Let's move on to our third section. Again, I'm going to kind of take this, make sure it doesn't wet my other strands, slice, twist and clip. Okay.
So I want you to notice what I'm doing right here. This whole area is the crown. And the crown looks really good with a lot of volume.
So instead of using my blow out brush like this and pushing down, I'm actually going to take my blow up brush and I'm going to push up. So I'm still doing the same twisting motion, but I'm pushing all the way up. Okay, That's going to lead to like a bevel that goes up and down and it's going to give you a lift right here, exactly where you want it.
Okay. Now, a lot of you with curly hair are going to have this situation here where you can't control the root very well here at the front. We're going to tackle that later.
So don't even worry about that. If this kind of mess is happening to you, it's all good. Don't worry.
So when we get to the very top, we have two options. We can either part our hair where we part it. So if I part it in the side, I can part it like this and I could blow dry this at this way and blow dry this, this way, which is fine, but I like to blow dry in a mohawk section.
The reason that I like to blow dry in a mohawk section is because I like to wear my hair all over the place. I like to wear it on the side one day I like to head in the middle of the other like we're on the opposite side, and a mohawk section will allow you to part your hair in all different ways. So I'm going to show you that today so that you can visualize how I do it and then you can try it yourself at home.
So in order to do a mohawk section, I need this section to not be bigger than my tool, right? Because we need control. So I have to make sure the width of my tool, the same width as my section.
So what I'm going to do is I'm going to take some of this hair out and then I'm going to take this hair, which is kind of the perfect. Yeah, that's about the right size. I'm going to take this, clip it away, and I'm going to draw the sides first, and then I'll work on the top after.
So as you can see, I just did two passes of my blowout brush and I didn't really rotate, so my hair turned out like this frizzy, puffy, and it's not glossy. So that's, I think, what a lot of you guys are doing here are going like this once or twice. And you're stopping and it's turning puffy.
So if you look at this section compared to the section underneath of it, look at the difference between the hair here that's super shiny and the hair here that's rough and puffy. So we have to do is keep rotating your hand and make sure that your hair is 100% dry like there's a tiny bit of moisture left in this. So I'll show you the difference.
See, so just by going over it a few extra times, I got the hair like completely silky and glossy. I really think that's what most people are doing wrong when it comes to using this tool. Okay, now we can move on to the top.
So when I do the top, I always like to start from the back and work my way forward and I'm going to show you the technique that I use. So what I'm going to do is I'm going to take my blowout brush, I'm going to put it at the root and I'm going to push forward. That's going to dry the hair this way and that's going to give me a lot more volume.
And then because my hair so textured, I'm also going to take it from this way and I'm going to blow dry it like this. So I'm basically blow drying from one side, smoothing from the other side, blow drying from one side, smoothing from the other side. And I'm going to do that until the hair is 100% dry and then I'm going to drop it.
So when I release that, you can see how much lift I got here, right, right off the crown, exactly where we want it. Again, release the hair slice out, see the size of that section. We want to make sure that we have enough control.
Right. So the section should not be too large or else we lose all of our control. Okay, now, you can see, since I blow dried it backwards, now I can wear it parted in the middle if I want to.
I can also wear it parted to the side because there's no definitive part line, but I can also wear it, parted to this side. And every which way that you part, it looks very different. You get a really different vibe.
You get a really different type of hairstyle depending on the way that you part it. Okay, now, as promised, we're going to tackle frizziness that tends to happen around the temple areas. If your hair is even curlier than mine, your for sure going to have a lot of texture here in the temples.
So what I like to do for that is I just suction this area out and I clip it and I take a flat iron and I just bring my feet all the way down. You might need a little more heat. It depends on how much control your hair needs.
This flat iron is extremely hot and I just don't need that much heat. So I'm going to bring it down to 340. That's going to be enough for me to control my little frizzies.
Now, when I'm going in on my dry hair, I'm going to be using a heat protectant spray. I often, well, 99% of the time also use this on my wet hair. I didn't today, but usually I would also use this on my wet hair.
So what you want to do is just spray the area that you're potentially going to go in with more heat and you're going to take thin slices. Okay. If you want to control frizz, you need the slices to be really, really thin because then you can get right to the root.
So here's another thing. If you use your flat iron on your whole head, you're going to flatten your volume flat irons really smooth out and sandwich the hair. So you lose like that fullness and that puffiness.
So one way to get around that, if you need more control for your hair, specifically, if you live in a very high humidity climate like Florida and you have textured hair like me, you're going to want to go through your hair with a flat iron to kind of seal the cuticle in. But you're going to want to do it on the lowest heat that you can do it in, because then you're going to seal that cuticle down. Your style is going to last longer and last better in humidity.
But at the same time, you're not going to completely destroy your volume. If I went in with really high heat like 410 or 465 right now, I would lose all of my volume because I look like I have full hair because it's cut so blunt, there's no layers, but I actually have very fine hair. I can put my entire head of hair up in one of those little baby clips and my ponytail is like super thin.
When my hair gets longer, you can really see how fine my hair is. If I were to go in with my hair texture being, you know, the strands are so, so skinny. If I were to do that on high heat, like gone, gone is my volume that I suddenly have like Lord Farquaad hair, which is a look, I actually love that look.
And I do that sometimes. But, you know, today I'm teaching you how to do volume. So go in with low, low heat again.
You can see like all of the frizzy ness that's happening here, because I have. There you go. You can really see it there because I have textured hair.
So we're going to control that with the flatter. So again, really nice thin slice and then we're smoothing it down and now slice up again, just like we did before. It's about one inch.
So all I have to do is just take that little slice, make sure that it's all smooth before I sandwich it in and then go right to the root and down, see how I'm turning my iron so it cups my face. That looks really nice with a barb or with any type of shorter cut. Okay.
How do you finish this off? There are a few ways you can go in with your light hold brushable hairspray, whether that's Sebastian or something else. There's another spray by the brand.
Better not younger. And it's a volumizing spray. That's really nice.
I don't love the smell of it. To be completely honest, it's not my favorite smell. But it doesn't stay in the hair.
The smell doesn't stay in the hair. And it really is nice because there is absolutely no stick. It's perfect for volume.
You can also go in with a product like this. I love this product. When I had my salon, I sold so many bottles of this.
Everyone loved it. This is an anti humidity seal and that's really going to help you when it comes to high, humid areas here in Canada where I live, there's a lot of humidity in the summer and this really, really does help. And as you can see, there's no stick.
Right. It also really does boost the shine and it smells amazing. I know a lot of you guys are going to ask me if this is unfragrance.
It's not. There's definitely fragrance in it, but it's a nice smell. It's a really, really nice smell.
It's not overpowering or too much or too floral or anything. It's just like a nice it's a nice spring, nice smell for the spray. Finally again, you can also go in with your hairspray if you want a little bit more hold.
Sometimes I go in with my hairspray here at the front because I don't want my hair to constantly fall into my eyes. So I'll hold it like this and then I'll spray it in the position that I want it to stay and see. And there you go.
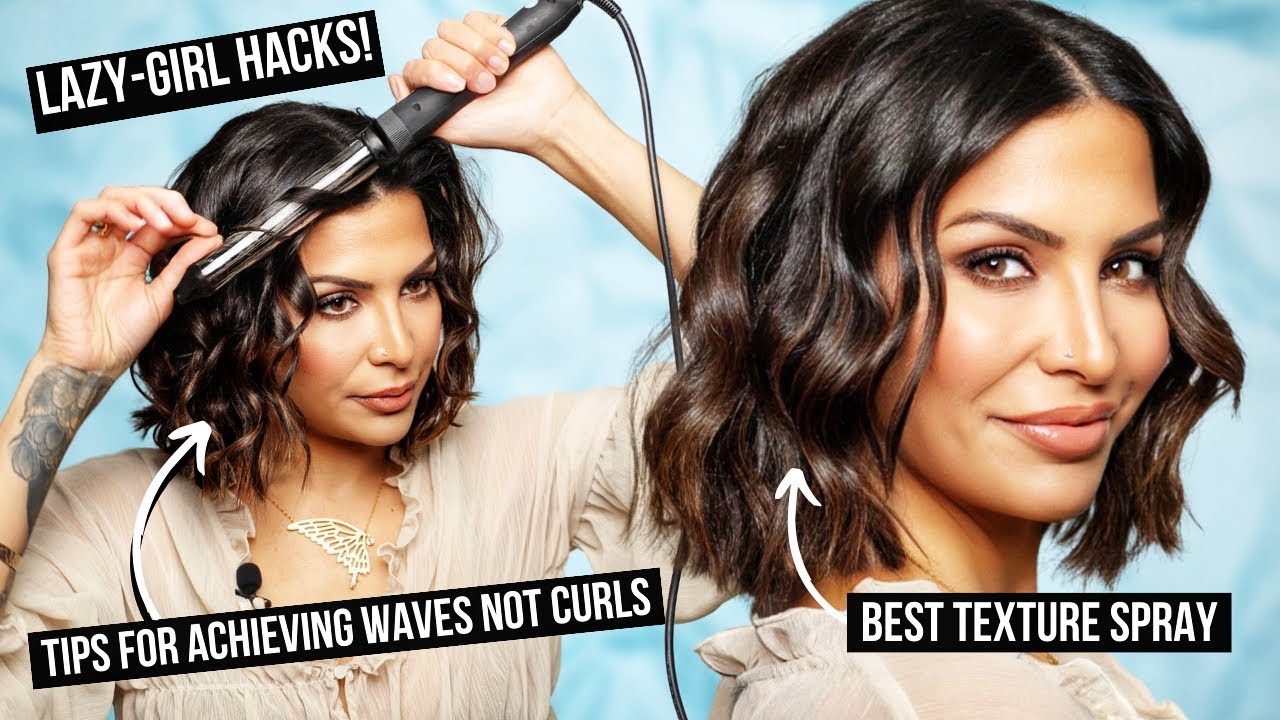
There is your end result. It's going to last you multiple days. You have shiny, smooth, full, gorgeous hair.
This tool is magic if you know how to use it. Well, if you have textured hair, frizzy hair, even just hair, that's super flat. If you have this tool, I mean, it's magical.
It really is.