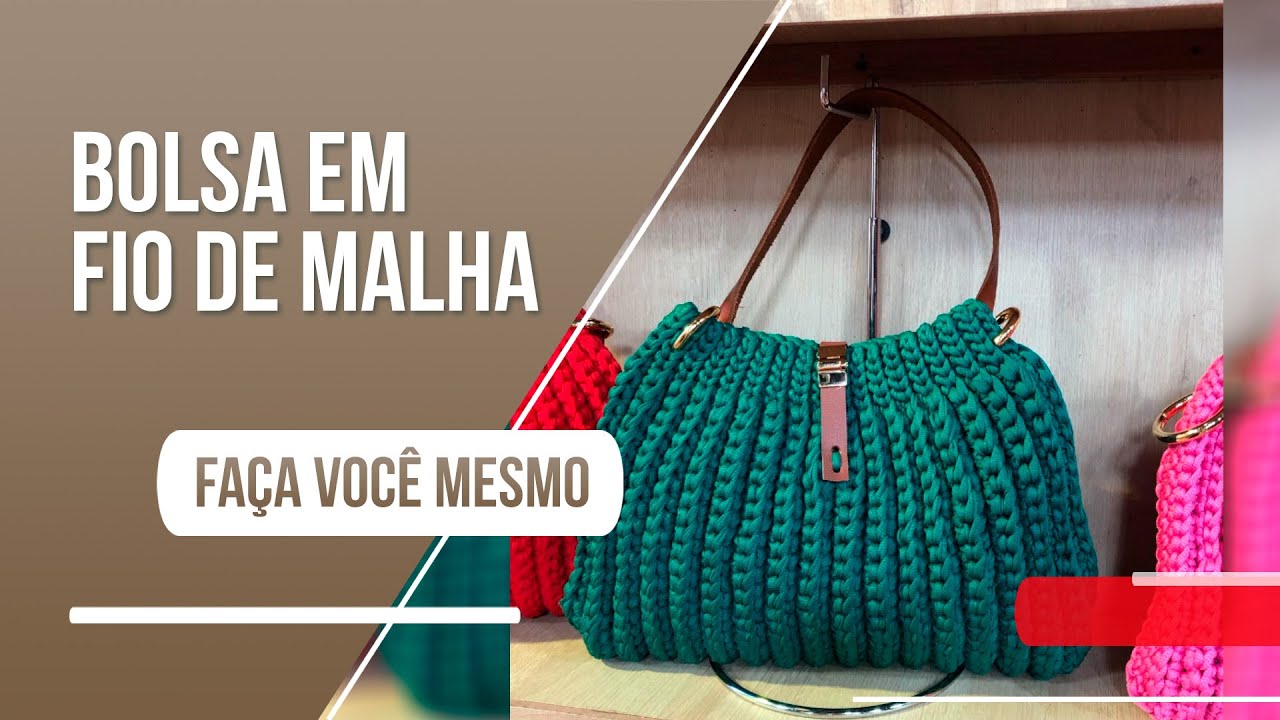
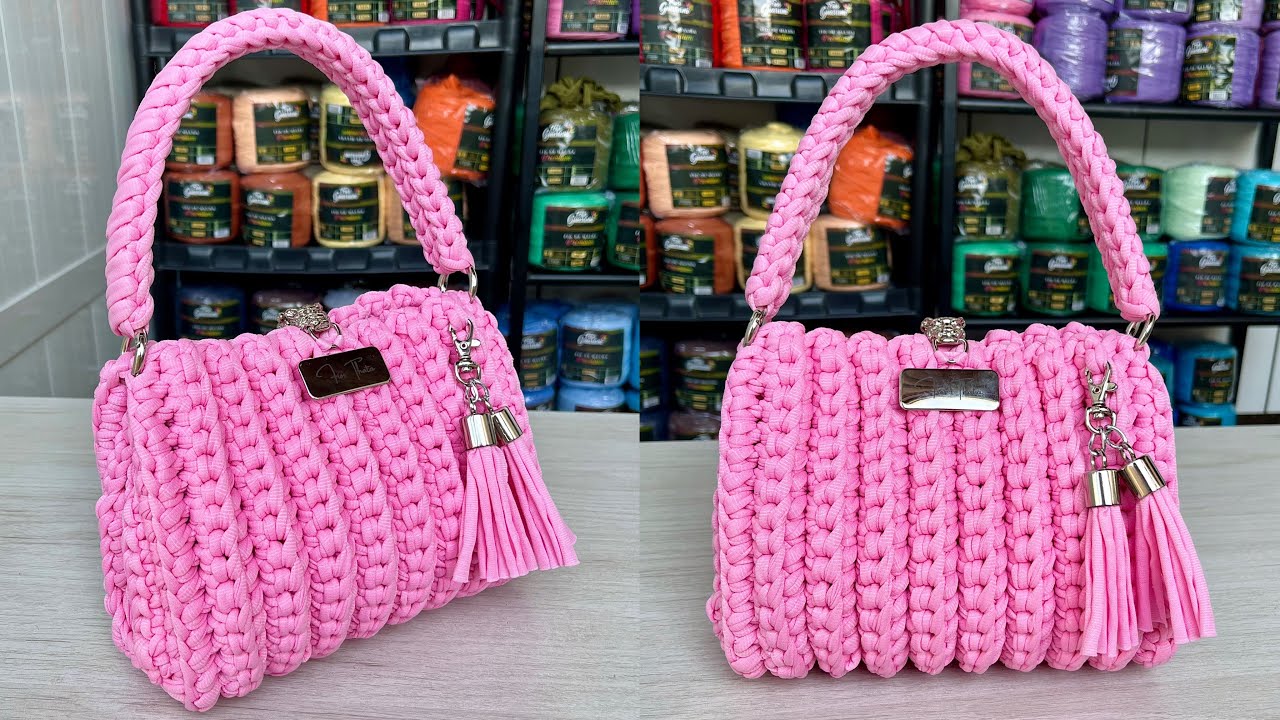
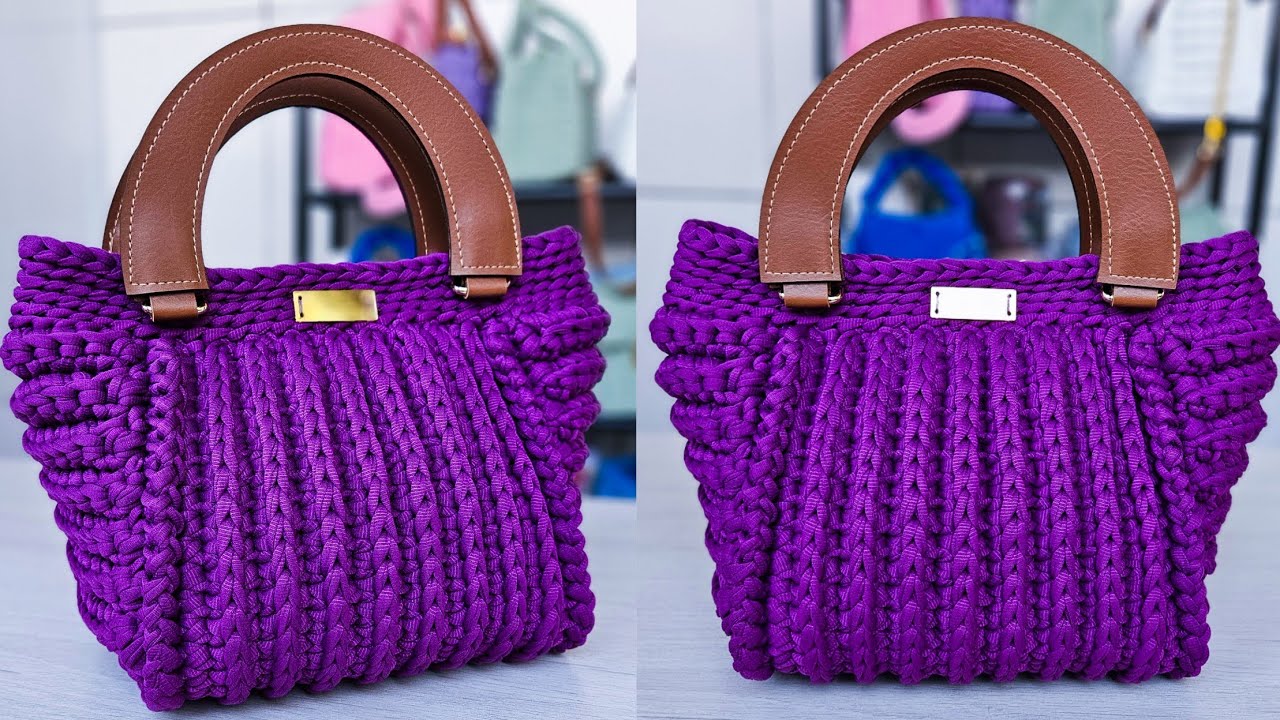
Hi guys, how are you, welcome to another tutorial on the Tata yarn channel, in today's video I'm going to teach you how to make this crochet bag, it's a clutch, right? I had never recorded this model here for the channel, I didn't know you had it interest And then several people sent me photos on Instagram and asked me to record them. So here I brought them.
I really hope you like them. Leave a like for me, subscribe to the channel, if you haven't already subscribed here at the beginning of this video . I would like to thank everyone who signed up, we reached 100,000 subscribers It may seem like just numbers but it is a great recognition of my work, it is a way of giving back for the work that I publish for free here for you, soon we will have a plaque here on this channel, right, and YouTube sends it and as soon as it sends it I'll show it to you so I'm very happy, I even got emotional when I reached the subscribers Because in fact for me it's not just numbers, it's 100,000 people here following me on Instagram we reached 10,000 followers and so there are many people who like my work and follow me and I'm very very happy with that so thank you very much I'll think of some way to give back a giveaway something like that I'll think about it and thank you very much again if If you notice my voice is a little different, I have a tight throat.
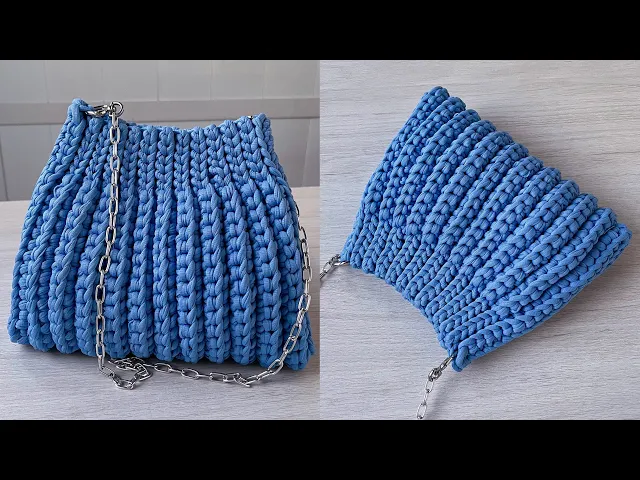
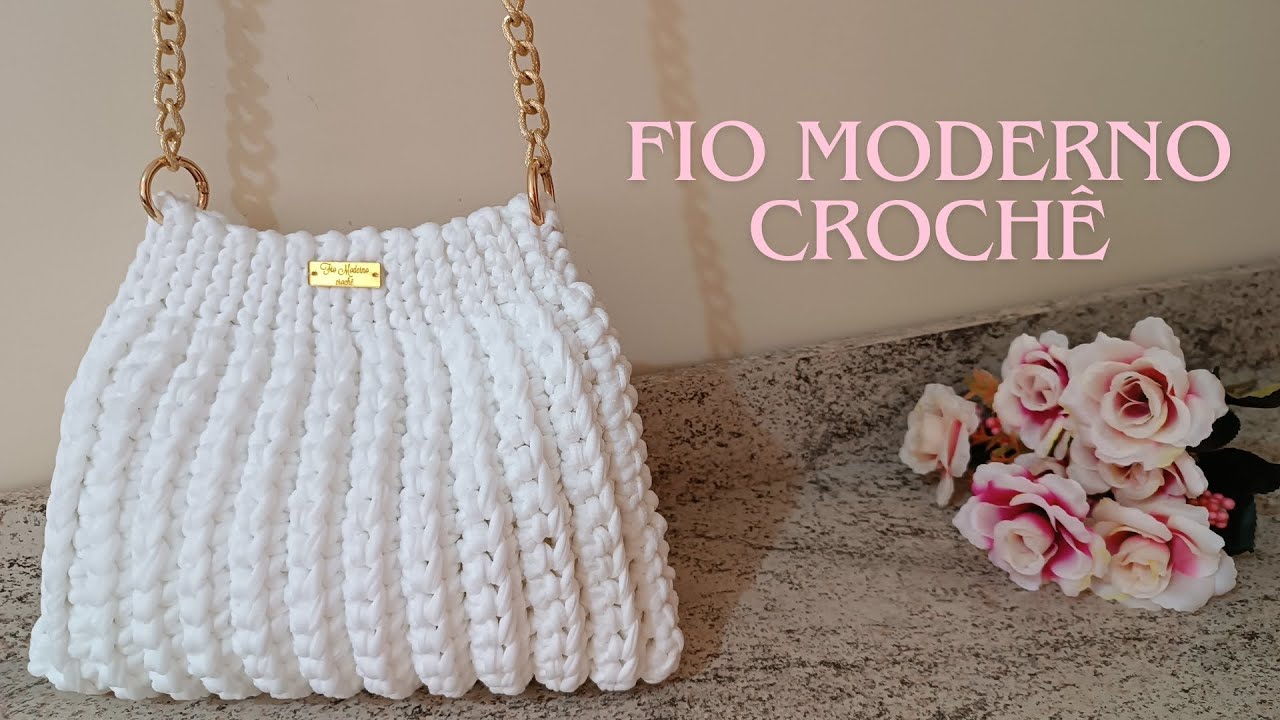
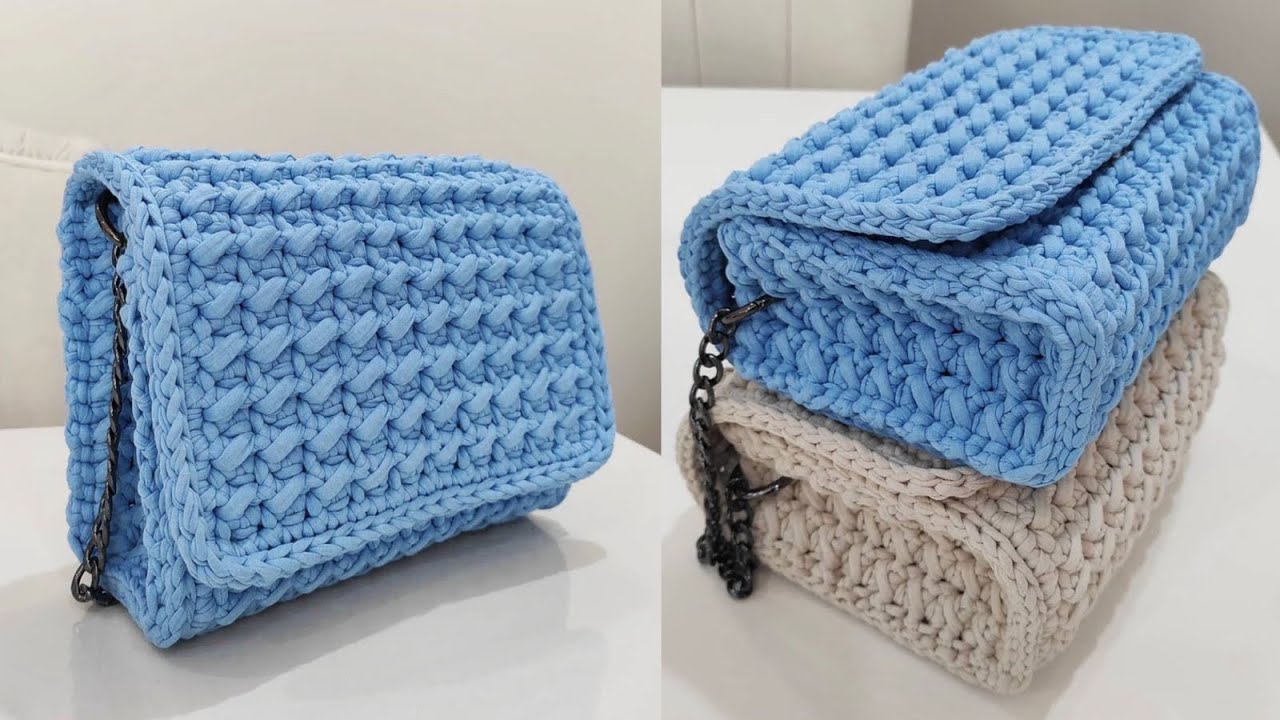
So I apologize, because the audio quality may not be as good, maybe it will be a little quieter, but it was the way I found to still be able to record for you guys, ok, this model here is mini But you can make it bigger as a closing option Look, I put a button in a blanket, look at its internal space , if you reproduce this model, tag me on Instagram and I'll love to see it's here, that's why I I haven't been able to put much of my bag here and if you haven't checked out the last video on the channel I'll leave a photo here and the link in the description so you can check it out after this video and if you 're interested in being part of the F stat community I'll leave the link here in the description, it's a monthly subscription and every month you have two exclusive classes there, I'll leave a photo here of the last three models and if you can't be part of the Community at the moment but want to purchase the course I will also leave the link to each one here in the description Let's go now to the materials I will use a skein of Premium knitted yarn from fils Guarani this skein is 140 m and the yarn is 27 MM I really like this thickness Because It makes your bag light, right, as I mentioned in other videos here on the channel, but your bag doesn't look like it's without structure, it's the color I'm using. Today it's Blue, and I'll leave their website here in the description if you're interested in buying and At Guarani threads we have a discount coupon, it's tata 10 threads, I'll leave it here in the description for you. In this bag, we use a ball of yarn, so it's a very economical bag.
I'm going to use a 6 mm crochet hook, scissors, a 70 cm strap with carabiner here, from the heart and a magnetized button the metals in this class the accessories are from arena metals and we also have a discount coupon which is Tata 200 wires and you get free shipping on purchases over R 200 Let's go now to the tutorial I'll start my work is making 43 chains, if you want a bag that is bigger in height, you make more chains and increase them every two times, ok first let's leave a little thread left here, I'll leave more or less this amount so we can sew one of the sides OK, now let's do the initial loop and make 43 chains, I made 43 chains here, let me measure here so you can see the size so far, 43 chains were 39 cm. Remembering that this is not the final height of our bag, we have it here, so the chains we 're going to turn and work behind it on these little stitches here, calm down, you see, okay? Here's where we're going to work, let's skip the first little stitch, I came from the second one and work single crochet in the next one, also single crochet as we skipped the first little stitch Now we're going to have 42 double crochets in every row, I have to have 42 stitches, okay, let's do it here, so a single crochet for each Gominho until we get behind the first chain we made, I did a single crochet in each Gominho every time to finish the row Let's make a chain, okay, let's turn our work and from here the pattern begins that we will do for the entire bag until reaching its length, they will be a repetition of the first six stitches will be slip stitches and the last six stitches will also be slip stitches the rest will be single crochets so if you are going to make your bag bigger in height you don't necessarily need to make it bigger here, you need to make more slip stitches which I recommend if you, for example, instead of making 43 TR chains, increase for example there about six stitches Then you make seven slip stitches and the first and last seven slip stitches the other slip stitches need you to increase a lot then you increase a slip stitch, right, but there is no rule about this part of the slip stitch where you go Put the button and where you go will be an opening for you to put things inside the bag So this piece doesn't need to be so big Okay b so let's count here do six slip stitches 1 oh and one thing I didn't say let's do working only on this front strap, ok, this back strap we are not going to work on, so let's go 1 2 3 4 5 and six 1 2 3 4 5 and 6 now we are going to work double crochets also taking just this front strap and we will leave it left over here six stitches 1 2 3 4 5 6 So let's do double crochets up to this point here and I 'll come back with you I worked double crochet here , the first double crochets then we did double crochets and left six stitches left over so we can do six slip stitches so let's go 1 2 3 4 5 and the sixth is this one, right on the turn if we are always going to make a chain to finish the row and we will turn our work from here the rule is where there is a slip stitch we will do a slip stitch where there is a single crochet, let's do a single crochet, always working through this strap here in the front and not through this one in the back Ok, so let's go 1 2 3 4 5 and six it looks like here, it's going to be crooked, right, but don't worry, it's not So we did six slip stitches, now we're going to work one single crochet in each stitch, always in the front strap until we get to the last six stitches so we can work slip stitches, okay, I worked a single crochet over each single crochet and now we're going to work the last six stitches.
very short here look 1 2 3 4 5 and 6 this little leg that is very short here is our sixth point So let's go 1 2 3 4 5 and this little leg here is very short, the sixth always makes a chain to finish and let's turn our work and let's repeat what I told you, which is the pattern where there are slip stitches, let's make slip stitches which are in the first six stitches and in the last six stitches and in the remaining stitches single crochet So let's go 1 2 3 4 5 and 6 now we are going to work single crochet over each stitch and finish with six slip stitches it's very simple and now you will follow this pattern until you reach the length you want. If you want, I'll do as many rows here as I think necessary and I'll show you I've made 24 rows here. I'll measure them so you can see the size of the height 41 and the length 26.
If you want a bigger height, you make more chains at the beginning and if you If you want it to be longer, you can continue making more rows to increase the length. I recommend that you increase it every two rows . do it twice in two rows so that there is one thread left on one end to sew the side and the other thread on the other end to sew the side, okay, I think it looks nice this way but you can do it in odd numbers too, ok Now let's do this seam on the side PR sew the side seam I'll use a tapestry needle But you can use a crochet needle Okay , let's put it here then the thread on the needle let's start the sewing you need to leave your bag the part that will remain for inside at this moment to the outside and the part that will be on the outside now needs to be on the inside so you fold it here so you can see which side you want out, if it's this one or if it's this one let me see I think I'll want it out it's this side here so I leave it inside at this point I'm going to take the thread and I'm going to pass it here to this side to join it now we go in, we pass the needle here, to the side that's on the left, we take a little loop from the inside and a inside strap on the right side and I pass the thread I go back to that side and take a strap from the inside on each side and pass the thread I take it here I return the thread caught in a strap here on the inside on one side and in the inside strap on the other side I pass the thread if you have another type of sewing that you prefer, no problem, you can do it then it is essential that you do not skip any stitches so as not to end up with holes , okay , you see how simple it is.
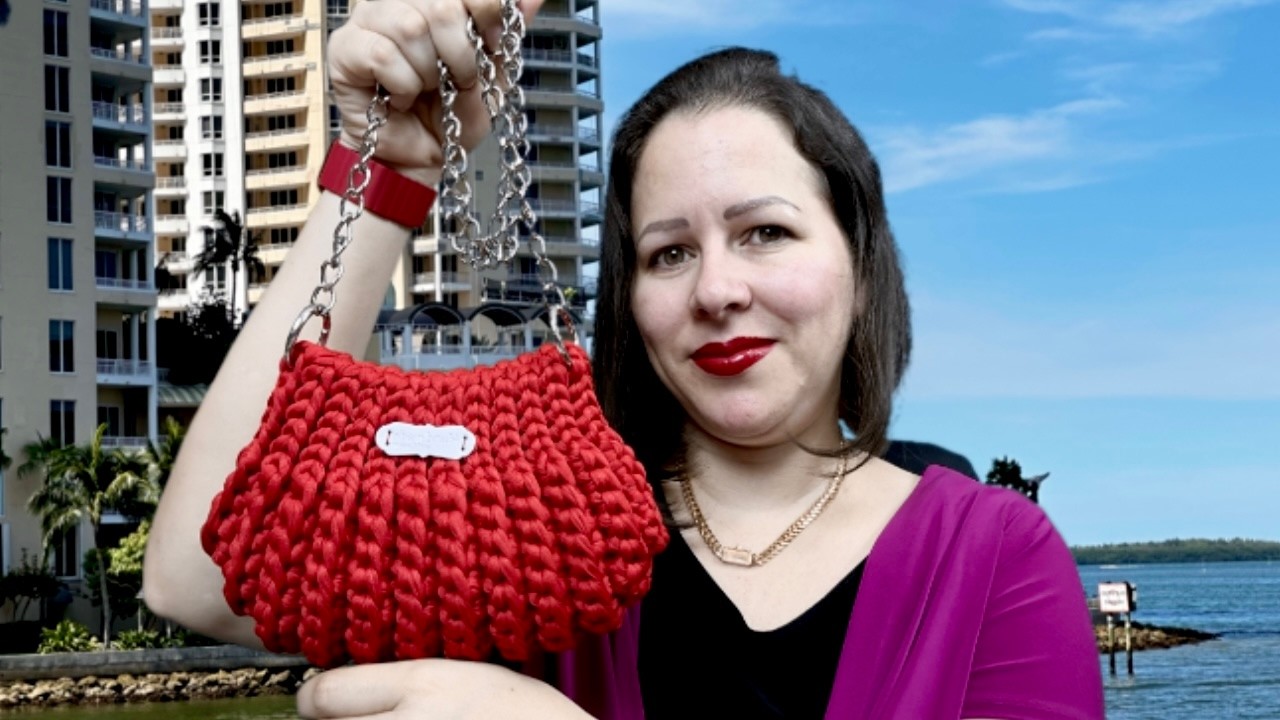
Here I take a little strap from the stitch of a I place a strap on the stitch on the other side and pass the thread, then I always return the thread to the side where I started and repeat this process until I have sewn this entire side here , now let's pass the thread here through some stitches and let's cut the excess thread and put a drop of glue on the end you can also do a simple seam now let's do the same thing with the other side so I put the thread on the needle here I pass it here and let's repeat the same type of sewing, I come back here to this side, I take the inner strap, one on each side and pass the thread, I take a strap I just can't forget that it's an inside strap , ok and let's repeat the same thing we did on the other side Including the part of the finish, I sewed it here, guys, both sides, I said I was going to turn it around, but I thought It turned out so beautiful, I chose not to turn it around. Okay, I'm going to leave it like that, what you do, you turn it over and see what you like, if you like it that way, but leave it like this, if you think it looks better turned around, you can turn it over. Also, now we're going to do it, so the seam on the button is magnetized, I sewed the button here, look at both sides closed, it looks like this and now we're going to apply the strap, my strap is this one.
It already has a carabiner, can you see ?