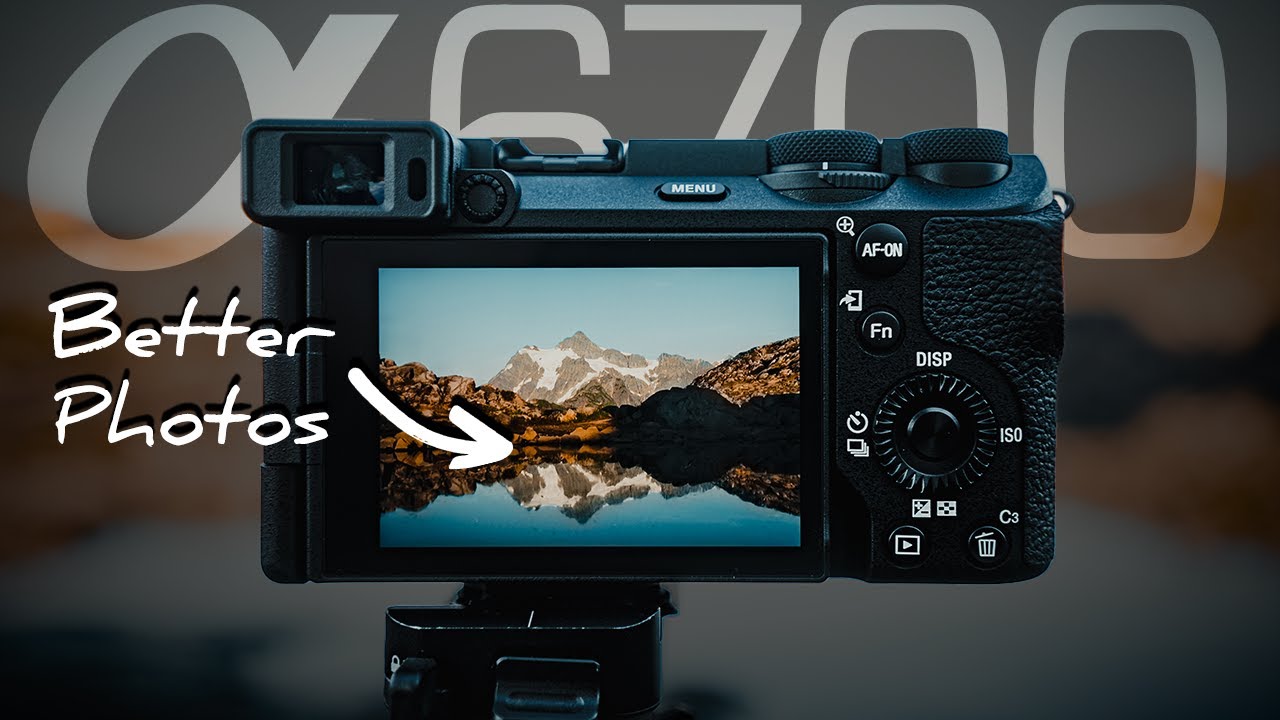
in this video right here I'm going to show you guys exactly how I set up my Sony a6700 for both filmmaking and photography and not only that I'm just going to show you all the like customization buttons I've had and how I bind it for maximum efficiency all right so firstly we'll be going over the video settings and then we move all with the other stuff so start by like navigating like moving this button here to the video mode and then let's take it to manual all right once you've done that you are good to
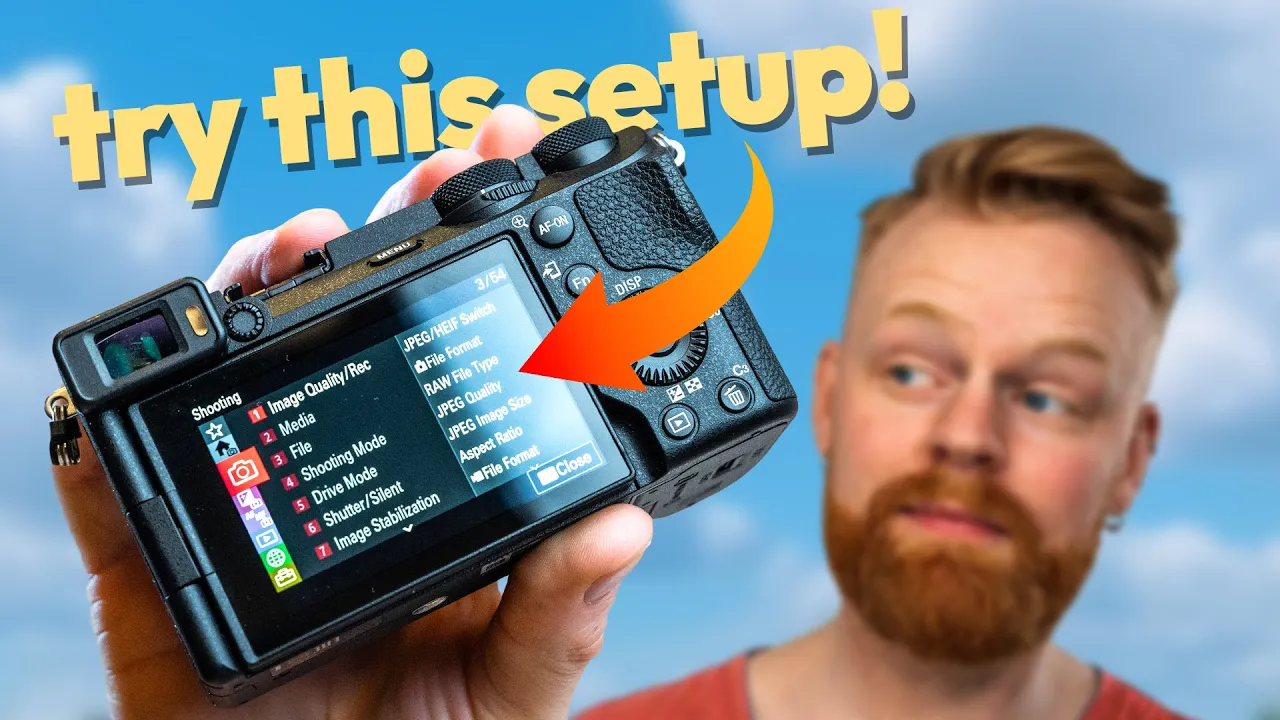
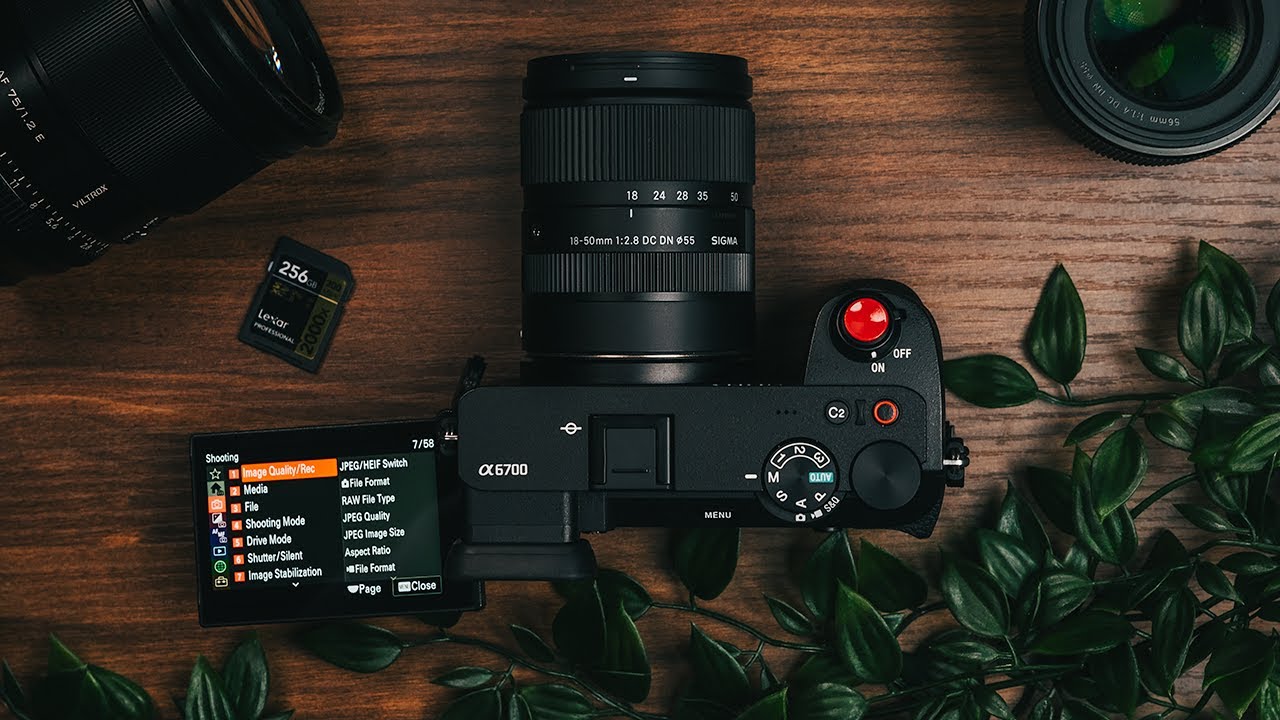
go next thing we can just hit the menu button straight that way and scroll down to the red section right here that is shooting and we can just start by going in image quality then you click over there and you see file format alrighty with me now I like to film in xavc s4k if you do want to do higher quality that is totally possible then you can go to xavcsi 4K just keep in mind that if you go down that path not only will it take up more space on your memory card which will
further lead you to buying more memory cards which costs a whole lot and before you know it you'll probably be homeless and smoking crack so for that very reason I choose xavc 4K and it's pretty good next go to movie settings and we can start by having it in the 25 frames per second you can choose 24 frames per second or 30 frames per second depending on what you have on your screen I'm shooting in pound you might be shooting ntsc the record shooting I like to film in the highest postpone so it's 140 M
4 to 210 bit if you liked it to take less space on your memory card or you have a computer that ain't like top of the line and it's harder for it to edit then you can choose 100m4208 bit but I'm showing you what I do alright you know what I'm actually gonna I had my glasses here and it becomes a little bit easier to see what I'm doing alright everything is in 8k resolution right now so we will go here in audio recording and I I want to have it on and after that I
take the audio record level and I have it around 15 14. you don't want to have it too much but you don't also want to have it too low and I think like from 12 to 14 15 that's like the sweet spot I have the 14 right here press the leave as it is and then we can scroll even further and go to shooting display and there I have a grid line and I like to have the grid line on and I like to have the rule of thirds grid line all right that's just the
like lines when I'm filming and it's easier to you know keep your composition right it's a good little tip you know once we're happy with that we will go down to exposure and color and I am gonna scroll down to white balance now for white balance I add there are two modes I should win either I'll go without the white balance and that's like incomplete running on situation these cameras nowadays are pretty accurate however when I'm filming like longer or I'm in the scene like for instance here I want to have manual settings I'm gonna
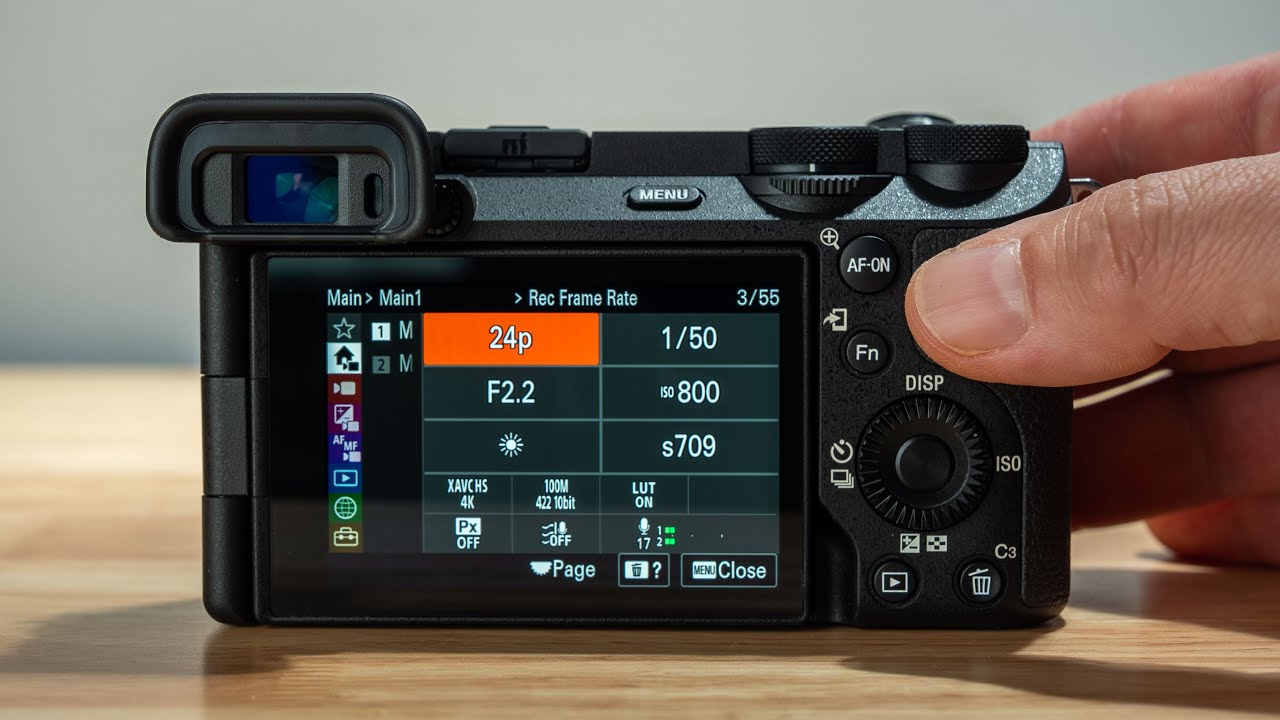
scroll down here till you find this white balance Kelvin temperature and I'm just gonna keep it on 5500 that's like pure daylight and then I switch it afterwards and I'll show you a few tricks to do this fastly a little bit later but we keep it like this and then color tone this is where the picture profiles are and I use two different picture profiles so if you click here you can go down to picture profile and the one I can't remember what it is like right off the bat but I switched that to my
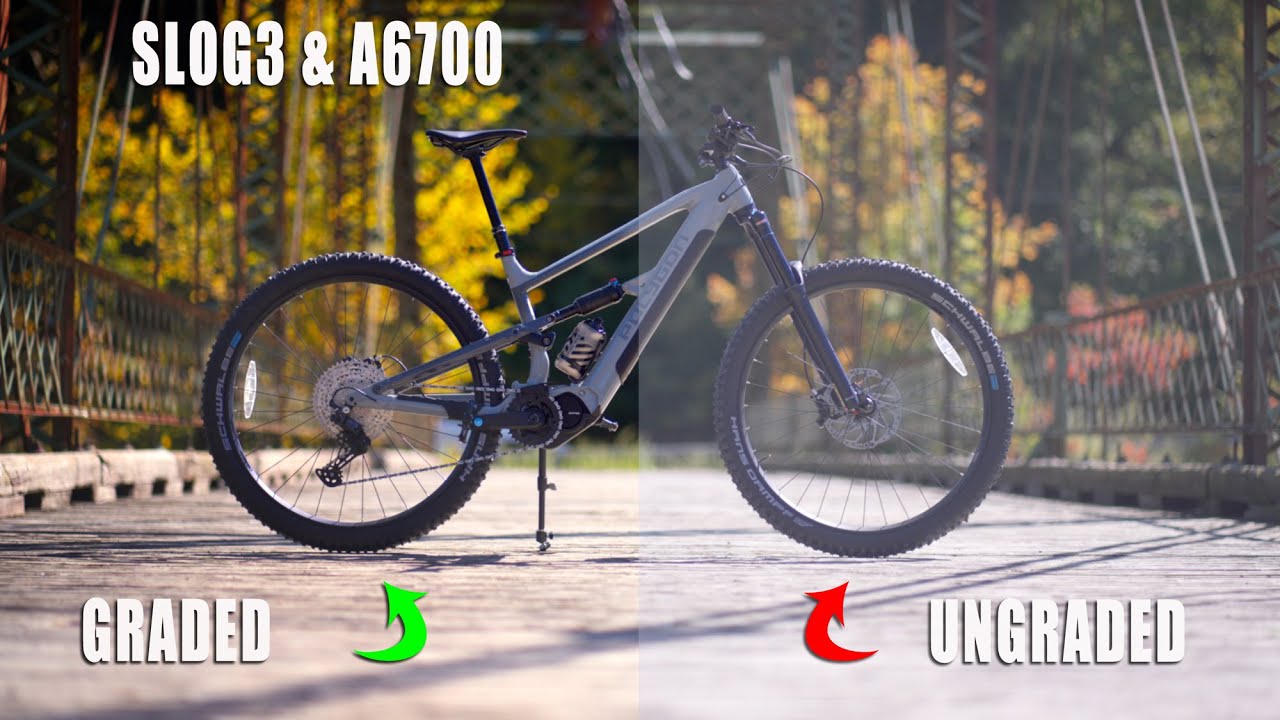
s-log 3. so I shoot the nestlock 3 and then as cinetone tool so look at this just change the gamma scroll and until you find s-log 3 and then the color mode you change that to S gamma 3 Sinner and that's it this is going to be your picture profile one the picture profile 2 I like to have on S cynditone and the color mode on S cynaton and that's also just it now the difference between these is that s-log 3 is really flat like you can see this here and you need to color grade
that I don't always like want to be bothered on congregating everything that I'm doing and then I shoot it as synonym tone and as cinetone is great right off the path now next up we can go down to focus section of this menu here and by the way ink is great that now in v6700 we have this menu system the old menu system I didn't like that this one I like now Focus mode I have continuous autofocus the transition speed I've said that I'm always playing around here and I encourage you to do that too
I like to have that and four or three and these shift Sensitivity I have it on round four at the moment this is at least what I have at the moment and then the focus area I like to have for filming and running on I like to have sewn and then it's easy to just change where the zone is if I need to be very specific then I will either do manual focus which is easy to switch to or the the screen is touch screen so you can just click on the screen whatever you want
and it's gonna that's gonna be the focus and it's also going to track because you have this new AI focus on this camera then what we can do subject recognition I have some recognition on target recognition human but depending on what you're shooting this camera is like equipped with all of these like there are a bunch of different things that you can let the camera like have priority on recognizing and then you have right left eye of just have it auto yeah this is this is just keep as is you can't have this face memory
thingy tool so you can like take photos of whatever faces and the camera is gonna know what faces those are save them and then keep like prioritize them so that is a cool little feature too and the face priority I like to have that on too as well especially when I know I'm shooting a lot of people and when the people ain't in the scene is not gonna try to find you understand what's going to say it's getting late here sorry if a ram pull next let's navigate to peaking display or by default I like
to have it off but I'm gonna show you a little change like a little bit later in the video how we can quickly make turn it on and off because I think it's really nice to be able to have it when I'm filming manual and I'll show you that in a second but have the peaking level I'd like to have it on Mid and then the peaking color I like to have it on red because that is the most distinguishable I'm not so good Network distinguishable you understand it is the easiest to spot color so
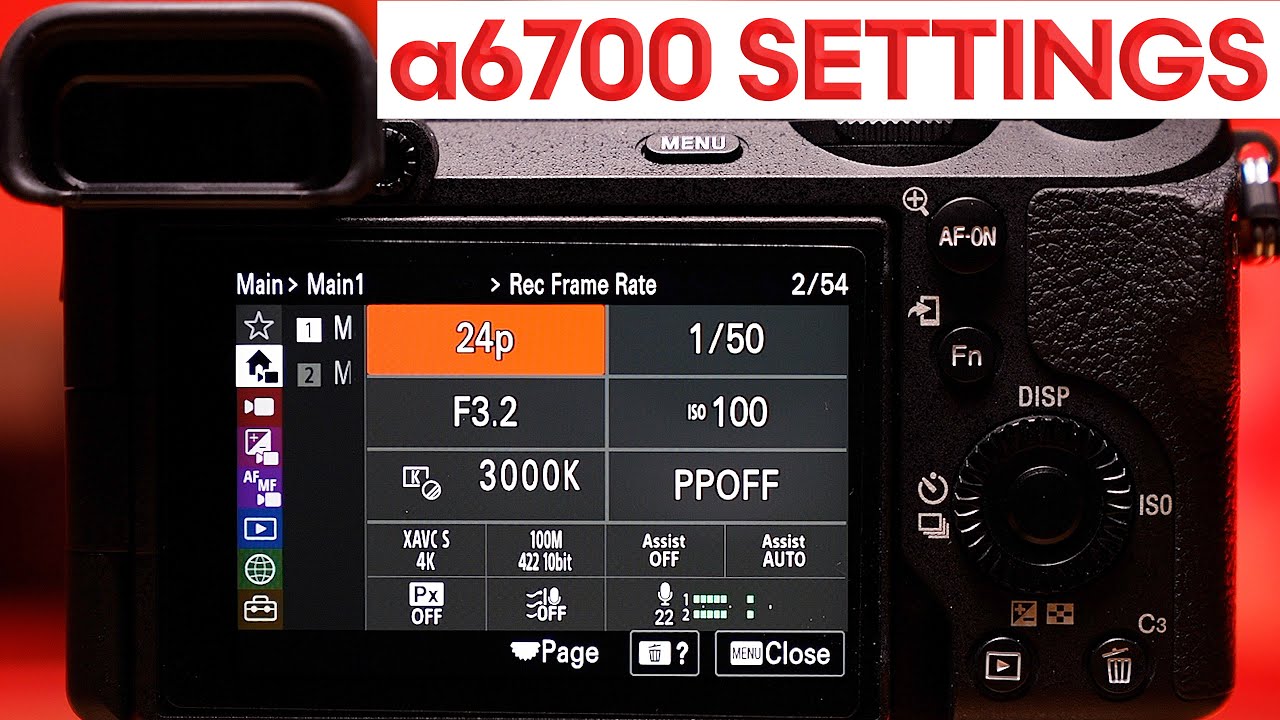
I have that to Red all right all right so these are like the base settings now I'm going to show you how I utilize this memory recall buttons here and this is so nice when you're out there run and gone because here we're filming in 4k 20 FPS I want to keep the shutter speed rule the like 180 degree shutter speed rule 1 50th of shutter speed but then if you want you can notice that your aperture this is just going to be in the memory recall and then the next we can set the iso
now I usually like to have auto ISO right off the bat when I switch between these memory recalls mode but I'm very quick to switch it you know to manual whenever needed so if you go to the shooting section here and you scroll all the way down to shooting mode then you can see camera set memory we click that and here you just click one so if you scroll you can see one two and three these are these buttons right here the one is my 25 4K FPS profile all right and you just click that
so whenever you're in the video mode and you switch to one this is the settings that you had all right on number two I like to have 50 FPS and number three at the moment it is 100 FPS but I don't really use it because I have the super slow motion snq so I might do something different in the future but I'm just telling you so what you would do then is to go back to manual now you would go to menu and you would change in the shooting mode in image quality movie settings frame
rate and you choose that to 50 FPS or 60 FPS if you're if you're there you know record setting the highest and then I would change the shutter speed to like 100 or 120 if you're a 60 FPS and then the exactly the same now click menu and from menu you just go shooting mode camera record settings and then you click the two you scroll there and then you press the button and you just press this circle here from the camera I've never told that before click on it and it's going to save that and
the third you would do exactly the same thing if you want and have that for 100 FPS 120 FPS if you want then I just change the shutter speed now before I show you the S and Q I want to show you that if you click s and button right here you get all of these shortcuts and here I change the picture profile if I need it by default and in my memory recall I like to have it in s-lock 3 because I suppose I mostly shoot but when I know that I don't want to
color grade then I just go F9 click here and go into and click bam done and also if I need to change the white balance then I click FN down here click and then you can change the white balance according to what you need and you also have lots of other shortcuts too here you have the steady shaft you do have the active steady Shaft Tool on this camera so you can play with a tool and this is totally customizable I just wanted to show you this now let me show you the S and Q
so I've set my camera to when I scroll to snq it is by default now recording in 10 frames per second right off the bat so it's recording in slow motion into the camera so I don't have to slow it in like down afterwards in post and I like that because it's just another extra button that I can utilize so how you do that is basically when you switch to snq we click menu in shooting mode you click image quality as in Q settings and here frame rate settings I have my record frame rate to
25 frames per second again you can do 24 30 depending on what you're doing and then the frame rate is going to be 100 frames per second so now we're telling the camera it's gonna film into the camera in 4X slow motion and you you click on all that at that and then you go snq and it's gonna film in four times slow motion straight into the camera now before we go on to the photos I want to show you a photo buttons that I've painted so more fast with it so on chemical and fill
fast if we go back to the video settings right here navigate all the way down to the setup the yellow tab and we're gonna find dial customize and there you can find tile customized for video the video camera is the one below the you know photography logo now the first one that I have changed is in the panel wheel I've changed this number three which is just this wheel here how it's spinning now it's not set to anything and I've changed that to ISO so instead of just clicking on the iso and then scrolling just
by scrolling directly you're changing the iso it's very easy to change you just click on the button that you want to find click on it and then you find whatever it is that you want to Pine and click on that next thing that I changed was actually uh here and I did change the number three which used to be our ISO so it's when I click here I've changed that to peaking display so now it can be really fast on getting this peaking display up and now you've set up this button to be peaking display
on and off next button I like is if you go all the way off to rear one and number two that is this button right here I have it set to gamma display assist so basically what this is that when you're filming in like s Lock 3 it is really flat by clicking on this it's going to show you on the display what the corners would look like if you'd had you know colored little uh for instance like a wreck 709 Loop like really just giving is putting colors on it but only on the display
and it's nice as assist just so you can see so not everything is super flat I think it's nice then it's easy for me to keep you know everything exposed and nice so these are like the purpose I painted I might change them or do anything different in the future but at the moment this is what I like to do now this would obviously enough be a complete tutorial if we didn't go through my photography settings tool and I'm going to show you that also so in the photography this is fairly easy the first thing
I like to do is to have it on full manual and then we click menu and if you navigate to shooting I have here in file format now under that we go to raw file type I like to have lost less compressed raw file as high as quality jpeg quality you can have extra fine this highest amount of dip quality and the aspect ratio we have here three double point two I don't know how to say that let me click on that also now we can click the menu we can click FN next we can
find go to white balance now white balance when you're shooting raw doesn't really matter that much because it's so easy to change it afterwards however I have two like there's two key things that I think about here either I like to just shoot Auto the cameras are really good at like finding the correct Auto like the white balance and again you can change that afterwards but sometimes I'm shooting many folds at the same position and when I edit them I just like the white balance to be the same then it's easier to edit these sets
together so I'm constantly I may have a little you know War inside which I like more for the sake of this tutorial we can keep it in Auto but you could keep it just everything in daylight and then you change it afterwards just like something for you to think about too you can have a word in your brain as well and what was it more yeah the focus mode we have continuous autofocus and then the focus area I like to have this movable spot here so you just click it and then it's so easy to
change the spot once you set it if you click on this middle button boom now we can move it around and this is what I like most for photography and remember also just like video you can also click the screen here as well and it's gonna even track your subject if that is something that you like now we go in mem menu we scroll down to shooting mode and we're gonna set camera set memory and the first one we are gonna set like this and this is our full manual so number one is our full
manual raw alright next up everything has same in the settings but we switch it to aperture priority I like aperture priority a whole lot I shoot the whole lot in Run and Gun situations and aperture priority is just so good and when it comes to the iso I usually have it set to Auto right of the path in the memory recall but again it's just this little scrolling here you change it so that's what I'm doing so in menu now we go memory recall and click tool and Bam this is our aperture priority all right
and then the third one I like to have just jpegs because sometimes I'm just photographing for the funnel fit and not anything that I want to import in Lightroom and edit it can be with my family over there I love photography but not all photos that I shoot they're gonna be like some masterpieces I'm gonna edit or sometimes it's just memory sometimes it's just something simple and then I have that on jpeg so now we do just a JPEG you can have it in highest quality if you want or just fine whatever you can you
can choose choose here and then we do the exactly the same and we go into shooting mode and set the camera record settings to number three now this is how I set up my Sony ac700 for both photography and filmmaking but once you start to take photos you're obviously gonna want to edit your photos because you want to make them a hop and like become bangers and then this right here is how should be editing your photos in Lightroom


![SONY A6700 POV NIGHT CITY STREET PHOTOGRAPHY! [LONDON]](https://img.youtube.com/vi/mEKbS4SoLC0/maxresdefault.jpg)