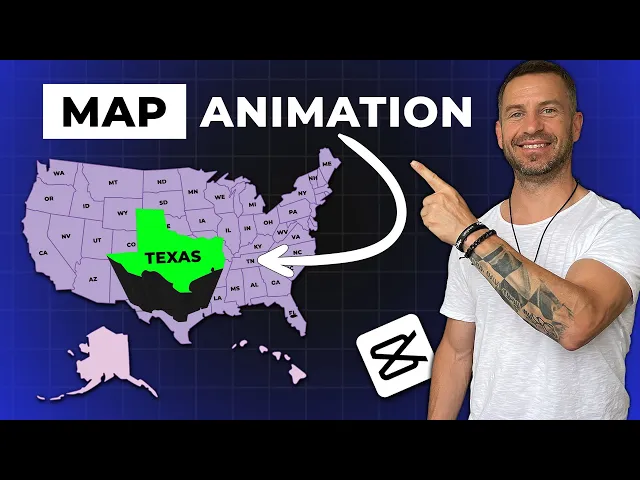
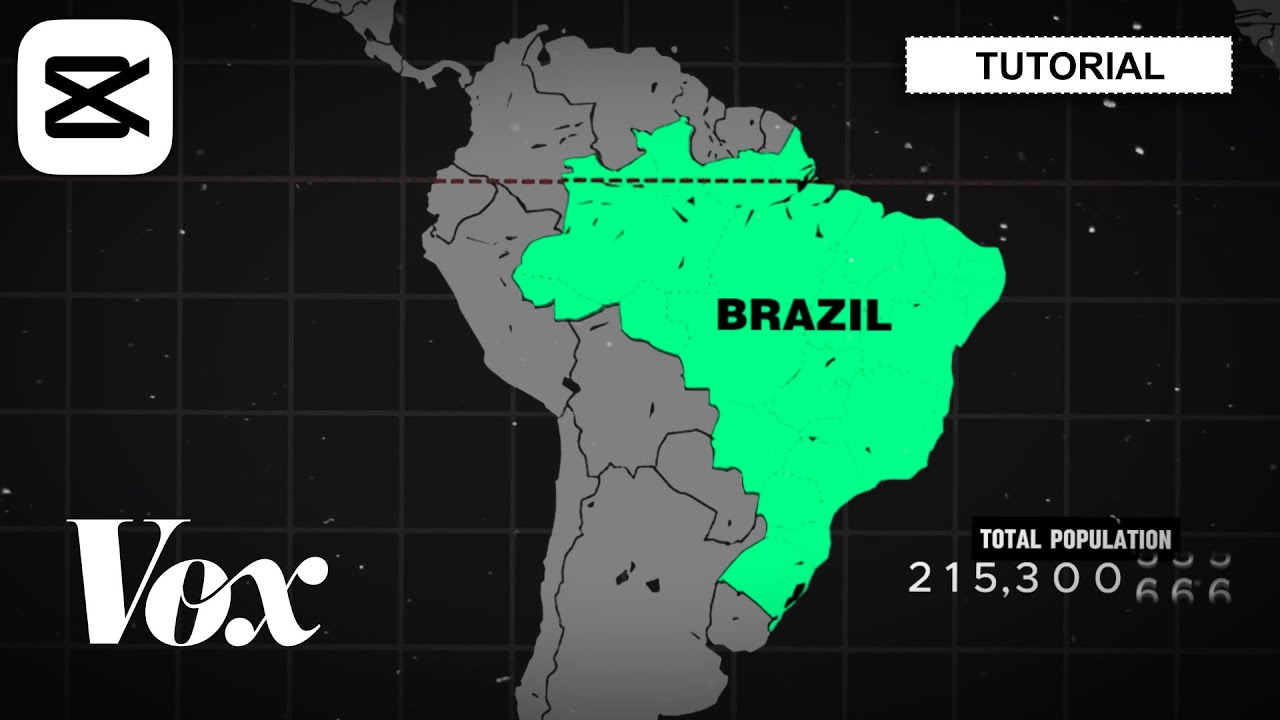
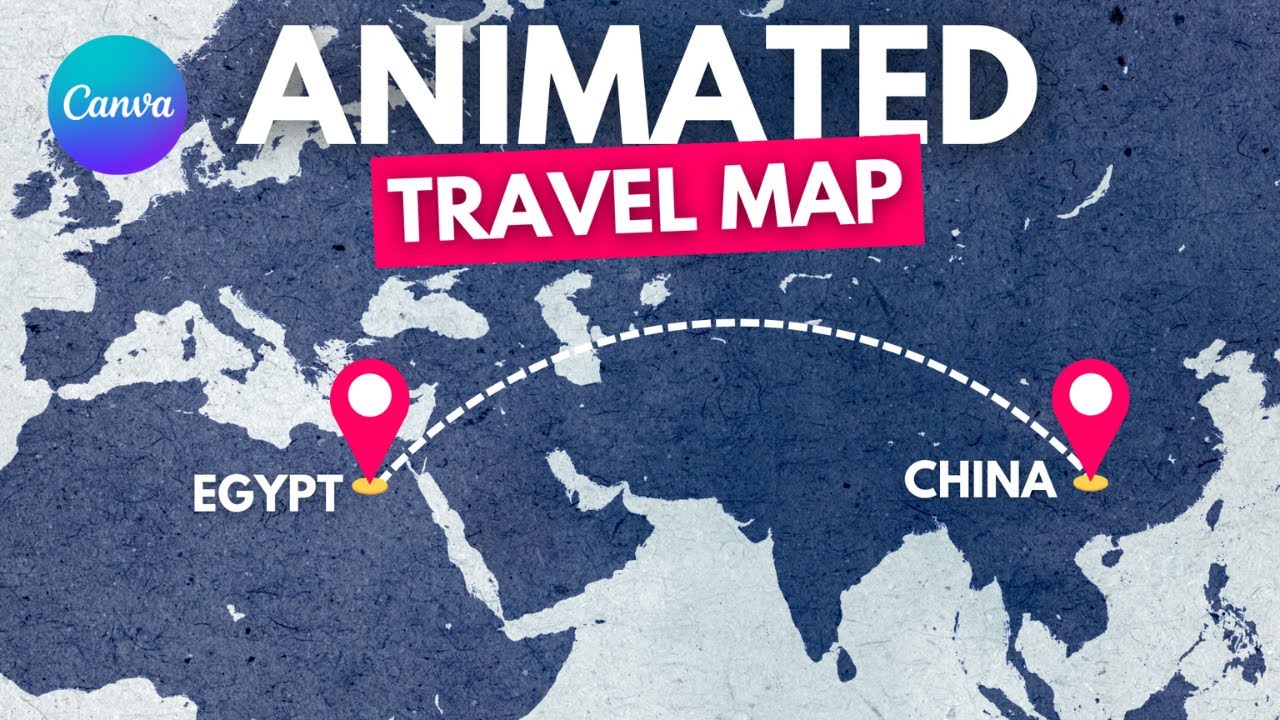
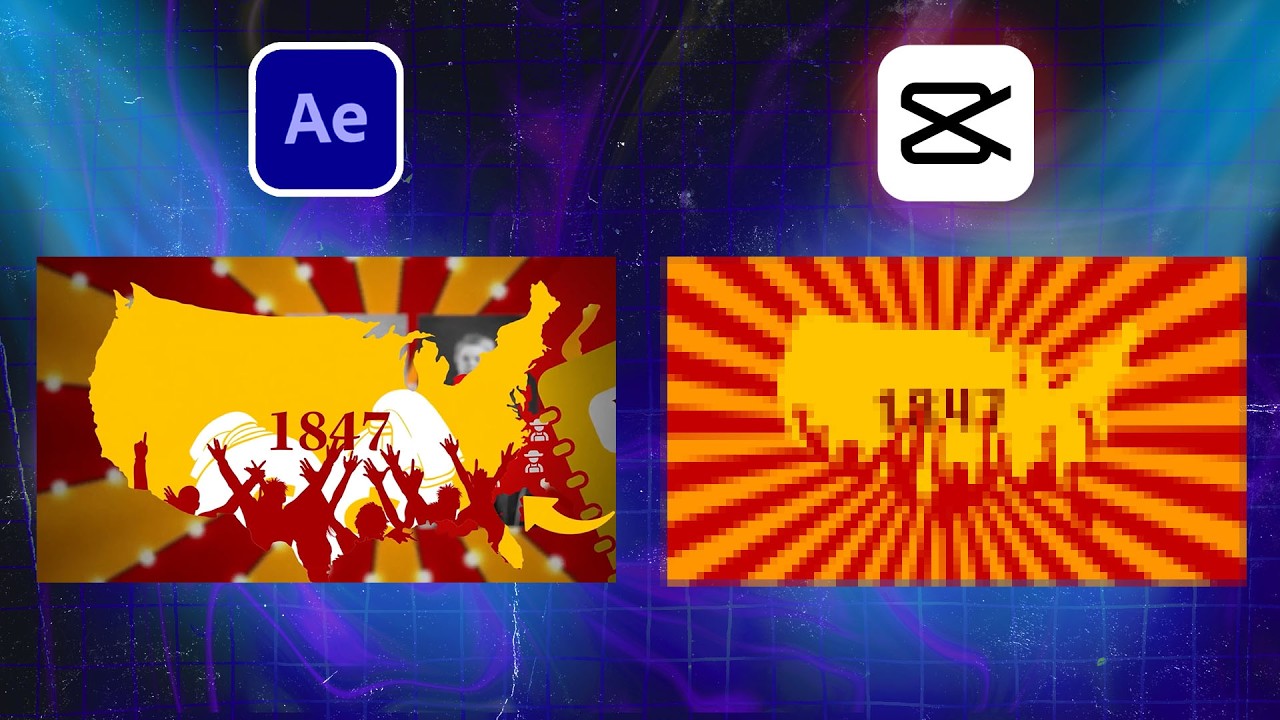
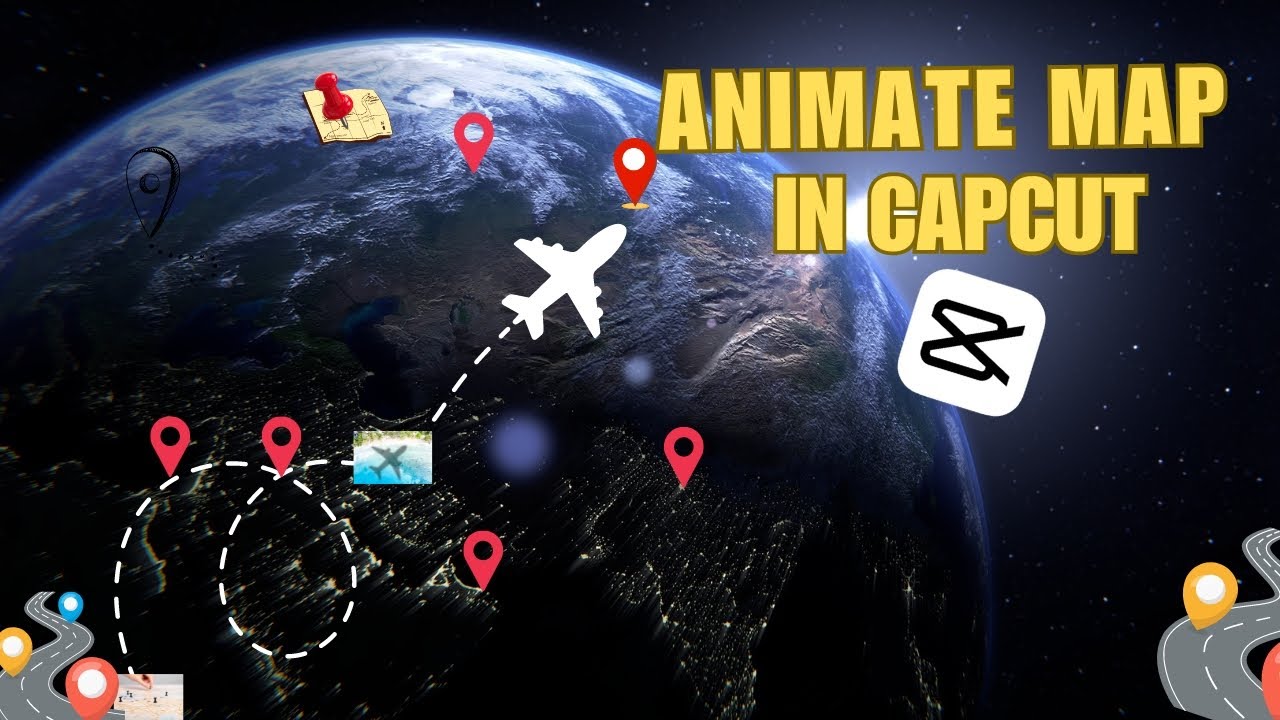
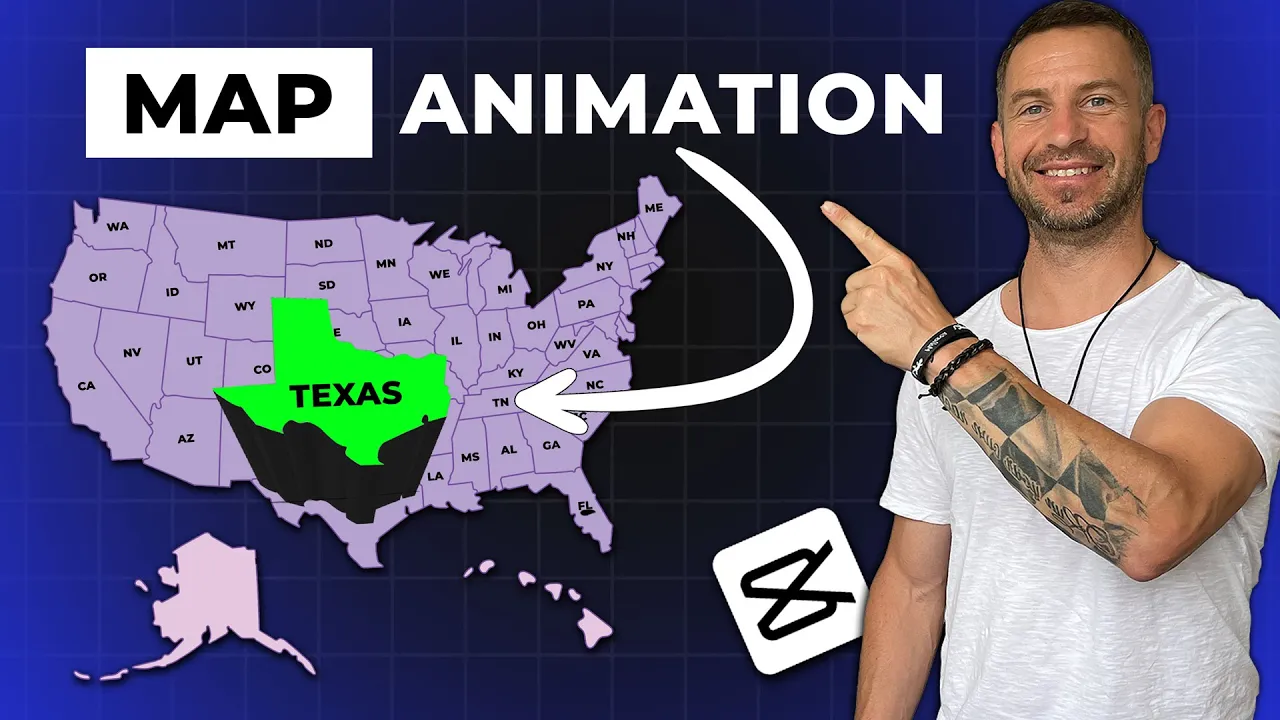
I got a lot of requests from you guys to make a map animation tutorial and today I'm going to show you how to do exactly [Music] that for this case today we will not use only cap cut but also Photoshop we need Photoshop because we have to make an overlay to a specific part of the map that we want to highlight and animate later in capcut but don't worry if you don't have a Photoshop I will provide you with all the files that you need for this video so you can practice alone you can download all of them if you click the link down in the description now let us open Photoshop and import the map you can also find different maps on tel. com or freep. com for our tutorial we need two pgs one which is two-dimensional map and one which is in 3D I'm going to show you how you can do the 3d effect we need a background and we need a map on a transparent back ground now drag the map to the background and place it in the center next thing we need to do is go up to 3D and choose new 3D Extrusion that way we can open 3D functionalities click yes then click and hold the bottom part of the map and drag it up you can also drag the Extrusion dab down a little and if you like it you can then go up to file export save for web and make sure you choose PNG 24 and save it to your computer to turn off the 3D workspace go to window workspace and click Essentials next what we need to create is an overlay for a part of the map you want to highlight import the 3D map you just exported go up to tools and choose Magic one to click on the part you want to highlight on the video in my case that will be California choose the color select the paint bucket tool and click on the marked area to apply the color now let's create a new file go up to file new make sure it's a transparent background and click create go back to map choose move tool then drag and drop the green part to the new file go up to file export save for web and save PNG 24 on your computer now let's do a second country go back choose Magic One tool and this time I will Mark Florida choose paint bucket tool put the color on Florida choose move tool again and move colored Florida to a transparent file hide California part and save it to your computer we can close Photoshop now because we have all the files that we need for cap cut so open cap cut and create a new project import all the files two- dimensional map 3D map and both colored files first drag the two-dimensional map on the timeline then 3D map go up to Transitions find mix transition and apply it by clicking on the plus icon now move your playhead to the beginning of your second map highlight it go up and click key frame on position and size then move your play head 20 frames forward by holding shift and press two times right directional Arrow key on your keyboard go up increase the size size to 165% and move it down a little go to the media and drag the green California part to the timeline increase it to 165% drag it to the right spot and decrease the opacity to 80% now click key frame on opacity position and size go to animation choose fading effect and set it to 0.
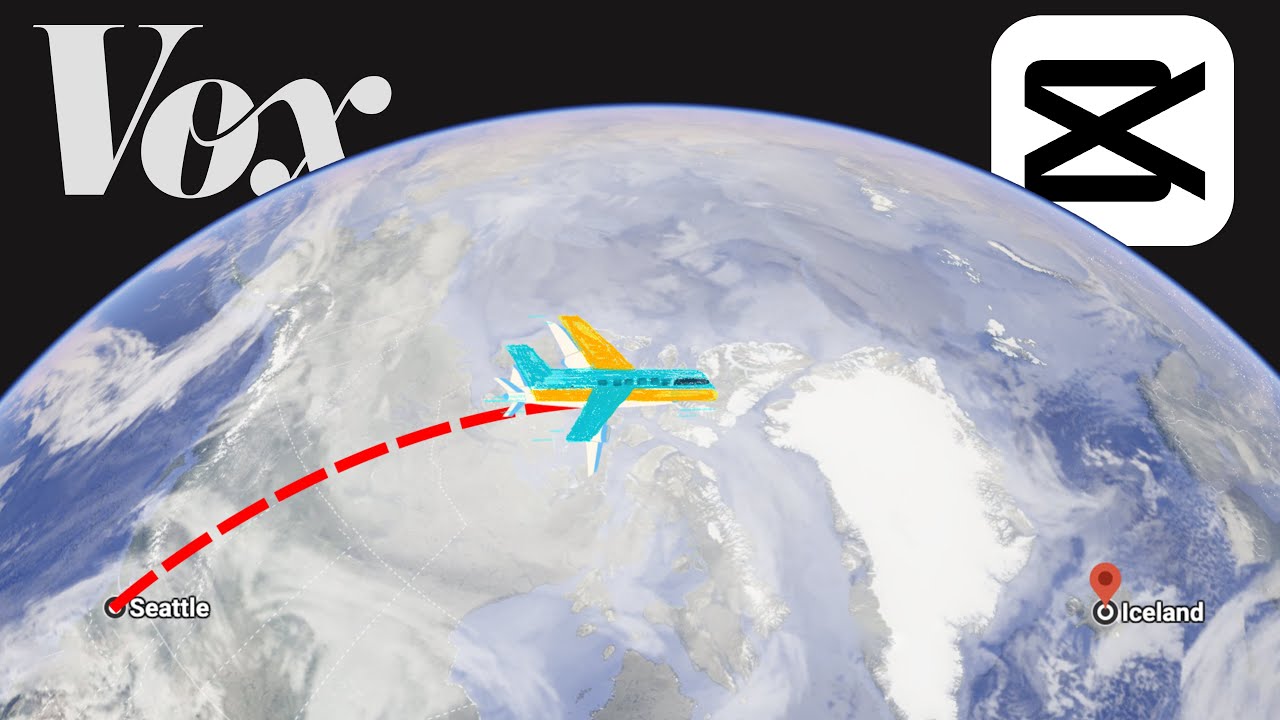
7 seconds move your playhead to the beginning of this part go up to text add default text and write your text in my case I'll write Los Angeles resize it and move it to the right [Music] place we will set the same effect for the text as we did for California so go to animation choose fading and set it to 0. 7 seconds now we have to import our airplane like I said I will leave you a download link in the description move your play head to the beginning of the text go up to media and import the airplane drag it to the timeline where your playhead is go up to cutout chroma key Color Picker click on green and drag the strength slider to the right go to basic resize the plane and move it to the start position in our case that is Los Angeles then set the animation as we did for California and the text also duration has to be 0. 7 seconds now let us create a line direction from LA to Miami first we need to extend the things a little bit then move your play head to somewhere like this go up to text choose default text and write Dash a couple of [Music] times scroll down set the character to minus 3 scroll down uncheck uniform scale make it a little bit thinner and stretch it let us also change the color scroll down click on glow and adjust it to your [Music] likings then click on curve and position the line so it goes from La all the way across to [Music] Florida when you're done drag the line under the plane rotate the plane so it is the same direction is our line highlight the lane and stretch it to the [Music] end right click and create a compound clip then highlight the plane click key frame on position and size move your playhead to somewhere like this drag the plane to Florida and rotate it a little bit go back to the first key frame highlight the line go to mask horizontal and rotate the line like this set the feather to 10 and drag it so you don't see the line anymore then click key frame highlight the planes so we see where the last key frame is then highlight the line and drag it all the way to Florida and Key frame will be created automatically highlight the plane again move it to the first key frame then go 20 frames forward and set the plain position on the [Music] line continue like this till you reach the [Music] end then go like 10 frames back highlight the text copy and paste it drag it to the other side and rewrite the [Music] text drag the playhead to the end and click on W to cut the right part of the text now the last thing we need to do is highlight the Flor the state so go to media and drag down the Florida green part let's see where our last key frame is and drag it to this position go up and scale it to to 165% reposition it to the right spot turn the opacity to 80 and drag it under the plane go up to animation choose fading and set it to 0.