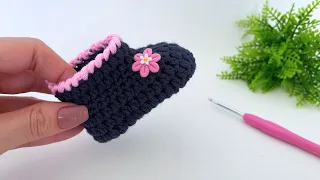
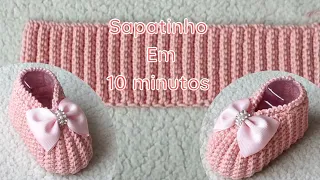
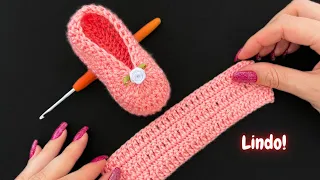
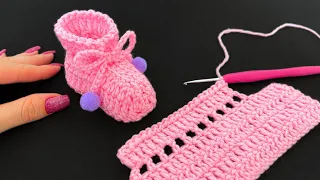
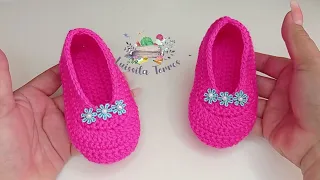
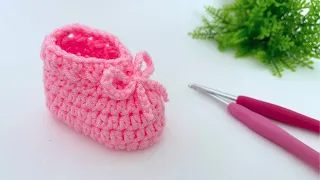
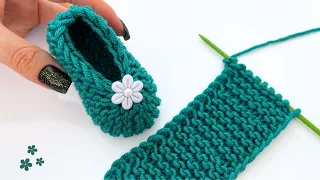
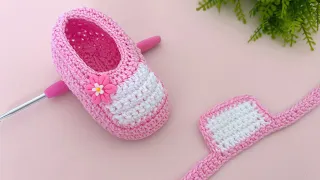
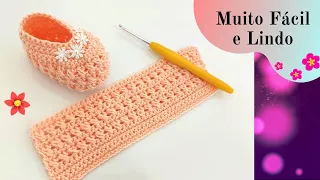
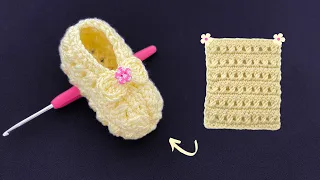
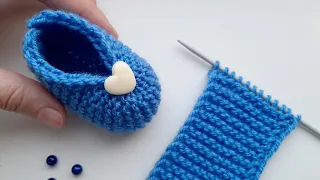
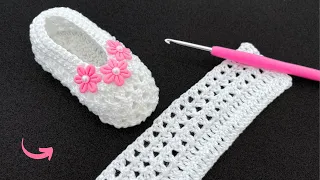
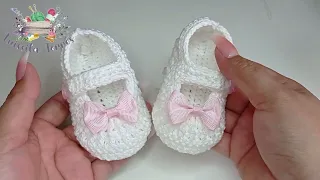
[Music] Hello my loves, how are you? Welcome everyone to another class here on the channel. In today's video we are going to learn how to make another model of baby booties made in crochet that is very easy to make.
It is a very simple model, but it is very delicate and we can make it in different colors and also in different sizes. If you are not yet subscribed here on the channel, subscribe now. Also activate the notification bell so you don't miss any videos here on the channel.
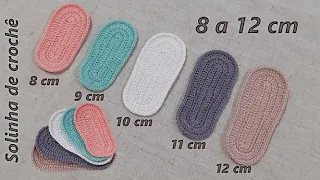
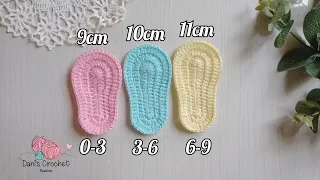
Also leave your like and leave in the comments what you think of the videos. To know the amount of stitches that we are going to make for each size of piece we are going to measure the length of the baby's foot from the heel to the toes and we are going to double that size in initial chains to go around the entire length of the foot of the baby. This size that we are going to make here today will serve from 0 to 3 months, but you can make it bigger if you want.
So to make this size I'm going to work making 50 chains that will be approximately 20 centimeters. After making all the initial chains we are going to loop our hook and we are going to start working on the fourth chain. So here we're going to put the needle.
Let's bring a loop and we'll work the elongated high point here. So for that we are going to loop and we are going to take a string. Now we take two and we take two more.
We lasso. In the next chain we will repeat the same stitch. Taking one.
Two and two. In this way we will continue to do until the end. I made the entire first line here, keeping this drawing as our point.
Anyone who wants to work the normal high point can also. I'm just doing this here to give our piece there at the end a more beautiful effect, but the high point will look very similar. So anyone who wants to work the normal high point can also.
Now we're not going to do any updrafts. Let's just turn our work around. In this first space that we have here, we are going to put the needle and we are going to work making a very low point like this.
Let's go to the next stitch and work a very low stitch. We can't tighten this point too much to make the next line easier. We will continue making a very low stitch in each stitch that we have as a base.
Arriving here at the end of our line, the last stitch we need to make on top of this third chain that we have as a base like this. Now let's make three chains. Flip our piece over and on the other side we have this drawing here.
Now this next line we're going to repeat exactly what we did in the first line, but now we're going to work taking those two strings from the back. These two front strings we left unworked. So we're going to keep doing it across the entire line.
Then we're going to go back and work on exactly what we did on the second line. Let's make a very low point in each point that we have as a base. Exactly as I showed in the previous line.
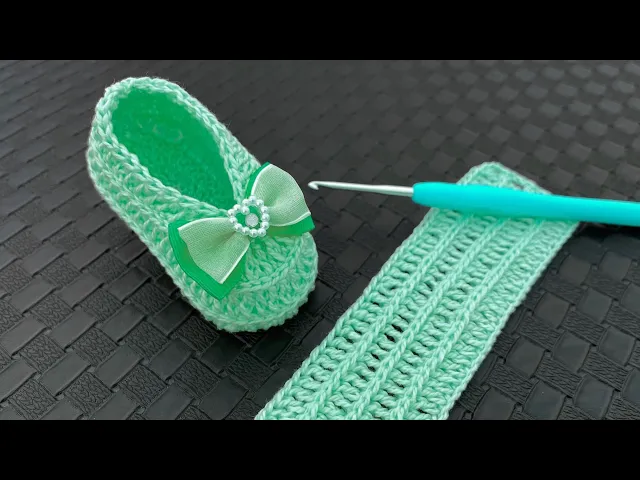
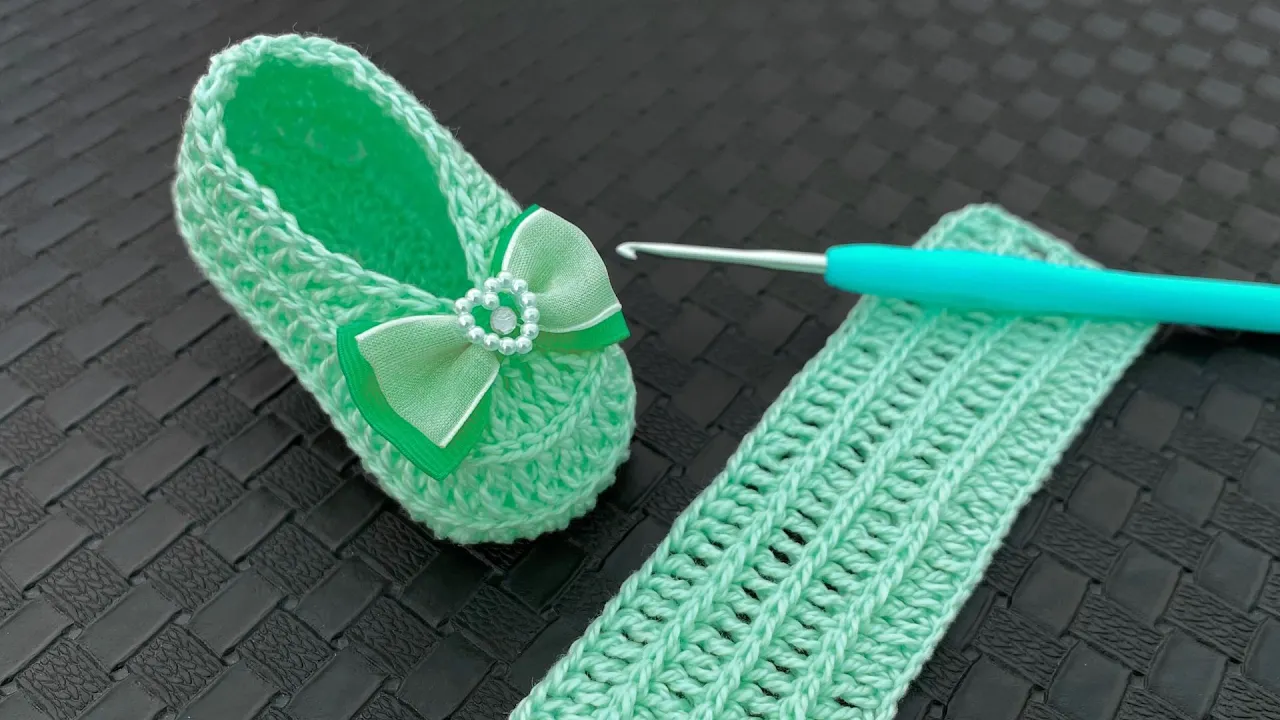
In this way, we will continue interspersing these two lines until we reach an approximate height of 5 centimeters here. I made here all the lines of our little shoe, getting this drawing. Look how amazing this drawing is.
It looks very nice with this part all braided here. It makes our piece stand out a lot . It is a very distinctive and very beautiful piece.
Now I have already cut this thread to a size that will allow us to sew our piece. I'm going to pass the needle through that last stitch. Turning the piece to this other side that I will use as the wrong side of the piece.
We're going to bring the two sides together. Let's start sewing by passing the needle to the other side. So we are sewing our piece passing the needle from one side to the other.
We can hit it up here to make it real straight. Coming here on the other side approximately one centimeter. We are going to pull this thread leaving the heel of our shoe a little rounded .
We can make a knot and we will continue sewing exactly as we were already doing. Arriving approximately two or three centimeters here from the end. We're going to make a knot.
Let's pass the needle through the stitches making a zigzag here. Now we can pull that thread. Let's make a knot or more than one if we think it's better to close this part.
We can hide this thread between the stitches and then cut it. After cutting this thread we are going to turn the piece this way with the seam to this side. Anyone who thinks the play was too short in that part.
You can make more lines here until you reach the ideal height for your piece. Now we need to measure here approximately half of our work and here we will pass the needle through the stitches until we reach the other side at the same height. Leaving a piece of yarn on that side for us to finish later.
Now we're going to pull these two wires. We can tie as many times as we want until we leave this part well secured. Then we can hide this thread between the stitches and cut the excess.
Now we can turn the shoe right side out. Adapt to the baby's foot and we can also decorate it the way we want. After turning the workpiece to the right side.
I glued this little bow here, but you can decorate it however you like. The side of our little shoe looks like this with this braided detail throughout our piece. Look how beautiful this detail is on this shoe.
It looks very nice and also very different. The bottom part looks like this. It also adapts super well to the baby's foot.
I hope you enjoyed our play. If you liked it, leave a like. Subscribe here to the channel.
Also activate the notification bell so you don't miss any videos here on the channel. Thank you so much for everyone's attention and affection. A kiss on the heart.