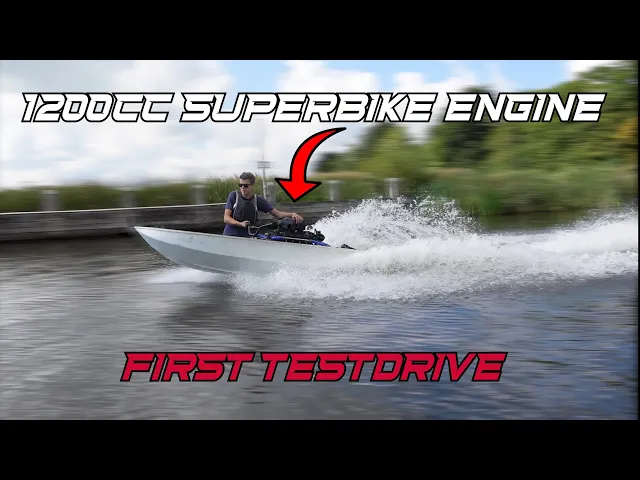
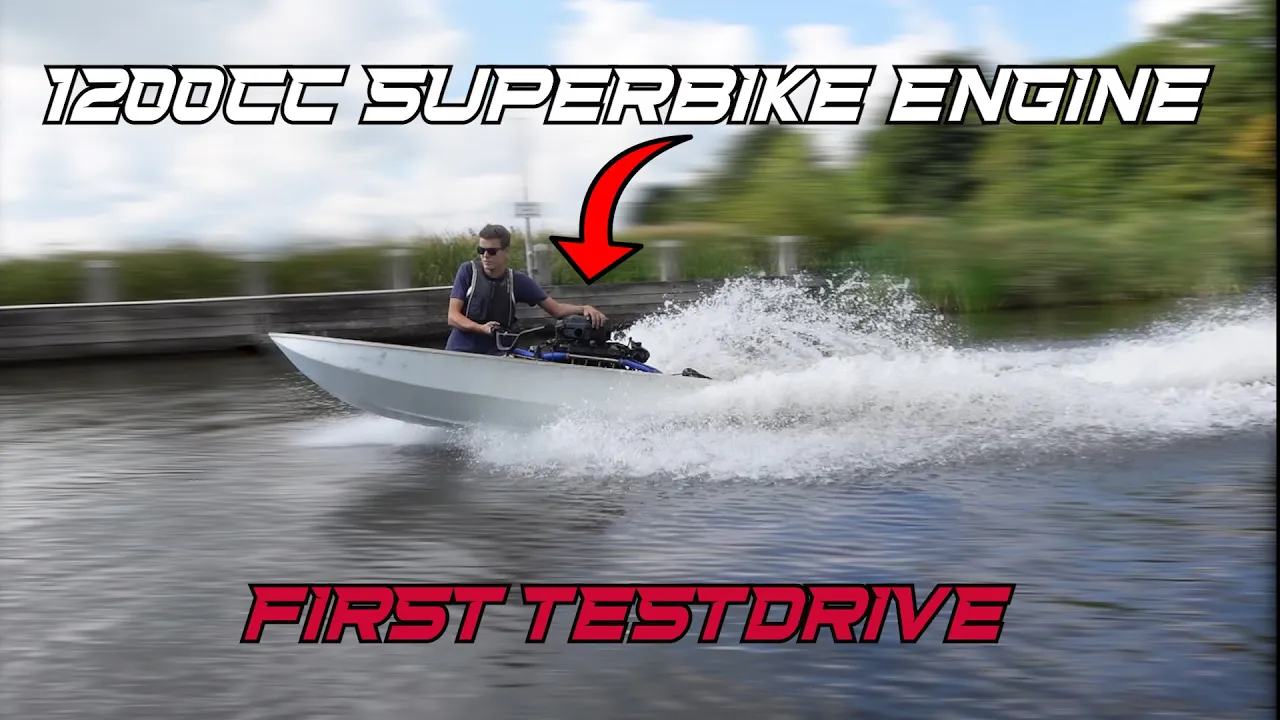
yes guys what is up homemade Madness back again and you're watching part 5 for my quest to build a fully homemade jet ski so I already made a hole top off and a custom jet drive all using my self-made plans and in part 4 I tore the engine out of this Kawasaki Superbike it's a 1200 cc four-cylinder engine and should make around 180 horsepower then I mounted the engine in the hill on engine rubbers and connected it to the jet drive using a drive shaft and a drive belt so in this episode I want to
hook the engine up to everything it needs to run and then take it for a test drive and because nothing about this engine was designed for use in a boat it's actually way more complicated than it sounds so I'll make a custom exhaust manifold a water box an exhaust tip heat exchanger and other heat exchanger a water cooling system for the exhaust changes your feet actual setup make a metal frame to house the wiring connect the wiring hook up the cooling system and finally hook up a quick temporary steering system then put it in the
water take it for a test drive and see how it goes well that's a lot of stuff for one video better get started [Music] thank you [Music] so the exhaust it might not be as simple as you might expect this is the original one from the bike it went on the cylinders something like this and then went out of the engine to the rear of the bike but I don't want it to run that way I want to run this way so I'll make a new manifold from this 40mm tube and these bands so I'll
make the four pipes coming out here down a bit and then into one bigger pipe around here so the header is pretty simple but now it gets complicated because as you might know a boat or jet ski normally has a water cooled exhaust and you know it because water is coming out of the exhaust Port so the reason why it's called the water is just because the exhaust look at really hot really quickly in here so to solve it I simply put water in the exhaust so I'll just put four tubes spraying water into each
exhaust pipe to cool it and then the water will go in here and in here I'll make what is called a water box this box will collect the water and also silence the exhaust sound and then from the water box which I'll make from this stainless sheet the water and exhaust gases will flow a bit up above the water line then come down again and exit the hill here so first let's make the new header [Music] [Music] [Applause] [Music] foreign [Music] [Music] [Applause] [Music] foreign [Music] [Music] [Music] foreign [Music] [Music] [Music] foreign [Music] foreign [Music]
[Music] foreign [Music] is done and I connected to this 60 millimeter tube out here and next up is making the water lock so I'll make four tubes to get water into here and then the water will come down here go into the water box and a water box or water lock is used just to collect the water and muffle the sound so it goes in here and there will be a layer of water in the water box and then it goes up here above the water line and outside on this side if it doesn't make
sense just keep watching and I hope it will at the end [Music] thank you foreign [Music] foreign [Music] [Music] foreign [Music] foreign [Music] [Music] foreign [Music] [Music] [Music] thank you [Music] so does the exhaust all done I'm still waiting for the hoses to attach this to this and just to Air and also I still need to add the water inlets here I'll do it later because first I'll focus on the cooling so the cooling plan is this yet has an output over here which I still need to make with pressurized water from the outside and
I could just run it straight through the engine and cool it but I won't do that because I don't want outside water in the engine because it might damage it and it can't regulate cooling anymore and it might run too cold so what I'll do instead is keep the original cooling system of the engine with coolant in it and use the engine's pump to circulate it and then make a heat exchanger from aluminum which will sit around here and the outside water will then flow through the heat exchanger along with the coolant and cool the
coolant and this way the engine will grow just like it did in a motorcycle with its own thermostat its own coolant pump only not a radiator but a heat exchanger except I also need to cool the engine oil and in the bike there was a small radiator to cool the oil but what I'll do in a jet ski is make a second heat exchanger for the oil so then the coolant will flow from this heat exchanger cool down a bit and then go to the second heat exchanger to cool the oil but not too much
and then go back into the engine so to make the heat exchanger I have this aluminum tube and these tubes and I'll put four of those in here and then make an adapter so the water can go from one Outlet into four and then make a hole here and all here for the outside water to flow and I'm using aluminum for this because it conducts heat way better than a stainless steel so that's the plan make one big heat exchanger for the coolant make a smaller one for the engine oil outside water will flow through
the coolant out the exhaust coolant will flow from the engine first heat exchanger second heat exchanger cool oil and then go back into the engine and cool the engine that's the plan let's make it [Music] tell me [Music] awesome [Music] foreign [Music] [Music] foreign [Music] [Music] thank you [Music] foreign [Music] [Music] [Music] [Music] thank you [Music] foreign [Music] foreign [Music] okay so both heat exchangers are in place it was quite a lot of work to make them I made this one off camera but this is just the same as this one except it's for oil
so I stole these fittings off the bike's oil cooler and I'll do all the plumbing and stuff later because I'm still waiting on some parts for that and I'll also add The Fill point at the highest point so somewhere around here along with the coolant tank which will go somewhere around here and I'll make a separate frame to house all this stuff coming from here to here and then this metal frame can also house all the electronics needed for the ignition and stuff like that so that's all for later first I want to finish the
exhaust by adding the watered yet inlets in here so we'll make this stainless tube going somewhere around here with four small tubes connecting it to each pipe so yeah let's make this first and then hook up the plumbing and then I want to change this drive shaft angle a little bit by raising this up a little bit and then once that's done we'll wire up the engine with electronics put oil and coolant in it let's see if it runs [Music] thank you [Music] okay [Music] [Music] see you soon foreign [Music] [Music] thank you [Music] [Music]
foreign [Music] [Music] [Music] thank you okay so last shot you saw me put on the wiring harness now I've been going at it with a pair of pliers and cutting off everything I don't need it's all right here mainly lights dashboard and stuff I just don't need to run the engine so the wiring harness is now much simpler and I've hooked it all up to the coils to the ignition switch battery and then I quickly hooked up a gas tank and that means well it's basically ready to run so I'm not sure what it's gonna
do I hope it runs there's no exhaust gasket in there so it will make a lot of noise and obviously it doesn't have an air filter on so it won't run very good and I can't run it very long because there's no cooling at the moment I did fill it with oil really important and I connect it up a little cooler which is also not working at the moment but it should be fine for just a minute so let's push the button and see what happens well that runs doesn't run perfectly at the moment yet
but I'm pretty sure it will be fixed with the exhaust properly fitting and an air filter and maybe a car clean so next up I'll clean it all up a little bit and then Plumbing some cooling lines so we have engine Cooling and exhaust Cooling hook up a garden hose to the cooling system and then run it for a bit longer [Music] [Music] [Music] thank you [Music] thank you foreign [Music] [Music] foreign [Music] few weeks later I've been busy with work and I've been on holidays and as you can see I've also painted everything so
I took everything apart painted the hole and then painted all the metal framing in here then put everything back together connect all the hoses and it's pretty much ready for a test drive and I've also added this tube which is the water pickup from a dead drive to cool the heat exchanger and this is a bilge pump just in case any water does get in and this tube is the excess water which doesn't go into the exhaust and comes out of here so you can see whether it's cooling or not and just for test drive
I've added this quick steering which connects to this cable which connects to the jet drive so I can steer it and this is my throttle and this is my kill switch stuff like that so the plan is I can sit here and take it for a quick test drive not too fast just first or second gear see if it floats see if it keeps cool and to get it in the water I made a little trailer because it's getting quite heavy now to lift and I've also made a simple boat ramp which you can see
in the water to get it in the water I hope it works and I've got a temperature gauge here to check the engine temperature and if it keeps cool and keeps running good well we'll take it for a test drive [Music] good foreign [Music] um foreign [Music] foreign [Music] foreign [Music] [Music] foreign guys thanks for watching looked pretty good no leaks temperature nice and perfect and the belt did Skip teeth as I was trying to go any faster so I think I'll upgrade the belt system but the rest of it it works pretty good it's
nice and stable in the water so it was only a third gear so I'm really anxious to see what it can do in fifth or sixth year but a little bit later next video we'll Mount the top off make the seat mounted steering paint it and then it's finished so thanks for watching see you then foreign [Music]