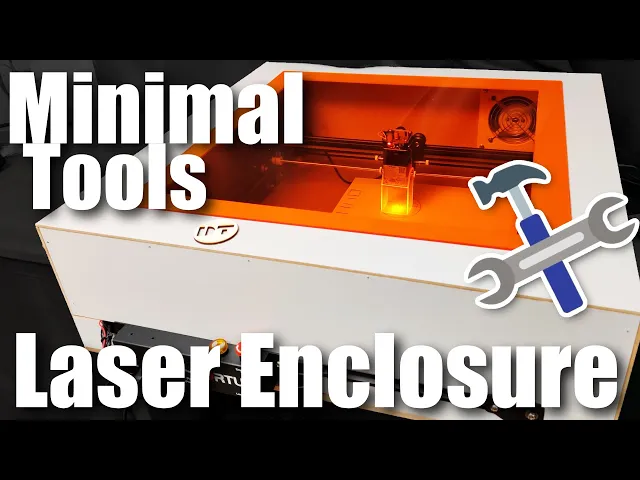
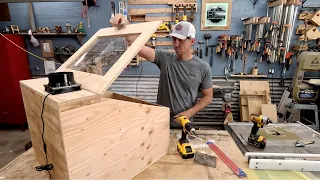
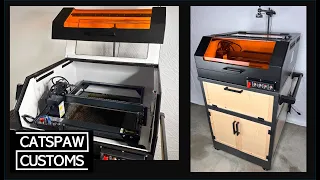
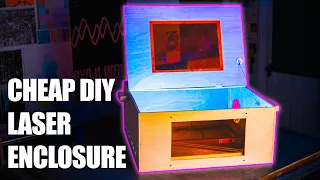
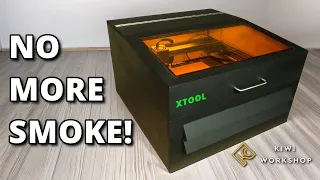
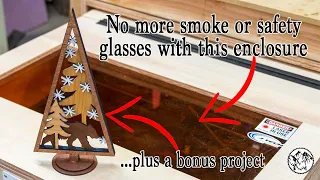
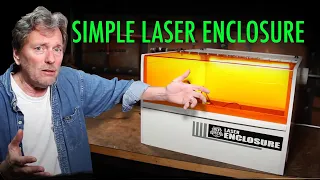
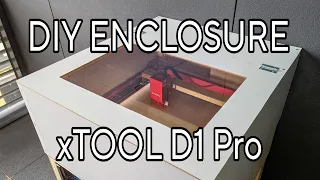
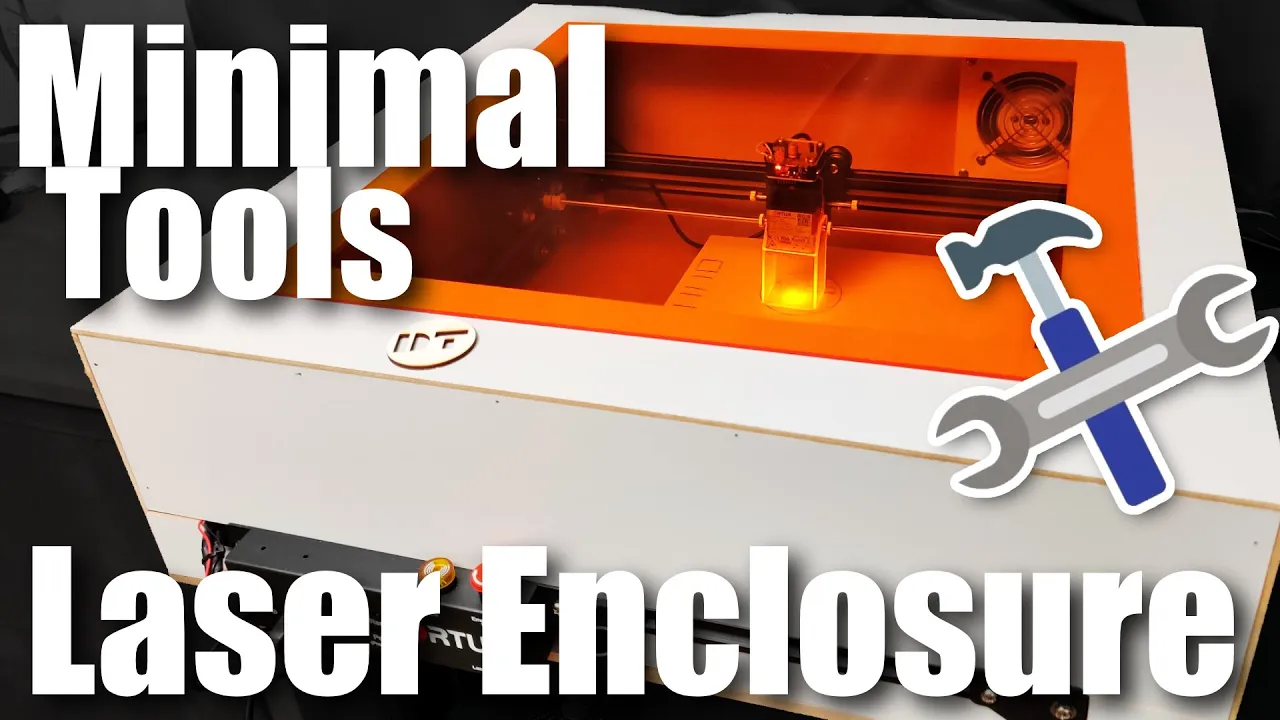
hey guys third here and welcome to another video as promised in my review of the laser master 2 pro i will be building an enclosure for it as in my opinion this is one of the best lasers out there and i definitely want to continue using this a lot and with this kind of laser engraver you just need an enclosure there's no debate about it and since i've gotten a lot of requests on my previous enclosure for my original laser master which you can see over here where i have uh retrofitted in uh endurance data
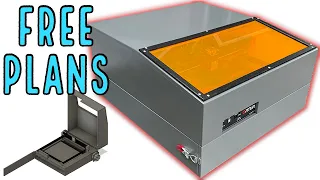
onto it uh when i built this a lot of people were asking uh either if i was selling these enclosures or about detailed plans and while i would love to sell these enclosures shipping them would be prohibitively expensive uh so that's sadly not an option but i will do the next best thing in this video and that is to show you step by step exactly how you can build your own enclosure so for this second iteration i have simplified the design a bit so that it is easier for you to build and especially it does
not require a lot of tools at all the only tools you really need is some sort of drill just the handheld drill is perfectly fine and you will need some sort of a saw you can get away with a handsaw a jigsaw would be even better but not technically required apart from that maybe some sandpaper a file but that's about it that's all the tools that you need to build the enclosure now i'm assuming this will be a fairly long video so i will have time stamps throughout this video in chapters so you can either
use the little feature on the side or go look at them in the description and that should make it easier for you to jump back and forth to the parts that you maybe missed or want to look at again or something like that and this here is where i would usually uh put a sponsor spot but in this video i instead want to just remind you guys about affiliate links uh i know you may be tired of them but if you don't know what they are they are a great way to support your favorite youtubers
by using the link mine are all linked down in the description under every video if you use these links then the site knows that you were sent by that person and will give a small percentage of the price that you pay on there to that person to you that comes at no extra cost that's just cost of doing business for them but for a content creator this helps out immensely even if you just buy a single item uh with my links down below it will help me more than watching every single ad on every single
video that i've ever released uh that's how much uh this really helps and for this video as for most of the videos i will of course have all the relevant things mentioned in this video like the laser itself and some of the components down below in the description as affiliate links so if you use these links then i will get a small kickback as well so now back to the video instead of just giving you all the dimensions that i'm using to build this exact enclosure i instead want to give you the tools that you
need to figure out yourself how large you want your enclosure the reason for that is that you might not have a laser mask 2 pro but you might have an adam stack a5 pro or you might have an original laser mask or a scout phone s6 but and all of these need a slightly differently sized enclosure so what you basically want to find out is the maximum size in each way that you need and to do that you just cannot figure out what is the furthest part out on this machine here it will be this
motor here and this little screw on the other side to tension the belt so and then you can just take a measuring stick measure what that distance is for me here it's about 62 centimeters and then you want to add a little bit of room on either side that's for things like cables or if you don't build it exactly or just so it clears and doesn't get snagged on it how much room you add is kind of up to you but i'd recommend at least like a centimeter or like half an inch on either side
and then you do the same thing uh for the depth of your machine and here you actually want to consider how are you doing the interface for the electronics on a lot of laser engravers you will have the electronics kind of protruding to the front so you can either build the enclosure over top of them but then you cannot access them anymore directly on my old enclosure i actually removed the electronics and put them up to the top of the enclosure but that's fairly involved and i'm definitely not going to do this for this more
simple build here on the laser master i actually figured out that i can have my enclosure just just barely behind these electronics and that will still allow me to plug everything in here use the power button i can use the e-stop still and everything works perfectly fine and with this machine all the way to the front it is actually blocked a bit further to the back so this will not interfere with my machine now on some other machines that might be different so you're just gonna kind of figure it out how it is for your
machine so i'm taking my measurement from here to the front uh to the back and here you need to be careful that if you move your laser all the way back the drag chain will actually go a bit further and after you have these two dimensions last thing you need is the height and there you just want to be careful that you have the laser adjusted all the way up as far as it will go as you of course want to uh cover all your bases and then you just kind of take the height for
me that's like 17 and a half centimeters and then you add a little bit uh to the top as well and that will be your total height now when thinking of uh the material to buy and what dimensions to give to the hardware store uh for the base if you're doing a base and for a top you need to add the thickness of the material of course as well for this build i will be using a three millimeter mdf which is about an eighth of an inch so uh to the widths that i measured plus
my spare width i am adding twice the thickness so that either side will be covered and then the last thing you need to consider is that uh the side pieces and the back pieces also need to join together so uh on one of them you need to add the thickness as well as it should probably overlap and not just come at the corner like that to each other but you want them to butt up nicely and if you've considered all of these things it's not that much to consider if you write it down nicely you
can have your enclosure size for whatever size you need and then you can just take those dimensions and go to your local hardware store and they will gladly cut down the material for you so you don't need to worry about getting straight cuts with a cheap star or anything like that and now the next main thing of course is that just a black box around it while it protects you from the laser uh it really is not ideal since you want to be able to see inside and uh here is where some tinted acrylic comes
in and i get just about two comments a week on my original video asking me where i got this sheet and i was actually lucky that my uh hardware one of my local hardware stores only one of them uh sells uh these tinted uh plus acrylic sheets in a bunch of different colors they sell them in this size and half this size uh so but for a laser this which is 50 by 50 centimeters is just about perfect now if your hardware store does not sell those uh you can check amazon if you find any
i will leave a link down below uh or otherwise uh if you google i'm sure you'll find a like plastic supplier somewhere in your area that you can order it from might be a bit more expensive doing it this route but it really is worth it and it's not actually any like special uh laser protective stuff uh you can get that of course as well but that's a lot more expensive it is just some orange tinted acrylic red tinted would also work but those tend to be a bit darker so it's a bit harder to
see inside and the way that those work is that they're just gonna the laser light themselves itself is blue and that's kind of uh at the opposite end of the lights uh spectrum which is visible to us and so uh any like red and orange light will easily get through and that's how you are able to see your part whereas all the blue light actually gets absorbed that's why it gets its orange color and in practice that is very noticeable uh without this sheet it's super bright and blue but once you put it on there's
only a very faint light visible where the laser is and you can even see this on many models that have a little orange piece already integrated then the next step is that you have to do some sort of uh cutting the main thing that you have to do is uh make the cutter in the top so you can add your acrylic now if you're lucky and you can find a sheet that is actually large enough to cover the entire top then you can maybe even skip this step but for me it was not quite large
enough so i i'm using my top here and i just kind of placed this acrylic sheet on top centered it to where i want it then traced around it and then used these lines to make an offset line slightly inside you could also measure and calculate it but sometimes just doing it the easy way is a lot more convenient than doing the math to make this uh cut out uh the easiest thing is to uh drill some holes in the corners and then you can either use a jigsaw or you can use just a handsaw
and i found out that actually the handsaw worked just about as fast and gave me a cleaner cut so for this sometimes it might even be easier with a hand saw but the jigsaw will also work perfectly and then afterwards i just kind of cleaned up the edge a bit with a file and some sandpaper just to make it look nice you can be as precise or as imprecise with this as you want as it doesn't really matter just how large exactly this cutout is it just basically needs to enable you to get your hands
inside to get in and out your workpiece then the other thing you need to do is make a cutout for the exhaust tank the best enclosure is not going to do you anything if it just keeps the smoke inside it's just going to fill up with smoke it's going to block the laser path and in the end you open it to get your path out and you can steal all this smoke so what i'm using is just a cheap exhaust fan off of aliexpress it's about 10 bucks you can probably also get it off of
amazon i many people online have also like kind of 3d printed stuff for pc fans and gone through a bunch of trouble but this thing is super cheap and it works a lot better since it's actually meant for that and to go with that uh you can also get this flexible adapting that is also super cheap that clamps directly onto it without any uh special things and you can get as long of a piece of that as you need to get it out of the next window and then the smoke is captured and through the
through that and the hose put out of the window and you don't need to worry about it anymore you'll have a clean indoors to make that cut out uh you can either use a jigsaw or you can use a scroll saw if you don't have jigsaw or if you don't have scrolls either you can drill a bunch of holes all around and then use a file to connect them and that will work as well you don't even need to be all that precise with it as uh there will be a cover over it anyhow that
covers it up now due to the way that i decided to do the front of my machine i also had to create this additional uh piece that will go on the bottom as otherwise there will be a giant air gap here but if you uh don't do it this way but instead uh half the thing go all the way down you don't need this piece this just simply goes here and uh make sure that there is no smoke escaping down here one quick note for the laser master 2 pro which has the flame sensor here
uh doing it this way of course blocks it you could uh make a cutout for it but i have not really uh figured out how that is supposed to work anyhow uh when i put a lighter in front of it it did not detect it so uh i'm not too worried about that this piece i will actually attach to the laser itself instead of the enclosure as this will allow me to just put the enclosure over top of it and remove it this way uh while this paste stays attached to the laser finally you need
some way of easily attaching these pieces to each other if you're using a three millimeter or eighth inch uh mdf like this it is not enough to just kind of butt it up against each other and put some glue there it will not hold properly so i uh made up some of these uh strips here on the table soldiers because i have it set up already but instead you can also uh just get some square wooden pegs at the hardware store like 10 millimeter or like half an inch would be perfect for this or if
you're using thicker material like maybe six or eight millimeter mdf which would be like a quarter inch or above then you can probably also get away without these so with that said i'm gonna go ahead and glue this thing up i'm gonna use glue on on these pieces and uh the mdf uh glue it there and just use some nails to temporarily hold it in place while the glue is drying you can also clamp it or use tape or something but using nails is the easiest way and they won't add that much strength after the
glue is dried but they're great to keep it in place alrighty so here we are the main part of the enclosure is done it's all dried up and holds together and i'm actually surprised how sturdy this uh three millimeter mdf is uh together with the bracing in the corners this is plenty strong enough uh for a laser enclosure uh as long as you're not planning on like putting a bunch of stuff on top of it but even then uh you'll probably be fine now at this point uh if you just want to bear a minimum
enclosure you're almost done already uh it would be here a good point to paint your enclosure if you're planning on doing that uh since there's nothing added to it yet uh since my mdf already has this uh gray uh coating on the outside i think i'm gonna skip painting it for now i might add a coat of paint later but the next steps will be to add your acrylic on top of it and to do that uh you're of course going to need some hinges now i actually forgot to buy hinges when i was at
the hardware store so and i just have one uh left over from a different project so i'll do that at a later point but i'll still uh go ahead and show you uh you just want some uh general purpose uh hinges nothing too small uh like a piano hinge might be a bit small uh it's just gonna be a pain to mount it but could also work but you should have no uh troubles uh finding some sort of hinge otherwise amazon probably also carries them since we're just adding the acrylic to the top you will
have to put something underneath the hinge so it sits flat and since my acrylic it's the same thickness as the material i'm just using a little piece that i cut off of a scrap that i'm gonna um use as a spacer to put down the hinge and then i can screw through it now this super thin mdf is not gonna be great for wood screws so i will actually drill through holes and use some nuts and bolts to hold this in as that will be a lot stronger than trying to put a wood screw in
this if you open and close it a lot of times it is a good chance that you will rip out those screws mount it to the acrylic you can either drill through holes through and use nuts and bolts as well in that case you will need to make sure that there's a cut out in the top as well so that the bolts clear on the bottom or otherwise what i did on my other enclosure is i just used some epoxy to glue it down and this has held up great you might want to use some
time paper to scratch up the surface a bit where you're gluing but other than that it's been great so i'm going to assume that you have added the hinges now i'm going to put this aside again so you can see stuff a bit better at this point it's also a good time to add in your exhaust fan uh so far we've only uh cut out the main hole but you still need to add some uh screw-in locations for the corner bolts for that you can just mount it in and then this way you can easily
mark out those holes drill through and also use some nuts and bolts to secure it in place and then to the back you can simply attach your hose and uh it should include like a hose clamp so you can pull it over top use a screwdriver to tighten it and then you're really good on that front i won't go into details on the wiring in the back as that will be different on whatever exhaust you get but you should be able to find one that already has a cable attached to it with a plug that
way you don't have to do any wiring yourself and with that as it is this enclosure could be completely done but what i'm actually gonna do from mine is i'm also gonna add a base to it and this is completely optional uh you don't need to add a base uh but the reason i am adding a base to it is so that i can screw in my laser to the base and if i actually bump it or something it's not going to move in relation to any work pieces i might have i also want to
uh put in like some strips of wood maybe if i want to have some locating features to accurately and repeatably engrave many different pieces uh that are the same so i can uh just kind of add a little l bracket or something uh set that as my origin point of the laser and put my pieces there and engrave in the exact position i want every single time but you can totally uh skip this and just kind of tape your work pieces down to the table or whatever and you will be perfectly fine to mount the
bar uh the top to the bottom i added some of these little uh wood strips that i used earlier i glued them down to the base and then i'm gonna just use a single wood screw in each of one of them that way i can easily remove the top again if i need to access the laser as just through this hole it's a bit inconvenient if you need to i don't know tighten some bolts or something like that all right so as you can see behind me the enclosure is now complete everything is added to
it and i think it turned out quite well now there are of course a lot of fancy things that you could add to make the enclosure even better like for example lighting inside would be great and i might add that in the future just for filming purposes uh but for now this is a complete and here you can also see how the front now came to be with all the electronics on the outside which is gonna mean that if something happens i could still easily hit the e-stop button here and release it again so i
guess with that the only thing that is left to do is to do some tests and show you what this uh enclosure can do with the fan turned off and how would the smoke builds up and then uh how this exhaust fan can take all that smoke that has been captured by the enclosure and put it outside behind this machine is a window i have the curtains closed now because with the sun shining outside uh you would not be able to see anything with all the glare so i have blocked it off but behind here
i have the exhaust routed outside of an open window that's why it's looking a bit [Music] weird all right so i just uh cut out this piece uh out of some three millimeter plywood and i know if it comes across in camera but it's quite smoky in here i have not turned on the exhaust so what i'm gonna do is uh now uh turn on the exhaust and then start another one and you should see it uh clear up if that shows up on camera uh but overall what i can say what you definitely cannot
see on camera is even without the exhaust on from this shortcut here i cannot smell anything in the room it also the you were able to hear some vibrations through the table but even the sound of the cutting was quite a bit muffled and like the fan is barely even audible anymore not right now so you might hear a bit of fan noise now that is the exhaust fan and within a couple of seconds already the view inside has gotten a lot more clear so the smoke is getting exhausted out which is good and even
now even just after waiting a short few seconds uh after turning on the exhaust fan opening up this window there was barely any smoke that came out and there is basically no smell inside of the room just to prove here is the part that i cut out so i definitely did cut it out of the piece so i'm going to go ahead and start another cut to test it a bit more now i doubt that this shows up a camera but in person you can actually see how the smoke kinda gets pushed down by the
fan and disperses all around but then it's sucked in uh by the exhaust pen and kind of channels out that way which is actually kind of cool to see so this means that this fan definitely is working and although there is no dedicated inlet for the air there's enough cracks all around that the air finds a way in to then be exhausted out now i hope this helped you to hopefully get your own enclosure builds and make your laser a bit more usable these cheap hobby laser engravers have great potential you can do a lot
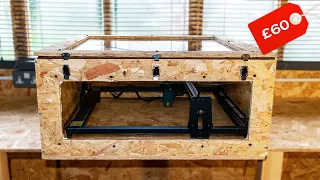
with them but without any closure they are really not usable indoors and are kind of a health hazard actually but i think even if you don't have much building experience at all you should be able to build an enclosure like this in a saturday or if you want to make it fancy uh maybe two saturdays but it's not a big deal and cost-wise it also is fairly cheap the all the wood itself was maybe like five dollars already cut the size the i guess the acrylic is one of the most expensive parts it's like 18
here and the exhaust system together is maybe another 15. so all in all we are well under 50 bucks for an enclosure that is quite capable so if you liked it make sure to leave a like down below so i know you enjoyed this video and if you have any questions leave a comment if you made it this far in the video you might be interested in some merch i have these cups here i have shirts and i also have two other designs they're available in men's sizes and women's sizes in a bunch of different
colors and it should mugs and what you think i also have a cryo pc poster all of which you can check out down below so with that thanks for watching and until next time