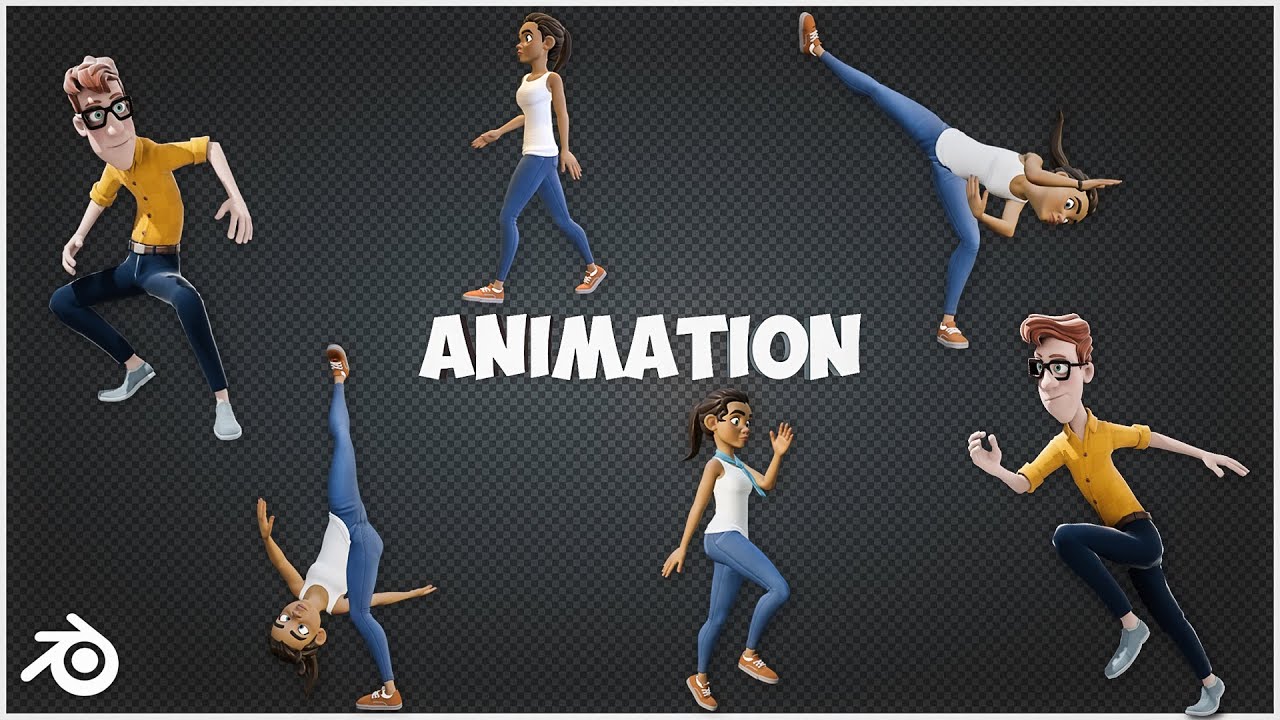
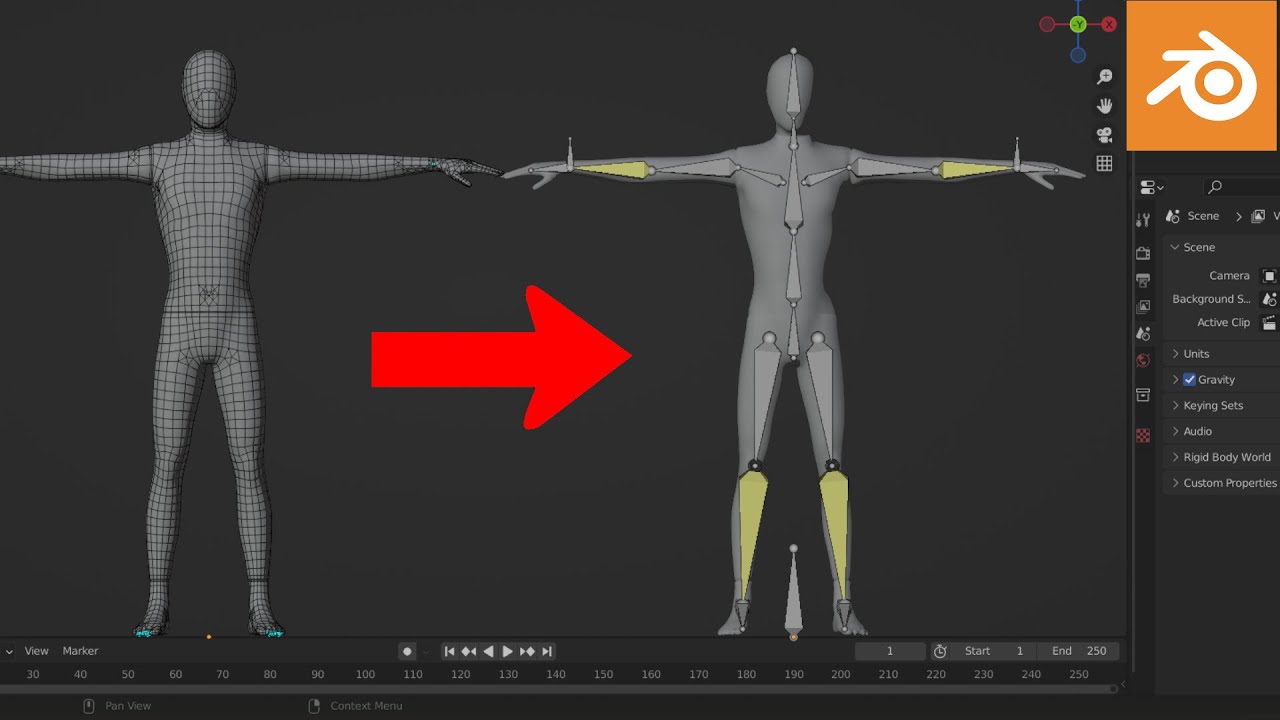
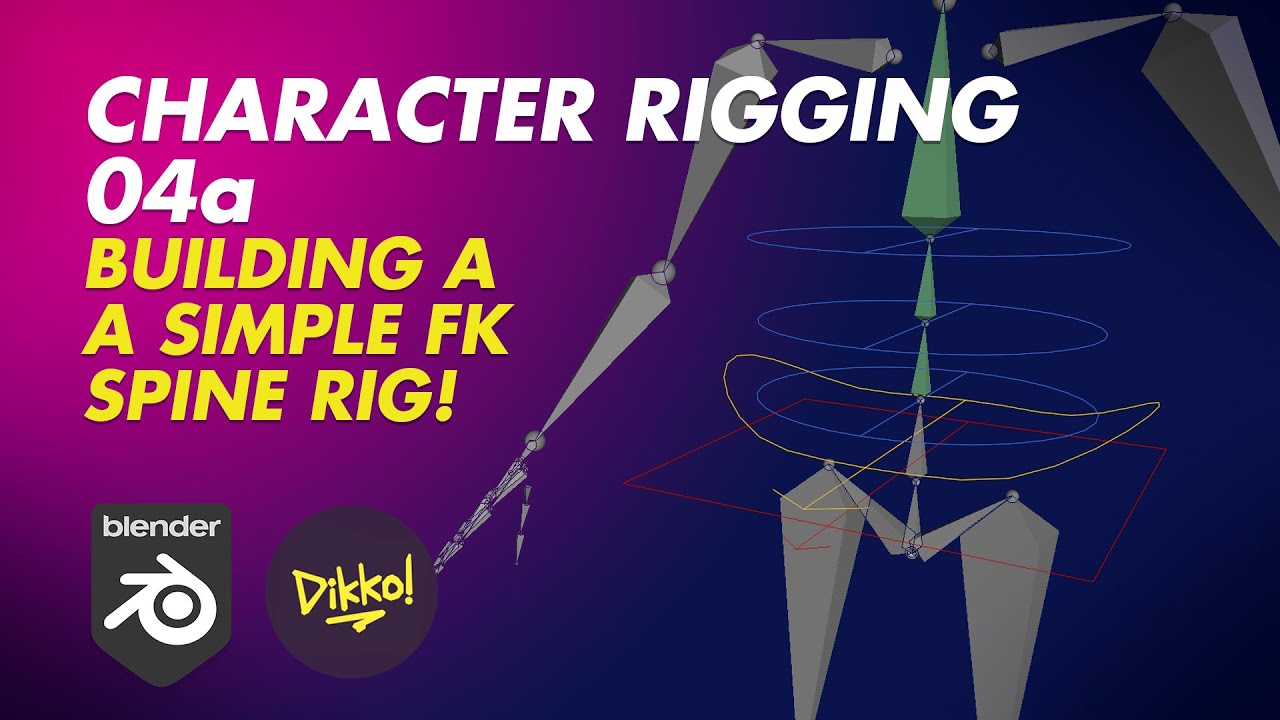
hey guys I recently got a request to do a tutorial on the rig that I had set up in my uh my walk cycle animation tutorial so um this is what the rig looks like and uh let me just show you what it is capable of quickly so if we just have a look over here it's um it's a very simple rig and it can be displayed even simpler you see here it's just very few bones that you actually work with um these bones here are ik bones so you can control the entire limb um
simply with one bone and then uh an additional bone for pointing the knee or elbow is the case maybe and um also so it's very easy to set up crouching it's this sort of thing um so yeah it's a very simple rig but it's also quite effective and it literally takes about 5 minutes to set up once you know what you're doing okay so let's go ahead and create this rig so um this is the starting file here which you can download from a link in the description if you don't have a character that you
want to test this out with um so just starting off uh let's just have our cursor positioned at the center of the screen um just with shift C to get it there and I just quickly want to enable screencast so that you can see what buttons I'm pressing might be helpful okay now I can see it shows up on the side there so let's press shift a and go down to amateure and add in a single bone oops I missed that single bone okay now if we just go in edit mode and drag this up
to just about just about there and um we can also go into the Armature properties just on the side panel here and we can enable x-ray so that it displays through the mesh now um we're going to drag this up to the chest area here and extrude once more to the base of the neck and then you can have an neckbone if you like but I'm just going to go straight up to the head over here and from side view I will just bring this to about the center okay now I'm going to click to
position my cursor about the shoulder and shift a in edit mode will just automatically add in a new bone and we can drag this out to the elbow and out once more to the hand and we'll just do the same thing with the leg down to the knee down to the bottom of the leg and then just out to form a foot bone so let's just reposition this to the center of the leg and do the same thing with the arm okay now we want to set up the control ik bones that you saw in
the introduction so we're going to have them coming out of the wrist tier and the ankle here so we'll just select that and press e to extrude the bones out just like that now um we don't actually want these bones to be connected so we'll select both of them alt p and clear parent and you can see that now they are separate and um we can just add in a bone over here and over here these will be our pole targets as they're called which basically just means that um the elbow and the knee will
Point towards each of these bones respectively so we have the the basics set up now and um we can just go through and name all our bones quickly so I'm going to turn on names and as you can see they've all been given default names just bone. 001 going up um if we go into the bone properties however we can rename each of them so this is our head a chest stomach Etc so um this is quite an important thing to do um it's more important obviously on a larger rig where you have facial controls
and all sorts of fancy stuff but um it is just generally good practice to to name all your bones so just go through and do that that's the lower arm oops this is the upper leg the lower leg the foot I can just call this knee elbow this is the arm ik and lastly the foot ik or rather leg ik actually um now we also want to be able to differentiate between the left side and the right side so what I'd like to do is just append DOL to all of these quickly should have done
that when I was naming them initially but uh just sort of SLI my mind it shouldn't take too long however okay so now everything on the left hand side has got a DOT L to signify that it is on the left and um before we copy everything over onto the right hand side there's a few things we want to change um on each of these bones here um the elbow and the ik bones we want to turn off this deform property in the bones panel so um basically this means that when we apply the the
Armature to the mesh um these bones won't be given any any weight so basically they won't directly modify the mesh because all these bones are just going to be repositioning other bones which um which will be transforming the mesh so we'll just toggle this off I think I got all of them right and um also we want to be able to just um rotate the foot with this ik bone here just so that we can do everything we need on this leg just with a single bone so if we select the foot and then the
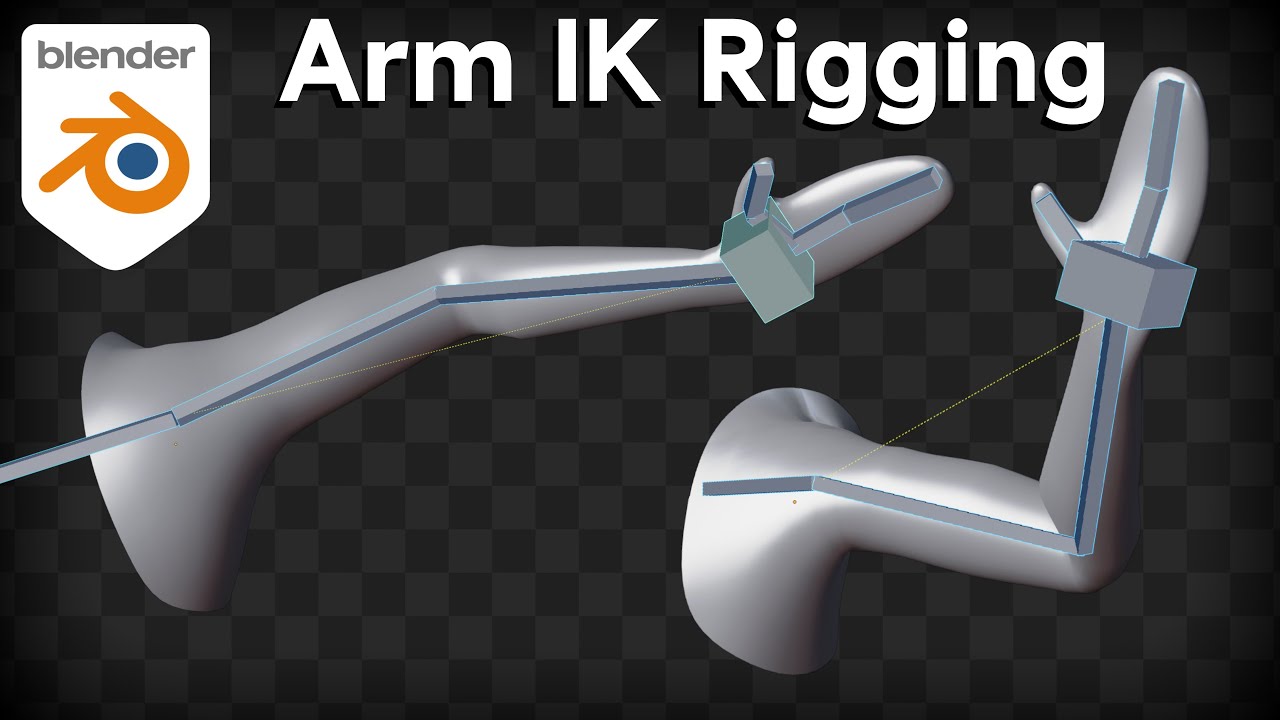
ik and just say contrl p and keep offset now when we rotate it it rotates the foot with it and also let's quickly set up the ik constraint so the way we do this is we select the um the bone that we want to control the whole thing and then we select the bone with shift uh that we want to actually apply the the constraint to which will be this um this last bone in the chain for the arm so we'll select the I then the arm and then pressing shift control and C we will
select inverse kinematics so this just brought up the add constraint with targets menu so when we say inverse kinematics we can go here into the bone constraints and uh we can see that there are two bones in the arm so we want to change the chain length to two so now you can see that when we move this it is transforming both of these bones here and we want the elbow to be looking at the elbow. L so can say pole Target Armature and we can select the elbow. L so now we can see if
we aim this um we can move this and it will always track that bone now alt R and ALT G just to clear that and we'll just do the exact same thing over here shift control C inverse kinematics chain length of two and the pole Target is the knee L okay now this is going the wrong way when we um bring it up so how we're going to fix that is um let's see we could just play with our pole angle here and it looks like if we just rotate this 90° that should fix it
okay now All That Remains is to copy everything over onto the other side so we'll go into edit mode and uh if we just press C we can bring up the selection tool and we can just brush over all of these things on the left hand side so now with everything selected we're going to position our cursor right in the center and then press period or full stop just so that we're transforming around this point and then shift d to duplicate SX and ne1 just to flip everything over onto that side and now to automatically
rename these all to r instead ofl we're going to go into amateur and we're just going to say flip names and you can see these have all rename nicely for us okay I'm going to quickly turn off the display of names because it's getting rather cluttered and uh we can now go ahead and apply this whole Armature to the mesh so if we just select the mesh and then select the Armature and say contrl p we'll set its parent to the Armature with automatic weights so what this has done is if um just select a
bone anyone and then select the mesh and control tab to go into weight painting mode you can see here in the um in the object data it's given a whole bunch of vertex groups and you can see they're named after the bones and each of these bones now if we click through we can see has been assigned a weight so red means um it controls that area fully and blue means it doesn't control that area at all so if you wanted to modify this um if you press T you can get some options so we
can choose subtract and maybe you just want to take a bit off the shoulder or something like that another more precise way to modify it is just to go into edit mode and um you can select which vertex group you want to modify and then if you just select a couple of vertices then you can just say assign you can choose its weight over there and now you can see that this upper arm is now affecting the top half of the head which is rather grotesque so um yeah we'll definitely undo that say remove and
I didn't have the correct thing selected remove and now it's all working nicely again okay I'm just going to press comma so that I'm no longer rotating around the cursor and um I'm just going to go back out to the amateure now as you can see we have got some crazy twisting going on with this arm so all we have to do is just go into the bone constraints and we can adjust this pole angle just like we did the uh the leg and um let's see if we go into edit mode we can see
how it should look and looks to me like it is about 100° off yeah that's pretty much exactly correct and this this needs to be maybe about 70 so it doesn't obviously need to be exactly accurate just so that it's not changing too much between edit mode and POS mode so now if we look um our our amateur is actually behaving pretty much how we wanted to you know we could go in and clean up the weight painting a bit so that it's working a little better but um I've shown you how to do that
so for the purposes of this tutorial I don't think I need to go into that um as you can see if you go past the um this target bone here it starts to bend crazy to the side obviously if you just move this out here then you can extend its reach okay so as you saw in the introduction um I could make the character Crouch just by pulling this bone down here and uh the way that we set this up is we want the um we want the arms and the legs to follow this bone
here so if we just select all of these and then select this um this stomach bone last and then say contrl p we can just parent these all to it and now when we move this down you can see they follow nicely the the last thing that we might want is just a bone that moves the entire character so um just shift a to add in a bone just press period to rotate around the cursor again R and 90 just drag this out a little and we can just call this control or whatever you want
and now we're going to parent this of Master bone at the moment to this bone over here okay so now this is this sort of effect and to move the rest uh we want to make sure that the ik bones so just these four here as well as the target bones all move with it as well so we'll select all of those select this last contrl p and keep offset and now you can see this just moves the entire character around um if these uh relationship lines annoy you like they annoy me you can press
n and just go into your um what is it your display options just up here just toggle this down and you can see relationship lines can just be ticked off like that um so the last thing that I want to show you is just how to replace some of these shapes with custom shapes so I'm just going to go into a new layer over here and just add in a circle just extrude this a little bit inwards and I'm also going to add a UV sphere okay now if we go here back to our Armature
and we just select one of these bones here we can see that in the bone properties uh there's an option for a custom shape and we can just choose sphere here let me just replace these all with sphere and uh if you want to adjust the size which in this case we definitely do we can uh just scale this in a little bit let just press Comma just scale it in a bit and uh then just apply the scale or just scale it in edit mode um it's essentially the same thing and uh for this
control bone here I like to have a circle just around it like that and the last thing before I end this video is um as you can see these bones here um don't really need to be displayed they are performing a function in the background but we will never actually modify these directly so um if you wanted to you could just go and select all of these and the feet bones as well actually and you can just press M and select a bone layer to move it to and you can see they are now gone
so if you wanted to bring them back for some reason you can go uh into the amateure panel here and you can see that we've put them on this layer here so you can select that layer and if you want to see both at the same time you can shift select and then there there they all are again so I hope this video has been benef official and um if you have any questions just leave a comment and I'll get back to you hopefully quite soon uh yeah thanks for watching and goodbye


![RPG graphics E02: Character rig [Blender]](https://img.youtube.com/vi/jp_SqjB0468/maxresdefault.jpg)