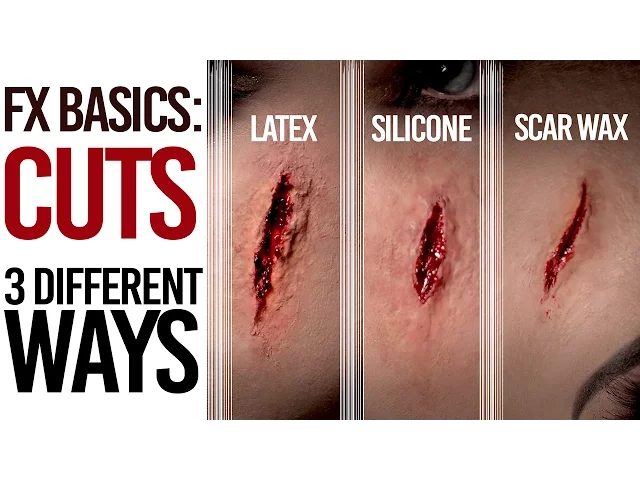
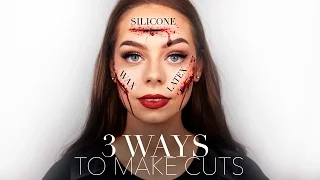
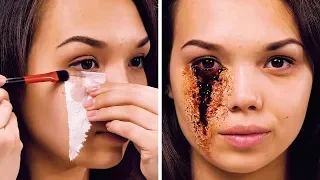
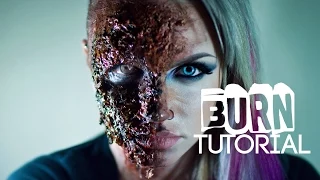
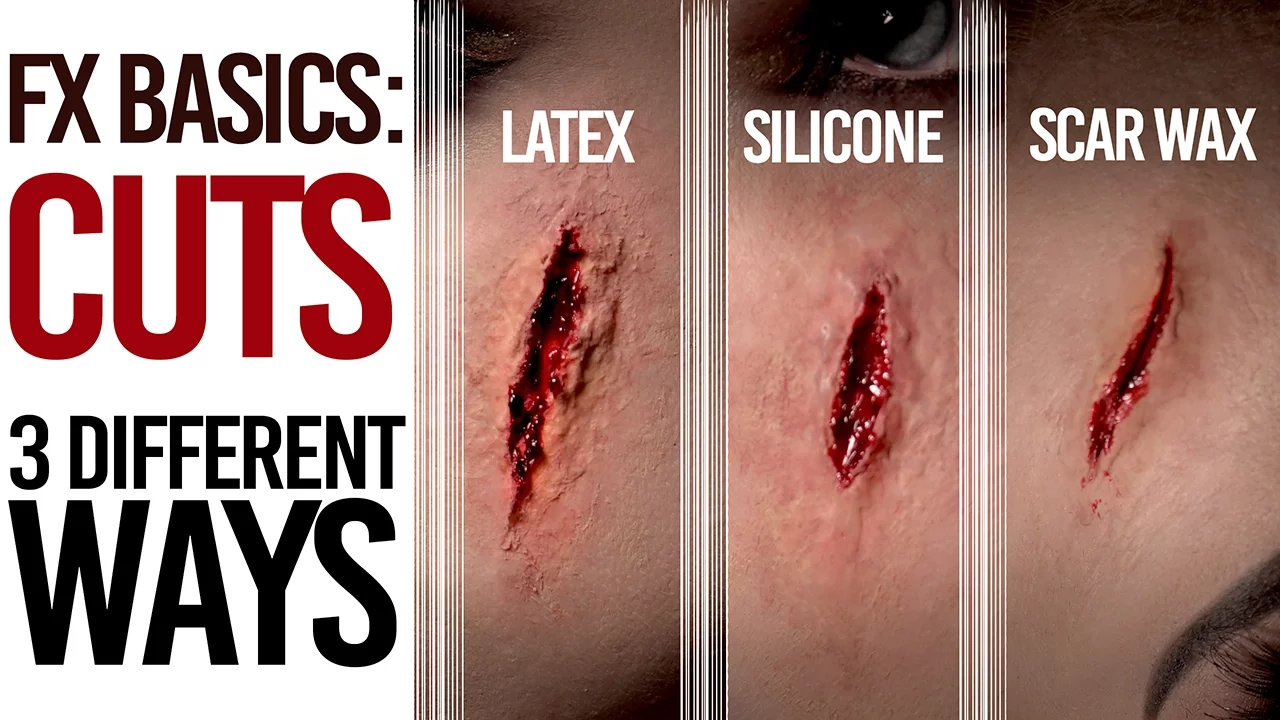
all right zamboo MAFO today we're going to get cut not like ripped cut but like cut cut FX basic style because it's been a while we're going to go over three different out of Kit ways to do this the first being with latex the second being with silic oh oh God silicone and the third being the devil itself scar wax keep in mind these are all really simple and small versions of cuts since this is a Basics video so if you're new to FX this is a great way to try to get a feel for
different mediums and then incorporate those into other looks all right the first latex very beginner friendly very inexpensive very easy to find and I recommend using small pieces of cotton or tissue paper with the latex to easily build up the sides of your cut I'm using a disposable sponge to lay a layer of liquid latex down where I'd like the cut if you've never used latex on yourself or your actor/ model before you want to patch test this on the inner wrist first since latex is a common allergen then take a small strand of cotton
lay it down towards one side of that wet latex and cover it up with more latex if you watch this channel a lot you've seen this a million times and I'm sorry but yeah I just wanted to put up a Basics video for those looking for this specifically as it's very foundational and applicable to bigger looks on Glam and Gore plus we haven't done a Basics video in basically forever after I have a coat of latex over the cotton I use a pallet knife but you could use the back end of a brush to push
up one side of the cotton the side that will be the inside of the cut and to also smooth out the other side which will be the side that's supposed to blend into the skin the downside of cotton and latex is it gets bumpy easily doesn't blend as well as other mediums and doesn't look very realistic compared to the other options but this is how many people start with without of Kit type special effects and it's also why I use it predominantly on this channel it's very easy to shape and see what you're doing even
if the end result can only be so good when you're happy with the shape of one side repeat the same for the other side of the cut connecting the two sides at each end a plus of latex is that it has a long working time which is another reason it's great for beginners you can reshape the opening of the cut for several minutes before it really starts to dry but this is how you can do a simple cut with latex and cotton onto silicone or specifically what is sometimes called third Dee more expensive higher learning
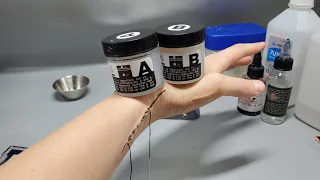
curve but one of the more professional out of Kit options and great if you or your client has a latex allergy the way third degree works is you need to mix equal parts of product from bottle a and bottle B I always measure in separate cups until I can mix them together because once they're mixed the product will start to set I'm also using a makeup wipe to remove my Foundation under the area that I want to put this cut because unlike with latex silicone will not stick as well if it's not put on clean
dry makeup free skin now this is harder to see I know and that's part of why it's less beginner friendly but you can see this by tilting your head around in the light or you can also buy silicone that is already skin color or mix your own pigment into it so that it's more visible when you work with it I purposefully buy this clear so that I have more options but if this bothers you it's easy to alter for something like a small cut shaping this is really just a matter of starting with two curved
lines that meet at each end it helps to angle whatever tool you're using so that the side that will eventually blend into your face is the one being pushed down into the skin which allows the product to kind of pull up onto the side that will be the opening of the cut and form that that wall eventually if if that makes any sense I don't know if it does it's kind of hard to explain silicone starts pretty runny but within just a short time it will get much thicker and easier to control but also harder
to blend so you need to work pretty quickly and getting used to this is just going to take some time you'll see that I buil up the wall of the cut as the product sets more and more but I laid down the initial base when it's still pretty runny and freshly mixed and that's the basics for thir Dee SL silicone for this last one you will also need a makeup free area of skin so on to the devil SL scar wax as much as I hate it it actually is great for smaller pieces like this
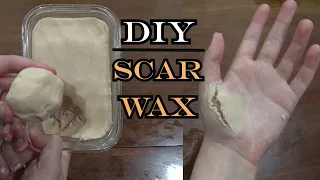
especially when they're placed in areas that don't have a lot of movement to get it going I scoop out a small piece of Scar wax flatten it out to a rectangle and lay it down on my skin it's pretty sticky so for something this small that should get it attached to you but for larger wounds with scar wax it can be helpful to lay prade down in the area first but we're not doing that today so anyway once I get it stuck to my skin I give it a coat of petroleum jelly this will stop
the scar wax from sticking to your fingers or tools as you work and it will also make it easier to smooth out then I just start pushing down and blending the edges of this rectangle into my skin using my fingers scar wax is probably the most beginner friendly of our three options for a small cut but I do find this to be very difficult to use for bigger pieces since it creases and peels easily with movement or heat and is much heavier than the other two options but that's just me oh and you'll also notice
I'm using the other end of my palette knife to rake away any bumps that get pushed too far out to the sides or creases that form along the edge when you've got this little Mound o skin on your head head that's raised highest in the middle you can use something thin and pointy perhaps a toothpick or a pallet knife to draw a slice down the center and then use that same tool to dig out and open up the wound a bit just be careful because it's easy to accidentally peel big chunks back since this material
isn't very flexible but no drying or setting time is required for this one all right that's how you shape a small and simple cut with three different mediums you'll need to carefully check the latex or silicone cuts to make sure that they are firm and dry before moving on but here's a quick rundown of how to paint each of these three thereafter they could all use a layer of translucent powder to remove their shine especially with the silicone you could put your foundation color on all three of these but you might not need to if
your Silicone was already colored to match your skin or if the scar wax happens to be a perfect match already paint wise I'll be using alcohol activated paints from here on but you could also use water activated paints or cream paints for all three you can simply paint the inside of the cut with red but it's the outsides of the cut that can vary a little from product to product in terms of how you should paint them latex is probably the hardest one to paint because it's already unforgiving with its inherent bumpiness but it's also
usually the furthest off from the right color since cotton and latex will generally dry to a bright light yellow I use darker colors usually a brown to put a thin wash of color over the brightest cotton areas this cut is small enough though that I just went straight for some irritation colors with red and a little bit of purple irritation around wounds is not a necessary step a brand new wound likely wouldn't have much if any but for some a cut that's a few minutes old would start to develop a bit of irritation around it
I know that that my skin would definitely be pink pretty darn fast but I'm also I'm also a ginger so that makes sense however it is a helpful tool for outof Kip products especially since out of Kit things will usually have rougher edges than a pre-made prosthetic irritation in that case can help disguise bumpiness and edges a bit I'm using a fluffy brush to dab light washes of those colors around the cotton and latex buildup the unevenness of color helps to break up the edges and that bumpiness to the eye but again cotent latex will
kind of be the most unforgiving of the three no matter what you do so so don't beat yourself up about it okay silicone sl3 de is really fun to paint since it has some translucency to it and can look a lot like real skin I'm doing the same dabbing motion and light washes of mainly Reds to add some irritation the edges of this one didn't come out as good as they could have so again the irritation painting can be very helpful the scar wax cut didn't really need any irritation paint to help it out but
I generally like the look of irritation around the wound as a personal preference so I added some in anyway with the same dabbing method but with very little color on the brush since scar wax holds color very easily when you're D painting powder them all once more to remove any new shine and also to help blend the paint job into the skin a bit more if you're new here scab blood is the greatest invention in makeup and it's especially great to use for simple Cuts Like These because it helps to add a little bit of
texture into an otherwise very plain wound so I put some of that in all three for the most part scat blood does it for me but if you only have drippy blood or you want it to be more gory you can still add that to these Cuts I added some in each just to show you how it changes the overall look but that's pretty much it latex isn't great great for Standalone but can turn out pretty good when in conjunction with many other wounds silicone is more difficult but has the potential to look the best
overall and Scar wax is a pain in the butt in all other cases but in this one it's actually the nicest to use so long as you're not going to go crazy with facial expressions that's it for this FX Basics video 3 2 1 cut I